

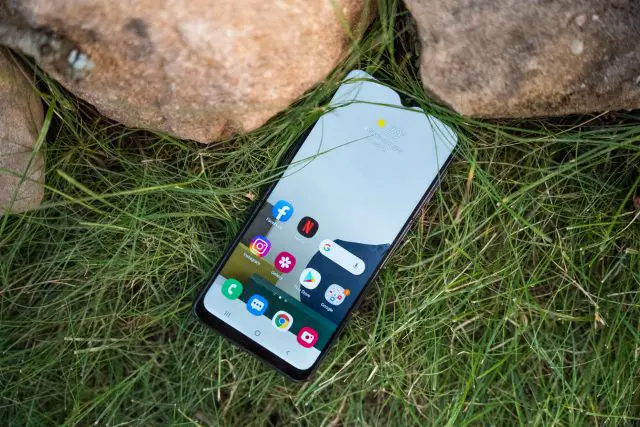
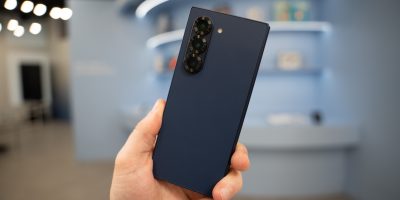
The Samsung Galaxy A32 is a mid-range smartphone offering a blend of features to cater to various user needs. Its key features include a large 6.5-inch display with a Full HD+ resolution. This provides a beautiful screen to show off your photos and makes videos come to life.
For photography buffs, the Galaxy A32 comes equipped with a versatile quad-camera setup on the rear. This setup includes a primary camera, an ultra-wide camera, a depth sensor, and possibly a macro camera, allowing users to capture a wide range of scenes with detail and clarity.
A mid-range processor powers the Galaxy A32. It will have either an Exynos chipset or a Qualcomm Snapdragon processor, depending on your region. It is coupled with 4GB of RAM and 64GB of internal storage. But if that’s not enough room, it has microSD card expansion up to 1TB.
With a battery capacity of around 5,000 mAh, the Galaxy A32 offers long-lasting battery life. So you can stay connected throughout the day without frequently needing to recharge.
Software
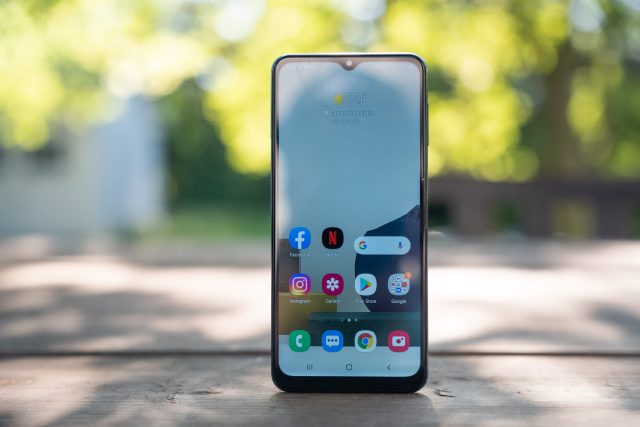
The Samsung Galaxy A32 features a modern design with a plastic back. It also comes in a variety of shades. The colour range is cleverly named “Awesome” like the A of the series name, and it comes in black, white, blue, and violet.
Software-wise, the Galaxy A32 runs on Samsung’s One UI software, based on the Android operating system. This provides a user-friendly interface with access to a wide range of apps and services from the Google Play Store.
Lastly, the Galaxy A32 supports essential connectivity features such as 4G LTE, Wi-Fi, Bluetooth, and GPS, enabling users to stay connected, browse the web, and navigate seamlessly.
Overall, the Samsung Galaxy A32 offers a well-rounded package of features. It is a compelling choice for users seeking a reliable and affordable smartphone.
How to remove Bixby
But just because the Samsung A32 offers so many cool features, it doesn’t mean you always want Bixby hanging around. Unfortunately, there isn’t a way to remove Bixby from your phone. But there are some ways to make sure it’ll stop bugging you.
Change the Bixby button
You can change the Bixby home button to something that is much more useful, like a power button or launching the camera!
- Press and hold the Bixby button
- You’ll see a customised menu that looks something like this:

Source: Samsung
- From there you can select what button works for you.
Leaving Bixby
You can also choose to leave Bixby, meaning that it will no longer be set up on your phone. This step removes any Bixby data you may have from your phone. It will also require you to have access to your Samsung account.
From your phone
- Press and hold the Bixby button
- Navigate to the settings menu, this may look like a small gear.
- Scroll to the bottom where you will see a button labelled “Leave Bixby”
- Tap on this until you see a menu where you will be prompted to say that you’re ok with the deletion of the data.
- Press ok to continue when you’re happy with that
- You will be prompted to log in to your Samsung account
- Press OK to delete your data
From your Samsung Account
If you’re finding navigating to your settings a little difficult on your phone, the process for deleting Bixby data is more streamlined on the Samsung Portal website.
- Go to https://privacy.samsung.com/
- Press “My Data” found on the top right
- Log in with your Samsung Account
- Follow the steps on the screen to delete your data.


Comments