

Cloud storage platforms let you store your essential data and files in a secure environment. With cloud-based platforms, you can easily access and share your files anytime. You can also use these platforms to organize your data files by creating separate folders. Moreover, they also help synchronize your data across different devices. Also, multi-users can access the uploaded data on your cloud storage platforms.
Along with several benefits of cloud storage, you can transfer your photos from your PC to your iPhone through these platforms. In this article, you can learn how to transfer photos from computer to iPhone with cloud storage. Moreover, we will introduce a professional tool to instantly facilitate your data transfer from PC to iPhone.
Part 1: The Most Reliable and Efficient Cloud Storages for Data Transfer
In this section, you can find the most popular cloud storage platforms for data transfer. Thus, let’s dig into the details to effectively transfer photos from PC to iPhone.
1. iCloud
iCloud is a compatible cloud storage platform specially designed for iOS devices. You can save your documents and media files securely and automatically backed up. With this iPhone to Windows file transfer app, you can use 5GB of storage free of cost.
Multi-users can access and edit your data with shared albums and photo libraries. Using iCloud, you can also transfer your photos to your iPhone easily. To learn how to use iCloud to transfer photos from PC to iPhone, here are the steps:
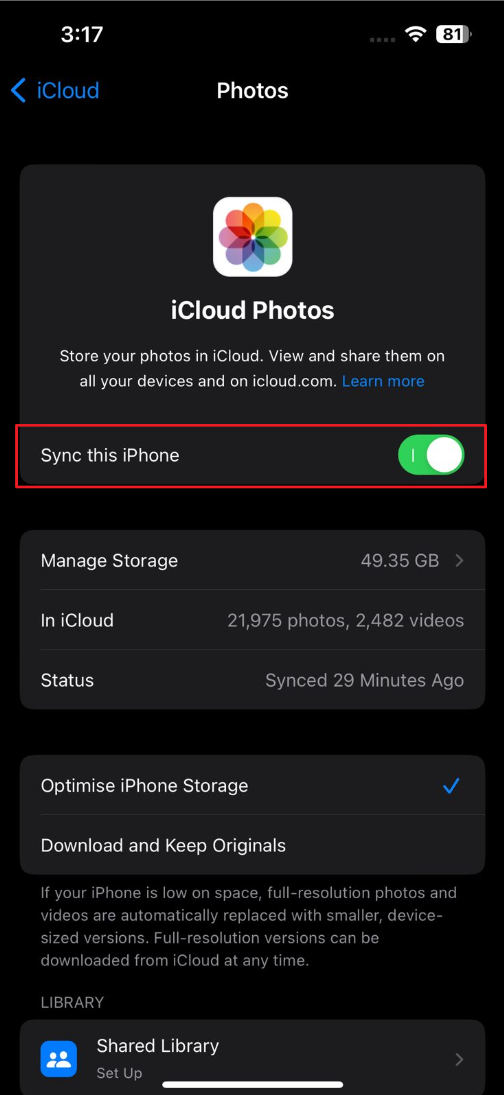
Step 1: Head to the Settings of your iPhone and tap on your profile. From there, select “iCloud” by locating it. From the iCloud menu, select “Photos” and turn on the toggle of “Sync this iPhone.”
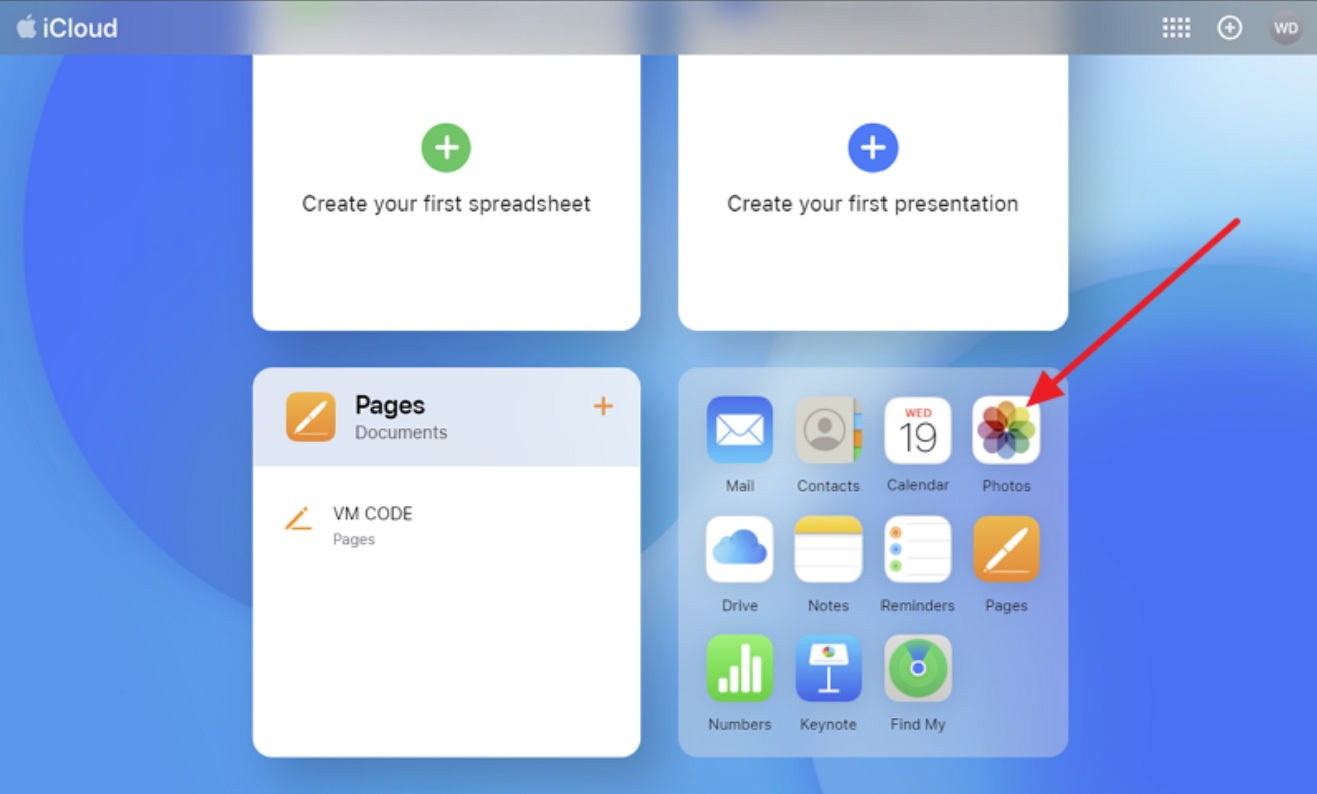
Step 2: Go to iCloud.com on your PC through your Apple ID. Then, select the “Photos” app and import the pictures into the desired folder through your PC. In this way, your chosen photos will be transferred to your iPhone.
Pros
- It offers 5GB of free cloud storage to save files and folders.
- It provides an easy-to-use interface that can be easily navigated.
Con
- The subscription plans are expensive.
2. Google Drive
Google Drive is a famous cloud storage platform that many users prefer for sharing and accessing data files. Google developed this platform and has a clean interface. It uses the SSL encryption method to secure your data files.
You can also share the data files from Google Drive by creating a custom link. Moreover, it also helps transfer the desired photos to the iPhone within a few clicks. Here are the instructions that you may find helpful:
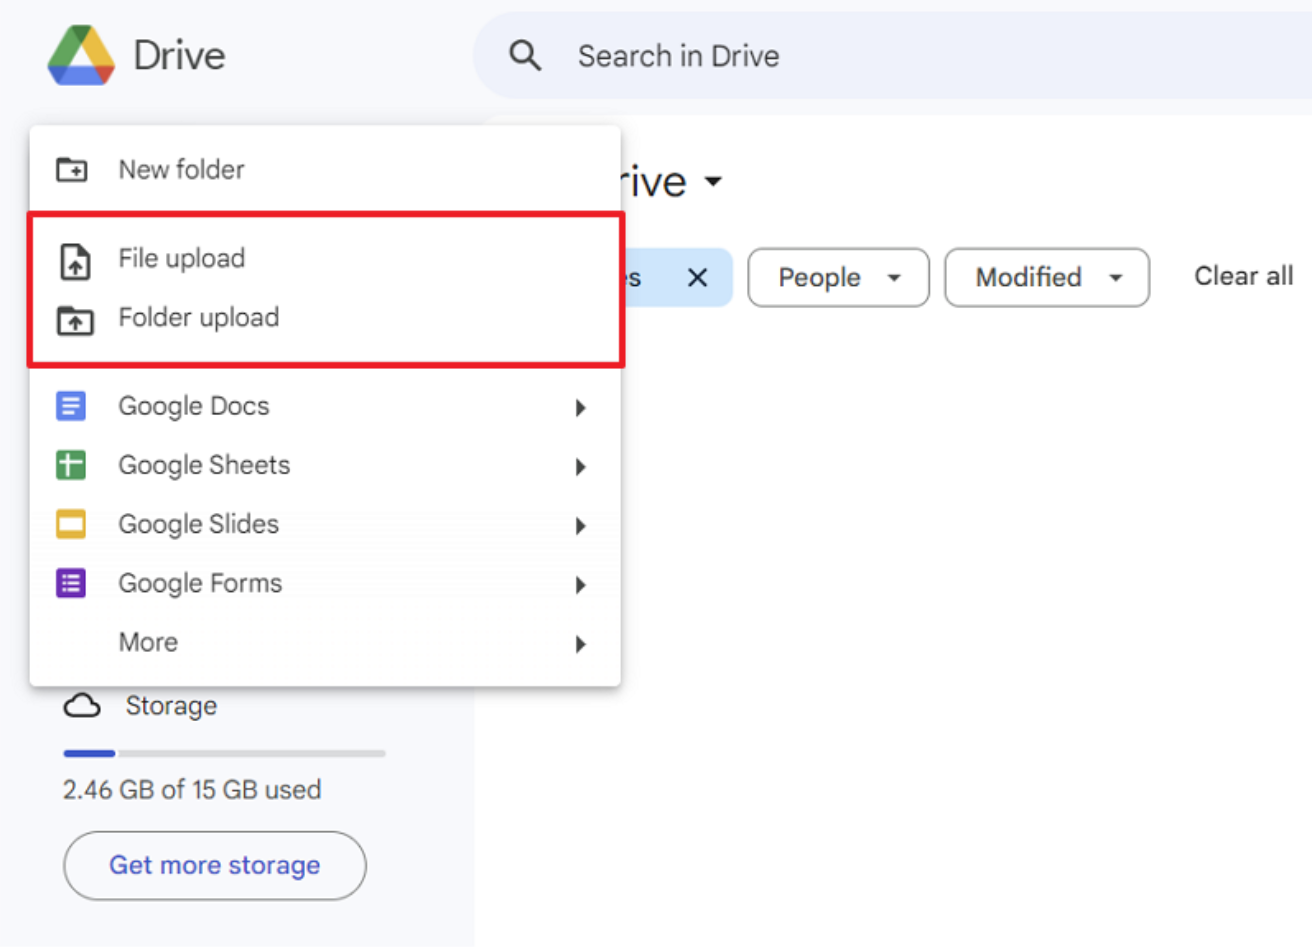
Step 1: Access your Google account through any web browser on your PC. Once you have accessed your Google Drive, click the “New” button. You can choose “File Upload” or “Folder Upload” to upload photos from your Windows PC.
Step 2: Now, open the Google Drive app on your iPhone and locate the folder where you have uploaded photos. Tap and hold on to the preferred picture for a few seconds, which will pop up a notification. From the “Save to camera roll” pop-up, hit the “OK” button.

Pros
- It provides automatic backup and syncing for the data files.
- It is integrated with various Google services to improve your productivity.
Con
- Google Drive offers limited offline access to files and folders.
3. Dropbox
Dropbox is another popular cloud storage platform that can enhance your productivity. It offers productive tools that can assist you in team collaboration. You can also sync and organize your cluttered data files on Dropbox. You can also use its smart content suggestion that can assist you in working with your team members efficiently.
Furthermore, you can use Dropbox to shift photos from your laptop to your iPhone. From the below steps, you can learn how to transfer pictures from a computer to iPhone using Dropbox.
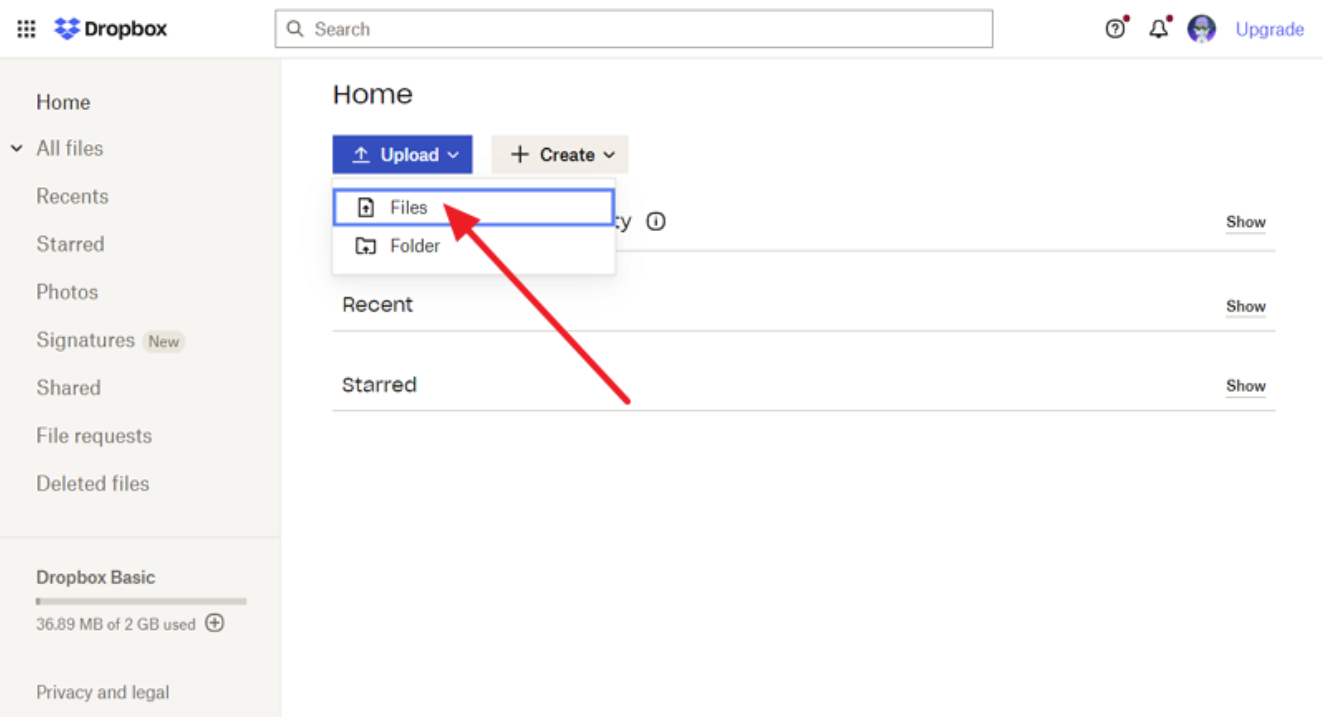
Step 1: Open Dropbox through your computer’s web browser and sign into your account by entering the correct credentials. Afterward, click on the “Upload” button. You can select “Files” or “Folders” according to your choice.
Step 2: Import the photos from your PC to the newly created folder on Dropbox. After selecting the desired picture, press the “Upload” button. Once done, open the Dropbox app on your iPhone and locate the photos folder you have recently created. Then, tap on the “Three Dots” icon from the top right corner and choose the “Save Image” option. 
Pros
- It has a wide variety of collaborative tools.
- It offers digital signatures to add to your files and folders.
Con
- Dropbox has some security risks and poor storage limits.
Part 2: How to Transfer Photos from PC to iPhone Without Using Cloud Storages
If you find the method of cloud storage challenging to transfer photos, you can use a third-party tool. Wondershare MobileTrans is an easy-to-use tool through which you can shift data across devices proficiently. It supports batch processing, transferring multiple photos simultaneously with a single click. With its advanced security, you can transfer your family or personal pictures to another device without hesitation.
Furthermore, Wondershare MobileTrans uses advanced technology to keep your essential data safe and secure. It won’t disrupt your image quality during the transfer process. Along with photos, you can also share your videos, messages, and music files from your computer to your iPhone effectively. Hence, MobileTrans is a reliable program to transfer photos from PC to iPhone.
Key Features
- MobileTrans offers a WhatsApp Transfer feature to move your WhatsApp content across devices. You can easily transfer WhatsApp chats, emojis, stickers, and files to other devices.
- You can also transfer your favorite music playlists from one device to another. This tool supports Spotify, Apple Music, and YouTube Music to simplify your playlist transfer process.
- Using this tool, you can professionally restore your WhatsApp Google Drive backup to iOS devices.
- It can transfer the phone’s data from one device to another without an internet connection.
Straightforward Instructions to Transfer Photos from PC to iPhone Using MobileTrans
In this part, you can easily explore the simple and brief steps to transfer photos from PC to iPhone.
Step 1: Choose the Import to iPhone Tool
After downloading Wondershare MobileTrans on your PC, launch this tool and attach your iPhone to your PC. On its interface, select the “Phone Transfer” module and then click on the “Import to Phone” option.
![]()
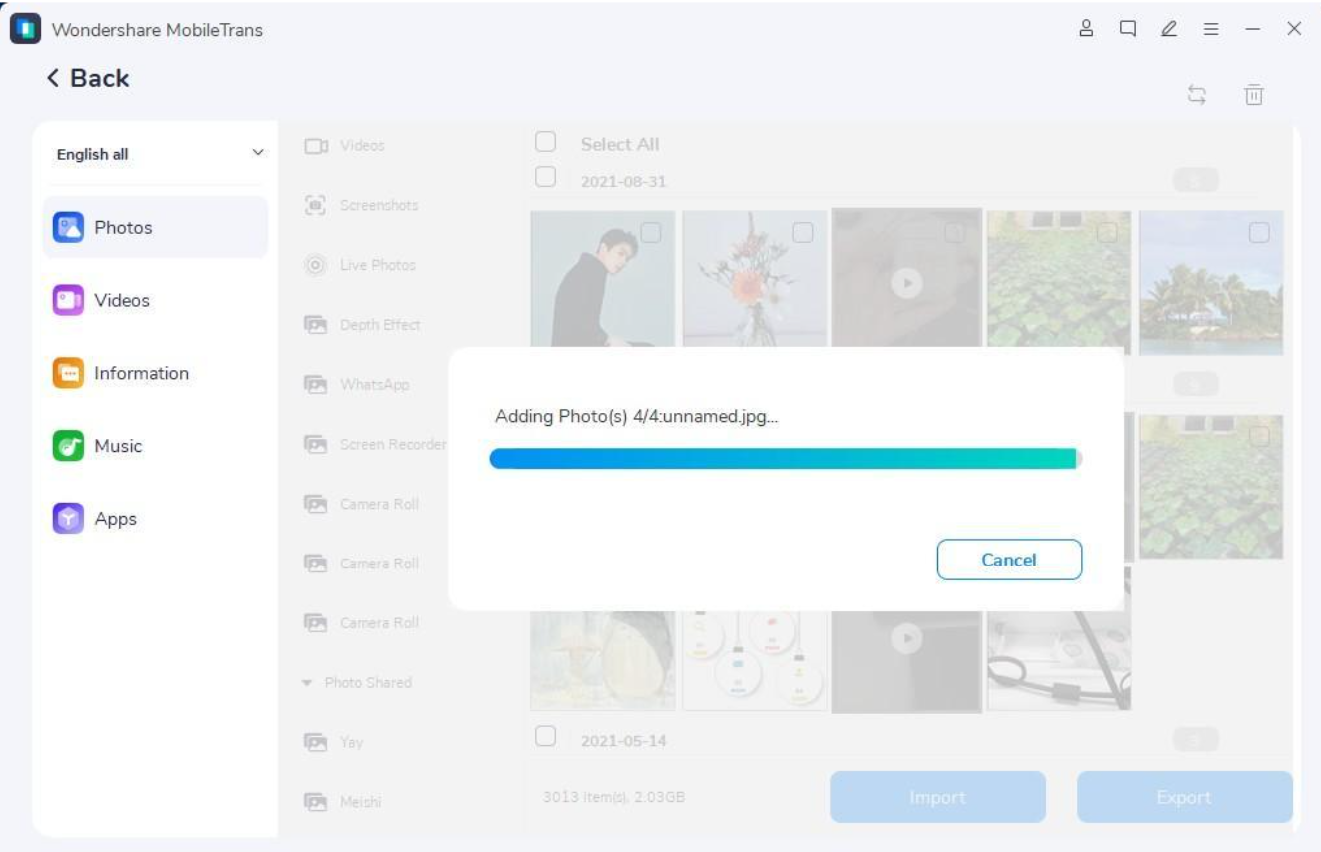
Step 2: Import Photographs from Windows PC to iPhone
On the new window, click “Photos,” given on the left side. Choose the photos you want to transfer and click the “Import” option. By doing so, your selected images will be shifted to your iPhone.
Conclusion
Photos can be transferred from your PC to your iPhone through various methods. This article discusses how to transfer photos from PC to iPhone using cloud storage platforms. However, if you need a permanent and fast solution, try our suggested tool Wondershare MobileTrans. This tool uses advanced technology and security to transfer your selected data from one device to another.


Comments