
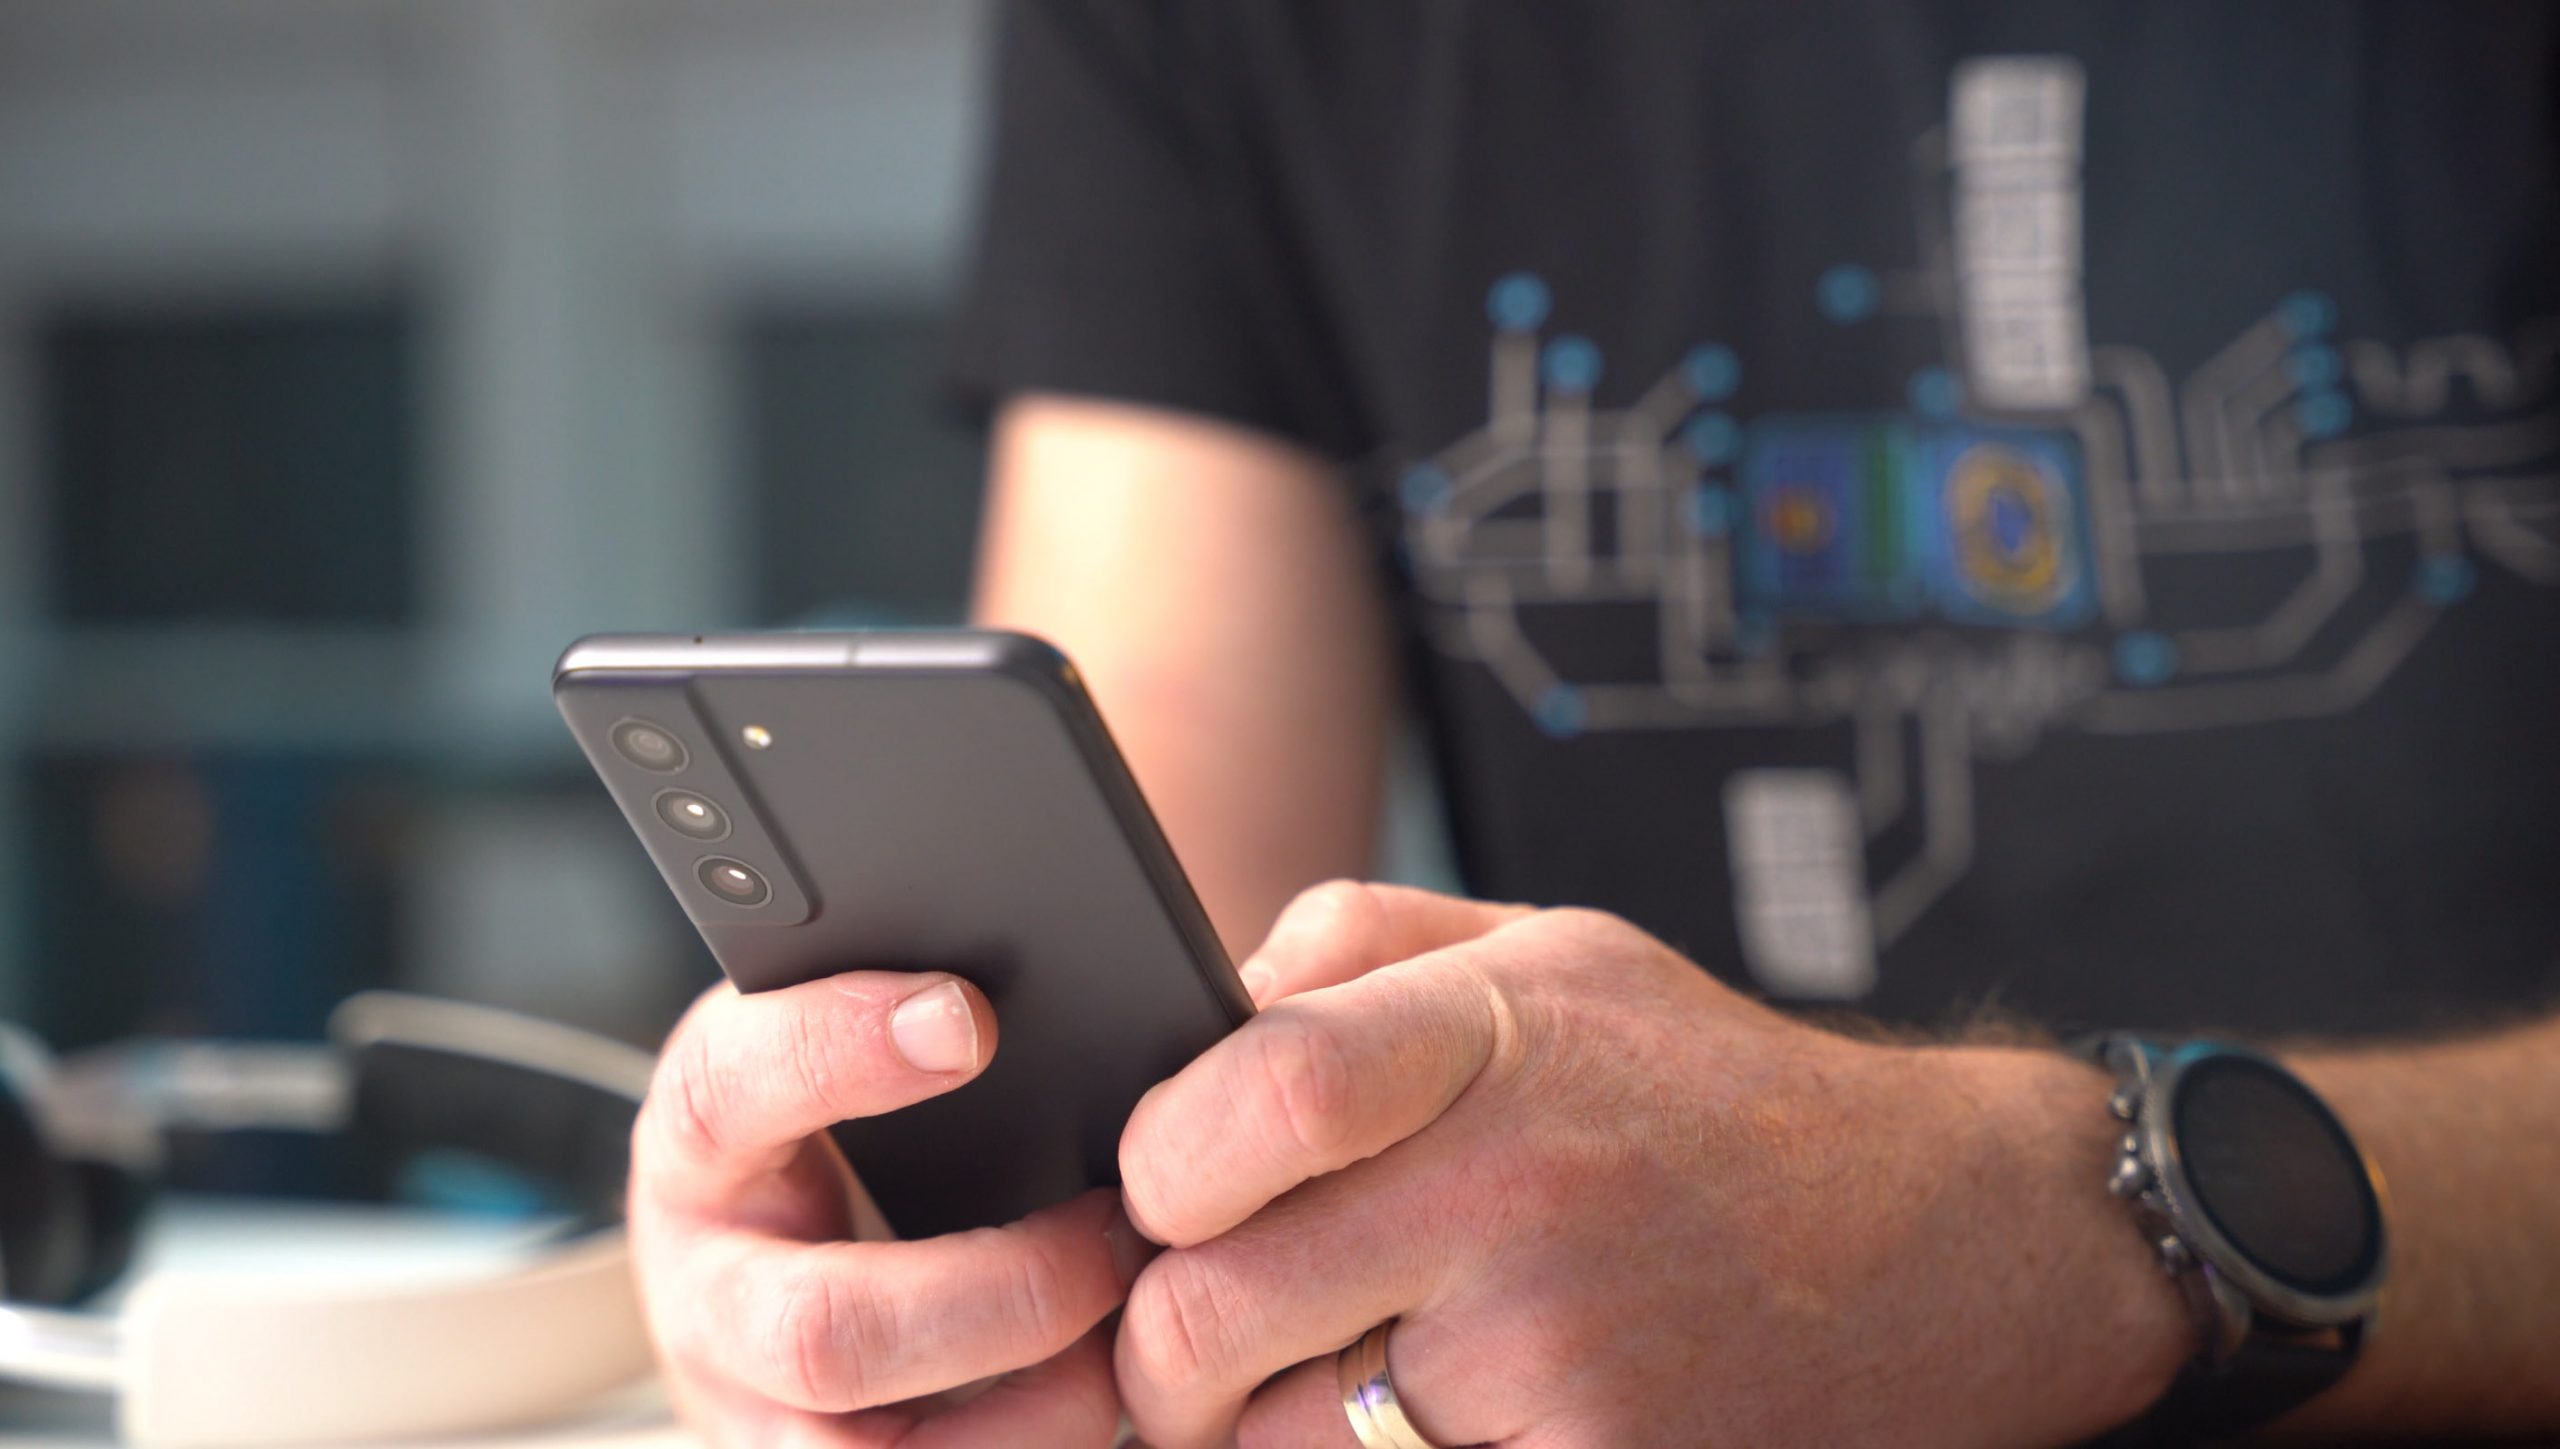
Although Android phones now come with a whole heap of bells and whistles; calls and messages are still the beating heart.
Since we regularly communicate in this way, a long history of messages and calls amass on our mobile devices.
For this reason, it’s smart to backup your messages and call history as a safety net in case you break or lose your phone.
You have 2 main options to consider when backing up your Android content:
- Use the inbuilt Google service to create a backup of your entire device, stored in the cloud.
- Use a third-party app to gain full access to your Android content, and choose which data you wish to backup to your own computer.
Option 1: Backup and Restore your Android device using Google One
Google provides an easy way to create regular backups of your device to your Google account – however, you won’t be able to view the messages and calls in the backup, let alone export them to your computer. These backups allow you to restore your information to a new device.
If this option sounds like it will meet your needs, here’s how to backup your Android using Google…
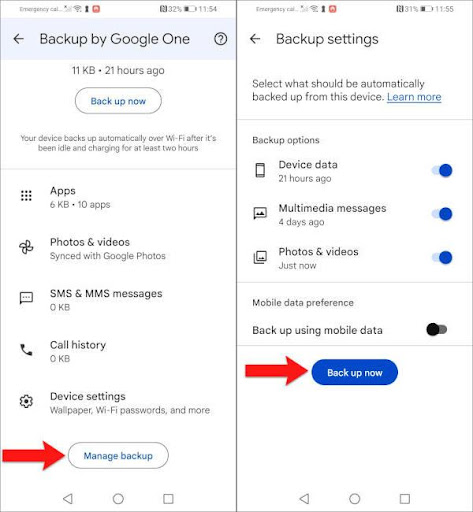
- Get the “Google One” app from the Google Play Store, and launch it on your Android device.
- Under the “Backup” header, tap “More”, then “See details”.
- Either “View details” or “Set up data backup” will show depending on whether this is your first backup. Tap the option which is available to you.
- Tap “Manage backup” and set your backup options (tap the toggles to choose which data you’d like to include in your backup).
- Tap “Back up now”
This is a great way to make regular backups of your Android for safekeeping, however, you will be unable to access any of your messages or call history from your Google backup.
So how do you take control, and backup your Android messages and call history in a way that you can view them, export them, share them and print them?
To do this, you’ll need to use an Android management app like Droid Transfer.
Option 2: Flexible Android device backup with Droid Transfer
This powerful program allows you to connect your Android phone to your PC over Wi-Fi and backup your files and other data like Messages, Contacts, Call History, Music and Photos to your computer.
The great thing about this app is that you can see exactly what is stored on your device and choose exactly what you wish to copy to your PC – no need for cloud storage, or huge device backups here!
How to backup or print Android messages with Droid Transfer
There are many reasons why you’d wish to keep a record of your messages, whether this is for a personal reason, a legal case, or in case you break your device. Here’s how to do this with Droid Transfer with ease. …
- Get Droid Transfer on your PC and the Transfer Companion App on your Android phone.
- Using your Android device, scan the QR code in Droid Transfer to connect the two devices via Wi-Fi or a USB.
- Click Messages to see all the conversations stored on your device.
- Select a contact name to view your conversation with that contact.
- Choose to export your messages as PDF, HTML or Plain Text. Or even Print your messages exactly as they appear on your phone directly from within the app!
Message exports created by Droid Transfer include all the important information like message content, contact name and number, dates and times, attached photos and videos, emojis and more.
![]()
Droid Transfer backing up Android messages with images
How to backup Android Call History
As your phone can store up to 500 calls in its call history log, you may wish to keep regular backups of your call history for your records. Here’s how to do this with Droid Transfer…
- Click the Call Logs section in Droid Transfer to view your call history.
- Select the contact names in the list to view your call history with them.
- Choose to export as CSV, PDF or HTML (or print).
Call log exports created by Droid Transfer show contact name and number, date, time, duration of the call, outgoing/incoming and the status of the call (Answered, Unanswered or Missed).
![]()
Backup Options in Droid Transfer
Filter by date: For even further control, you can even narrow down your message conversations to export only messages sent between two dates. To do this, in the Messages section, simply click “Set Dates”, choose your start and end date, and messages sent/received outside of this period will be filtered out from view.
Batch Exports: If you want to a lot of messages at once, you can select multiple message conversations or call log contacts by holding ‘ctrl’ on your keyboard as you select them – or use ‘ctrl ’+’A’ to select all items in the list.
File merging: You also have the option to merge all your call history into a single file. This is especially useful for people who want to manage their call history in a spreadsheet, to have it all in one place.
Conclusion
We’ve looked at 2 top methods to backup Messages and Call History from an Android device. Each method has its advantages and disadvantages, depending on what you want from your backup.
If you want a complete backup of your Android device, with the ability to restore the content to a device in the future, backup using Google directly from your device.
And if you want control of what to backup and have your content available to you in a useable way, look no further than the Droid Transfer Android management app.
Thanks for reading!


Comments