Our phones come to us fresh and clean, but over time as we use it, download things onto it, install and delete apps from it, sometimes it can mess with the phone’s software. As a result, from time to time you might notice some quirks or your phone not behaving the way that it should.
Sometimes turning the phone off and on can help, but sometimes a problem persists so badly that even turning your phone off and on again can’t help. This is where resetting the phone can come in handy where it basically brings the phone back to its original settings like the day you bought it.
Now, there is a difference in resets, namely soft reset and a factory reset. The former is a quick and easy solution that can sometimes address the issue, while the latter involves wiping all your data but usually works if the problem persists. So here are the different ways you can go about resetting your Samsung Galaxy S22.
Soft reset the Samsung Galaxy S22
- Press and hold down the power and volume down button at the same time
- The power menu should appear, so tap on the Power Off button
- Tap Power Off again to confirm
- Your phone should now be turned off
- To turn it back on, give it a few seconds and press and hold the power button until the Samsung logo appears
Factory reset the Samsung Galaxy S22
Like we said, the hard/factory reset basically wipes your phone of all its data and brings it back to the state the day you got it. This is useful if the problem persists and a soft reset doesn’t work, or if you want to sell off your phone and want to make sure that none of your data is left behind.
Before you begin, it’s always a good idea to make sure that all your data is backed up either to the cloud or to an external storage. This is so that if something goes wrong, your data like your photos and videos will be safely stored elsewhere and you won’t lose it in the event you aren’t backing things up to the cloud.
- Launch Settings
- Scroll down until you see General management and tap on it
- Scroll until you see Reset and tap on it
- Tap on Factory data reset
- Tap the blue Reset button
- Give it a few minutes for it to complete and your phone and all of its data should have been wiped clean
Hard reset the Samsung Galaxy S22
Now in the event that for whatever reason, your phone won’t boot up properly and you still need to wipe its contents, don’t worry, there is another option called a hard reset.
- Make sure your phone is powered down
- Hold the Volume Up button and power button together until the Samsung logo appears
- Once the logo appears, release the power button but continue holding the Volume Up button
- You should now be in the Android Recovery screen
- Use the Volume Up or Down button to navigate the menu
- Scroll down until you have selected Wipe data/factory reset
- Press the power button to confirm your selection
- Scroll down and select Factory data reset and click the power button again
- Give it a few minutes to complete the reset and wiping of data
- Once the factory reset is complete, you should be taken back to the Android Recovery page
- Select Reboot system now and press the power button to confirm
- Your phone should now be rebooted and all of its contents are gone
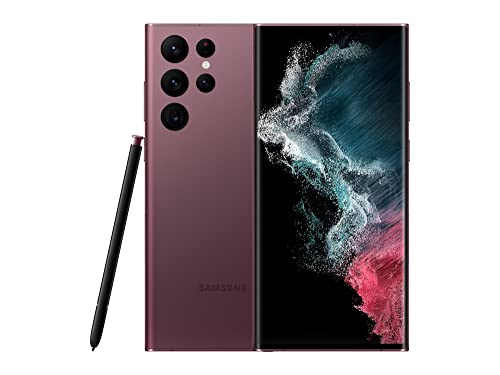
- 8K Video Recording: Shoot videos with stunning 8K resolution for epic content
- Adaptive Color: Adaptive screen dynamically optimizes color and brightness for indoor and outdoor viewing
Note: this article may contain affiliate links that help support our authors and keep the Phandroid servers running.









Comments