

While Google’s Chrome OS might not be as feature-rich compared to more complex operating systems like Windows or macOS, it is still a very functional operating system and perfect for people who don’t really need much from their computers. It also has the added bonus of being able to support and run Android apps.
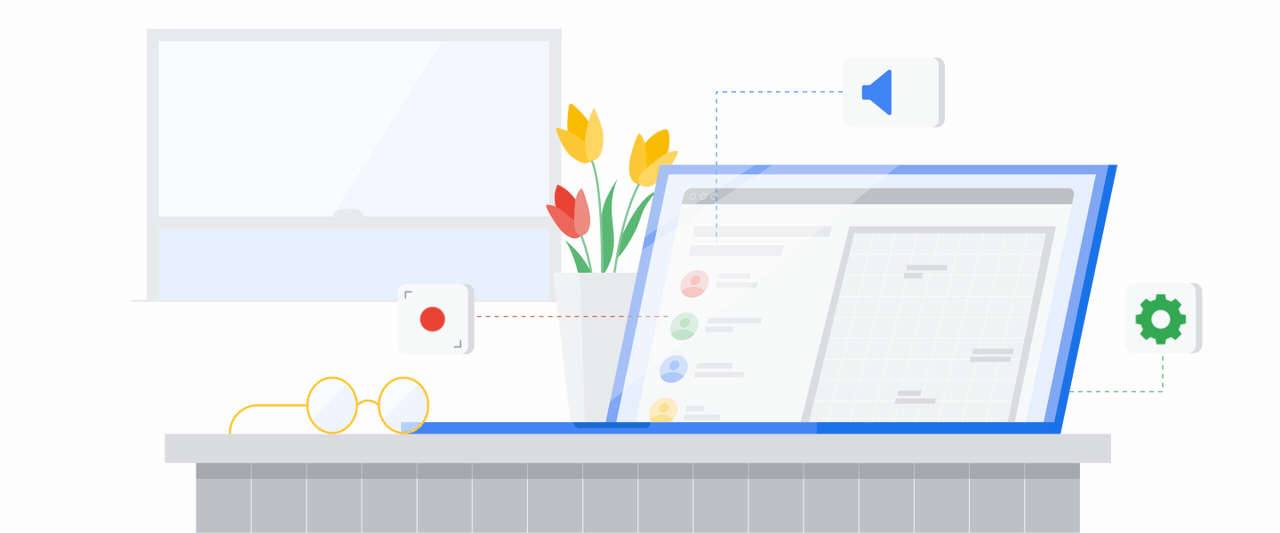
For those hoping for a bit more functionality, Google has recently announced that they will be introducing a native screen recording tool to Chrome OS. If you’re unfamiliar, screen recording tools basically allow you to record your entire screen or a portion of the screen. This might be useful for creating tutorial videos and step-by-step guides.
The feature isn’t live yet for the public, but it can be enabled via a flag. In order to do so, you’ll have to make sure that your Chrome OS channel is set to beta.
How to set Chrome OS channel to beta
- Sign in to your Chromebook with the owner account
- Go to Settings > About Chrome OS > Additional details
- Next to “Channels”, select “Change channel” and choose the “Beta channel”
- Click on Change channel
- Your Chrome OS device will then download an update and ask to restart
- Once in the beta channel, open the Chrome browser and type chrome://flags/#screen-capture and enable “Screen capture test”
Once you’ve enabled the feature, all you need to do to launch the screen recorder tool is to press CTRL + SHIFT + Overview. You will now be presented with a new interface that either lets you capture a screenshot or if you want to screen record, then you’ll have to toggle over to the recording button.
You can drag the area of selection to any size you want and any area of the screen you want to start recording. Once you’re happy with the selection, click the Record button in the middle of the selected area and the recording will begin after the countdown. The interface will disappear but don’t worry, it is recording the area you had previously specified.
When you’re done with the recording, locate the Stop button at the bottom right corner of the screen on your taskbar and click on it. Your recording will then be saved to the destination folder.
Note that the feature is still kind of in the experimental/beta phase, so it could be subject to change upon its release, so you’ll want to keep that in mind.


Comments