
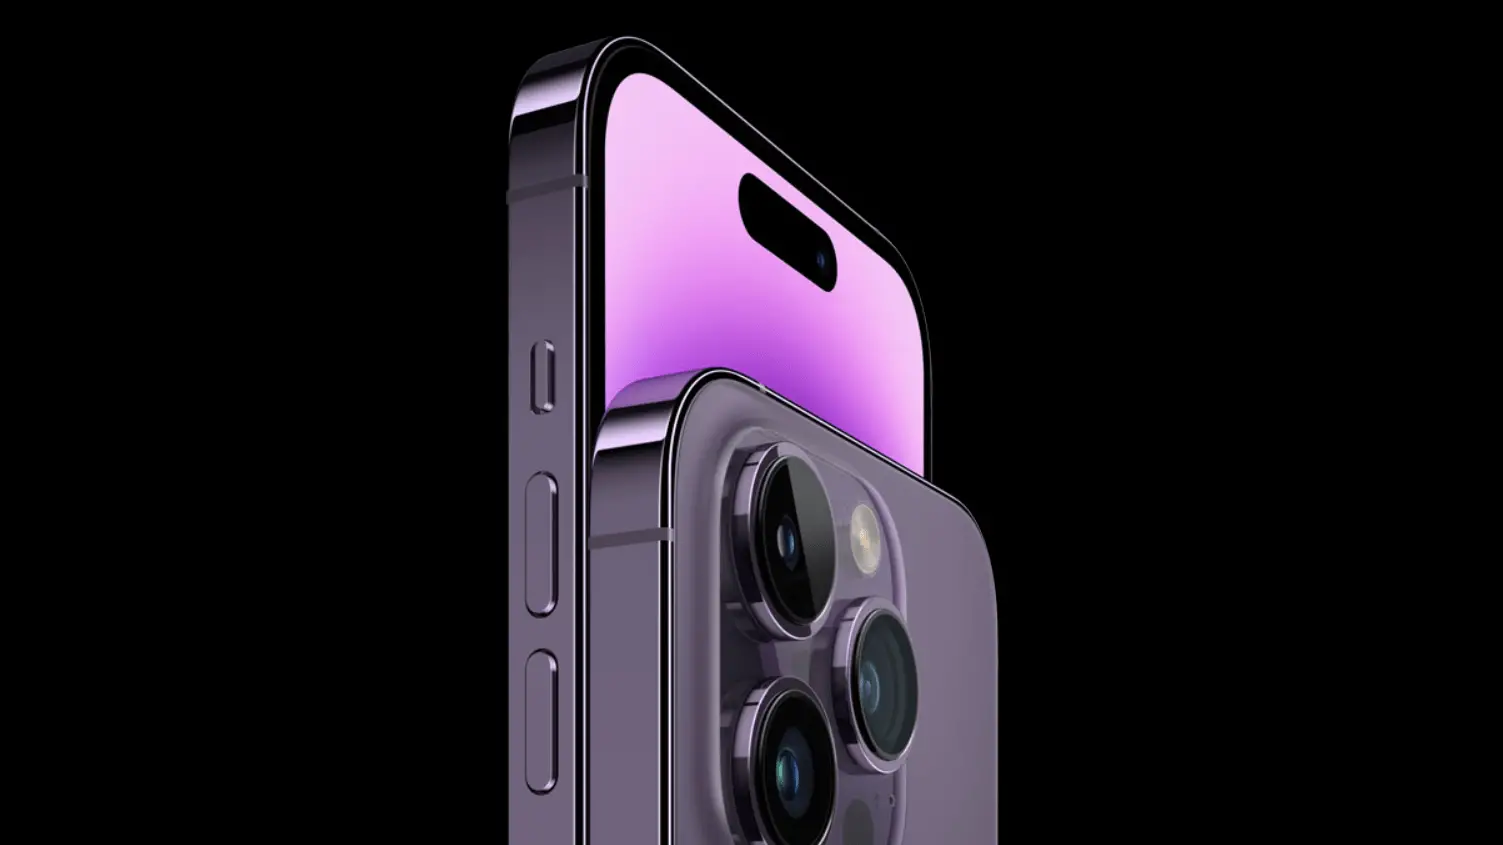
Apple’s new iPhone 14 models have started reaching their buyers, especially those who preordered. It means it is time to set your new shiny devices up. It is a process veteran iPhone users are familiar with but if it is your first time moving to an iPhone, it will likely feel like entering a whole new world.
This is the reason we have compiled a list of things that an iPhone 14 user should do. These will help you get started with using your new iPhone on the right track.
Also Read: 7 reasons Android users might want the new iPhone 14 Pro
Get an eSIM
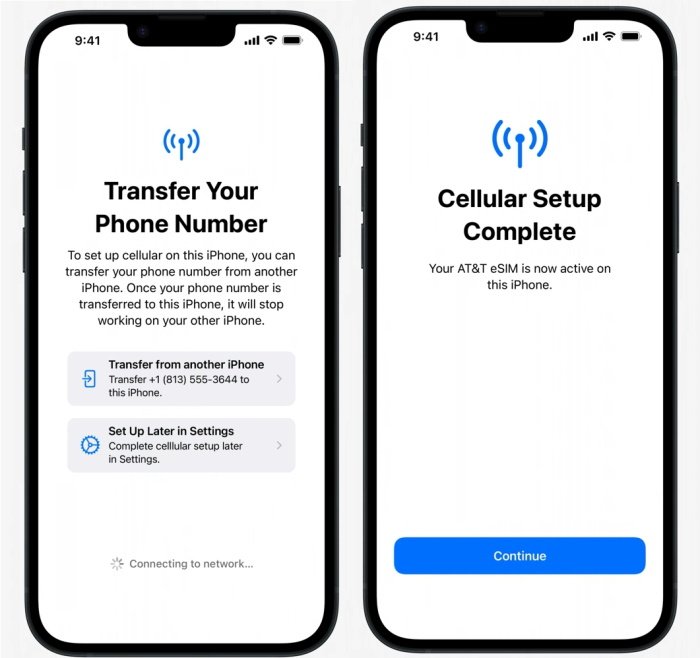
The first and foremost thing you need to do to use your iPhone 14 is to get an eSIM. As the name suggests, an eSIM is essentially a digital SIM that you cannot touch or carry around like a physical SIM card. It has been available on iPhones for quite some time but with the iPhone 14 series, Apple has ditched physical SIMs completely in the United States. It means you will not get cellular connectivity unless you have an eSIM on your iPhone. You can check our detailed guide on how to activate eSIM on iPhone 14.
Setup Face ID and Passcode
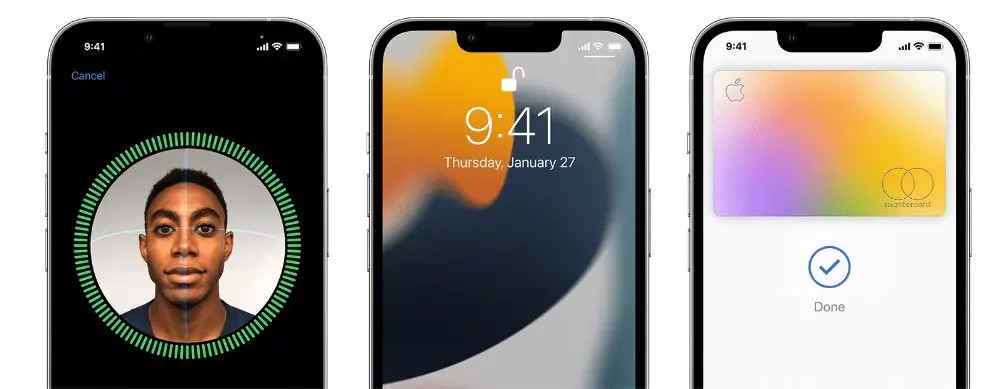
Face ID is what Apple calls its facial recognition tech and Passcode is your 6-digit numeric password. Both are meant to help you keep your iPhone safe and prevent unauthorized people from accessing your data. You can choose to use only Passcode but if you wish to use Face ID, it is a must to have Passcode enabled too.
These are part of the initial setup process but if you skipped it, we would recommend you set them up by visiting Settings > Face ID & Passcode. For Face ID, follow on-screen instructions to register your face successfully.
Home screen customization

There used to be a time when you could not customize anything about your iPhone’s home screen. Apple recently added support for adding widgets to the home screen. This can be done by tapping and holding on an empty area of the screen and then tapping the + icon in the top left corner.
You will see a list of all available widgets along with different shapes to choose from. Drage your preferred widget to the home screen and place it wherever you want.
Lock screen customization
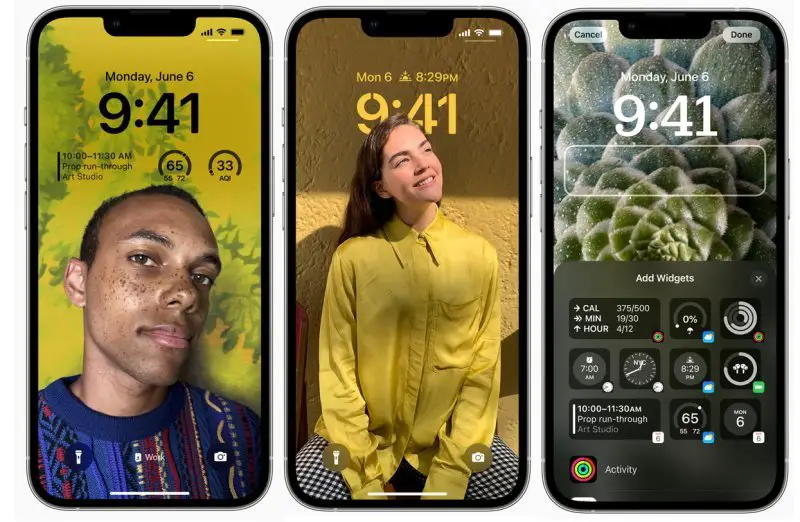
With iOS 16, Apple introduced lock screen customizations to help you create a truly personalized look for your iPhone. Press and hold on the lock screen and tap Customize button at the bottom for customizing the current lock screen. If you want to create a completely new lock screen, tap the + icon next to it.
You can then set your favorite wallpaper by importing it from the Photos app. Apple also gives you a bunch of default wallpapers to choose from. My favorites are Weather & Astronomy and Emoji. You can also add widgets to the lock screen by tapping the area either right above or below the clock.
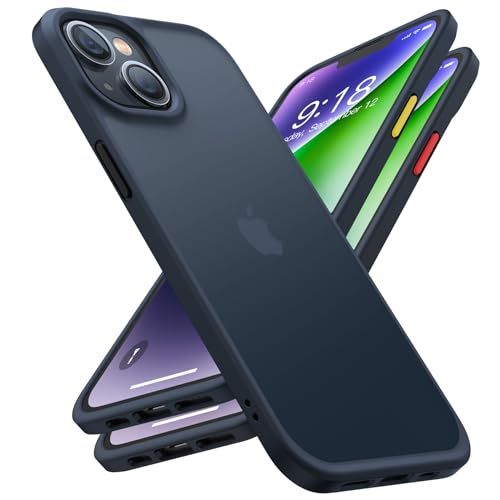
Get a good case
Your brand-new iPhone 14 is an expensive device which means its repair costs are high too. It is the reason you should consider investing in a good protective case. The official Apple iPhone cases are pretty expensive at around $50 but you do not have to spend that much. You can find quality iPhone 14 cases on Amazon and even at a nearby store if you prefer shopping offline.
![Spigen Ultra Hybrid Designed for iPhone 14 Case (2022) [Anti-Yellowing],...](https://m.media-amazon.com/images/I/41SJGsXl09L.jpg)

Get a fast charger
The iPhone 14 series support fast charging but it does not come bundled with a charger. This is the reason you will need to buy a charger separately if you do not have one already. You will also need to have a 20W charging adapter or higher to get fast charging. Apple claims you can expect up to 50% charge within 30 minutes with a fast charger.
![iPhone Charger Fast Charging Original [Apple MFi Certified] 2 Pack Type C...](https://m.media-amazon.com/images/I/31S3a-RiLJL.jpg)
![HALIHALL [MFI Certified] iPhone Charger Block USB C Fast Wall Plug with 6ft...](https://m.media-amazon.com/images/I/315eCN9SfaL.jpg)

5G Settings
Your new iPhone 14 comes with 5G support which means you can have access to the fastest cellular internet connectivity. The only issue is that 5G is yet to become mainstream which means you will not get 5G signals everywhere you go.
This is why keeping your iPhone set to 5G all the time might not be a good idea. It could actually take a toll on the battery life. Visit Settings > Cellular > Cellular Data Options > Voice & Data and choose LTE only in areas where there is no 5G network.
Siri
Siri is the digital assistant that comes with Apple devices including iPhone. It is similar to Google Assistant on Android smartphones. It can be enabled by visiting Settings > Siri & Search and turning on the toggle for Listen for “Hey Siri”. This is the hotword that you need to say whenever you want to trigger Siri with your voice.
You can then go through all other settings to customize your Siri user experience. For example, you can select Siri language, voice, responses, and whether it should work if the device is locked.
Battery Percentage
Apple finally added a battery percentage indicator to the status bar with iOS 16. It shows the exact percentage of battery your iPhone has left in the top right corner. The only thing is it needs to be enabled manually. This can be done by Settings > Battery > Battery Percentage.
One-handed mode
With iPhone 14 series, Apple debuted the 6.7-inch iPhone 14 Plus for the first time. It is the biggest non-Pro iPhone model yet which means it is not exactly convenient to use with one-hand all the time. This is why you should enable one-handed mode or as Apple likes to call it Reachability. This can be enabled by visiting Settings > Accessibility > Touch and then turning on the Reachability toggle.
Photographic Styles
Photographic Styles are preset (or you can say filters) for the iPhone camera app that helps you click photos by applying preset warmth and tone settings. There are four styles to choose from Rich Contrast, Vibrant, Warm, or Cool.
Open the camera app and tap the arrow icon at the top. Now, tap the icon in the top right corner that looks like a bunch of rectangles. You can then swipe through all the Photographic Styles and preview what each of them looks like. Each style shows Tone and Warmth values at the top which can be tapped for further personalization.
Scheduled Summary
Using a modern smartphone means getting overwhelmed with notifications coming from all the apps installed by you. This is why Apple lets you choose how you want to receive. Visit Settings > Notifications > Scheduled Summary to create a schedule or multiple schedules. Apple will group all your notifications and show them together at your preset time. This way, you will have just one notification instead of receiving one for each app every time there is one.
Just below this setting, there is a list of installed apps. You need to choose apps that should be a part of the scheduled summary. All you need to do is to exclude apps from which you need immediate notification delivery.
True Tone and Night Shift
True Tone is a display setting that automatically adapts your iPhone’s display as per your surrounding lighting conditions. It is meant to deliver a consistent color appearance regardless of the environment. As for Night Shift, it makes the display color tone warmer to help you with usage during the night or whenever it is dark around you.
Both these settings are useful in their own ways but not everyone likes what they do to the display appearance. If you are one of those, you may want to disable them by visiting Settings > Display & Brightness.


Comments