
Factory resetting is usually one of the last troubleshooting methods that most people would recommend whenever you encounter an issue with your phone. This is because a factory reset essentially wipes out all the data on your handset, including messages, photos, apps, system settings, logins, and so on.
But sometimes, a factory reset is necessary. This is because there are times when you just simply cannot pinpoint what could be causing the issue, or maybe there are simply too many issues to resolve, so a factory reset is like a nuclear option that wipes everything off the board.
In some scenarios, some users might have the option to backup their phones before performing a factory reset, but sometimes, the problem can be so bad that users cannot perform a backup and need to factory reset on the spot, but what happens to your data?
How to Recover Data After Factory Reset with Backup
If you have the presence of mind to backup your data often, you can restore it after a factory reset. Usually there are two options for backing up data – locally and in the cloud, and we’ll show you how.
Restore from local backup
To restore a local backup, there needs to be a local backup file in the first place. If you’re unsure how to make one, here’s what you need to do:
- Make sure your phone is turned on
- Connect your phone to your PC via a cable
- On your phone, go to Settings
- Tap on General > Developer Options > USB/Android debugging
- You should get a notification on your phone, tap on “USB for file transfer”
- Tap “Transfer files”
- On your computer, you should now see your phone appear as a new external device
- Open your phone on your computer and copy all of its contents onto your computer or an external drive and you’re done
To restore it:
- Connect your phone to your PC via a cable
- On your phone, go to Settings
- Tap on General > Developer Options > USB/Android debugging
- You should get a notification on your phone, tap on “USB for file transfer”
- Tap “Transfer files”
- On your computer, you should now see your phone appear as a new external device
- Locate the backup files you had copied previously on your computer
- Open your phone on your computer and copy your previous backup from your PC to your phone, and you should now have all your old contents back
Restore from Google backup
While each handset manufacturer has their own cloud service and backup option, one of the advantages of using Google as your primary backup service is that whenever you change phone brands, you won’t need to figure out how to transfer the backed up data from one brand to another.
- Once your handset reboots after being factory reset, select your preferred language and tap “Let’s Go”
- Follow the instructions on the screen until you reach the Copy Apps and Data page
- Tap on Copy Your Data
- Make sure you have an active internet connection
- On the Bring Your Data From page, select “A Backup from the Cloud”
- Sign in with your Google account and tap “I Agree”
- Tap “Backup to Restore”
- Choose the data files you want and then tap on “Restore”
Alternatively, if you have already completed the setup process and haven’t restored your backup yet, there’s another way:
- Launch the Settings app on Android
- Go to System > Advanced > Backup > App data
- Tap on Automatic Restore
There are other ways that you can also restore and recover data after a factory reset, like from an SD card if that’s where your backup was. iMobie has a pretty handy guide on how to recover data after a factory reset that might be worth checking out.
How to Recover Data After Factory Reset without backup
Now, there might be times when you forget to backup your phone, or maybe the backup you have is too old, or maybe when you tried to backup your phone, some data couldn’t be backed up for whatever reason. The good news is that not all is lost, and you can actually use tools like iMobie’s DroidKit to help recover your data.
- Download and install DroidKit onto your computer
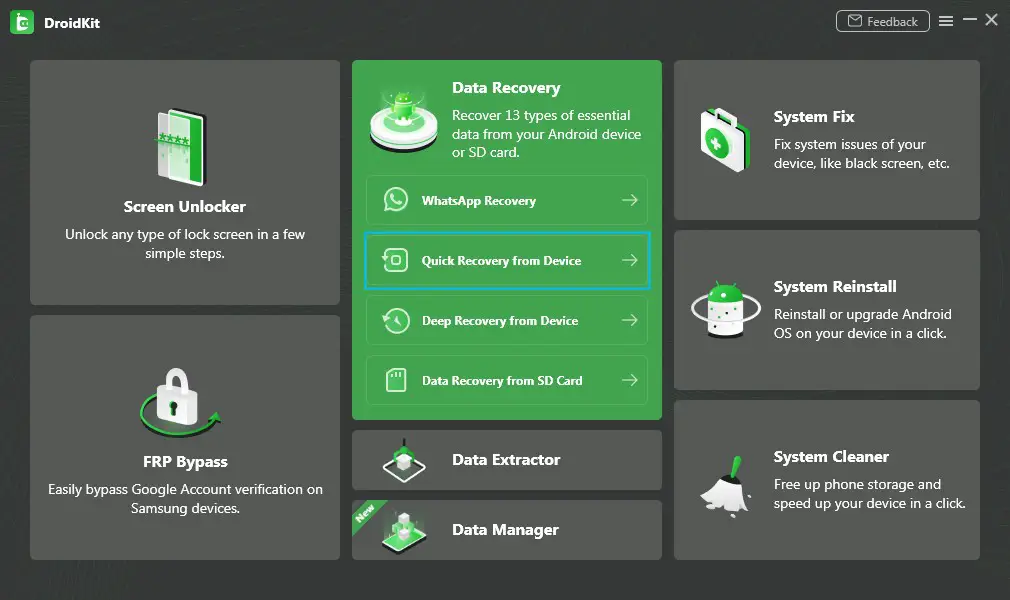
- Launch DroidKit and select “Quick Recovery from Device” mode which is capable of recovering 13 types of data
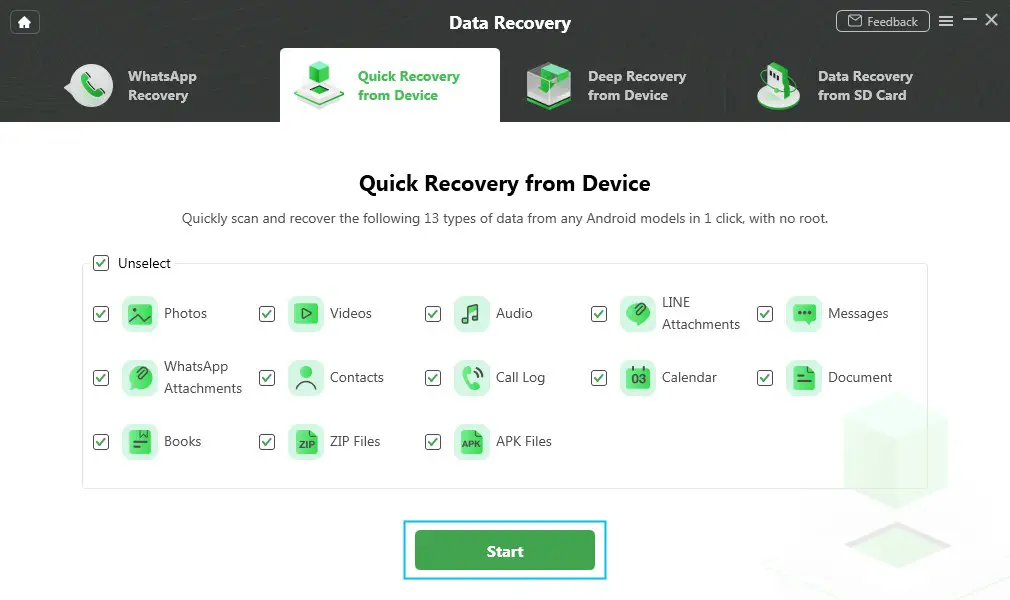
- Select the items that you want to recover from your device and then click the “Start” button
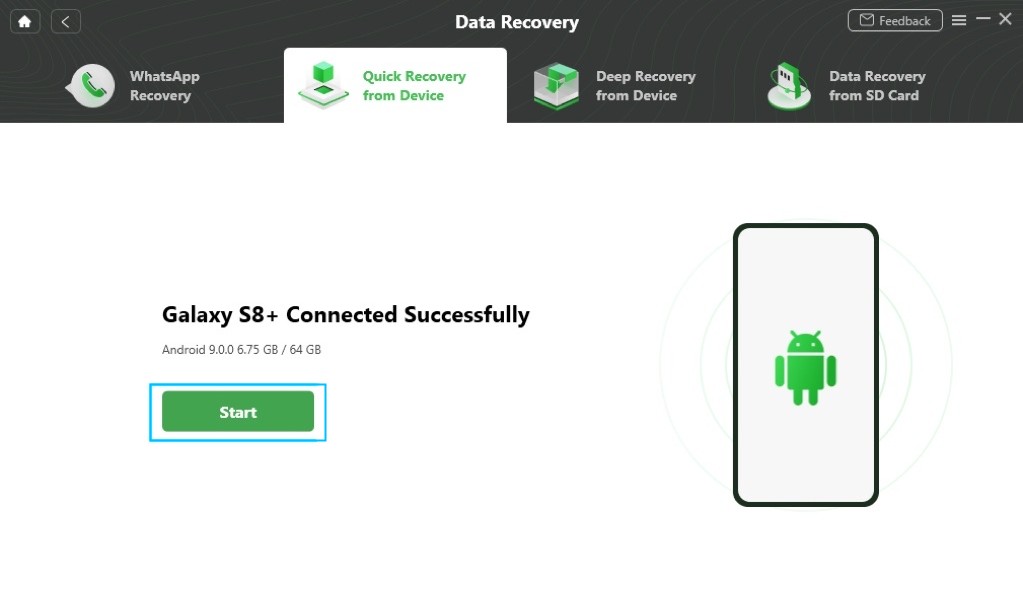
- Connect your phone to your computer and if it is detected, the phone model should show up in the DroidKit software. Click Start
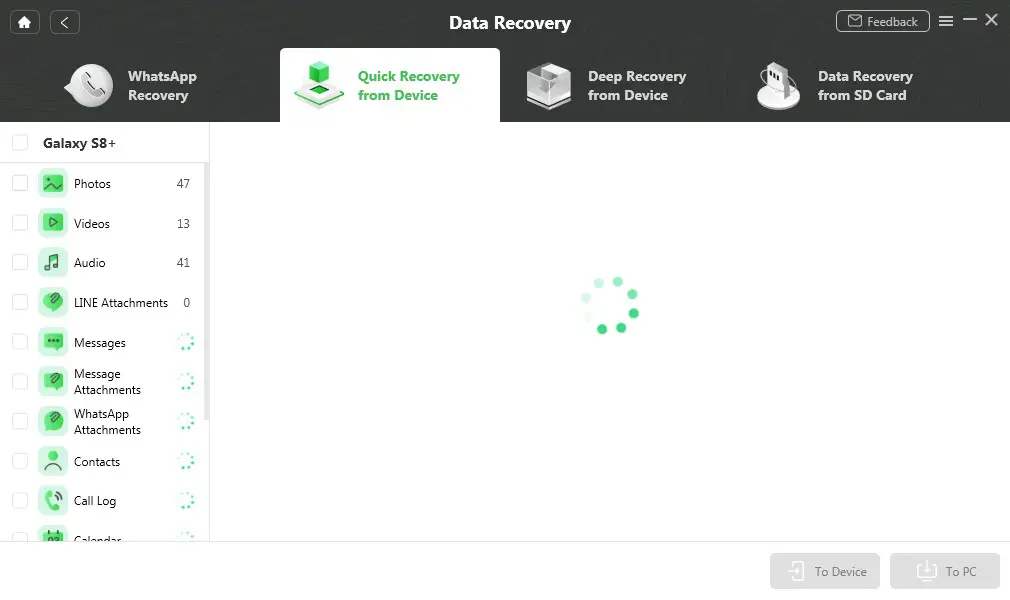
- DroidKit will now scan your phone for the data types that you had previously selected. How long this will take will depend on how much data is/was on your phone
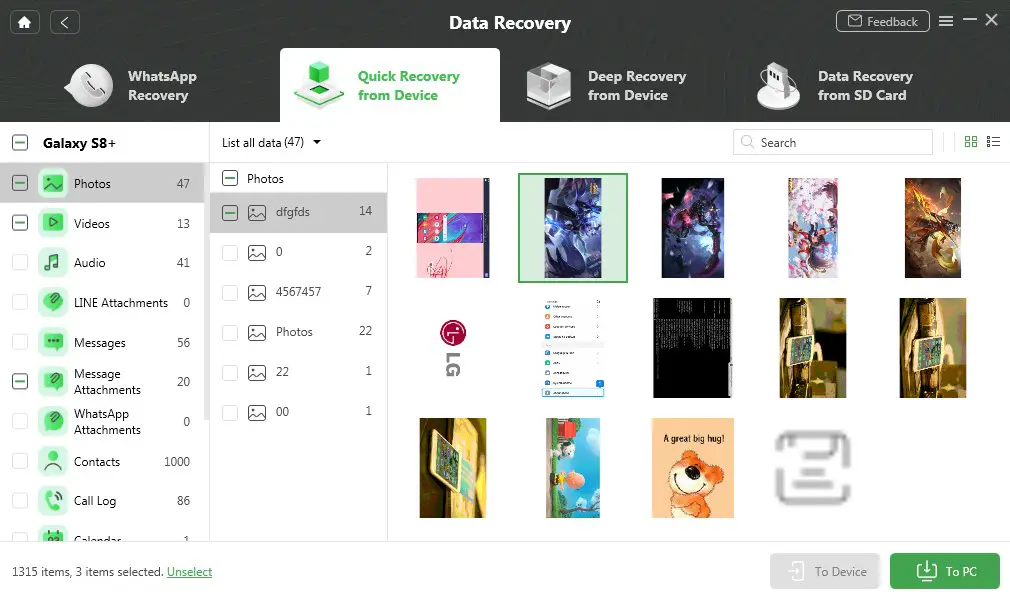
- Once the scan is complete, you should now see previews of the files
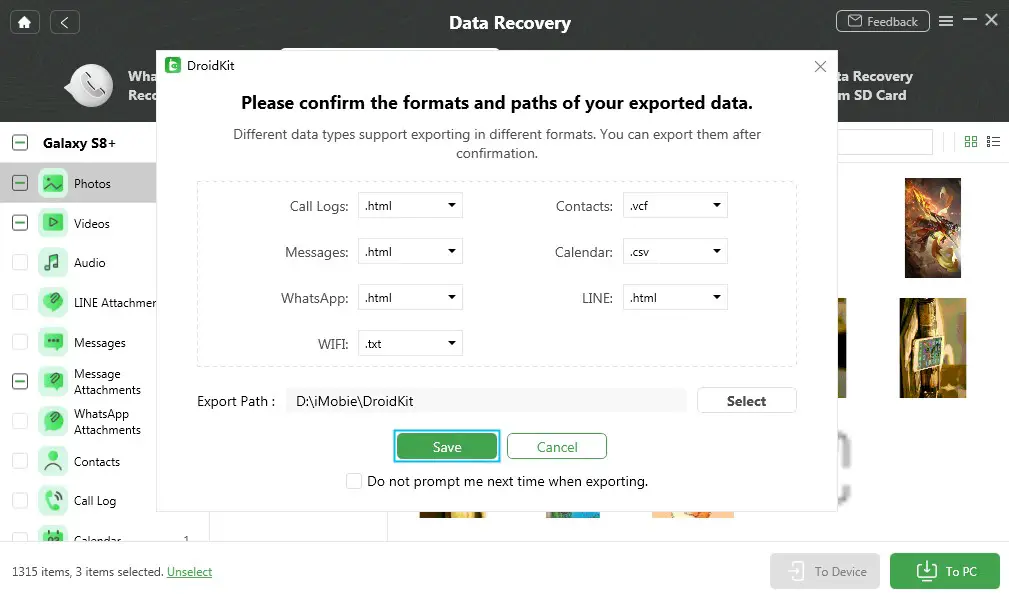
- You will now have the option of either restoring the recovered files “To Device” or “To PC”, whichever you prefer. If you choose “To PC”, you can make additional settings and click “Save” when you’re ready to start the restoration process
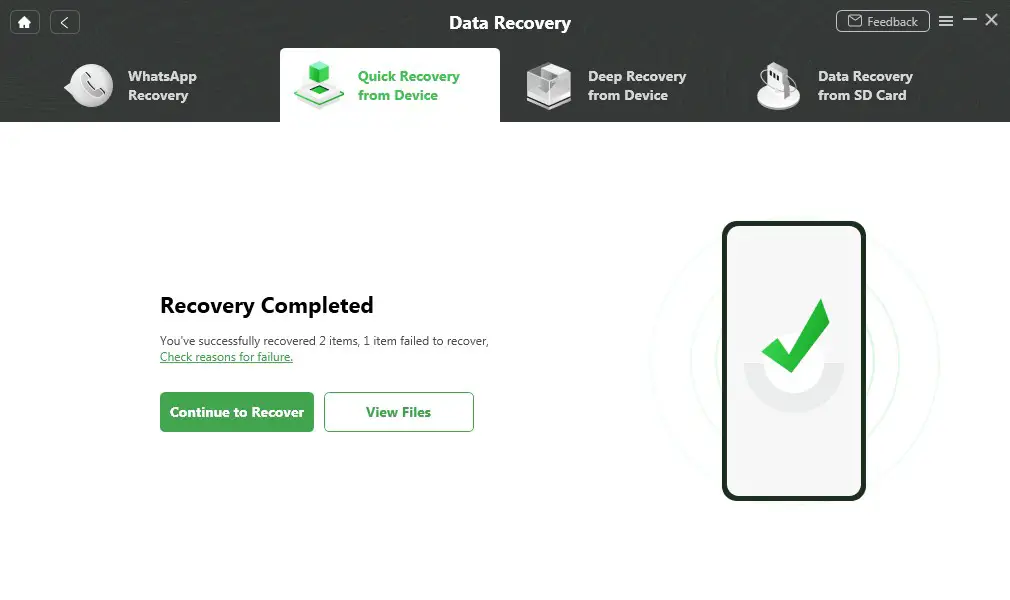
- Once the restoration process is complete, you should now see a “Recovery Completed” screen and you’re all set
One of the upsides of using third-party tools like iMobie’s DroidKit is that it gives users more flexibility in choosing what kind of files they want to recover. Some of DroidKit’s features include being able to preview files like photos so you can choose which photos you want to recover and which you don’t, all without needing to root your phone.
It can also scan and retrieve deleted photos so if you’ve accidentally deleted a photo you didn’t mean to, DroidKit can recover it. It can also work with messages, audio files, call logs, books, videos, and it even works with messenger apps like WhatsApp and LINE. All of this can be done using a simple-to-understand and navigate UI, so even if you’re not that tech savvy, you should be able to recover lost data on your phone without any issues.


Comments