

If it wasn’t obvious by this point, Google likes to have its hands in a lot of different pots, trying out new things and attempting to bring new features to more and more users. An example of this is Google One, which made its debut back in 2018, and is essentially a storage subscription plan similar to what you would find with Dropbox. However, the confusing part at the time was that you could already sign up and pay for more storage through Google Drive, so it appeared to be a bit redundant.
Instead of limiting the added storage to your Drive account only, Google One expands the storage limitations across all of your Google services. This includes Photos, Gmail, and anything else that Google might introduce in the future.
There are several different storage tiers available with Google One, ranging from 100GB and going all the way up to 30TB. With each tier, there are different “benefits” that subscribers can gain access to. Here are some of the benefits that you’ll find:
- 100GB @ $1.99 per month / $19.99 per year
- Access to Google experts
- Option to add your family
- Extra member benefits
- 200GB @ $2.99 per month / $29.99 per year
- Everything included with 100GB
- 3% back in the Google Store
- 2TB @ $9.99 per month / $99.99 per year
- Everything included with 100GB
- 10% back in the Google Store
- VPN for Android phone
Once you reach the 2TB storage tier, there aren’t any additional member benefits to be had. Instead, you are simply adding more storage to your device. But the feature we’re going to be looking at today is the “VPN for Android phone”, and how you can use Google One VPN.
What is a VPN?
![]()
To know what a VPN is, we need to know the basics of how the internet works. When you visit a website, the connection is essentially between you and the website. This means that the website, based on your IP address, knows where you’re from and in some cases, might even be able to ping your exact location.
By using a VPN, your data is routed through the VPN’s servers which are then sent to the website, meaning that the website thinks that the originating data is from the VPN and not you, ultimately protecting your identity and location. If you’re wondering why you should use a VPN, here are the top 5 reasons why you should consider it.
How to use Google One VPN?
As we mentioned previously, in order for you to be able to use the Google One VPN, you’ll first need to be subscribed to at least the 2TB storage tier. This provides 10% back in the Google Store, along with extra member benefits and the “VPN for Android phone.” After you’ve signed up for the 2TB tier, here’s how you can enable and use Google One VPN:
- Open the Google One app.
- Tap the Benefits button in the bottom toolbar.
- Scroll down until you see Online protection with a VPN.
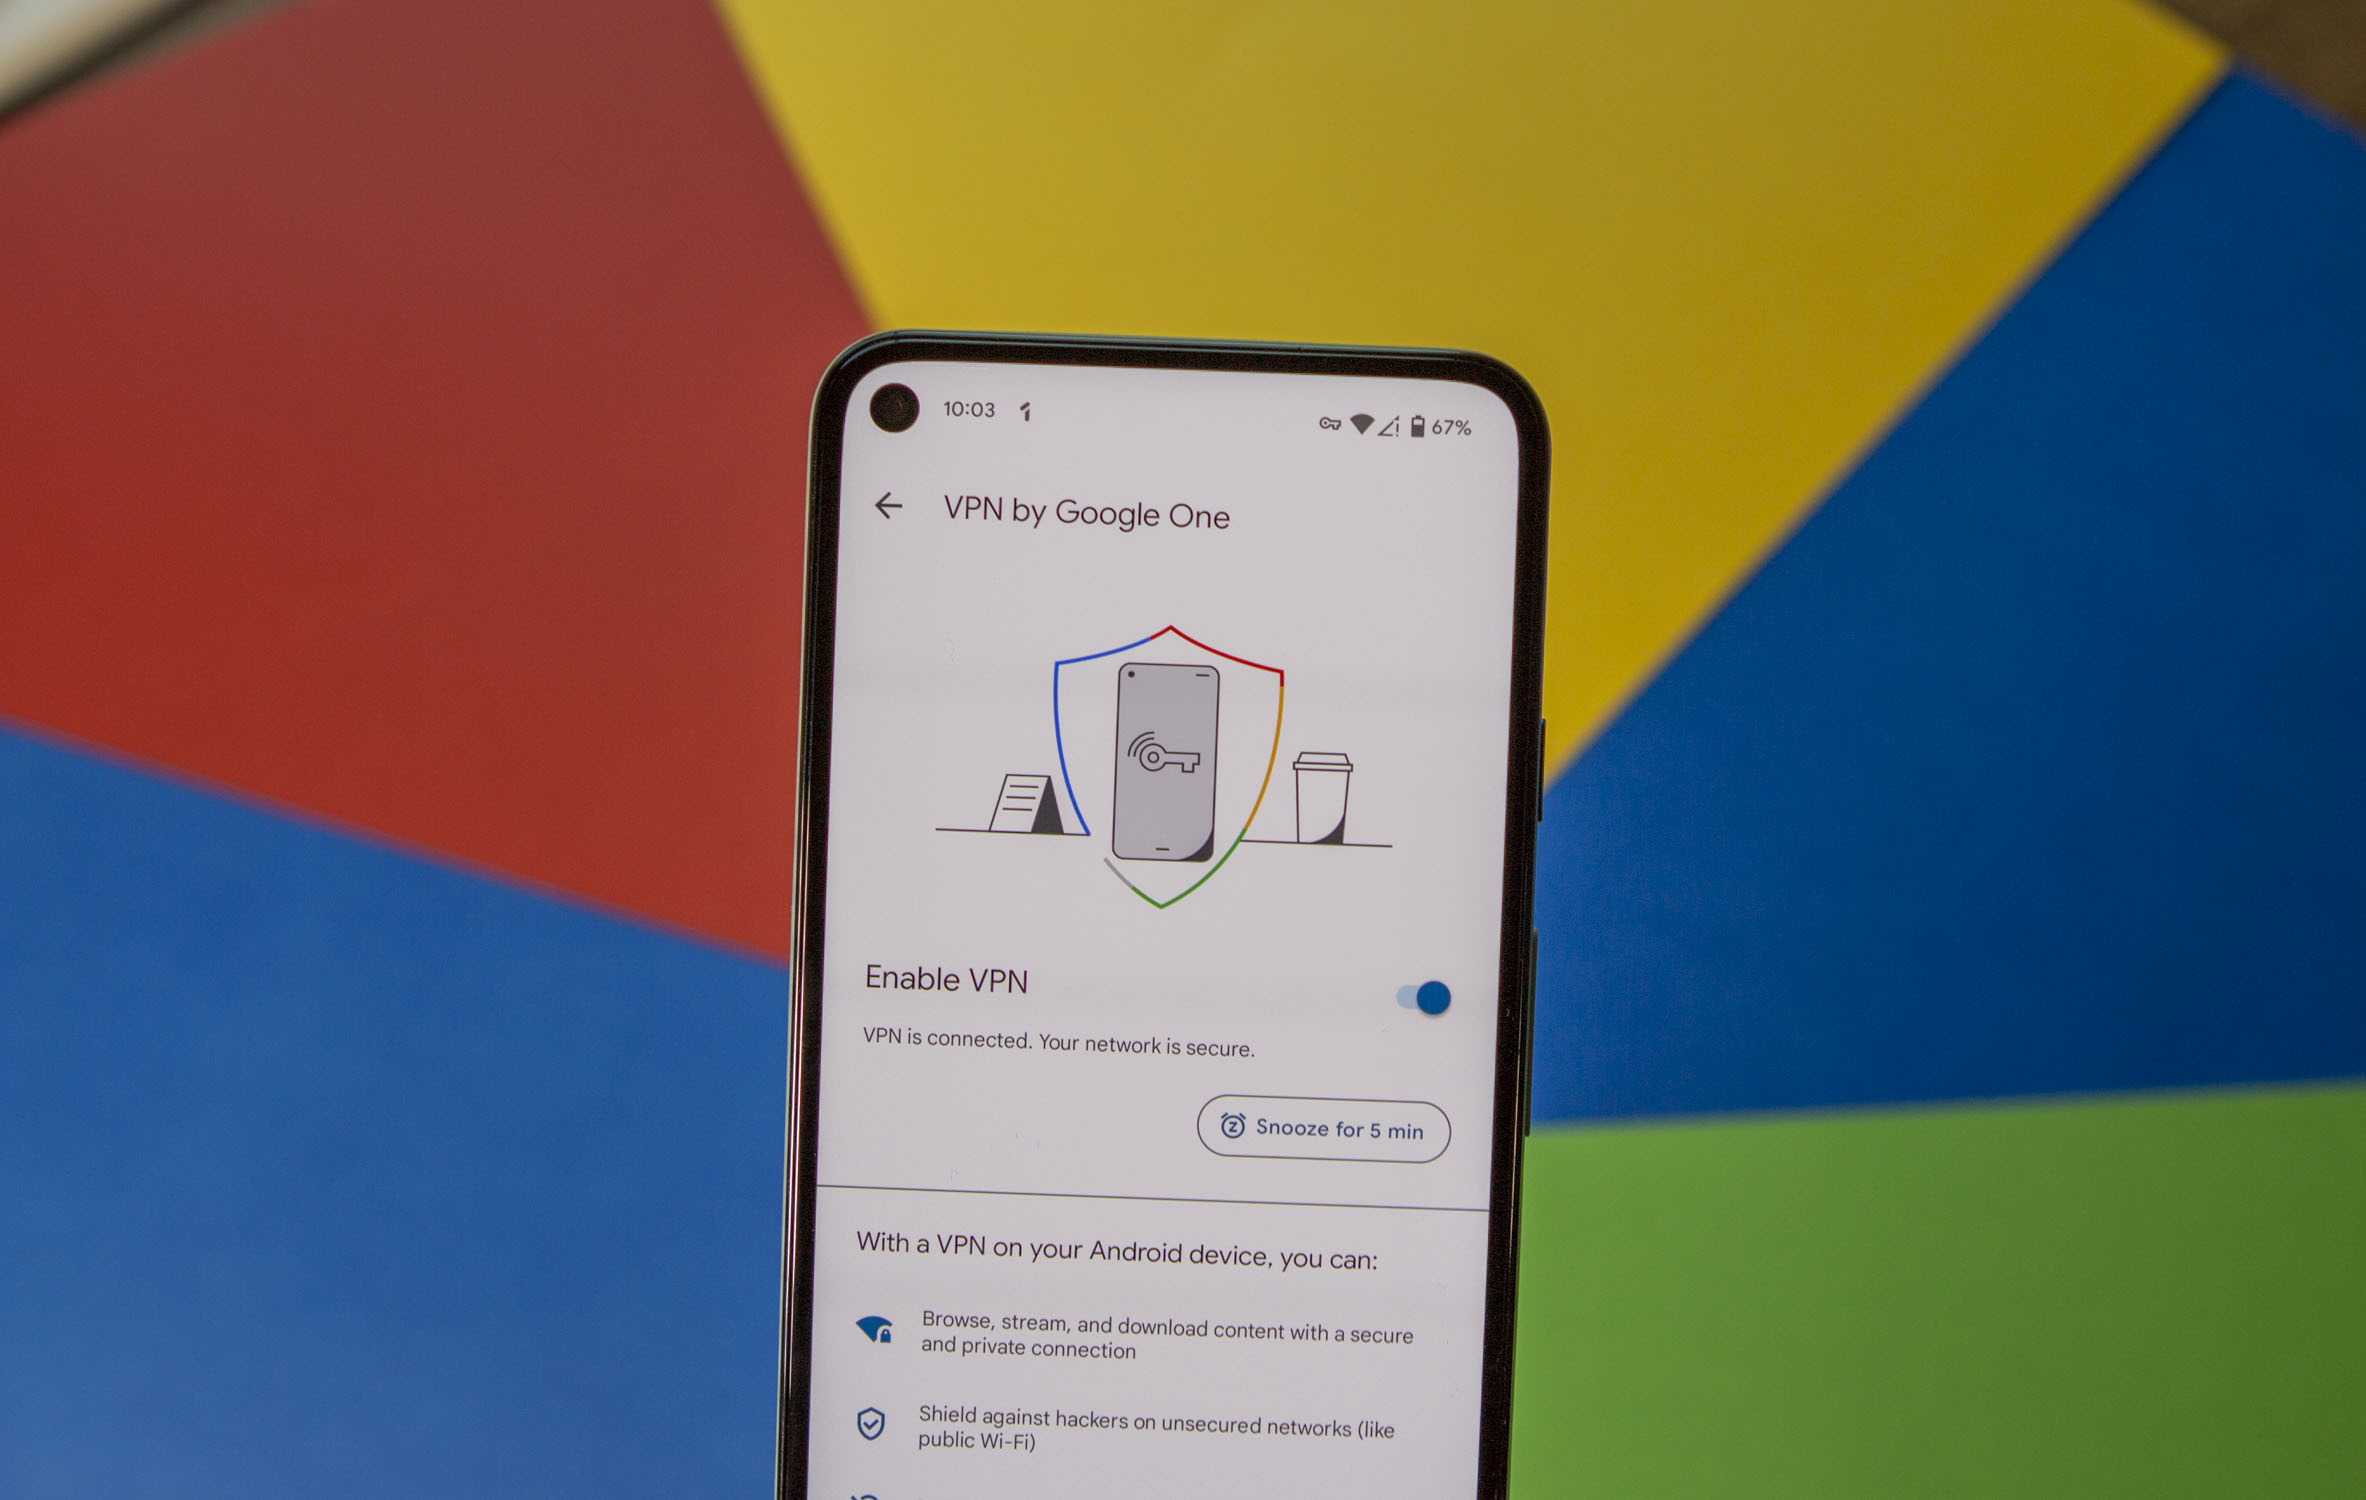
- Tap the toggle next to Enable VPN.
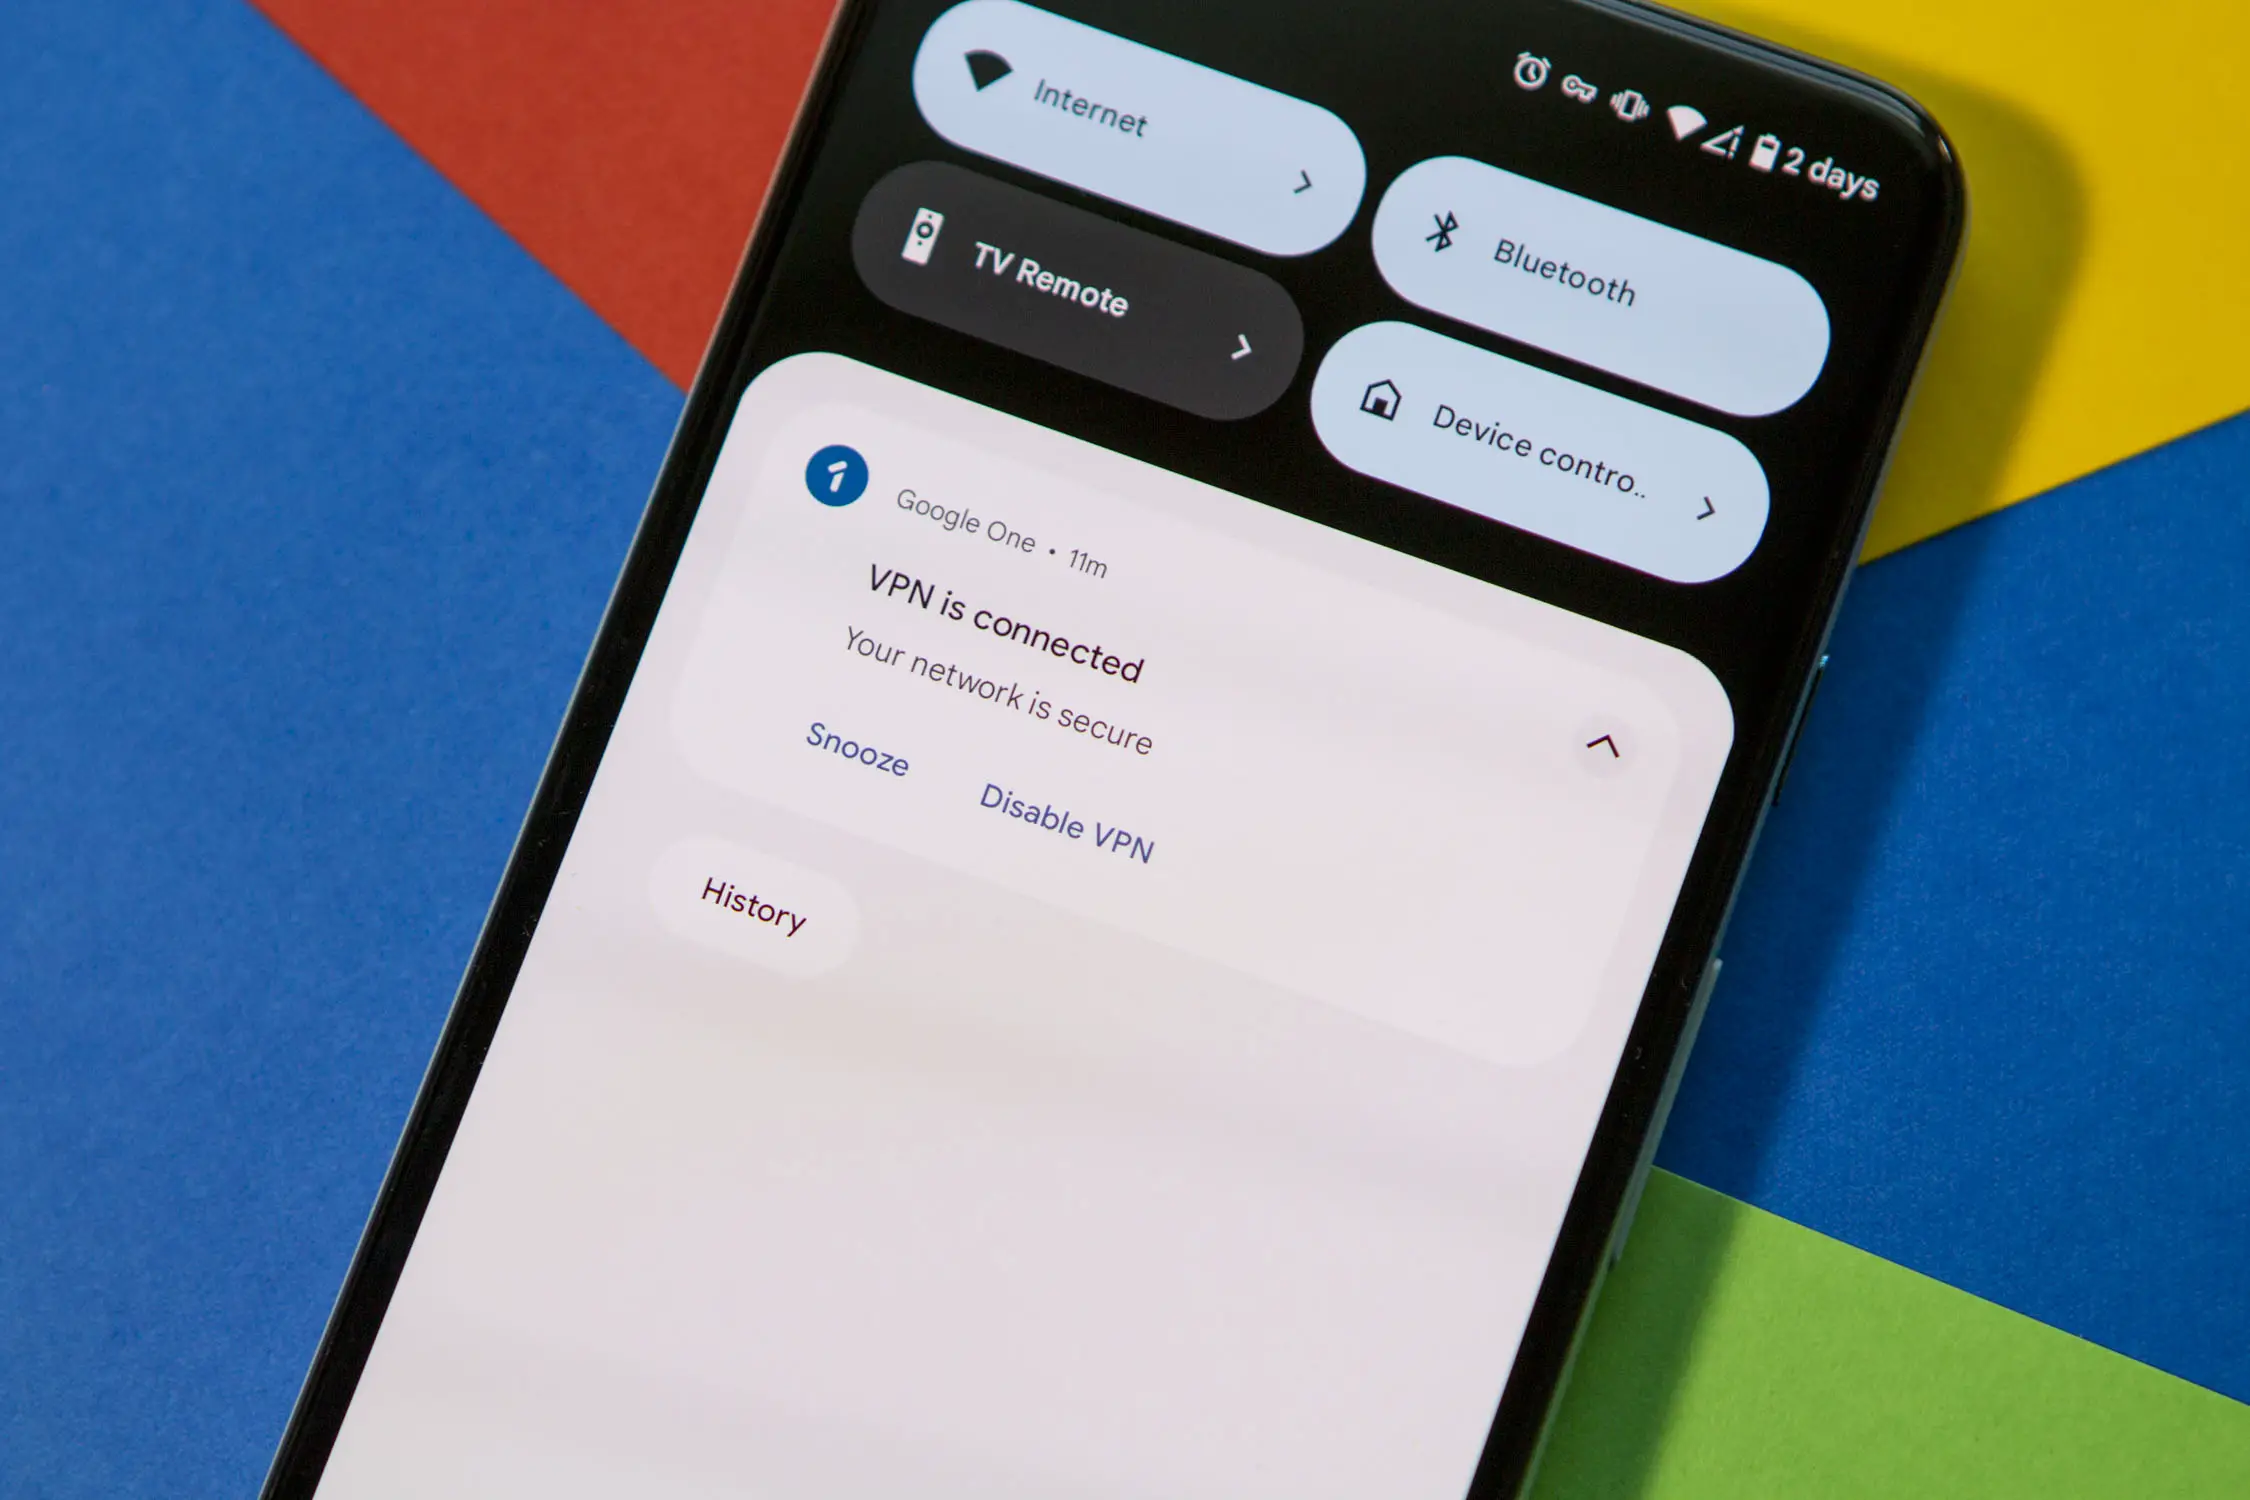
- Once connected, a notification will appear confirming that the VPN is enabled.
Additionally, after the VPN is turned on, the “Enable VPN” section changes, providing you with the following: “VPN is connected. Your network is secure.” Plus, a new Snooze button appears under the toggle that you just enabled.
Quickly access your VPN settings
It can break really frustrating to have to jump into an app and swipe around just to change one setting. Because there isn’t a dedicated Google VPN app, the only “quick” way to access your VPN settings is to add it to the Quick Settings panel.
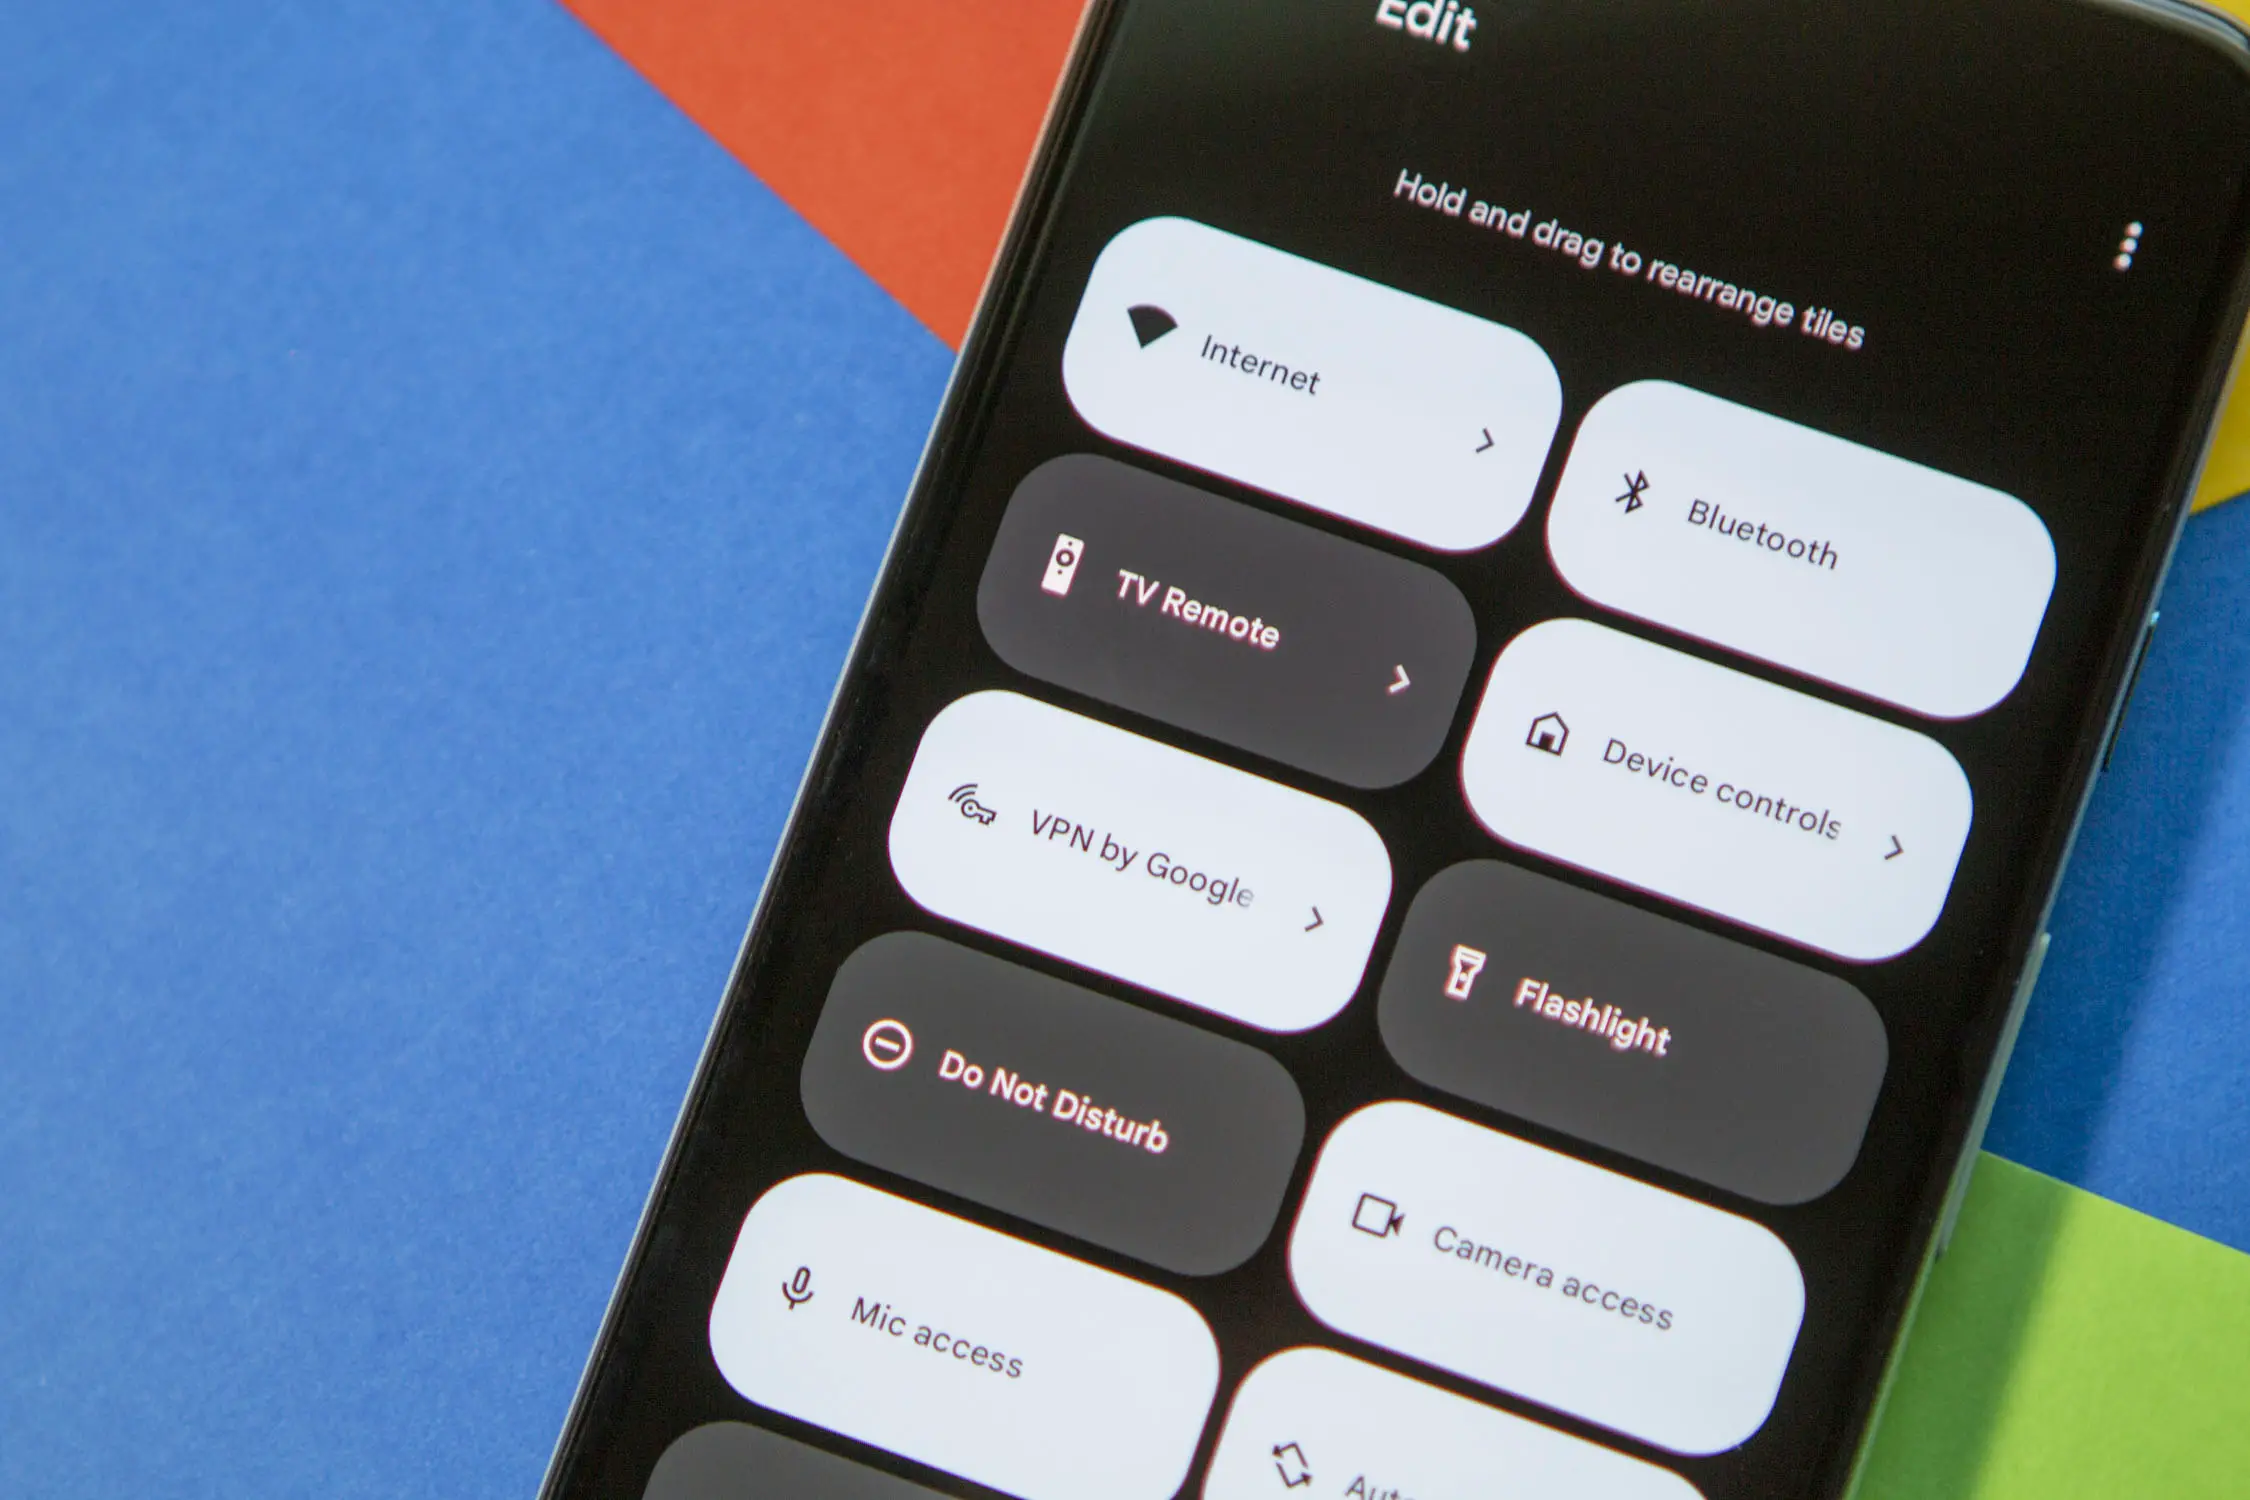
- Swipe down twice from the top of the screen to reveal the full Quick Settings panel.
- Tap the Pencil icon.
- Scroll until you find the VPN by Google One toggle.
- Touch and hold the toggle.
- Drag the toggle towards the top and place it where you want.
- Let go of the toggle.
Now, you’ll be able to quickly turn the VPN on or off without needing to jump into the Google One app.
Only use the internet with the VPN enabled
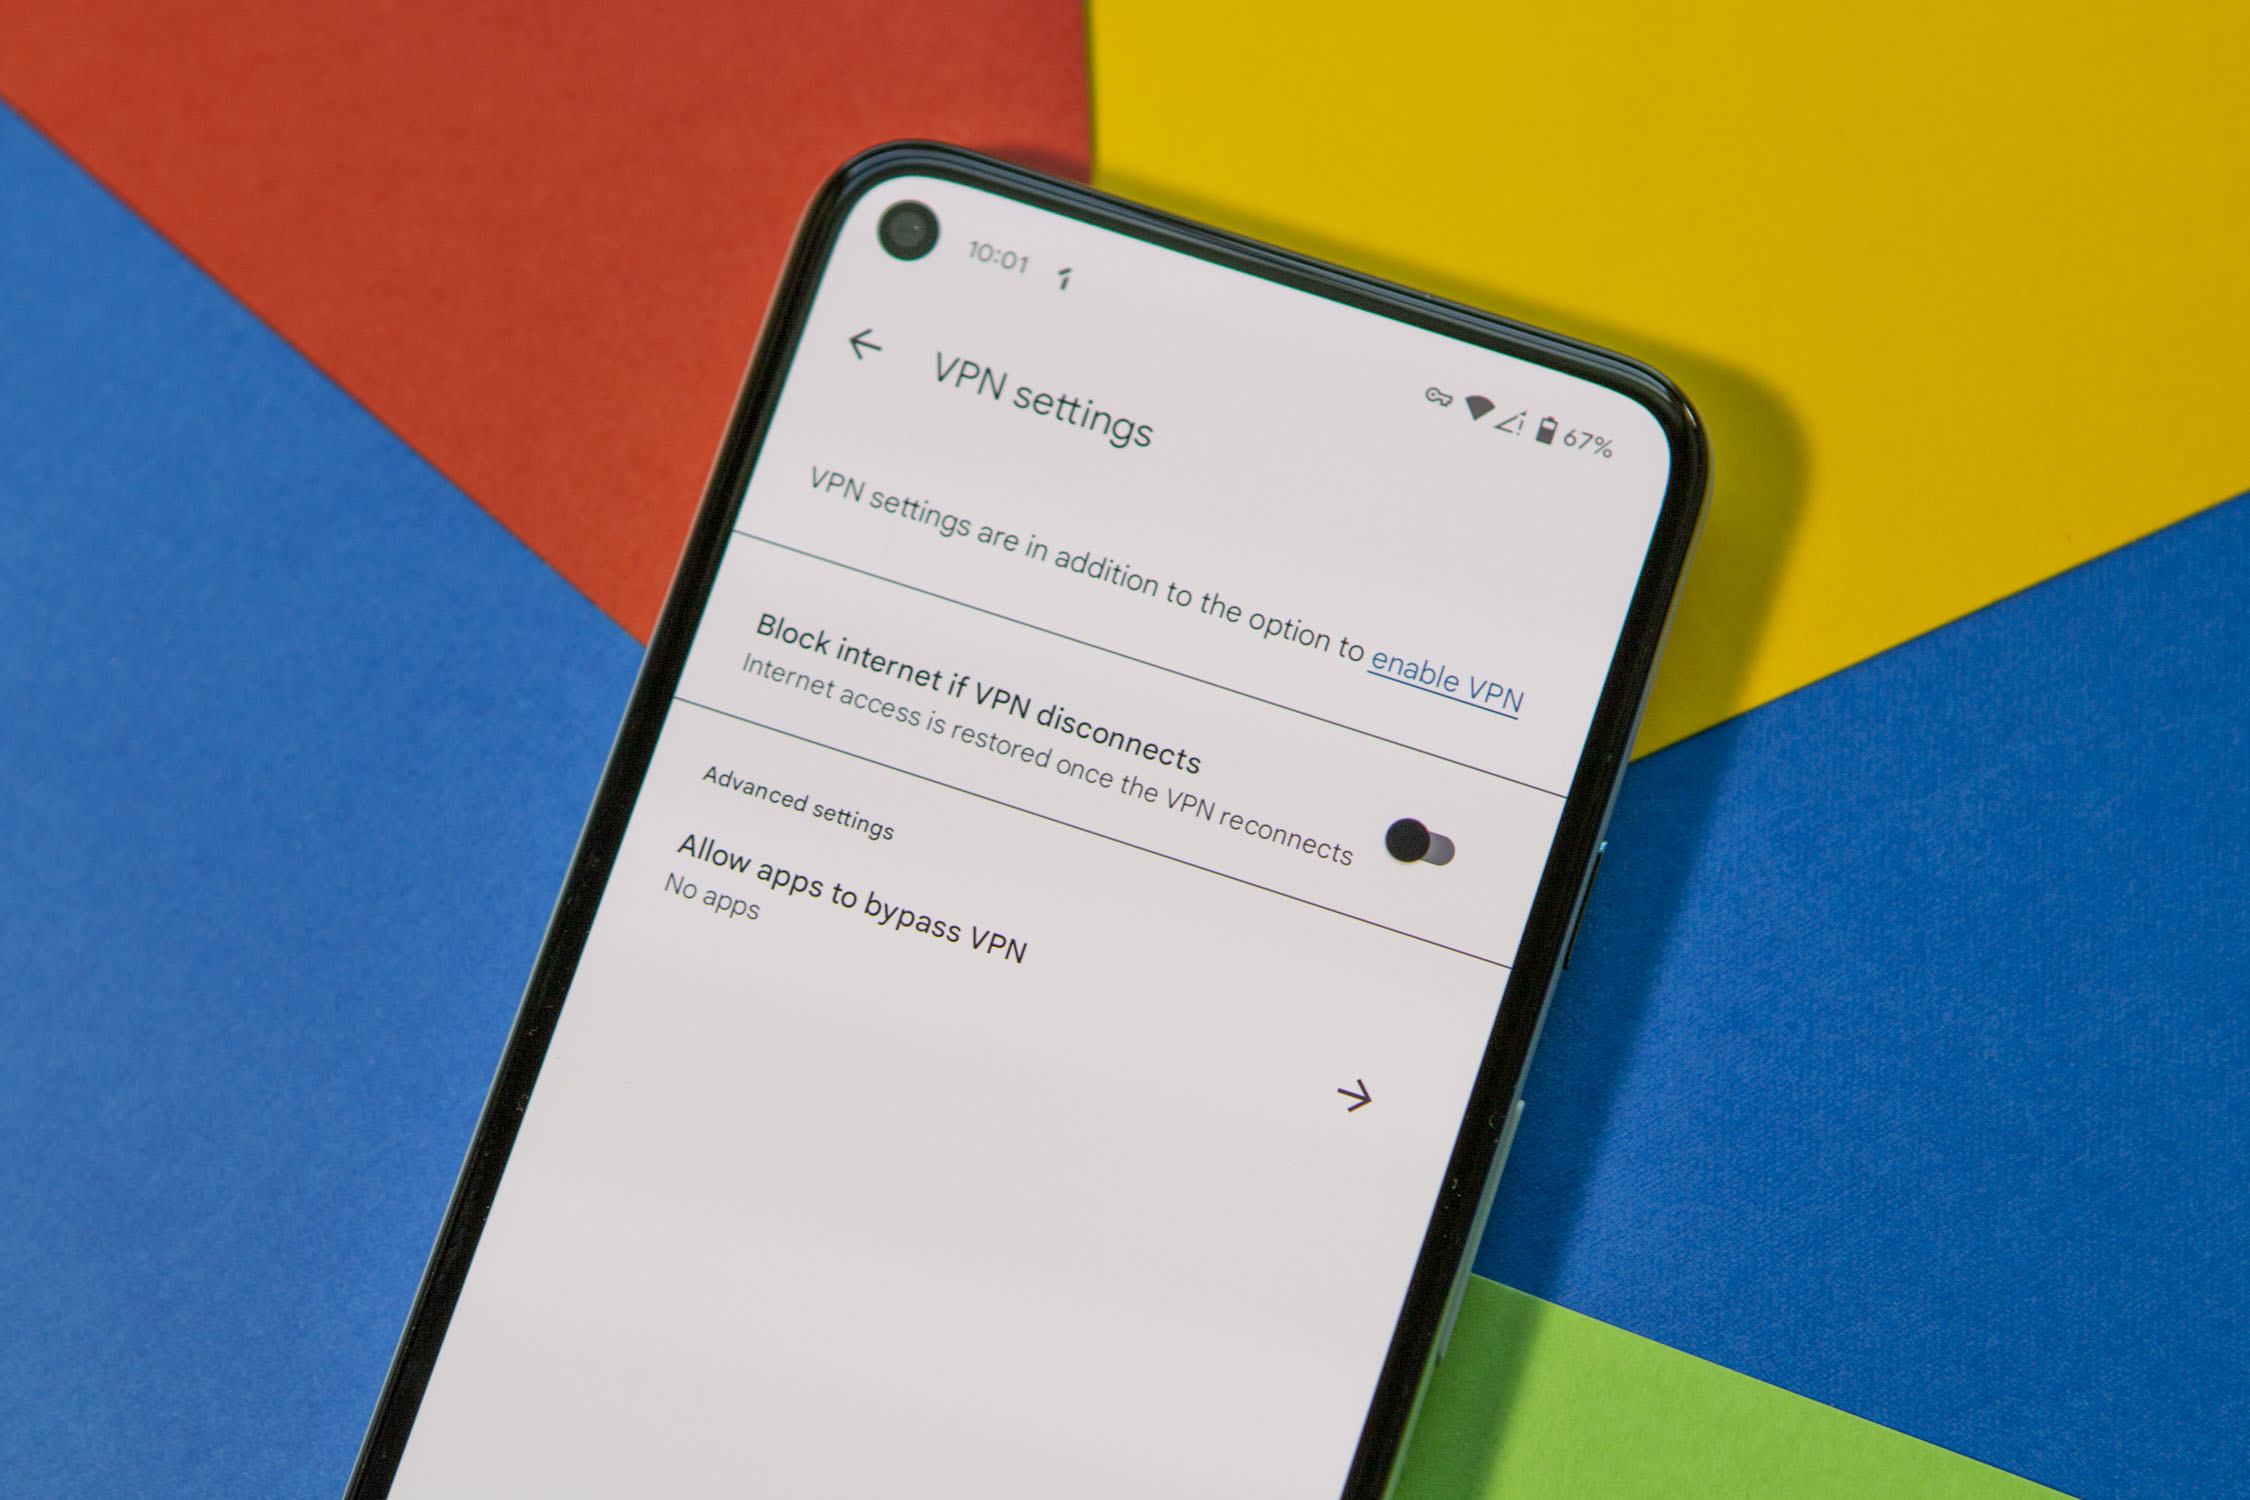
This one might not be for everyone, but if you have children that like to use your phone, you can set Google VPN up to only access the internet if the VPN is enabled. This helps to keep your connection more secure, as you simply won’t be able to connect to the internet if the VPN is turned off.
- Open the Google One app.
- In the bottom toolbar, tap Benefits.
- Scroll down until you see Online protection with a VPN.
- Tap View settings.
- Tap the toggle next to Block internet if VPN disconnects.
Turn off Google One VPN
Whether you find yourself not needing the VPN, or just wanting to turn it off for awhile, this is possible too.
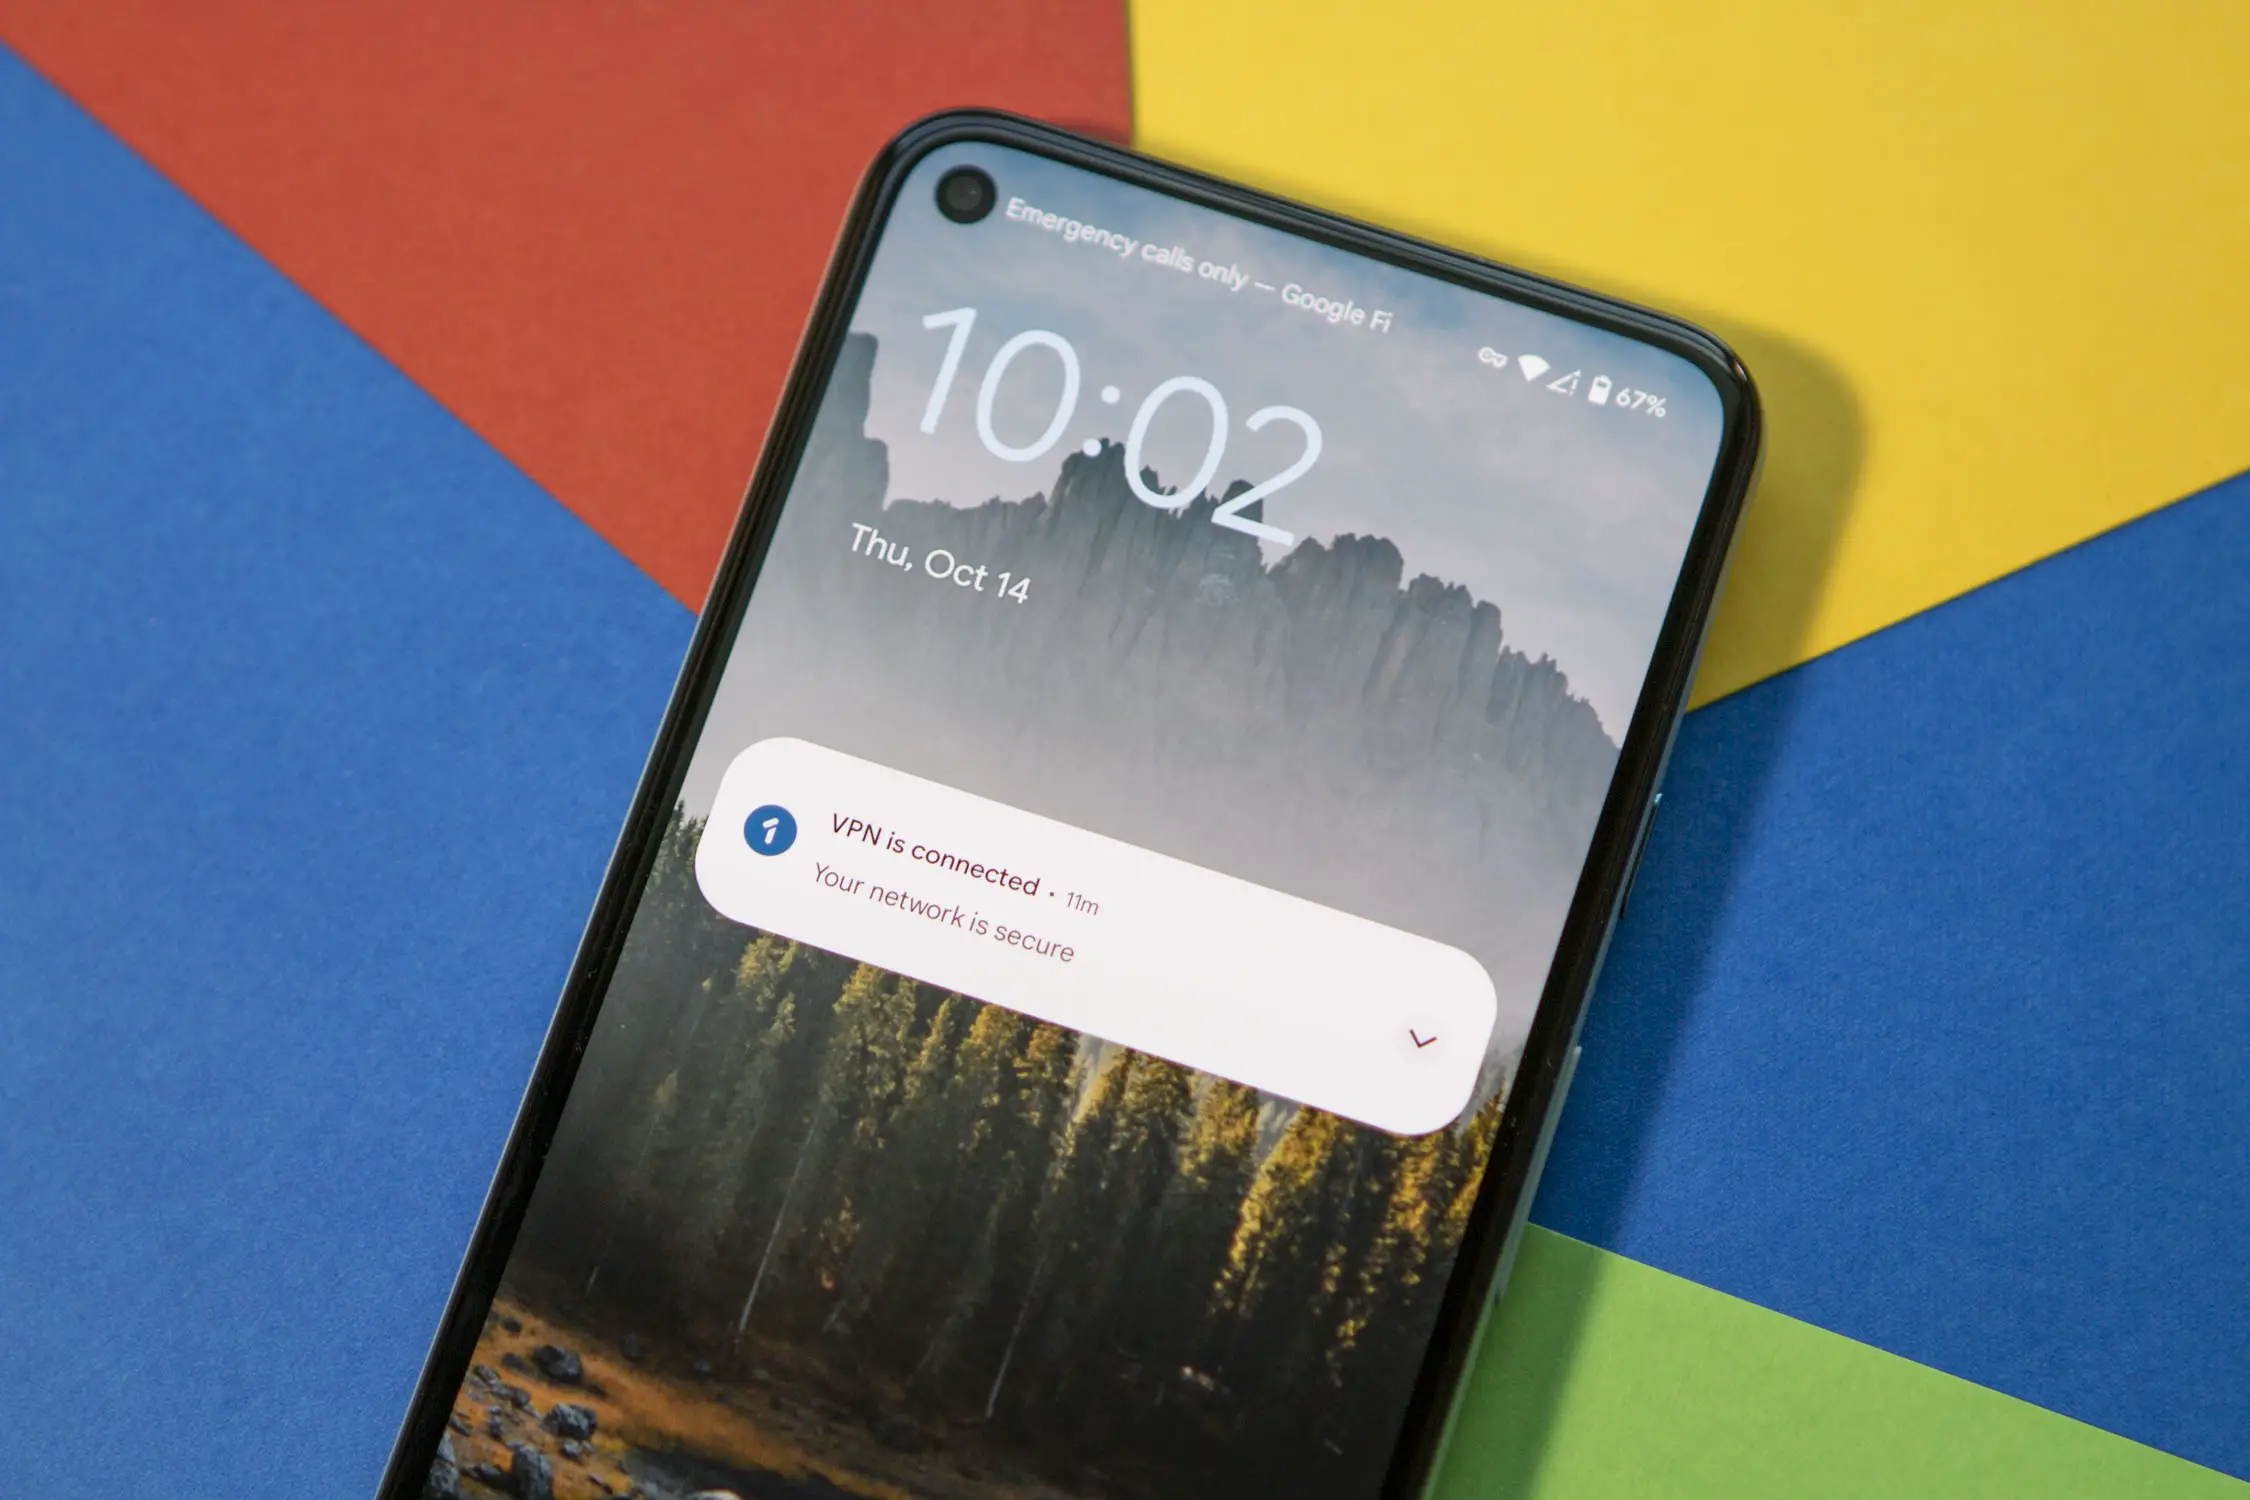
- From the Lock Screen, locate the VPN notification (uses the Google One icon).
- Swipe down on the notification.
- Tap Disable VPN.
Snooze VPN
If you want to temporarily turn off Google VPN but want it to come back on automatically, you can “snooze” it.
- From the Lock Screen, locate the VPN notification (uses the Google One icon).
- Swipe down on the notification.
- Tap Snooze.
By default, the VPN will snooze for five minutes before automatically reconnecting. If you want to add more time to the current session, follow these steps:
- Open the Google One app.
- In the bottom toolbar, tap Benefits.
- Scroll down until you see Online protection with a VPN.
- Under the Enable VPN section, tap the Add 5 min button.
- Continue adding time in five minute intervals by continuously tapping the button.
This is a great way to quickly snooze the VPN without actually turning it off completely. However, if you find yourself adding a bunch of time to the Snooze session, you might just want to turn it off and then turn it back on when you’re ready.
Ignore the VPN
Over the course of using your VPN, you might come across some apps or games that simply won’t work properly. This has happened to us a few times in different games, but it’s not something that you should come across on a regular basis. However, if there is an app that you can’t be without and won’t work when a VPN is enabled, you can manually select apps to bypass and ignore the VPN.
- Open the Google One app.
- In the bottom toolbar, tap Benefits.
- Scroll down until you see Online protection with a VPN.
- Tap View settings.
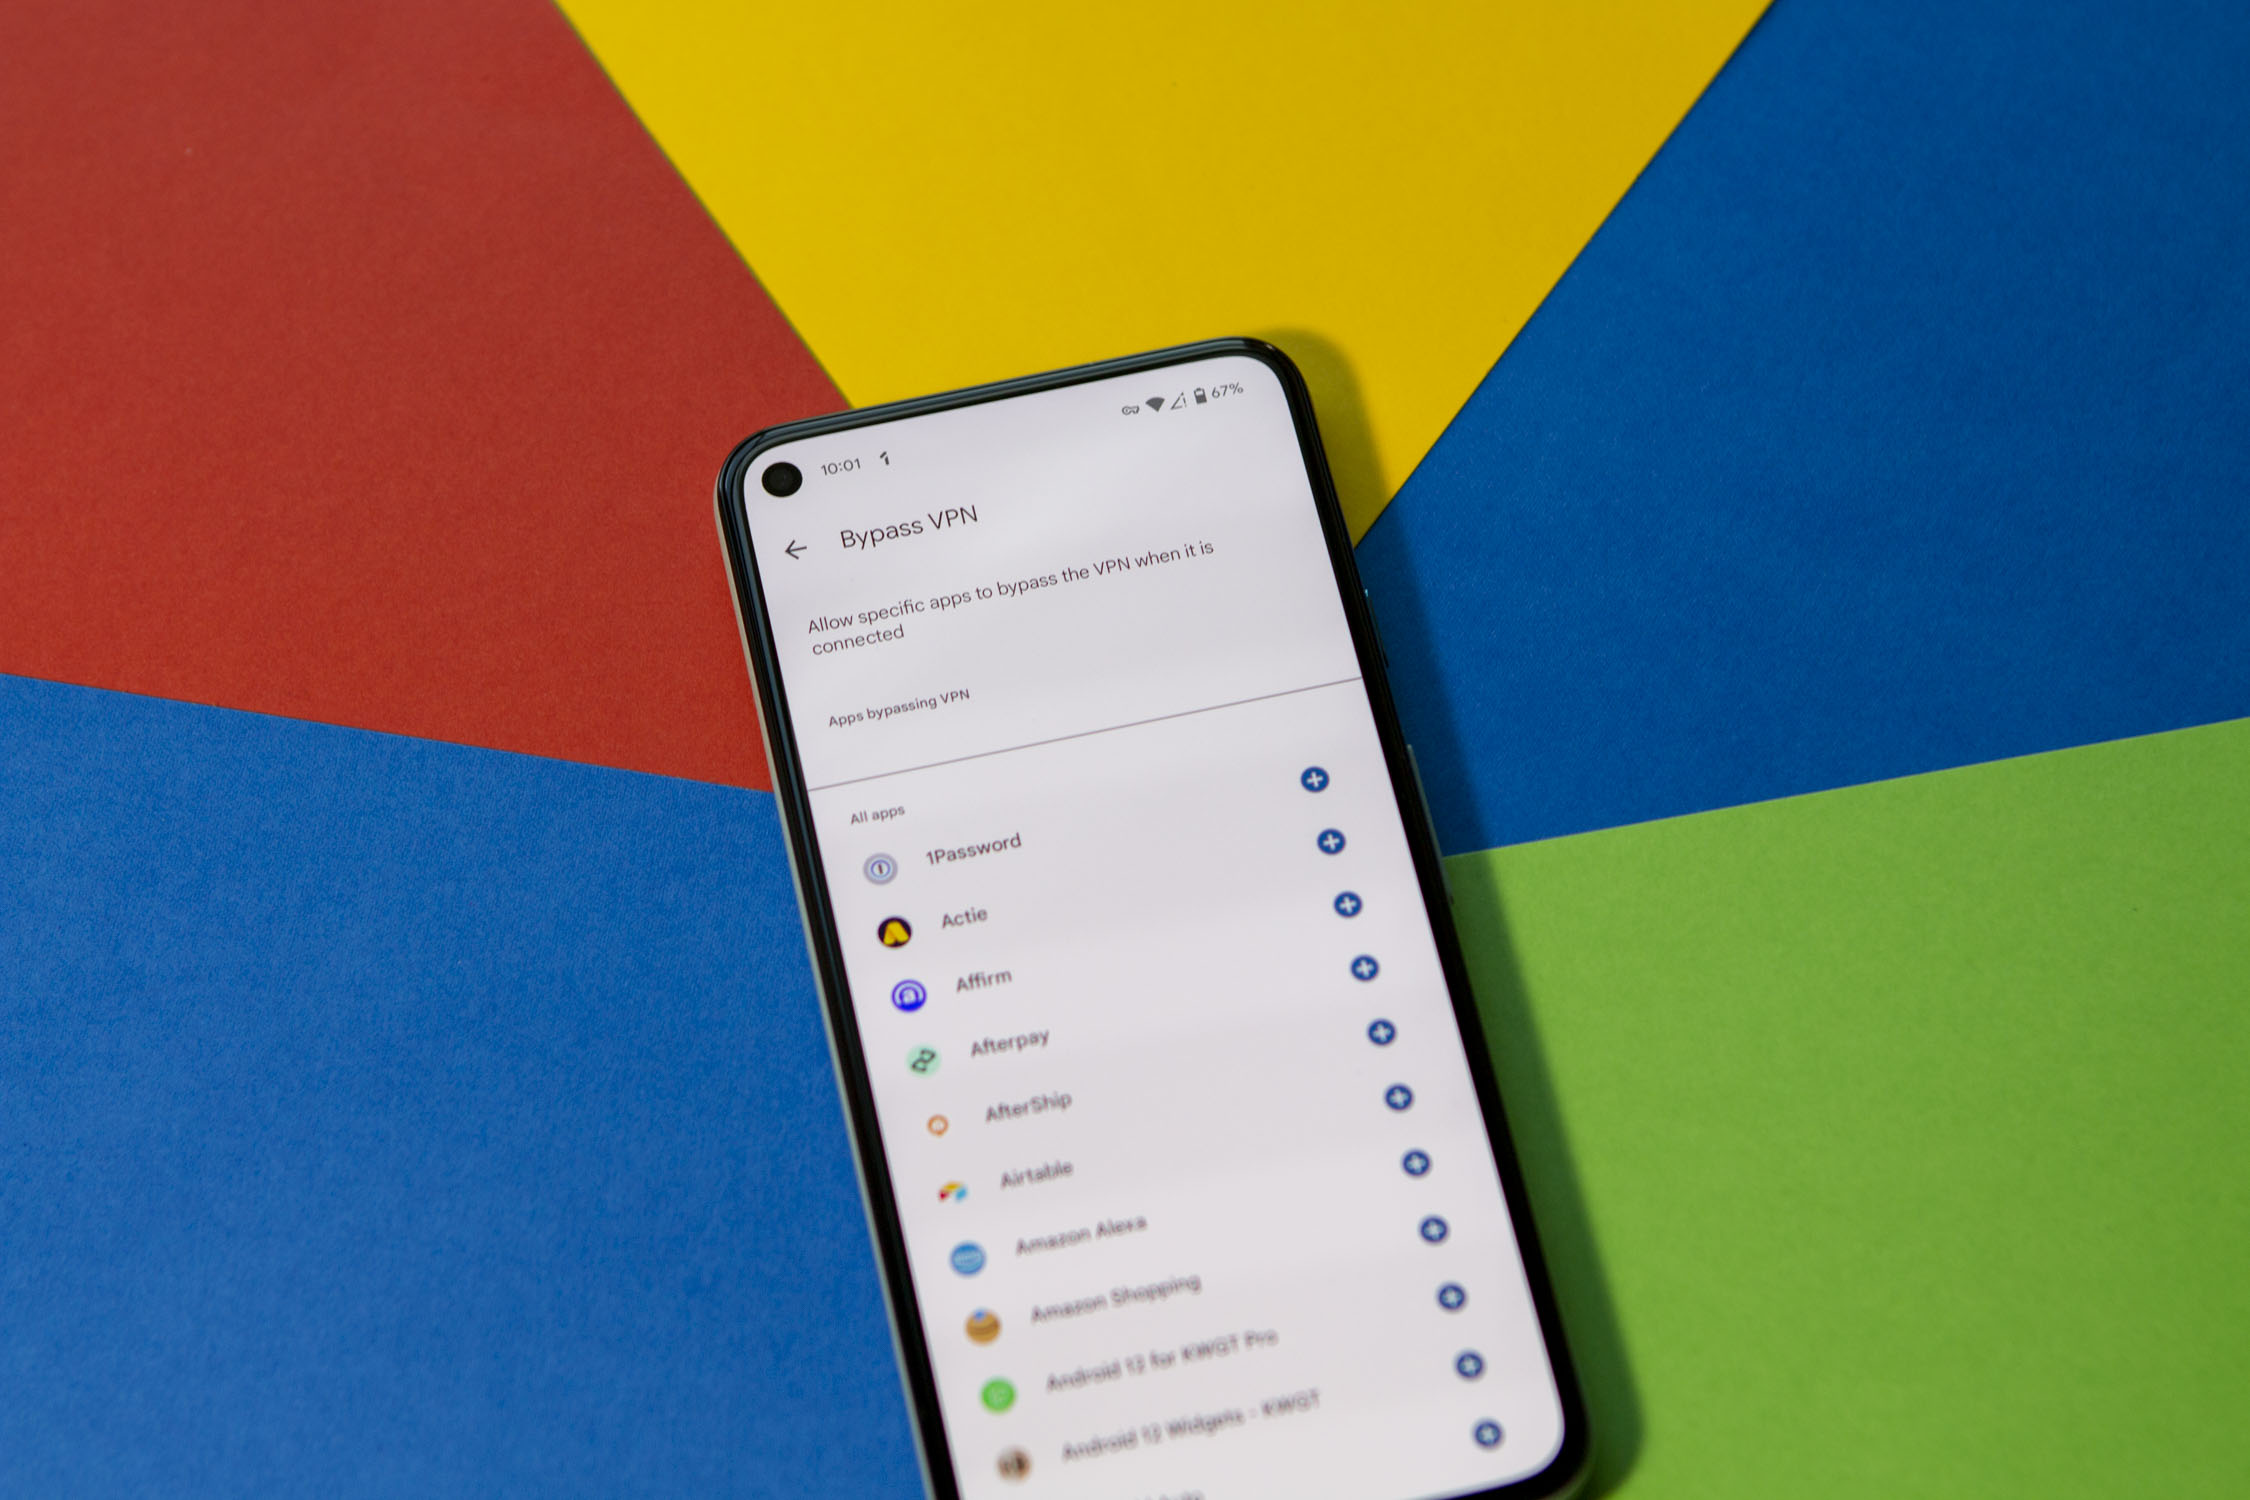
- Select Allow apps to bypass VPN.
- Go through the list of apps, and tap the + icon next to the apps you want to allow.
In the future, if you want to remove an app from this “white list” of sorts, then you can just follow the same steps above. When you reach the point of selecting apps, any apps that are allowed to bypass the VPN are listed at the top. Just find the app in question, and tap the – button to remove it.


Comments