
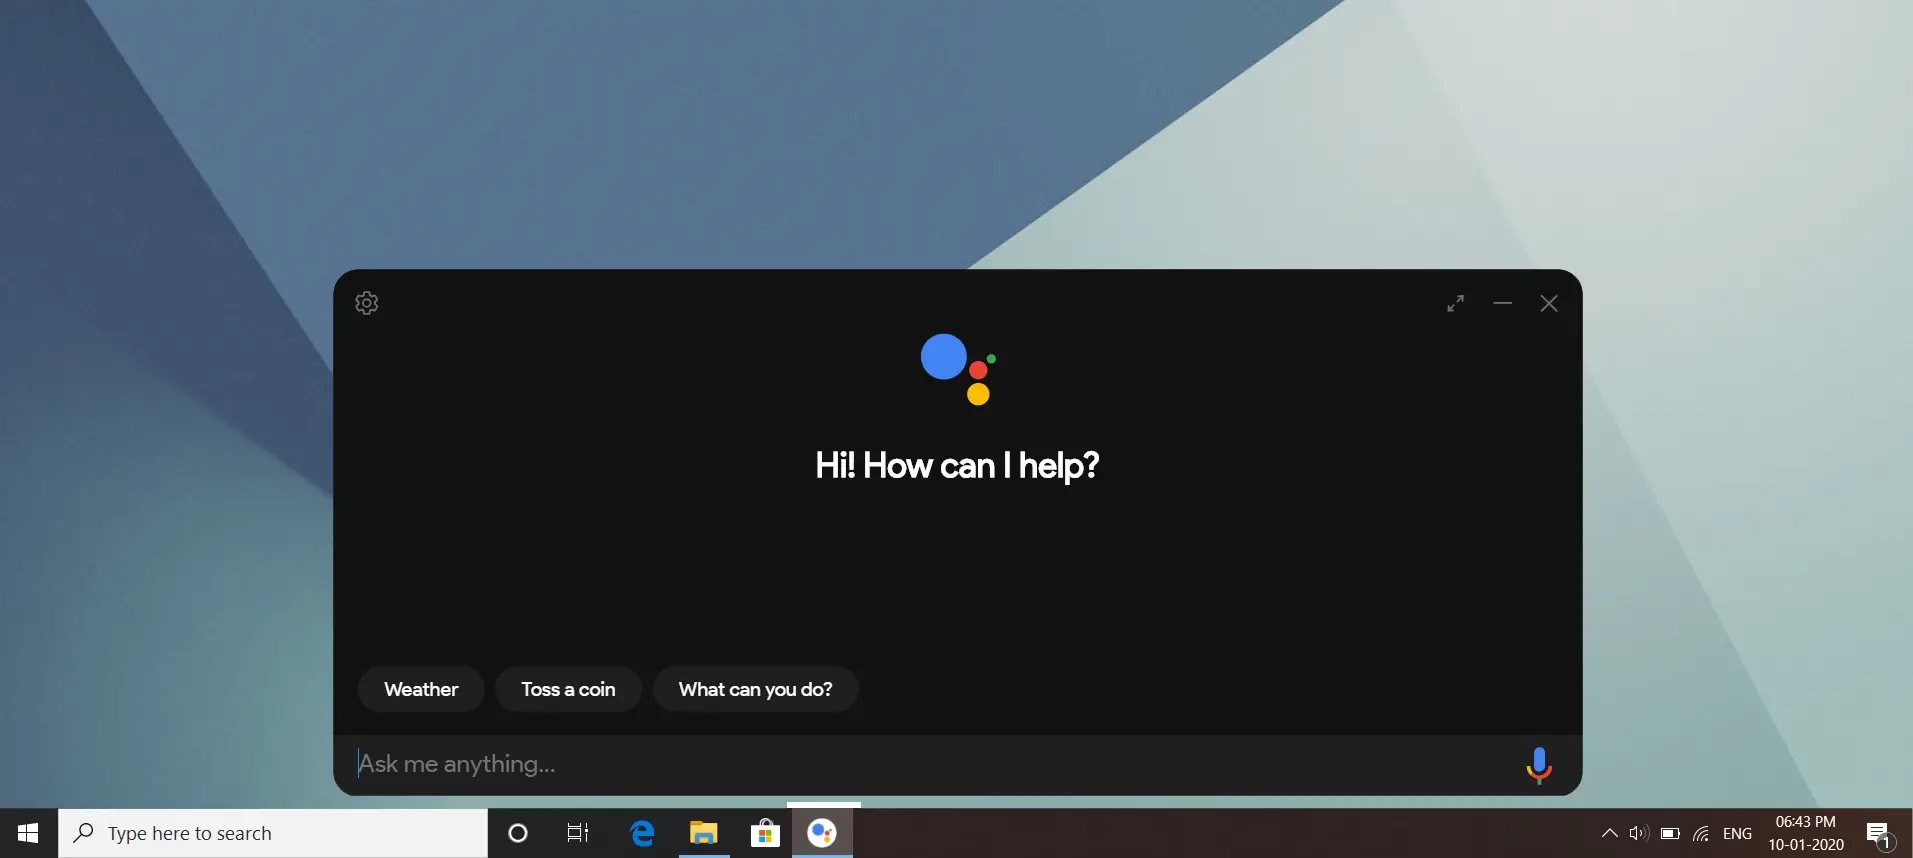
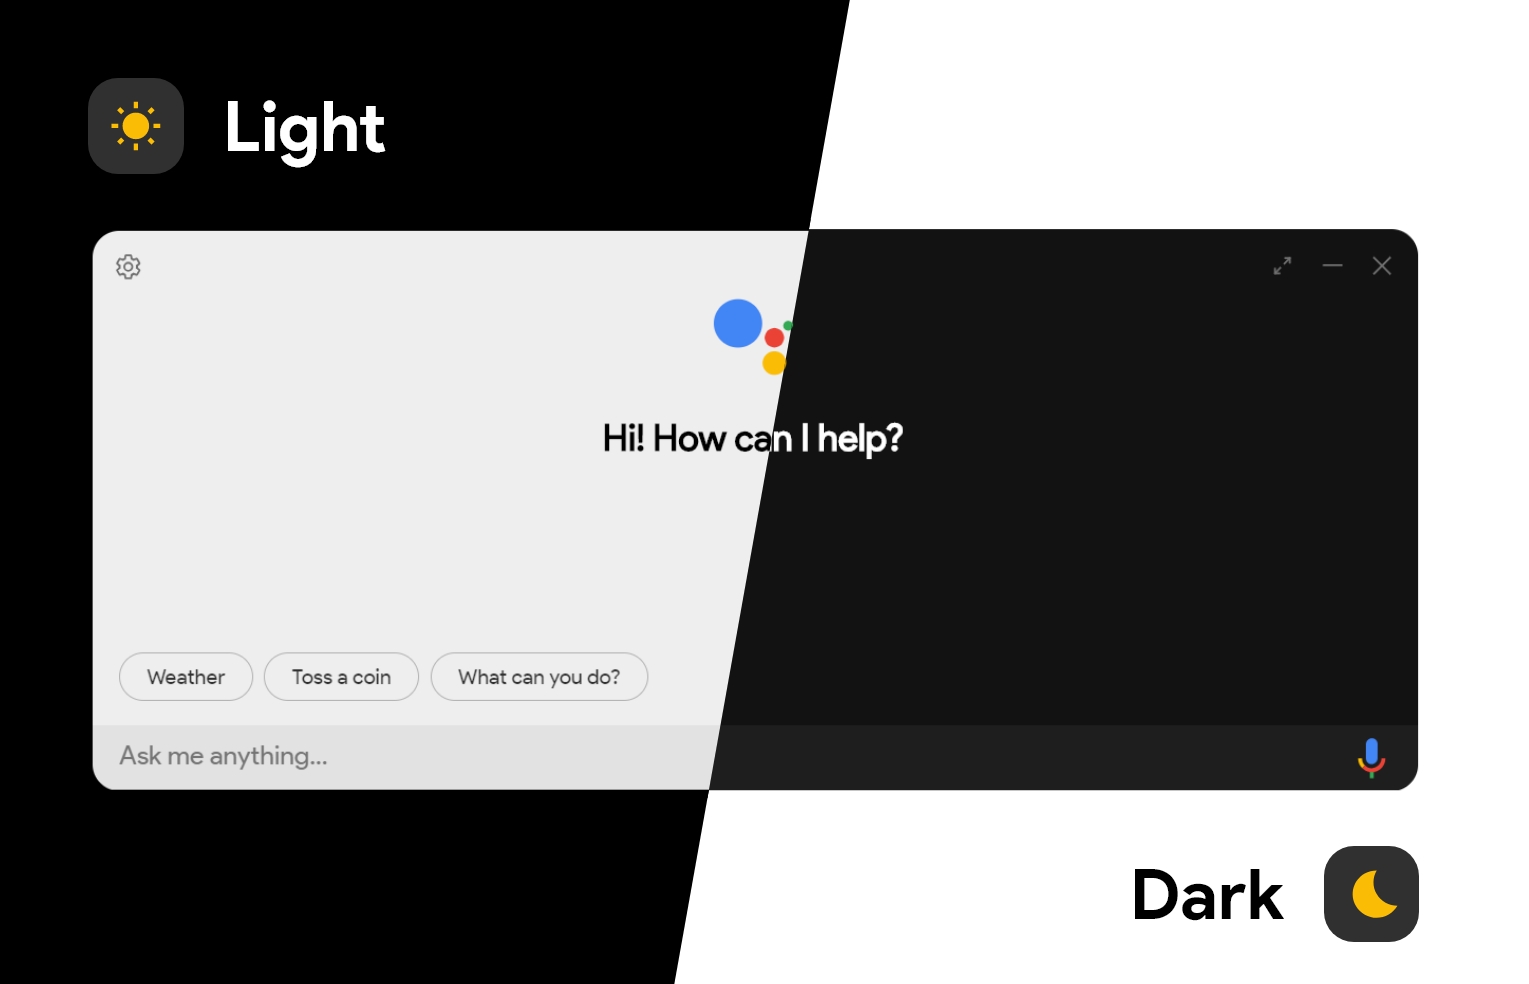
If you own a Chrome OS computer, then you have access to Google Assistant like you would on an Android smartphone or tablet. It’s a pretty useful feature to have but unfortunately, it isn’t available on non-Chrome OS devices. Sure, Apple’s macOS computers have Siri and Microsoft’s Windows PCs have Cortana, but let’s face it, it’s not the same.
The good news is that thanks to the efforts of developer Melvin L. Abraham, he has managed to create a desktop client that will let you unofficially install Google Assistant on your computer. So if you’re keen on installing Google Assistant on your computer, here’s what you need to do.
Do note that the steps involved are very long. They’re not particularly complicated but there are many steps involved, so make sure you have some time to spare before proceeding.
- Download the client from Abraham’s GitHub page
- Sign up for a Google Cloud account (you can choose to sign up as a free trial)
Registering your device
- Go to the Actions Console
- Click on “New Project”
- Enter any name you want and click “Create Project”
- Scroll down and look for “Are you looking for device registration?” and click the “Click here” link next to it
- Once the project has been created, you should be taken to the Device Registration page. Click “Register Model”
- Fill in the details and under Device type, select any and click “Register Model” when you’re done
- You will now be asked to download the credentials, so click “Download OAuth 2.0 credentials”
Configure the consent screen
- Go to Cloud Console
- At the top left corner next to the Google Cloud Platform logo, there should be a dropdown menu. Click on it and you should see a popup called “Select a project”
- Select the ALL tab and choose the name of the project you just created and then click OPEN
- From the hamburger menu on the side, select “APIs & Services” and click on “ENABLE APIS AND SERVICES”
- You should be taken to the API Library page. In the search bar, type “Google Assistant” and click on “Google Assistant API” when it pops up in the results
- Press the ENABLE button and wait for it to be enabled
- Click the hamburger menu and select “Credentials” and click “CONFIGURE CONSENT SCREEN”
- In the OAuth Consent Screen under User Type, make sure External is selected and then click on the CREATE button
- Under “App Registration” select your email for “User Support email”
- Scroll to the bottom of the page and under “Developer Contact Information”, enter your email address for “Email addresses” and click on the “SAVE AND CONTINUE” button
- Under “Scopes”, you can pretty much skip all of this and scroll to the bottom and click “SAVE AND CONTINUE”
- Under “Test users”, click the “+ADD USERS” button and enter the email address of the Gmail account you’ll be using to authenticate and click “SAVE”
Setting authentication
- Run and launch the Google Assistant Unofficial Desktop Client that you downloaded at the start of the guide
- Click on Settings at the top left corner
- Under “Authentication”, set the “Key File Path” to where you have saved “OAuth 2.0 Credentials”. Leave the “Saved Tokens Path” blank and click “Save”
- You will now see a prompt. Click the “Automatically set a path” button
- Another prompt will appear saying “Relaunch Required”. Click on the “Relaunch Assistant” button
- A new prompt saying “Get token!” will appear and it will also open your browser to the authentication page
- Choose your preferred Gmail account
- You might come across a warning saying that Google hasn’t verified this app, but since you created it, it should be safe to proceed.
- Click on “Advanced” and click on “Go to project (unsafe)” (“project” will be the name of the project you named earlier)
- It will ask you to grant it permission so click on the “Allow” button
- You should now see the authentication code so copy it and go back to the application and paste the code and hit the “Submit” button
- You will be asked to relaunch the app, so click on “Relaunch Assistant”. Once that’s done, you’re pretty much good to go!
Notes
According to Android Police, that this version of Google Assistant isn’t 100% the same as the version on your phone, tablet, or Chrome OS. For starters, one of the main features missing from this is the always-listening mode, so you can’t just summon it on your computer using your voice. Secondly, it seems that not all commands work, so depending on what you use Google Assistant for, your mileage may vary.
Also do take note that since this is an unofficial method and an unintended way of using the Google Assistant API, there is a chance that Google could always shut it down anytime, so while it might be a fun feature and fun project to embark on, maybe try not to get too attached to it.


Comments