How to install GCam on the OnePlus Nord N10
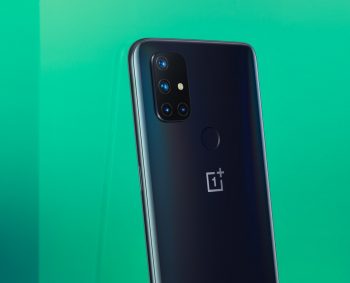
With the launch of the OnePlus Nord N10, the company is trying to carve out some space within the budget-friendly smartphone segment. The performance of the phone is definitely better than similarly-priced smartphones, but one area that the device would do better in is photography. Having four different cameras is certainly impressive, but if you want to get the most out of the phone’s camera hardware, we recommend installing Google’s GCam on the OnePlus Nord N10.
OnePlus Nord N10 and Nord N100 unveiled for Europe, heading to the US as well
If you’re not familiar with GCam, it’s the camera application that Google features on its Pixel smartphones. The GCam app uses computational photography, allowing the phot to capture multiple exposures every time you press the shutter button and stitch them together to deliver an image with better dynamic range, color tone, and an overall brighter shot in low light conditions. While most camera apps use a rudimentary system with HDR functionality, the stock camera app on the Oneplus Nord N10 doesn’t come close to delivering the results you can get with GCam installed.
Installing GCam on the OnePlus Nord N10 is simple and takes less than 2 minutes. We’ve put together some simple instructions to walk you through the process and help you get GCam installed on your OnePlus Nord N10.
Install GCam on the OnePlus Nord N10

- From your OnePlus Nord, click here to download GCam v7.3
- Open the File Manager app and navigate to the Downloads folder on your phone
- Tap the APK to install the GCam on the OnePlus Nord N10
- Tap “Continue” when prompted and then tap “Install”
- Open the GCam app from the app drawer and enjoy!
The GCam app on the OnePlus Nord runs smoothly and you shouldn’t encounter any issue. You can configure the app within its settings, enabling support for the ultrawide camera on the back of the Nord N10 and GCam’s Astrophotography mode for taking long exposures at night. While GCam is great for taking photos, the stock camera app on the Nord is still the best option for recording video.
Note: The GCam app allows the OnePlus Nord N10 to capture better photos, but the software isn’t optimized for video capture. If you want to record video, we recommend sticking with the OnePlus Nord’s stock camera app.
