How to Attach Disc Drive to PlayStation 5 Slim Digital Edition
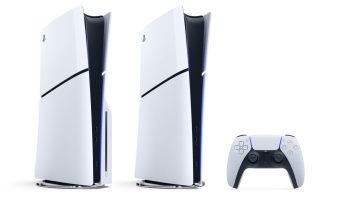
Sony launched the PlayStation 5 slim version last year. It is the default and only model on sale now unless you can find the older version somewhere. This is a slimmer version featuring 1TB SSD storage.
The new PlayStation 5 Slim is also available in a digital edition similar to the original version. The difference this time around is that it supports attaching a physical disc drive. It allows users to pair a disc drive if they want to play physical PlayStation game discs.
The overall PlayStation 5 disc installment process is easy to follow. Let’s have a step-by-step look at what you need to do.
Attach Disc Drive to PlayStation 5 Slim Digital Edition

- The first step is to ensure that your PlayStation 5 is powered off and all cables are unplugged.
- If you were using the console earlier, wait until it cools down.
- Place your PlayStation 5 upside down on a flat surface. The bottom side should be facing up and its front side should be facing you.
- Remove the two clip-like horizontal stand feet (short ones).
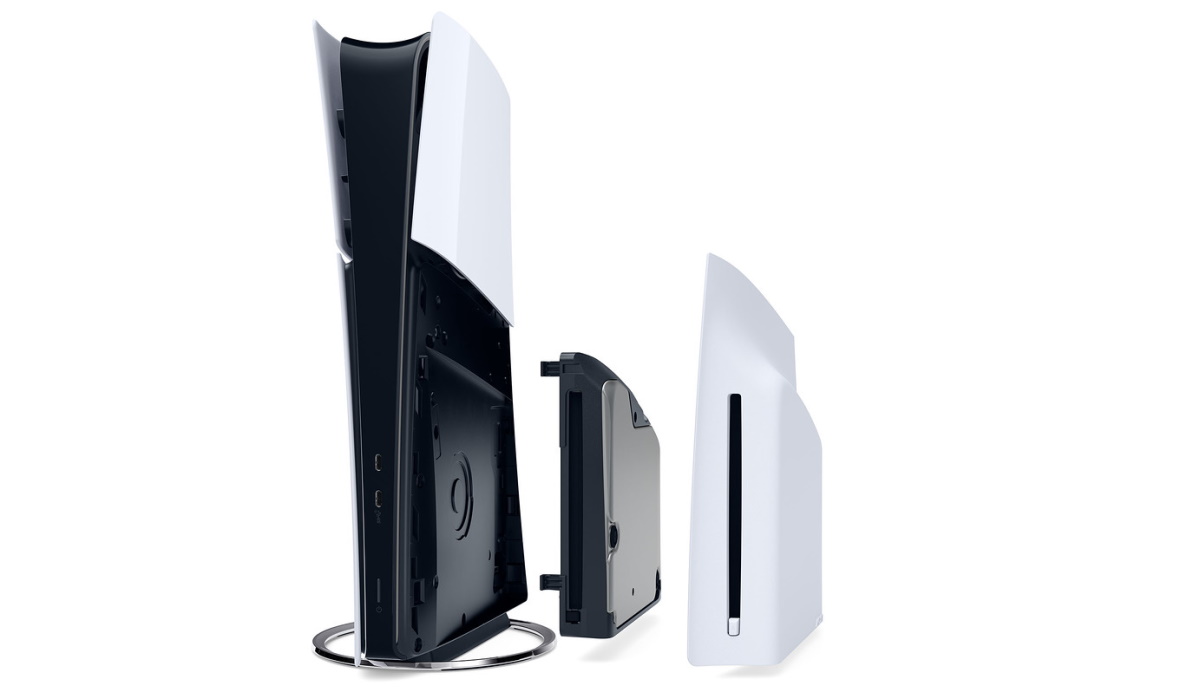
- You have to lift the circle cover away slightly, detach the clips, and eventually remove it.
- Take the disc drive and align its clips with the two holes on the console, marked with an upside-down triangle.
- Push it firmly until you hear a click sound.
- Attach your circle cover and horizontal stand feet (long ones) which come with the disc drive.
- Align the clips of the cover with corresponding holes on the console and push until there is a click sound.
- Connect all cables to the console and power it on. Make sure you are connected online as it is required to pair the disc drive with the console.
- Follow on-screen instructions and you are set.
This is how you can attach a physical disc drive to the PlayStation 5 slim digital edition without issues. For any questions or doubts you may have, feel free to ask them in the comments section below.