
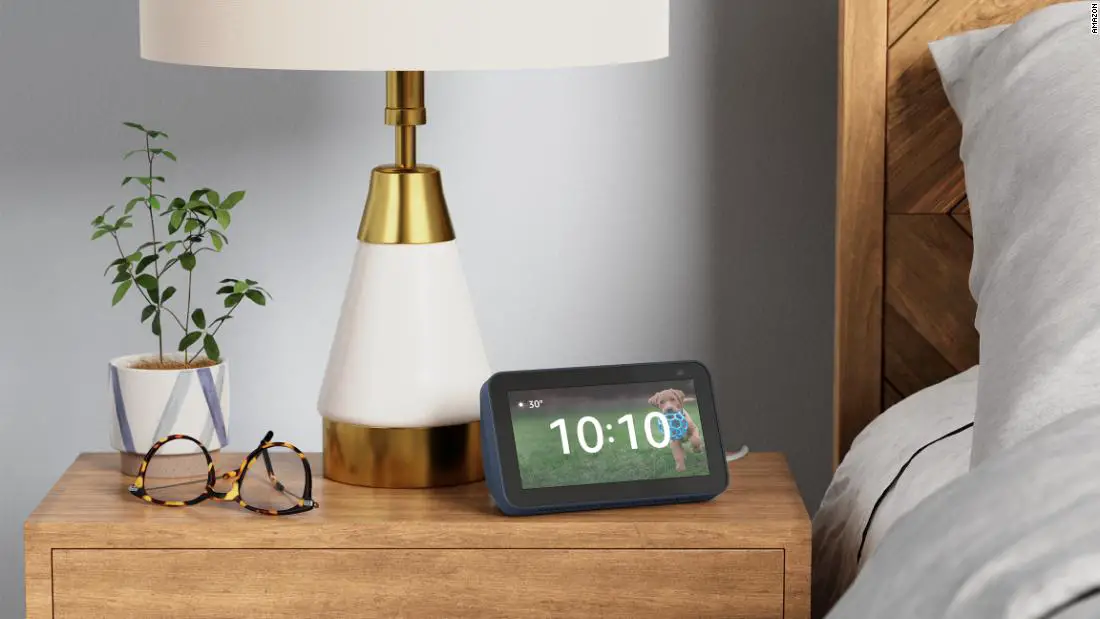
Amazon’s Echo series of smart speakers are some of the most popular in the world, largely thanks to the fact that they’re pretty affordable, plus also there are quite a number of smart home appliances out there that are compatible with Alexa, making them the perfect smart home hub.
 But did you also know that whenever you use your voice commands, your voice is being recorded? Amazon claims that this is done to improve the accuracy of your interactions, but in case you don’t feel comfortable with a giant like Amazon holding onto your voice recordings, here’s what you need to do to delete them.
Delete your Amazon Echo voice recordings
- Launch the Amazon Alexa app
- Make sure you’re signed into your Amazon account
- Tap the More tab at the bottom right corner of the app
- Tap on Settings
- Tap on Alexa Privacy and then select Review Voice History
- Under Displaying, you can select which recordings you want to view and delete. If you want to delete everything, make sure “All History” is selected
- You can also select “All devices and profiles” if you want to remove your voice recordings from everywhere your Amazon account is being used
- When you’re done with your selection, tap “Delete all of my recordings”
- You’ll be prompted to make sure this is what you want to do, then tap “Delete” if you’re certain and all your recordings should now be removed
Automatically delete future recordings
Now that your past recordings have been deleted, if you want to make sure that you’ll never have to keep doing this again, you can make some changes to your settings so that deletion of voice recordings is done automatically.
- Launch the Alexa app
- Tap the More tab
- Tap on Settings
- Tap on Alexa Privacy and select Manage Your Alexa Data
- Tap on “Choose how long to save recordings”
- Now you can choose how long to save a recording before it is deleted, but if you don’t want to save it at all, then select “Don’t save recordings”
- Tap on Confirm
- You’ll get a new popup confirming your choice, tap on Confirm again and you’re all set


Comments