
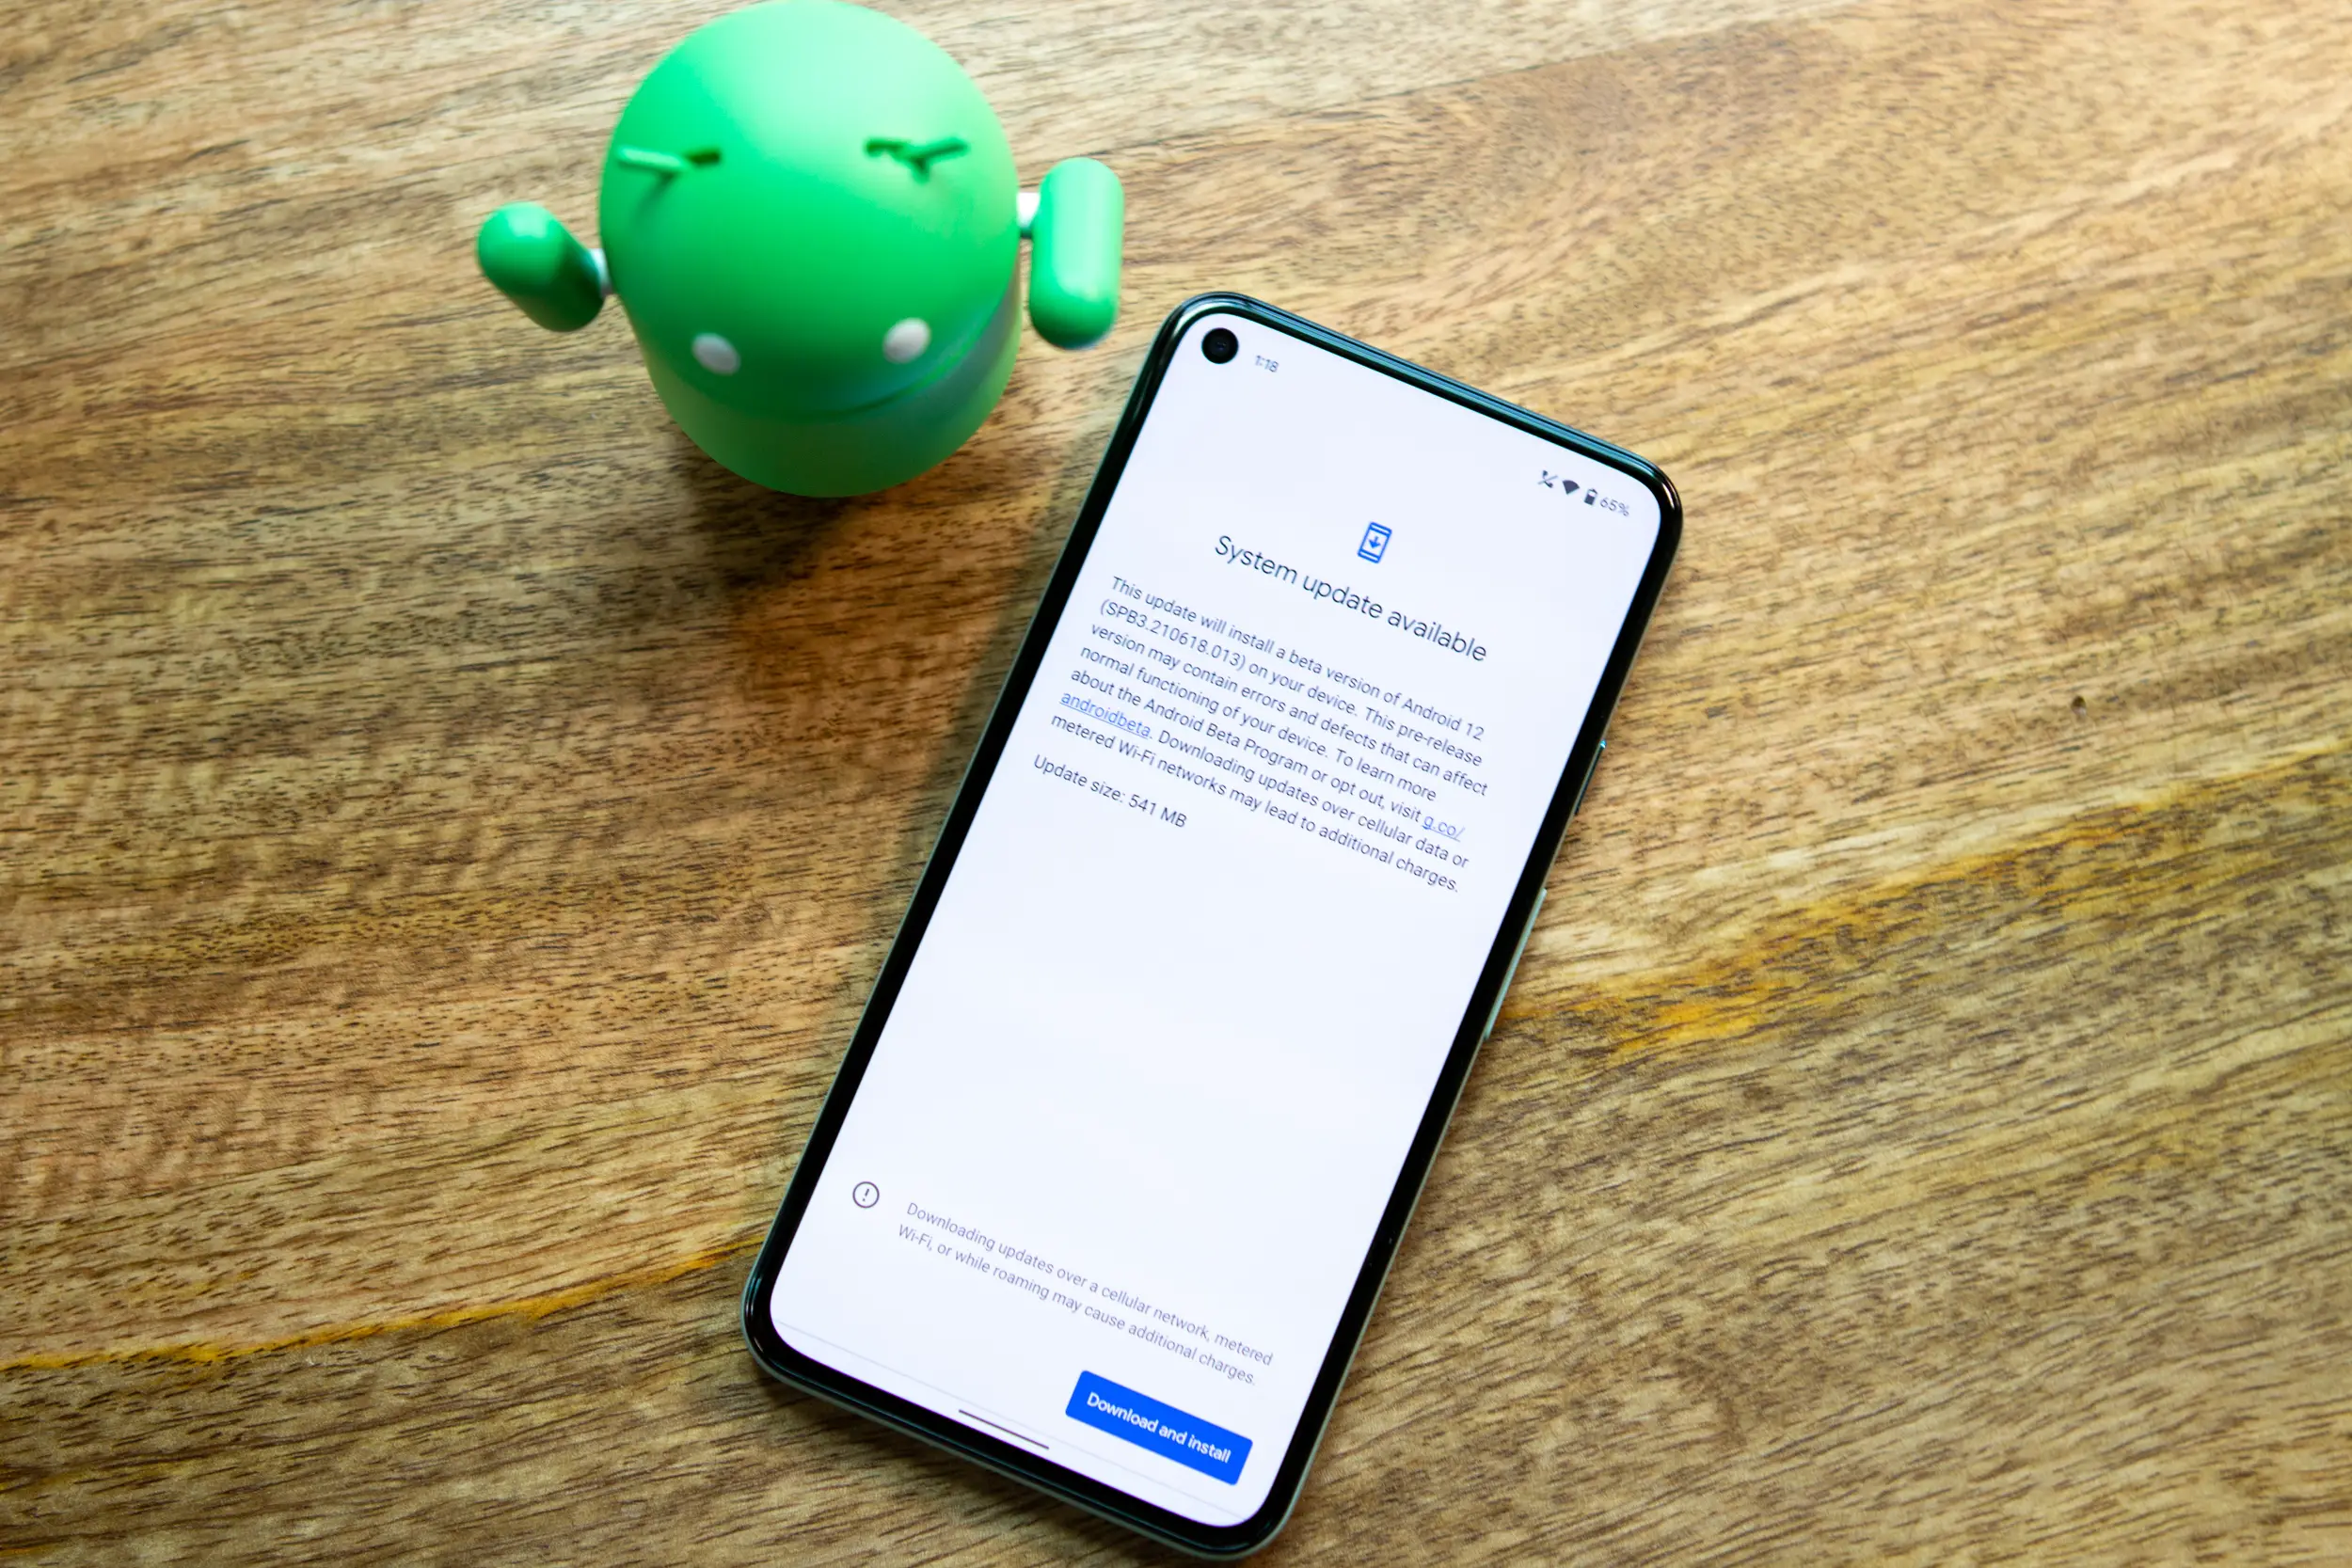
One of the best reasons why we recommend that you should consider a Google Pixel device is because it’s the first set of devices to receive the latest version of Android. At least that’s usually the case with some instances where another company might push a security patch before Google. But for the most part, those are outlier situations, and Pixel phones largely receive updates before it arrives on other Android phones.
Usually these updates are released within the first week of the month, but for one reason or another, they could be delayed during the rollout process. Take the December 2021 Android Security Patch for instance, as many users have complained that the update didn’t arrive, despite it being almost Christmas. That’s quite a long time to not have all of the bug fixes that Google included, which can potentially be rather frustrating.
Thankfully, Google makes it pretty easy to install these updates yourself through a process known as sideloading. Essentially, this means that you’ll download the updates and install the updates manually, instead of waiting for them to arrive over the air.
Get your phone and computer set up first
The downside to the sideloading process is that you’ll need to do a few things in order to make it possible to actually download and install the software. But if you’re tired of waiting around, or want to be one of the first to get a new feature that’s coming in an update, this is your best bet.
- Open the Settings app on your Pixel device.
- Scroll down and tap About Phone.
- Scroll down until you see Build Number.
- Tap Build Number about 7 times and you’ll see a prompt that says: “You are ‘X’ taps away from being a developer.”
- When prompted, enter your phone’s pattern or PIN code.
Now that Developer Options have been enabled, you’ll then need to turn USB Debugging on in order to make it possible for your phone and computer to communicate.
- Open the Settings app on your Pixel device.
- Scroll down and tap System.
- Scroll down again and tap Advanced.
- Select Developer Options.
- Locate and tap the toggle next to USB debugging.
Now that your phone is ready to go, you’ll then need to get your computer set up in order to apply the update manually to your Pixel device. There are a couple of things that must download first, that being the Android SDK Platform Tools, and the specific file that you are trying to flash to your Pixel device.
Starting off with the SDK Platform Tools, while the file is downloading, follow these steps to be ready when it’s finished, and for reference, we’re using the Windows version, but you can also do the same thing on a Mac.

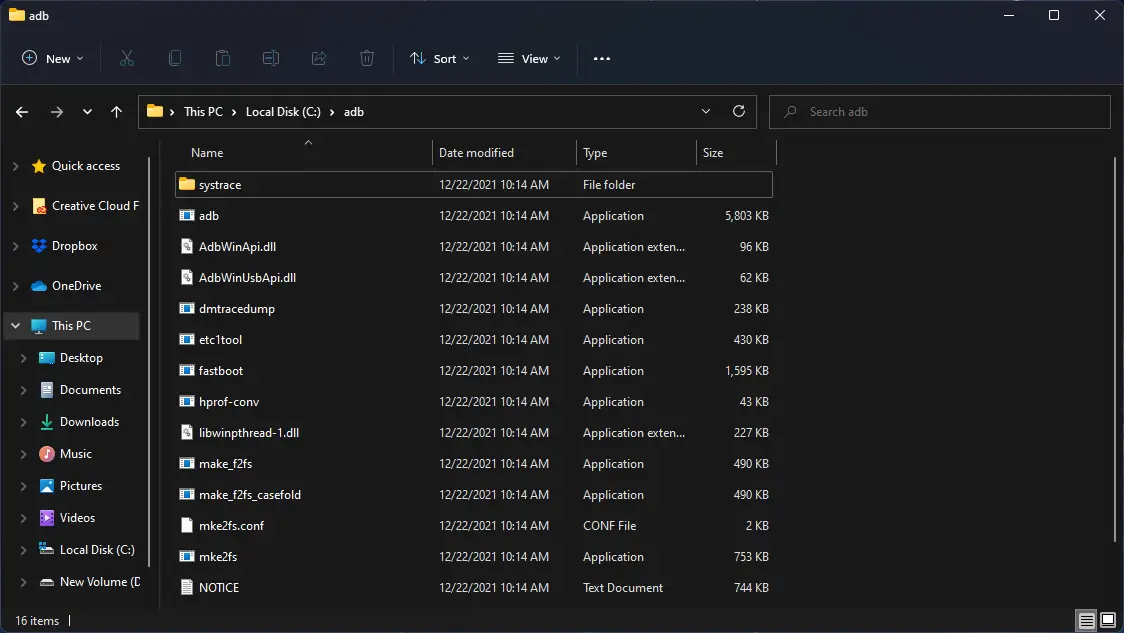
- Open File Explorer.
- Navigate to the (C:) disk on your computer.
- Right-click and select New from the drop-down menu.
- Create a new folder and name it adb.
- You can name it anything you want, but for the sake of being simple, this is what we named our folder.
- Once the SDK Platform Tools is finished downloading, unzip the files.
- After the file is unzipped, open the platform-tools folder.
- Open another File Explorer window, and navigate to the newly-created adb folder.
- Drag and drop all of the files from the platform-tools folder into the adb folder.
You can double-check to make sure that everything has is working correctly, by following these steps:
- Plug your Pixel into your computer using a USB-C to USB-A (or C to C) cable.
- A prompt will appear asking if you want to allow USB debugging.
- Click inside the checkbox to Always allow from this computer and tap Allow.
- If you are not using your own computer, then you won’t want to click the check box.
Now for the moment of truth.
- Open the Command Prompt app on your Windows computer.
- Type cd c:\adb and press Enter to navigate to the folder that you created before.
- Type adb devices and press Enter.

If your Pixel is connected, then you’ll see “List of devices attached” and a device identifier letting you know that your Pixel is connected and ready to move to the next step.
Sideload Android OTA updates on your Google Pixel
![]()
With your phone and computer all ready to work together in order to install the OTA updates, here’s what you’ll need to do in order to get everything installed.
- Connect your Pixel to your computer using either a USB-C to USB-A or USB-C to C cable.
- Open the Command Prompt app on your Computer.
- Type cd c:\adb where adb is the name of the folder you created earlier, and press Enter.
- Type adb devices and press Enter to verify that your device is connected.
Once your device is connected, you’ll want to open another File Explorer window and navigate to the location where the OTA update or Factory Image file was downloaded to. You don’t need to do anything other than have the file handy for the next series of steps.
- From Command Prompt, type adb reboot recovery.
- Press Enter.
![]()
After your Pixel has booted into the recovery, you’ll see a little Android figure lying on its back with a trap-door open on the front. It looks like this is an error, but it’s completely normal. Just press and hold the Power button, and then press and release the Volume Up button. Once completed, this brings up the Android Recovery menu.
Now that you are in the Android Recovery menu, you won’t be able to use the touchscreen to navigate and select the right options. Instead, you’ll use the up and down volume buttons for navigating, while the Power button is used as the select button.
- Click the Volume Down button until Apply update from ADB is highlighted.
- Press the Power Button to select it and move to the next step.
A new screen appears on your Pixel, with the following message:
- Now send the package you want to apply to the device with “adb sideload <filename>…”
![]()
Go back to your computer and from within the Command Prompt app, type adb sideload. But instead of pressing enter, open the additional File Explorer window that we opened before. Locate the OTA or Factory Image ZIP file that you downloaded earlier. Drag and drop the file into Command Prompt. Then, press the Enter button from your computer.
The process may take a bit of time, but once the update is completed, your Pixel will again show the Android Recovery menu. Make sure that Reboot system now is highlighted, and click the Power Button.
Conclusion
It really can be a bit frustrating to have to go through all of this if you want to install an update on your Pixel device. However, as we spoke about with the December 2021 Android Security Update, it’s a necessary evil if you don’t want to wait around. Perhaps something happened on Google’s back-end which caused the slowdown, but regardless of the reason, we hope that you were able to successfully install the update on your Pixel device.
Let us know if you run into any problems, and we’ll be sure to help out where we can.


Comments