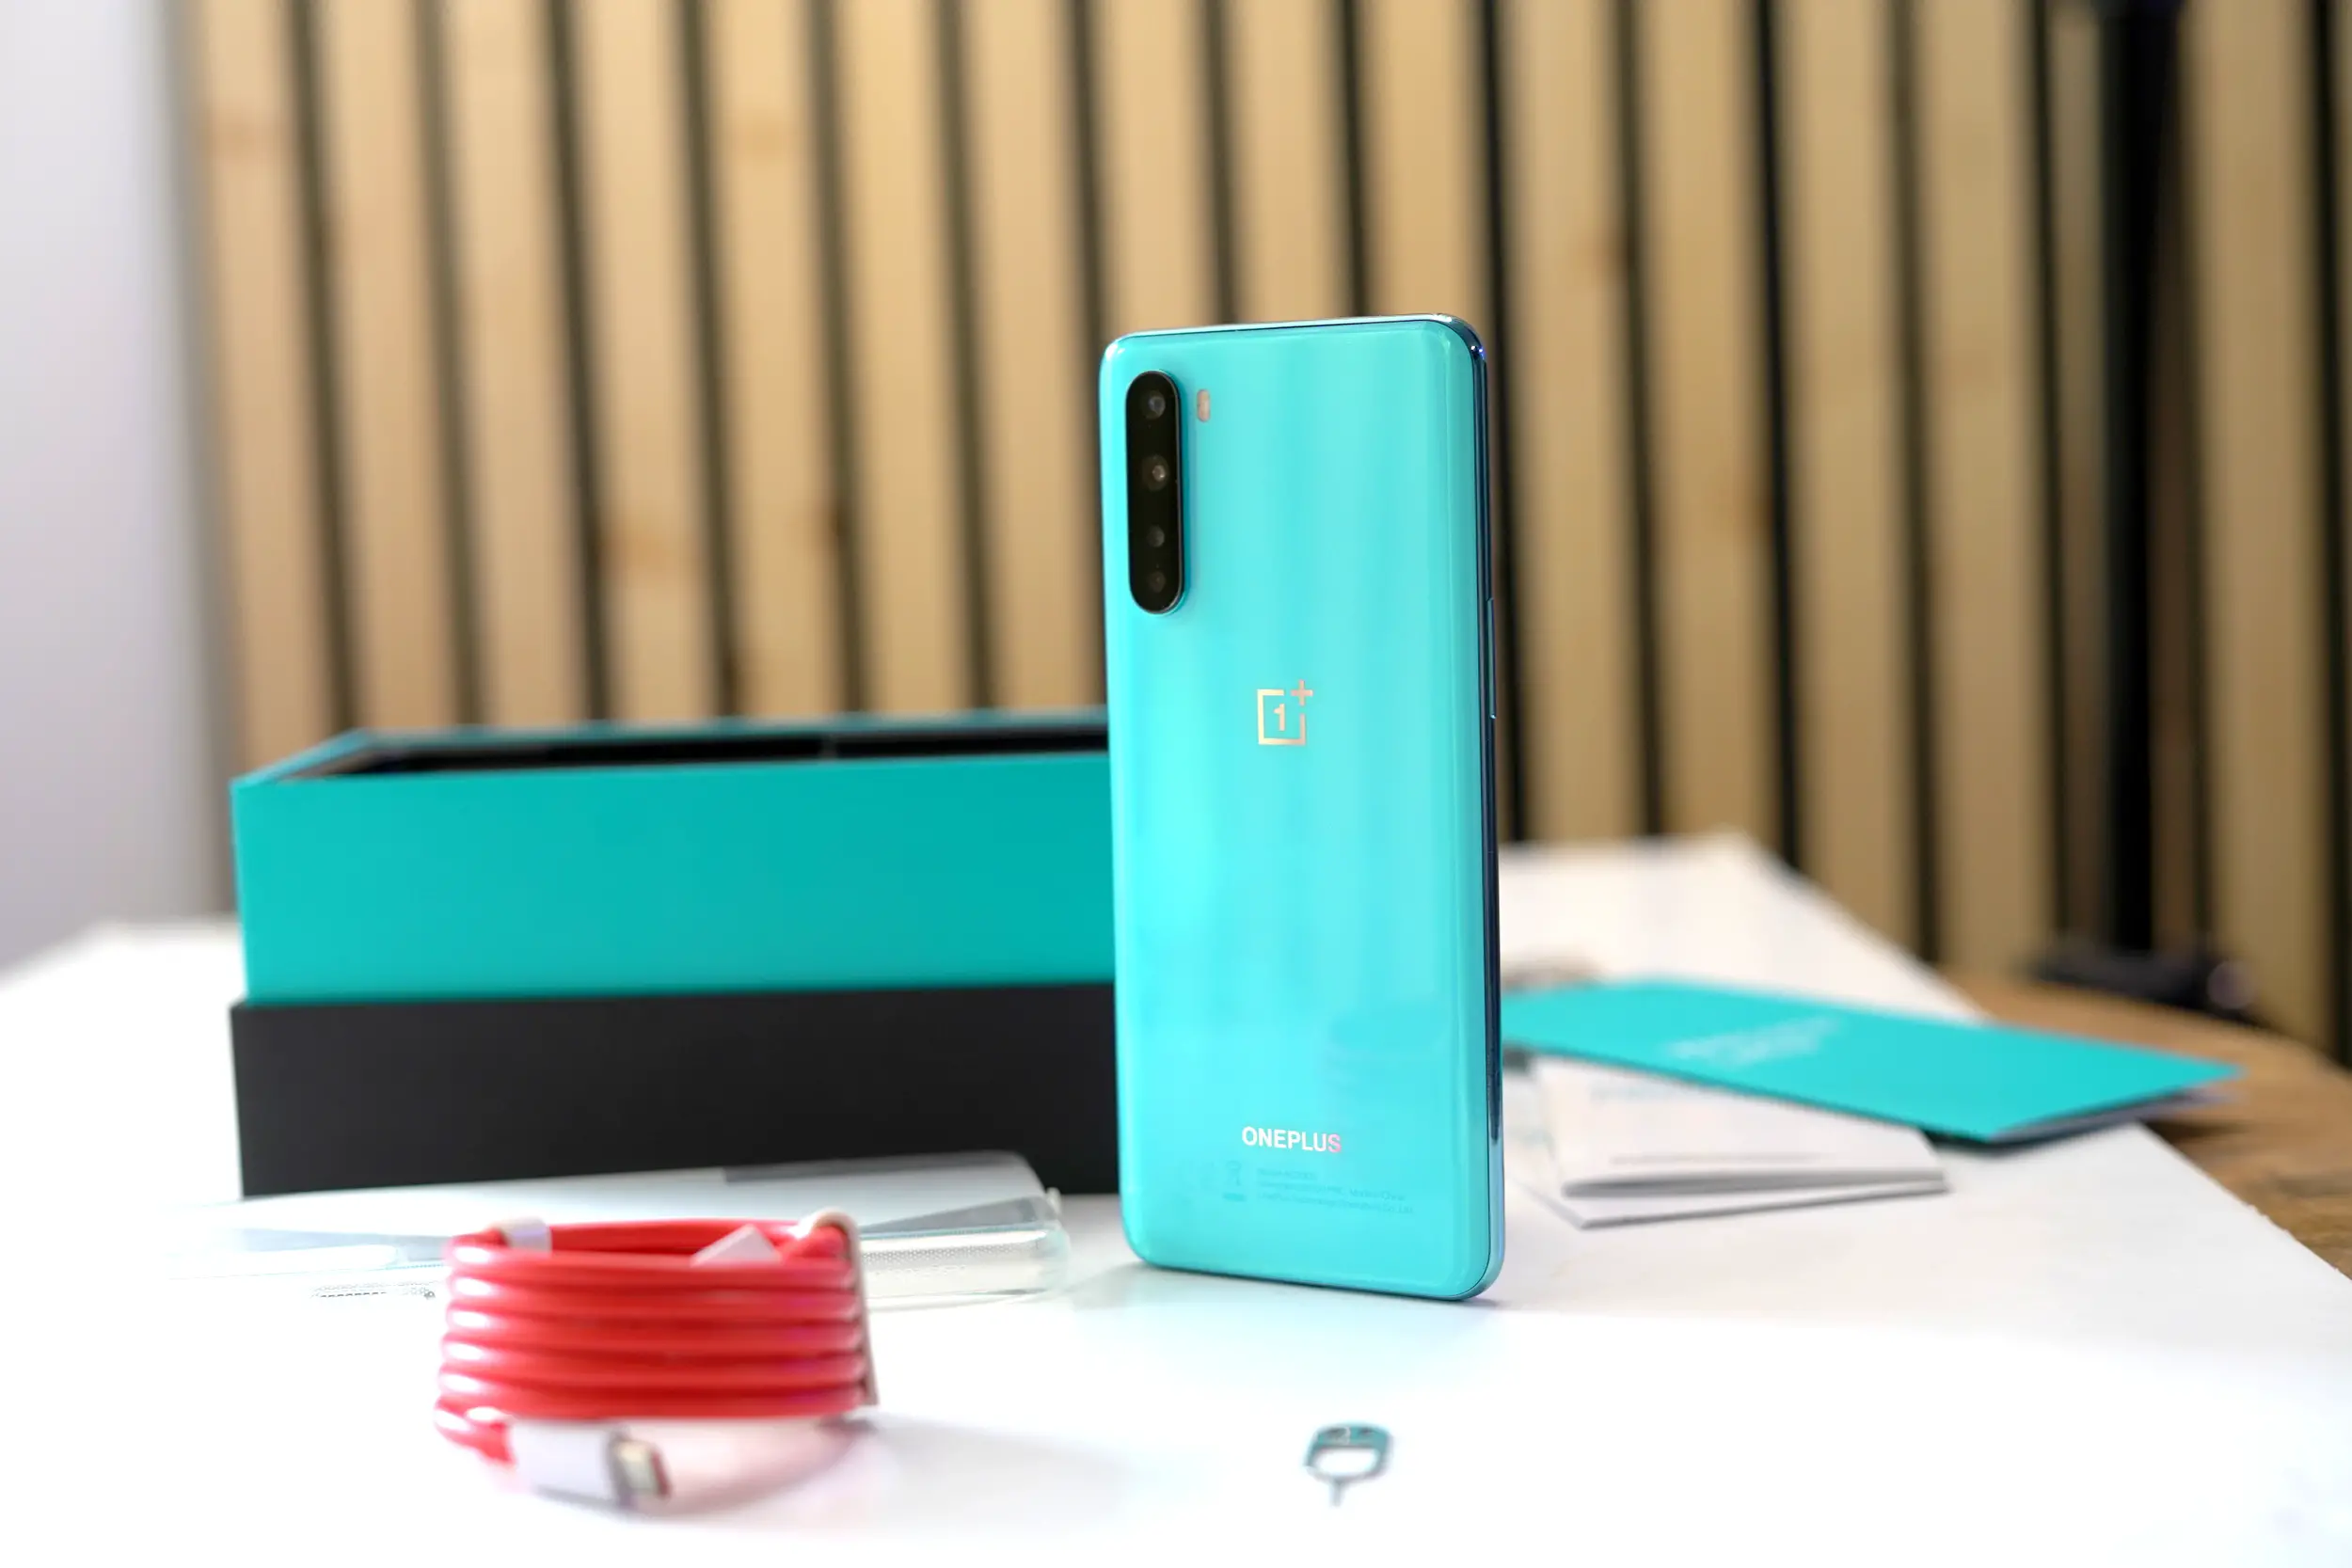
If you’re reading this, there’s a good chance that you have an OnePlus Nord on the way or it’s sitting on your desk already. Based on the phone’s specs and it’s extremely low price, the OnePlus Nord is one of the most competitive mid-range smartphones of 2020 and could be a great alternative for those who are looking for flagship-tier smartphone specs and features at a price that’s quite affordable.
Anyone just getting started with a OnePlus Nord will have quite a few options to play around with since Oneplus has consistently delivered a great user experience with its customizable software. If you’re not sure where to start or simply need a refresher, below are 10 first things we think every Oneplus Nord user should do when they get the phone for the first time.
Let us know if you have any other suggestions that we might have missed and feel free to share them in the comments.
Customize the home screen
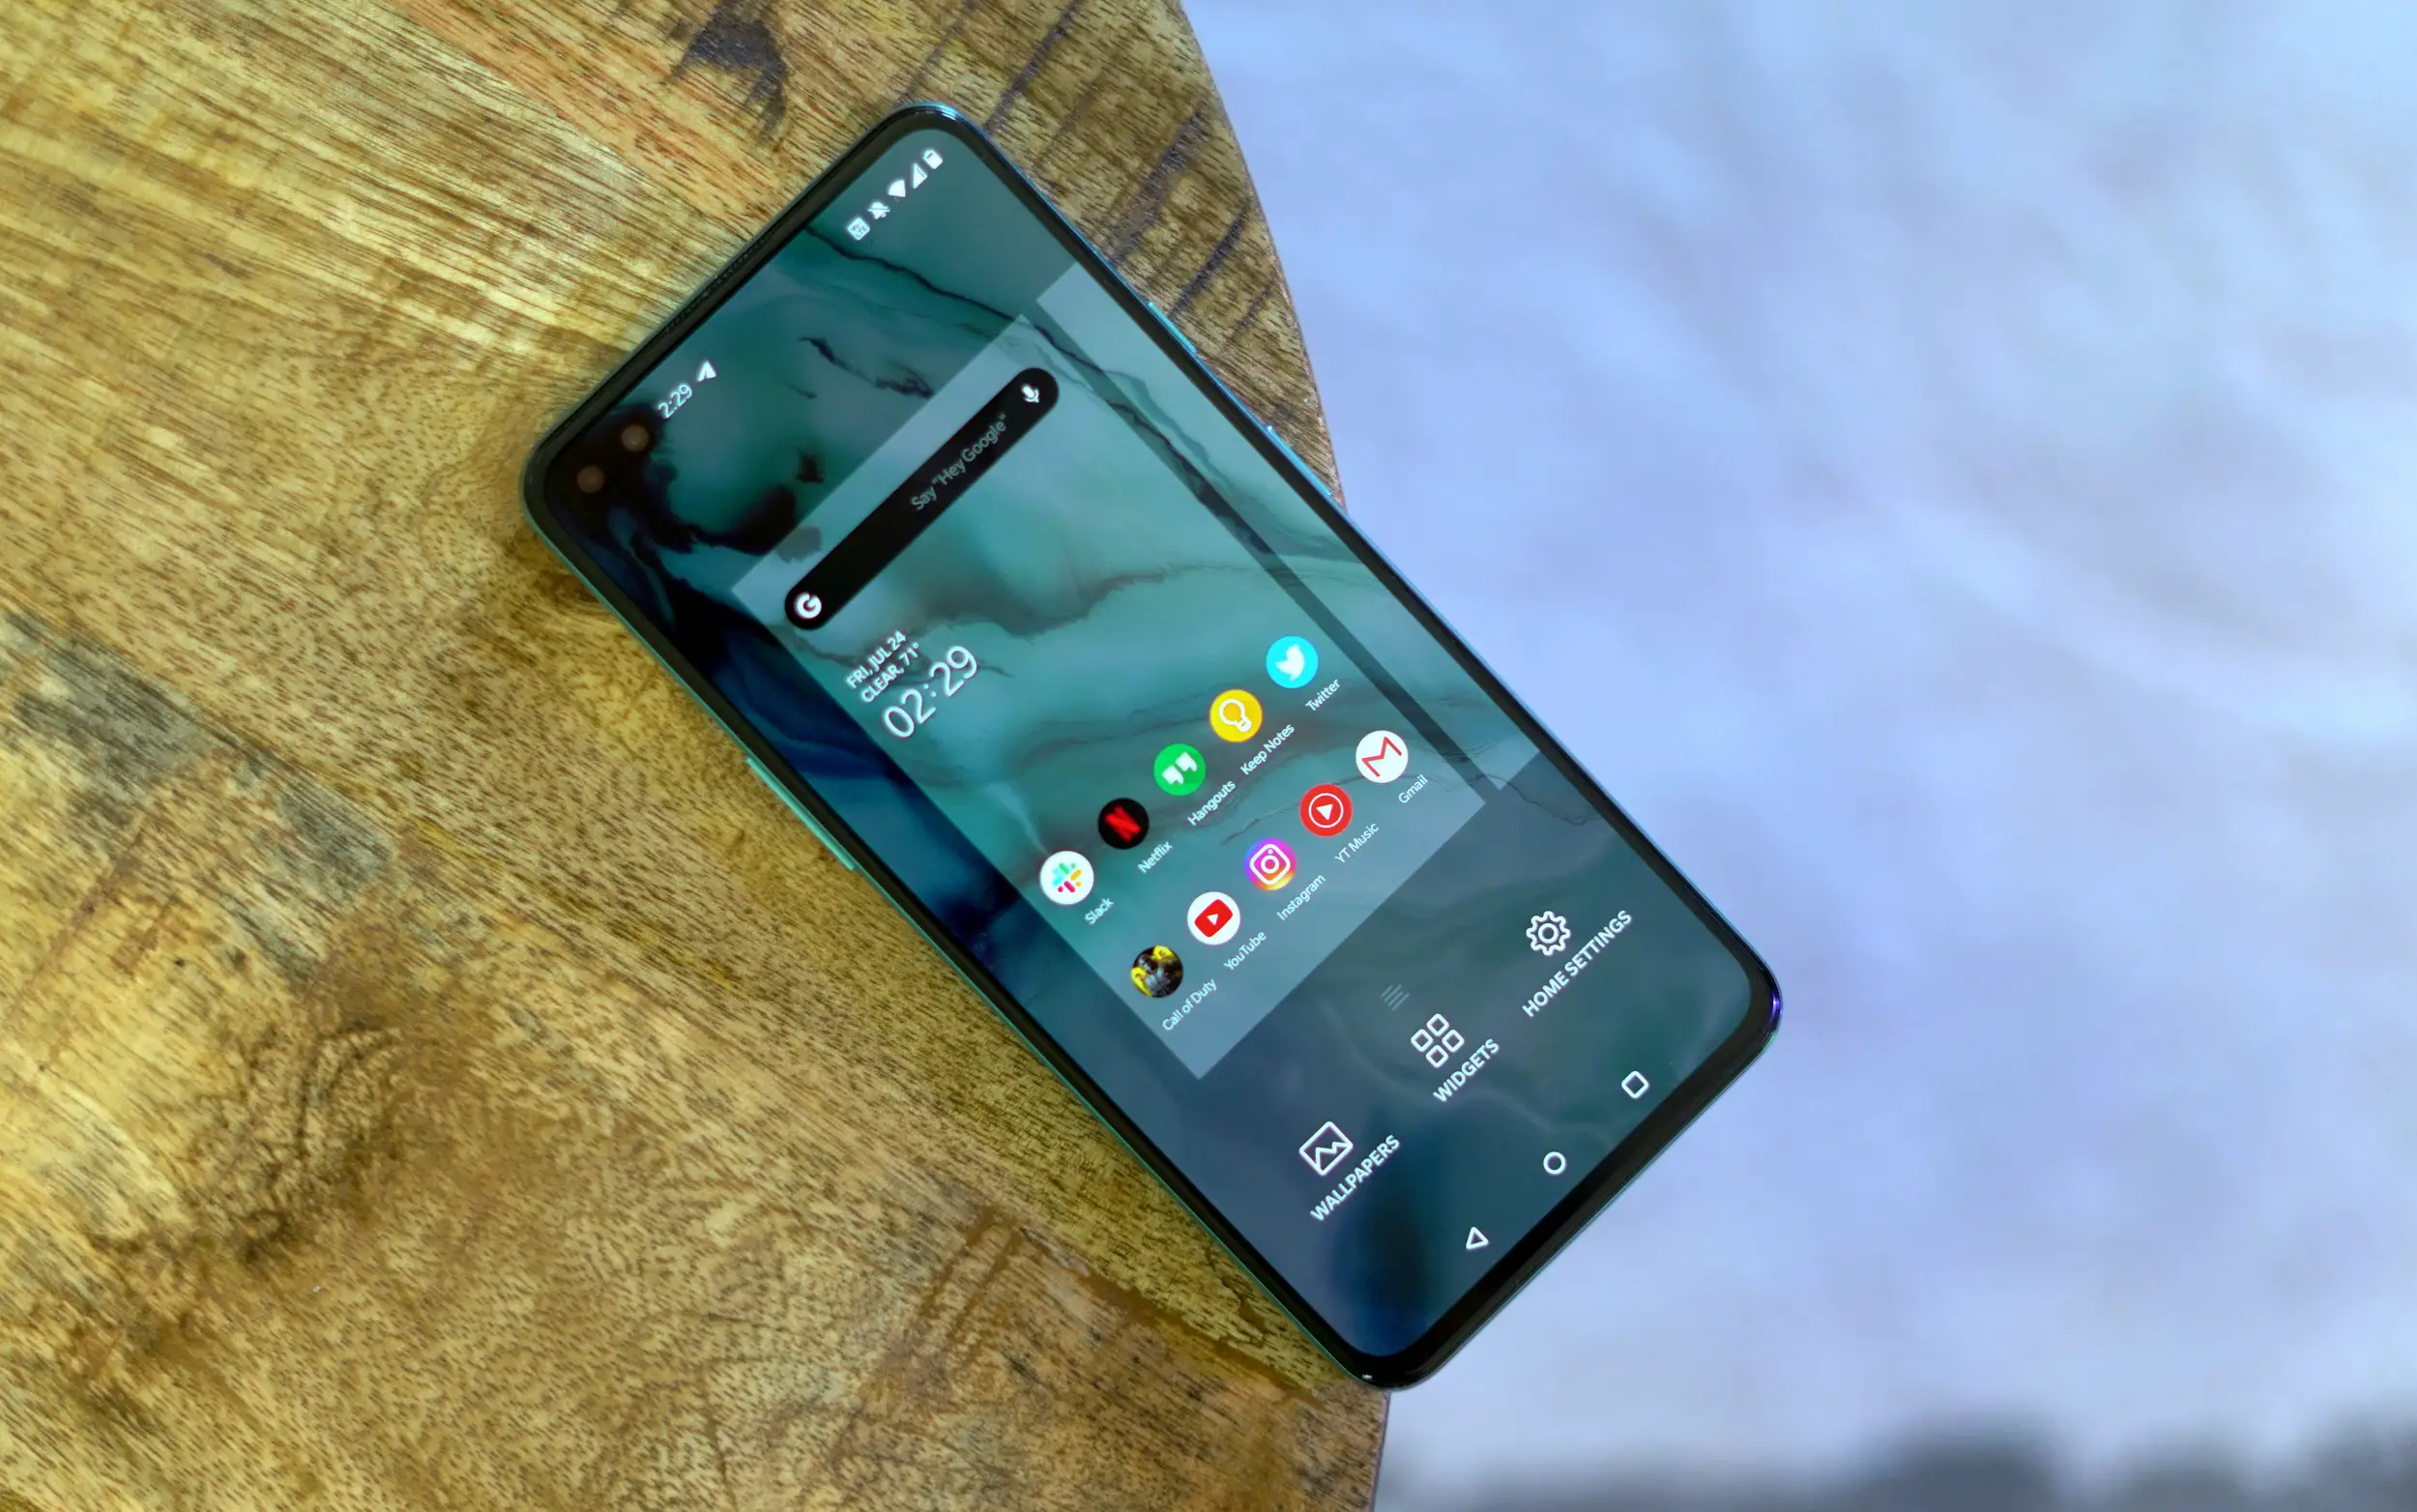
One of the best features of OnePlus smartphones is the vast customization options that the software delivers. Below are a few different customizations you should do once you finish setting up your smartphone.
- General UI customizations: Go to Settings > Customization and you’ll be given the option to change the phone’s main theme, lock screen style, fingerprint animation, accent color, tone (light and dark mode), icon pack, system icon shape and font.
- Home screen layout: Long press on an empty space on the home screen and then tap “Home screen layout.” Here you’ll be able to change the number of all columns on the home screen and the app icon size
- Hide apps from your launcher: open the app drawer and swipe right to open the “Hidden space” feature. This will allow you to hide apps from the app drawer to remove clutter and organize things better
Protect your OnePlus Nord with a case

Oneplus was pretty generous to include a thin silicone case inside the box with the Nord. Cases like these are great from keeping the phone’s glass on the back of the phone form scratching, but they offer little protection to the device if you happen to drop it or if it falls off a table.
Fortunately, there are dozens of case options for the onePlus Nord, allowing you to protect your new smartphone while also adding your unique sense of style to it as well.
View OnePlus Nord cases on Amazon
Adjust the display refresh rate
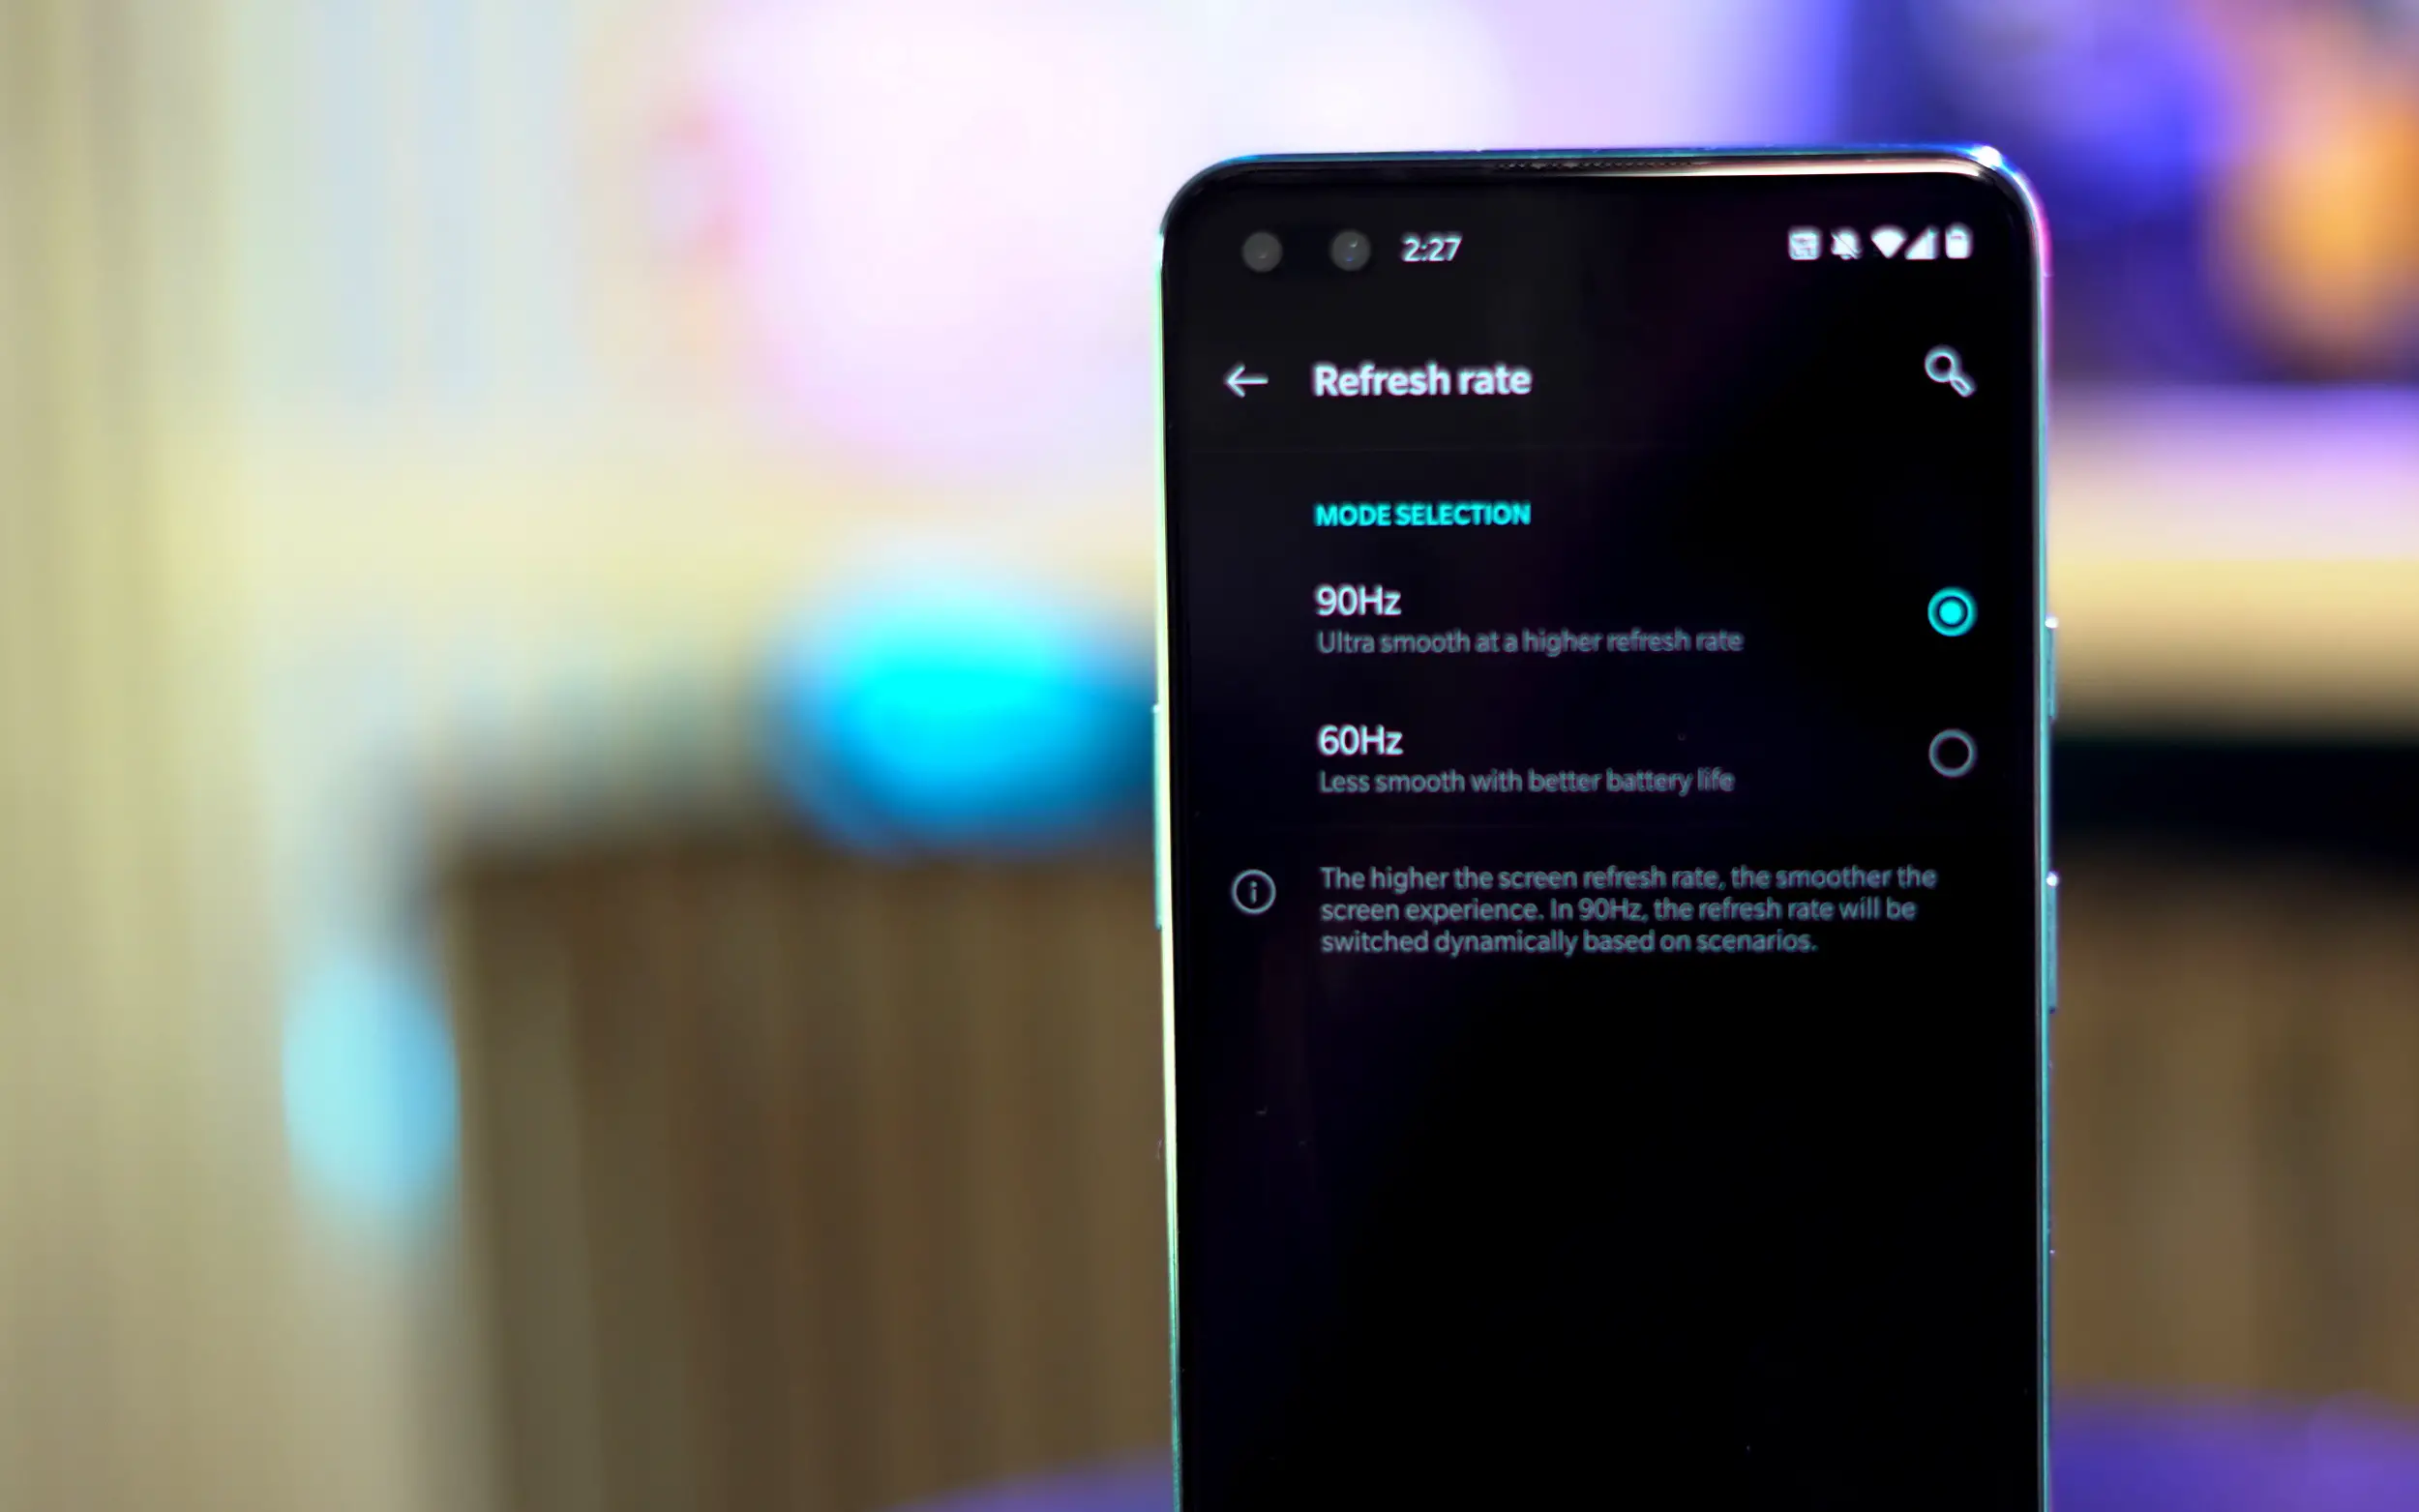
OnePlus is leading the race when it comes to fast refresh rates on its smartphones. While 90Hz refresh displays are usually only included in high-end devices, OnePlus has included one on the Nord as well.
By default, the refresh rate is set to 90Hz, but you can manually adjust the setting by going to Settings > Display > Advanced > Refresh rate and you’ll be able to change between 90Hz and 60Hz. Switching to 60Hz will reduce the power consumption of the display, allowing the phone’s battery to last longer.
Remove the pre-installed screen protector
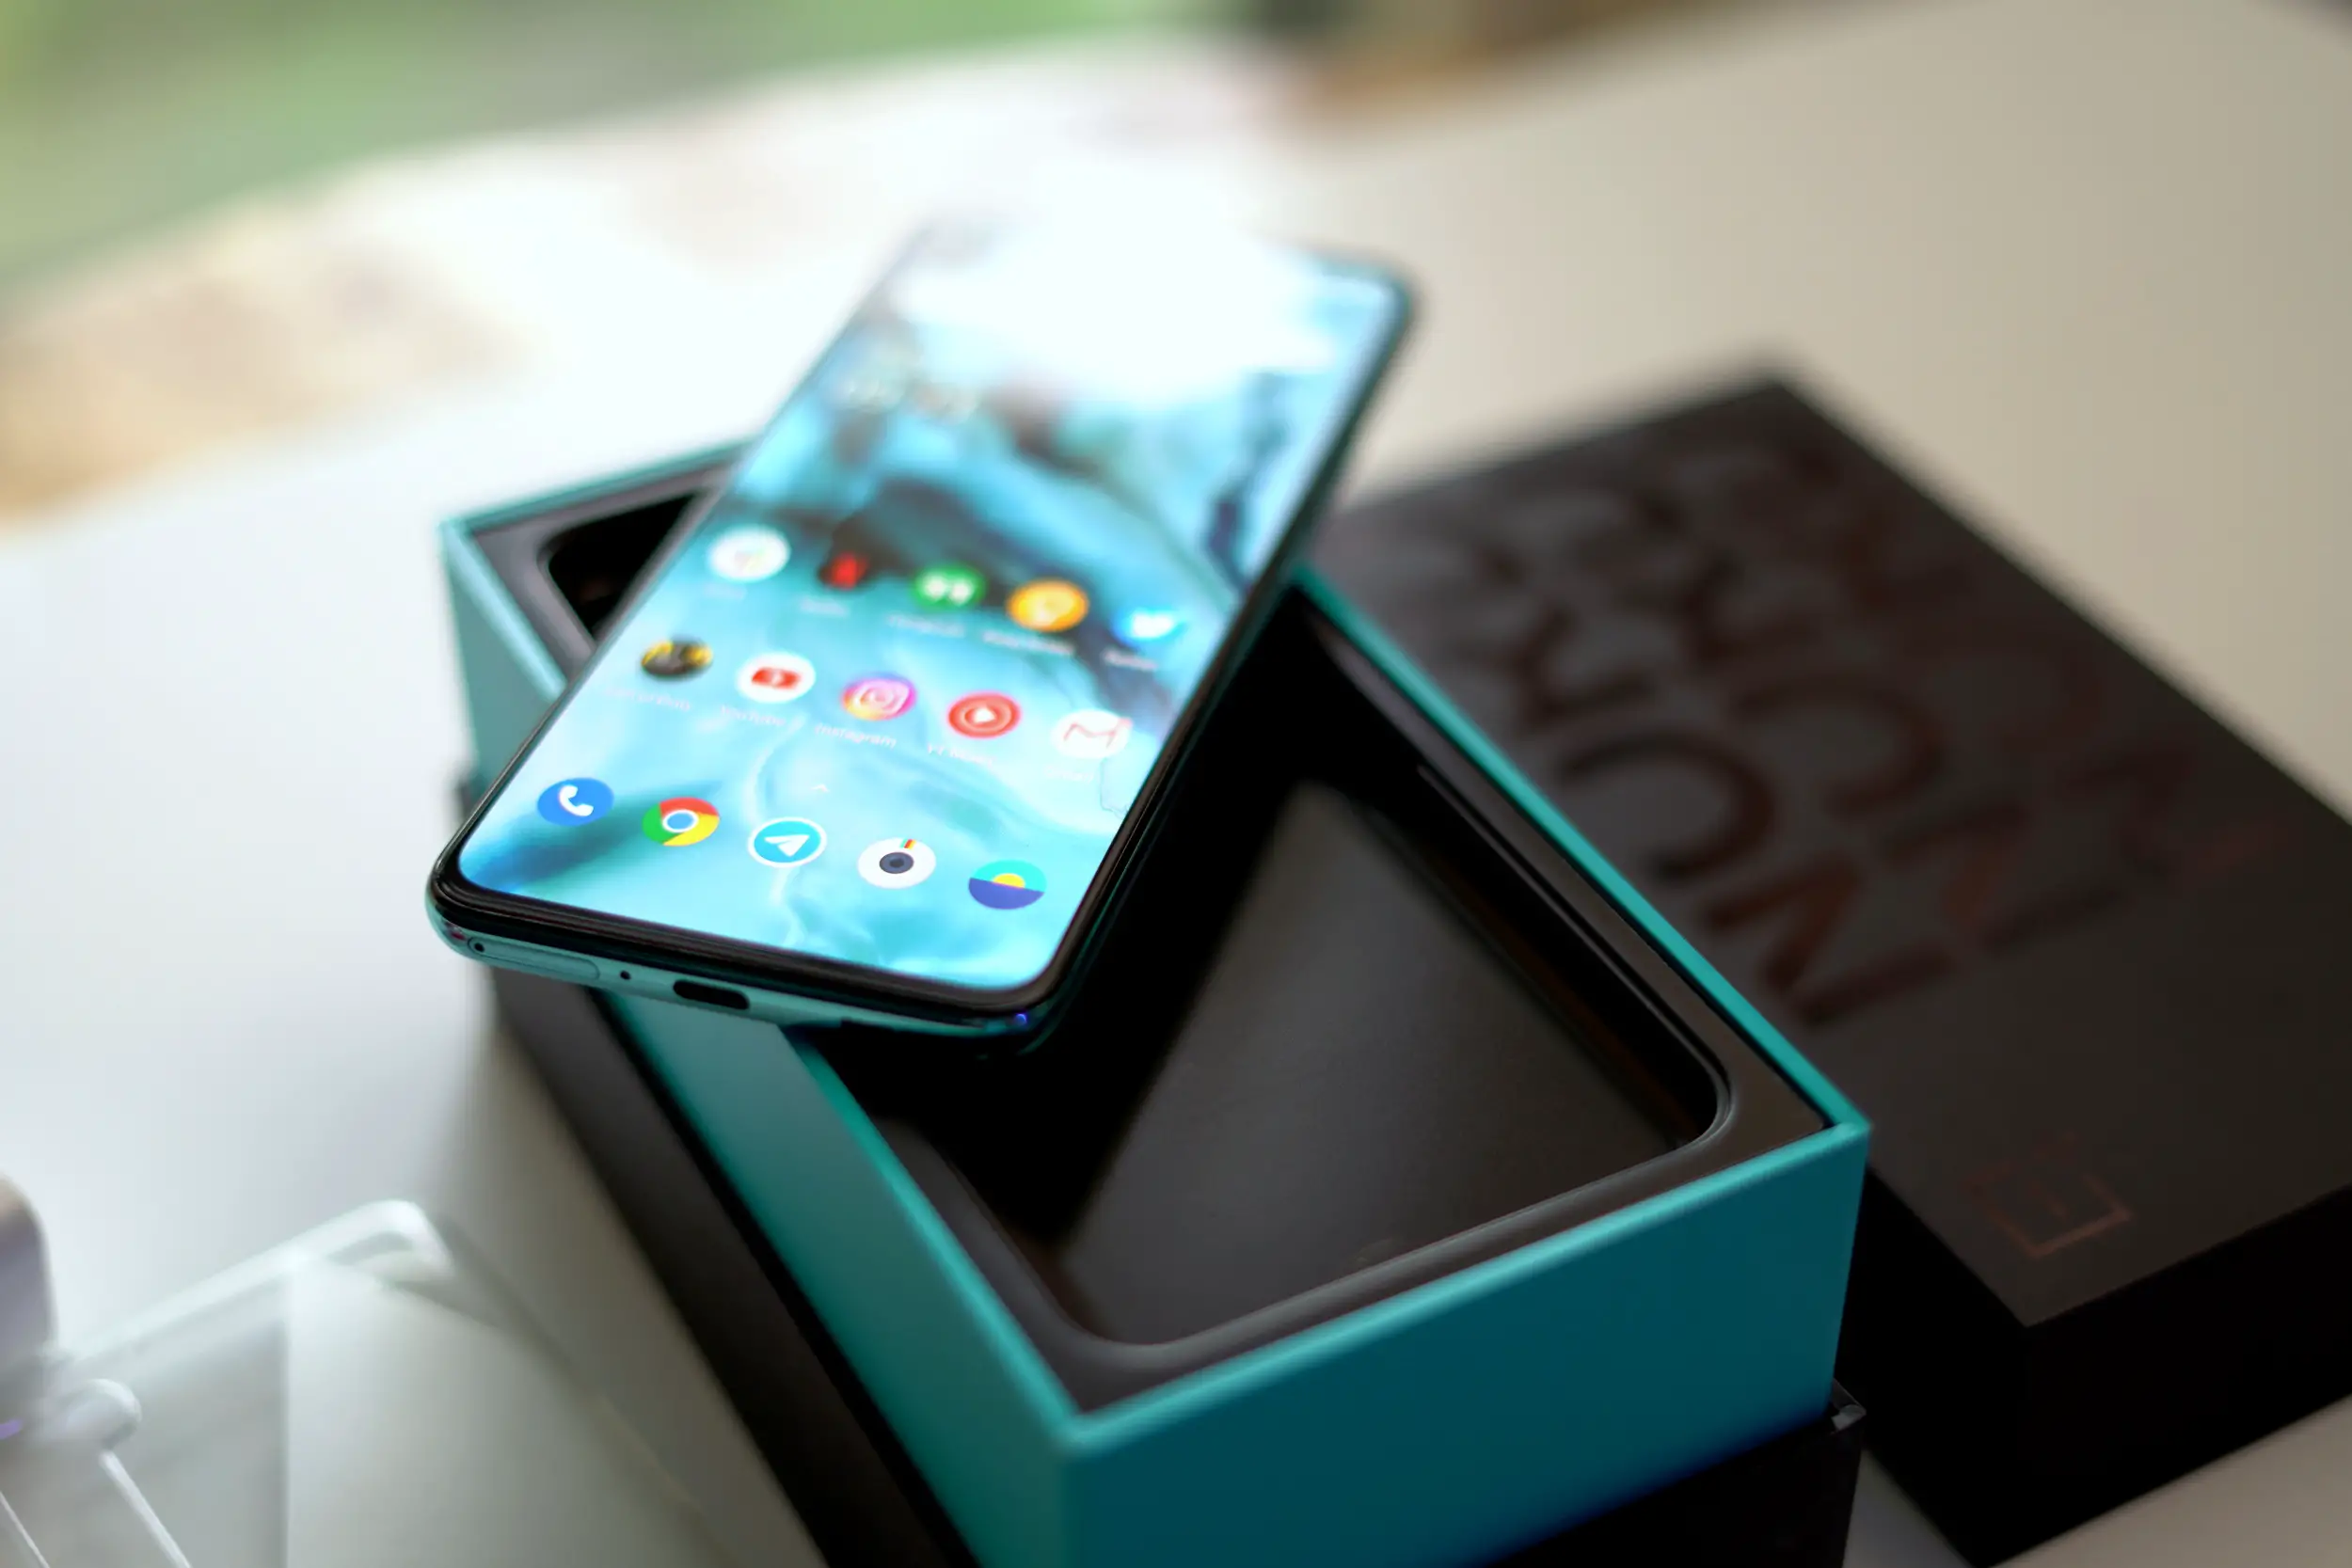
OnePlus was kind enough to include a pre-installed screen protector on the OnePlus Nord. While this may help keep your phone’s screen scratch-free, it also gets dirtier faster than the glass typically would. You can keep in on for a few days, but you’ll quickly notice that the screen protector will be covered in scratches simply from regular use and putting it in your pocket.
If you do want a screen protector for the hone, there are plenty of glass options available that will do a much better job.
Hide apps you don’t use
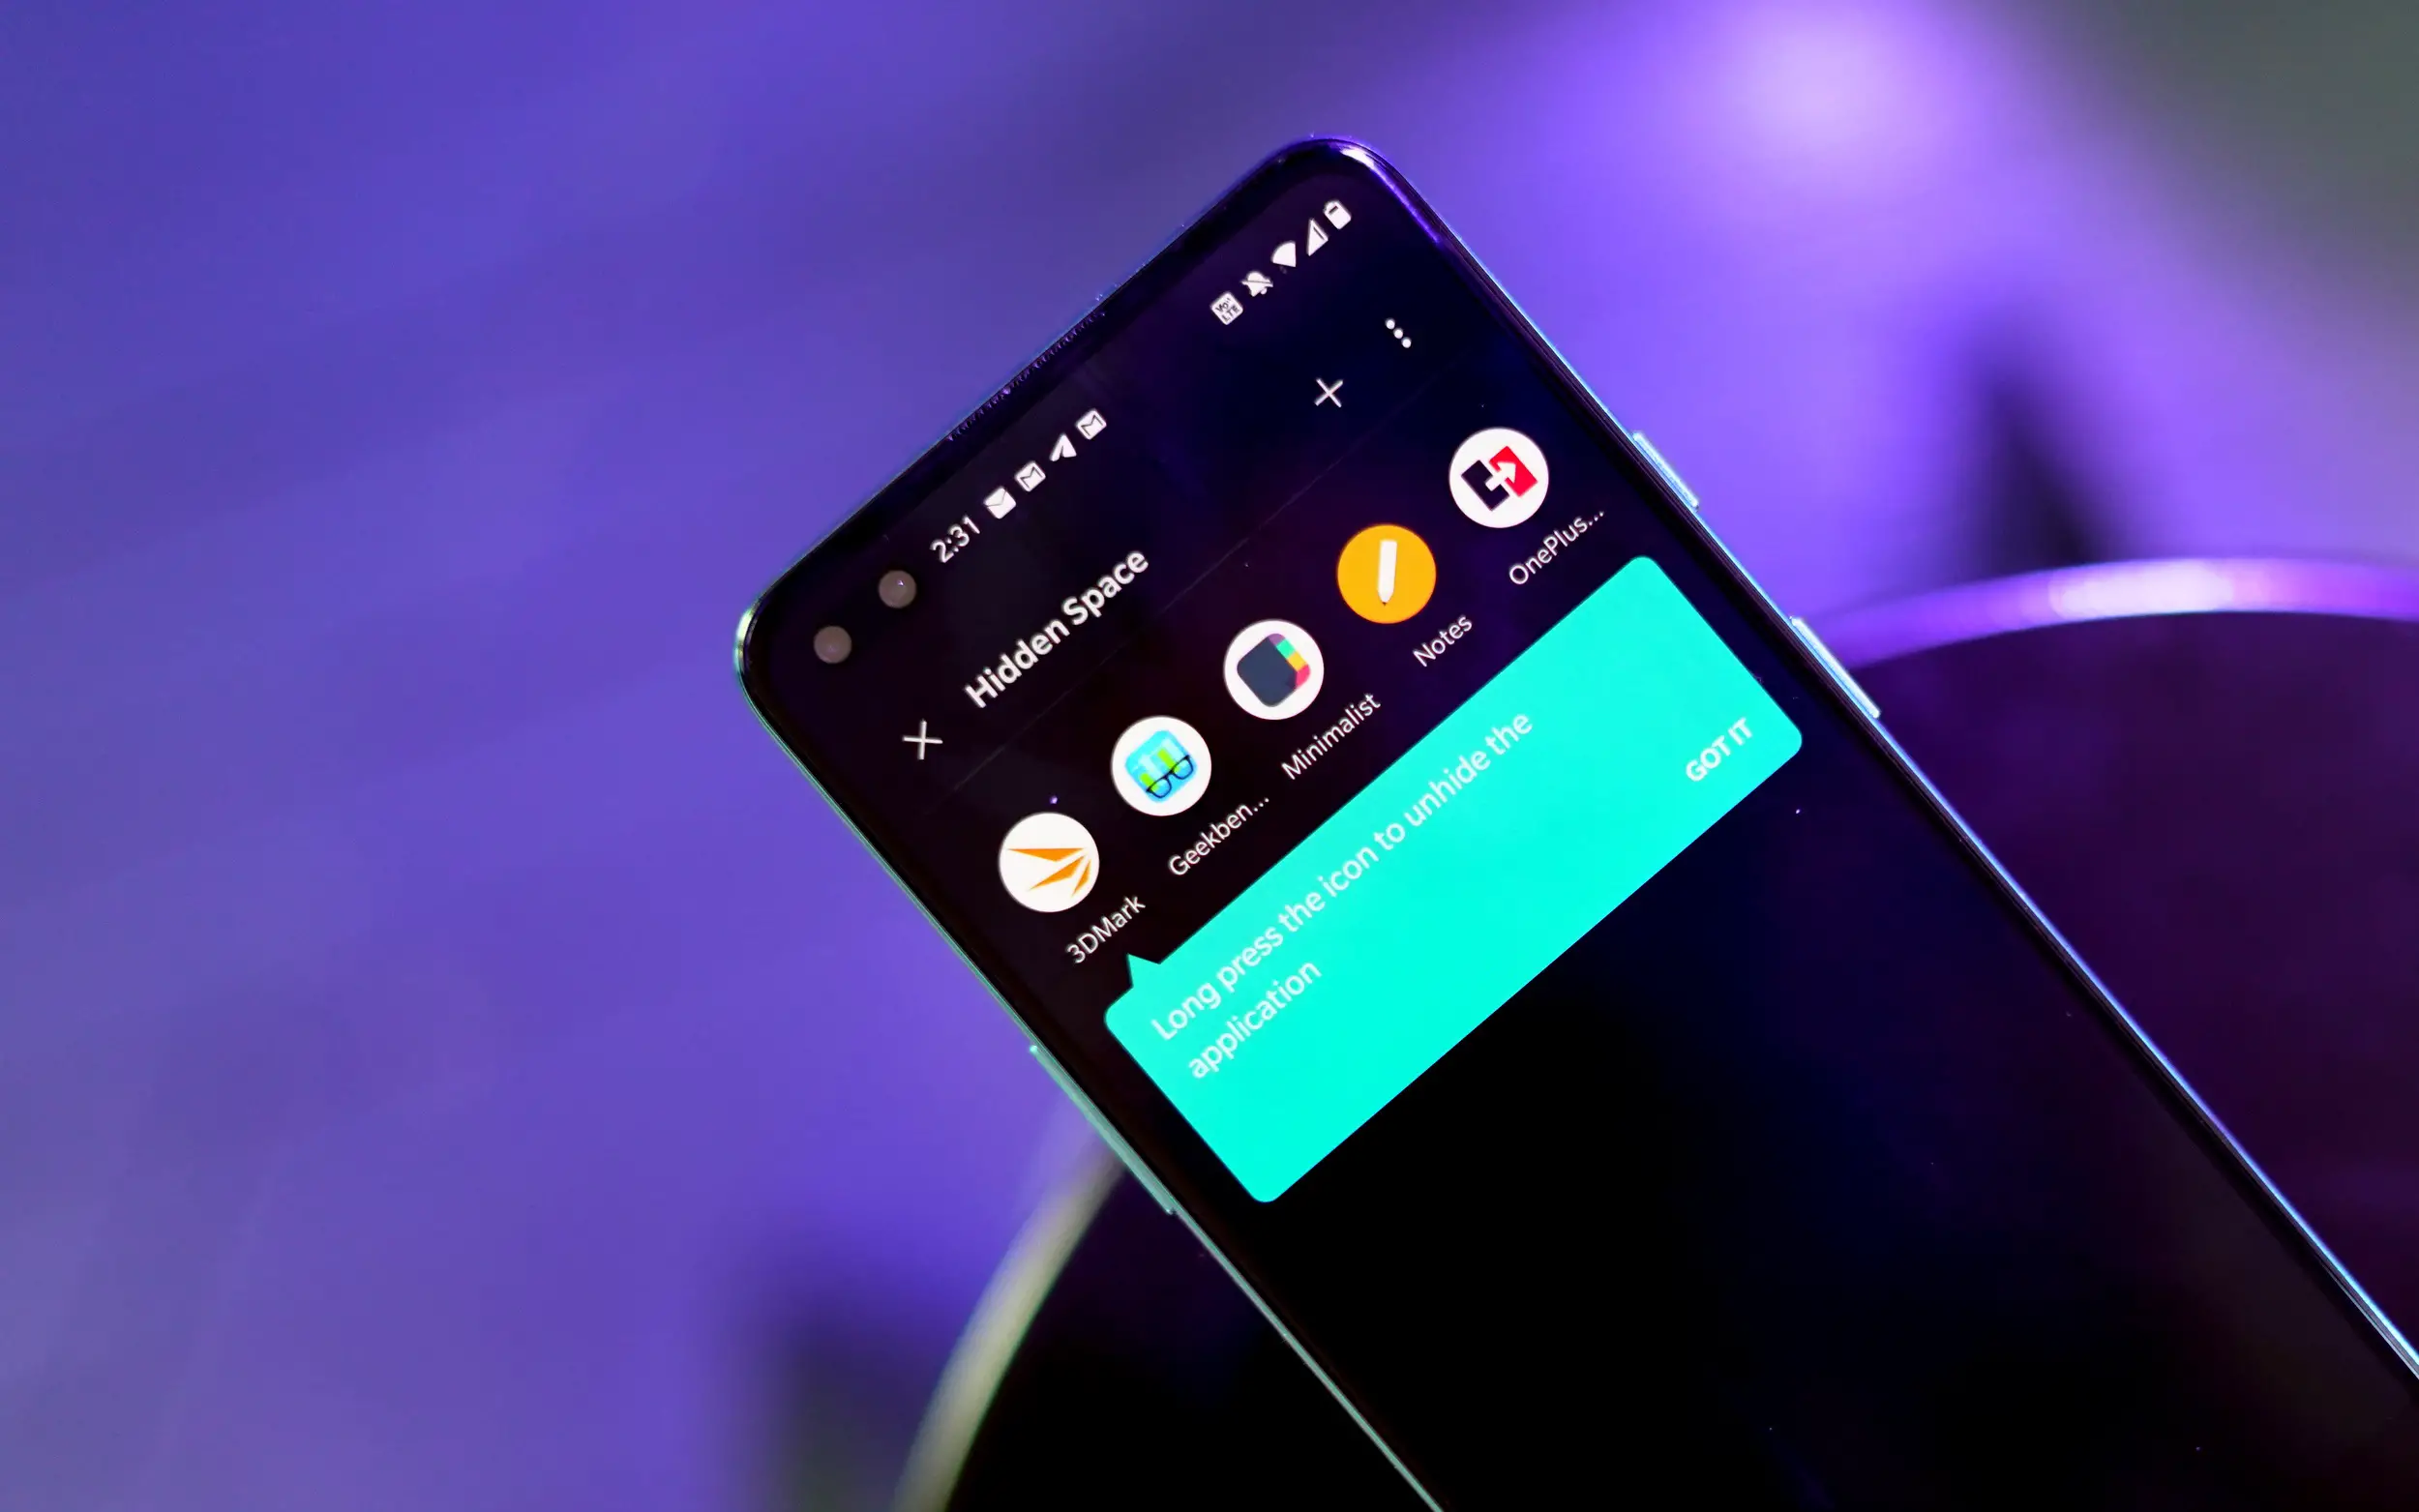
The app drawer on the OnePlus Nord has a neat feature called Hidden Space that allows you to remove apps from your app drawer. This can be extremely convenient if you find yourself drowning in apps that you want installed on your phone but don’t use on a regular basis.
Simply open the app drawer and then swipe right and Hidden Space will appear. Tap the “+” icon in the top right corner to select the apps you want to move from the app drawer to Hidden Space.
As an added bonus, Hidden Space can be password protected, allowing you to keep sensitive apps hidden away so that other people who may use your phone cannot find them.
Enable Ambient Display

The OnePlus Nord doesn’t have an always-on display feature, but you do get Ambient Display which shows the time, date, notification icons and battery percentage when you tap the screen or pick up the phone.
To tun the feature on or change the feature’s variables, go to Settings > Display > Ambient Display.
Turn on Dark Mode
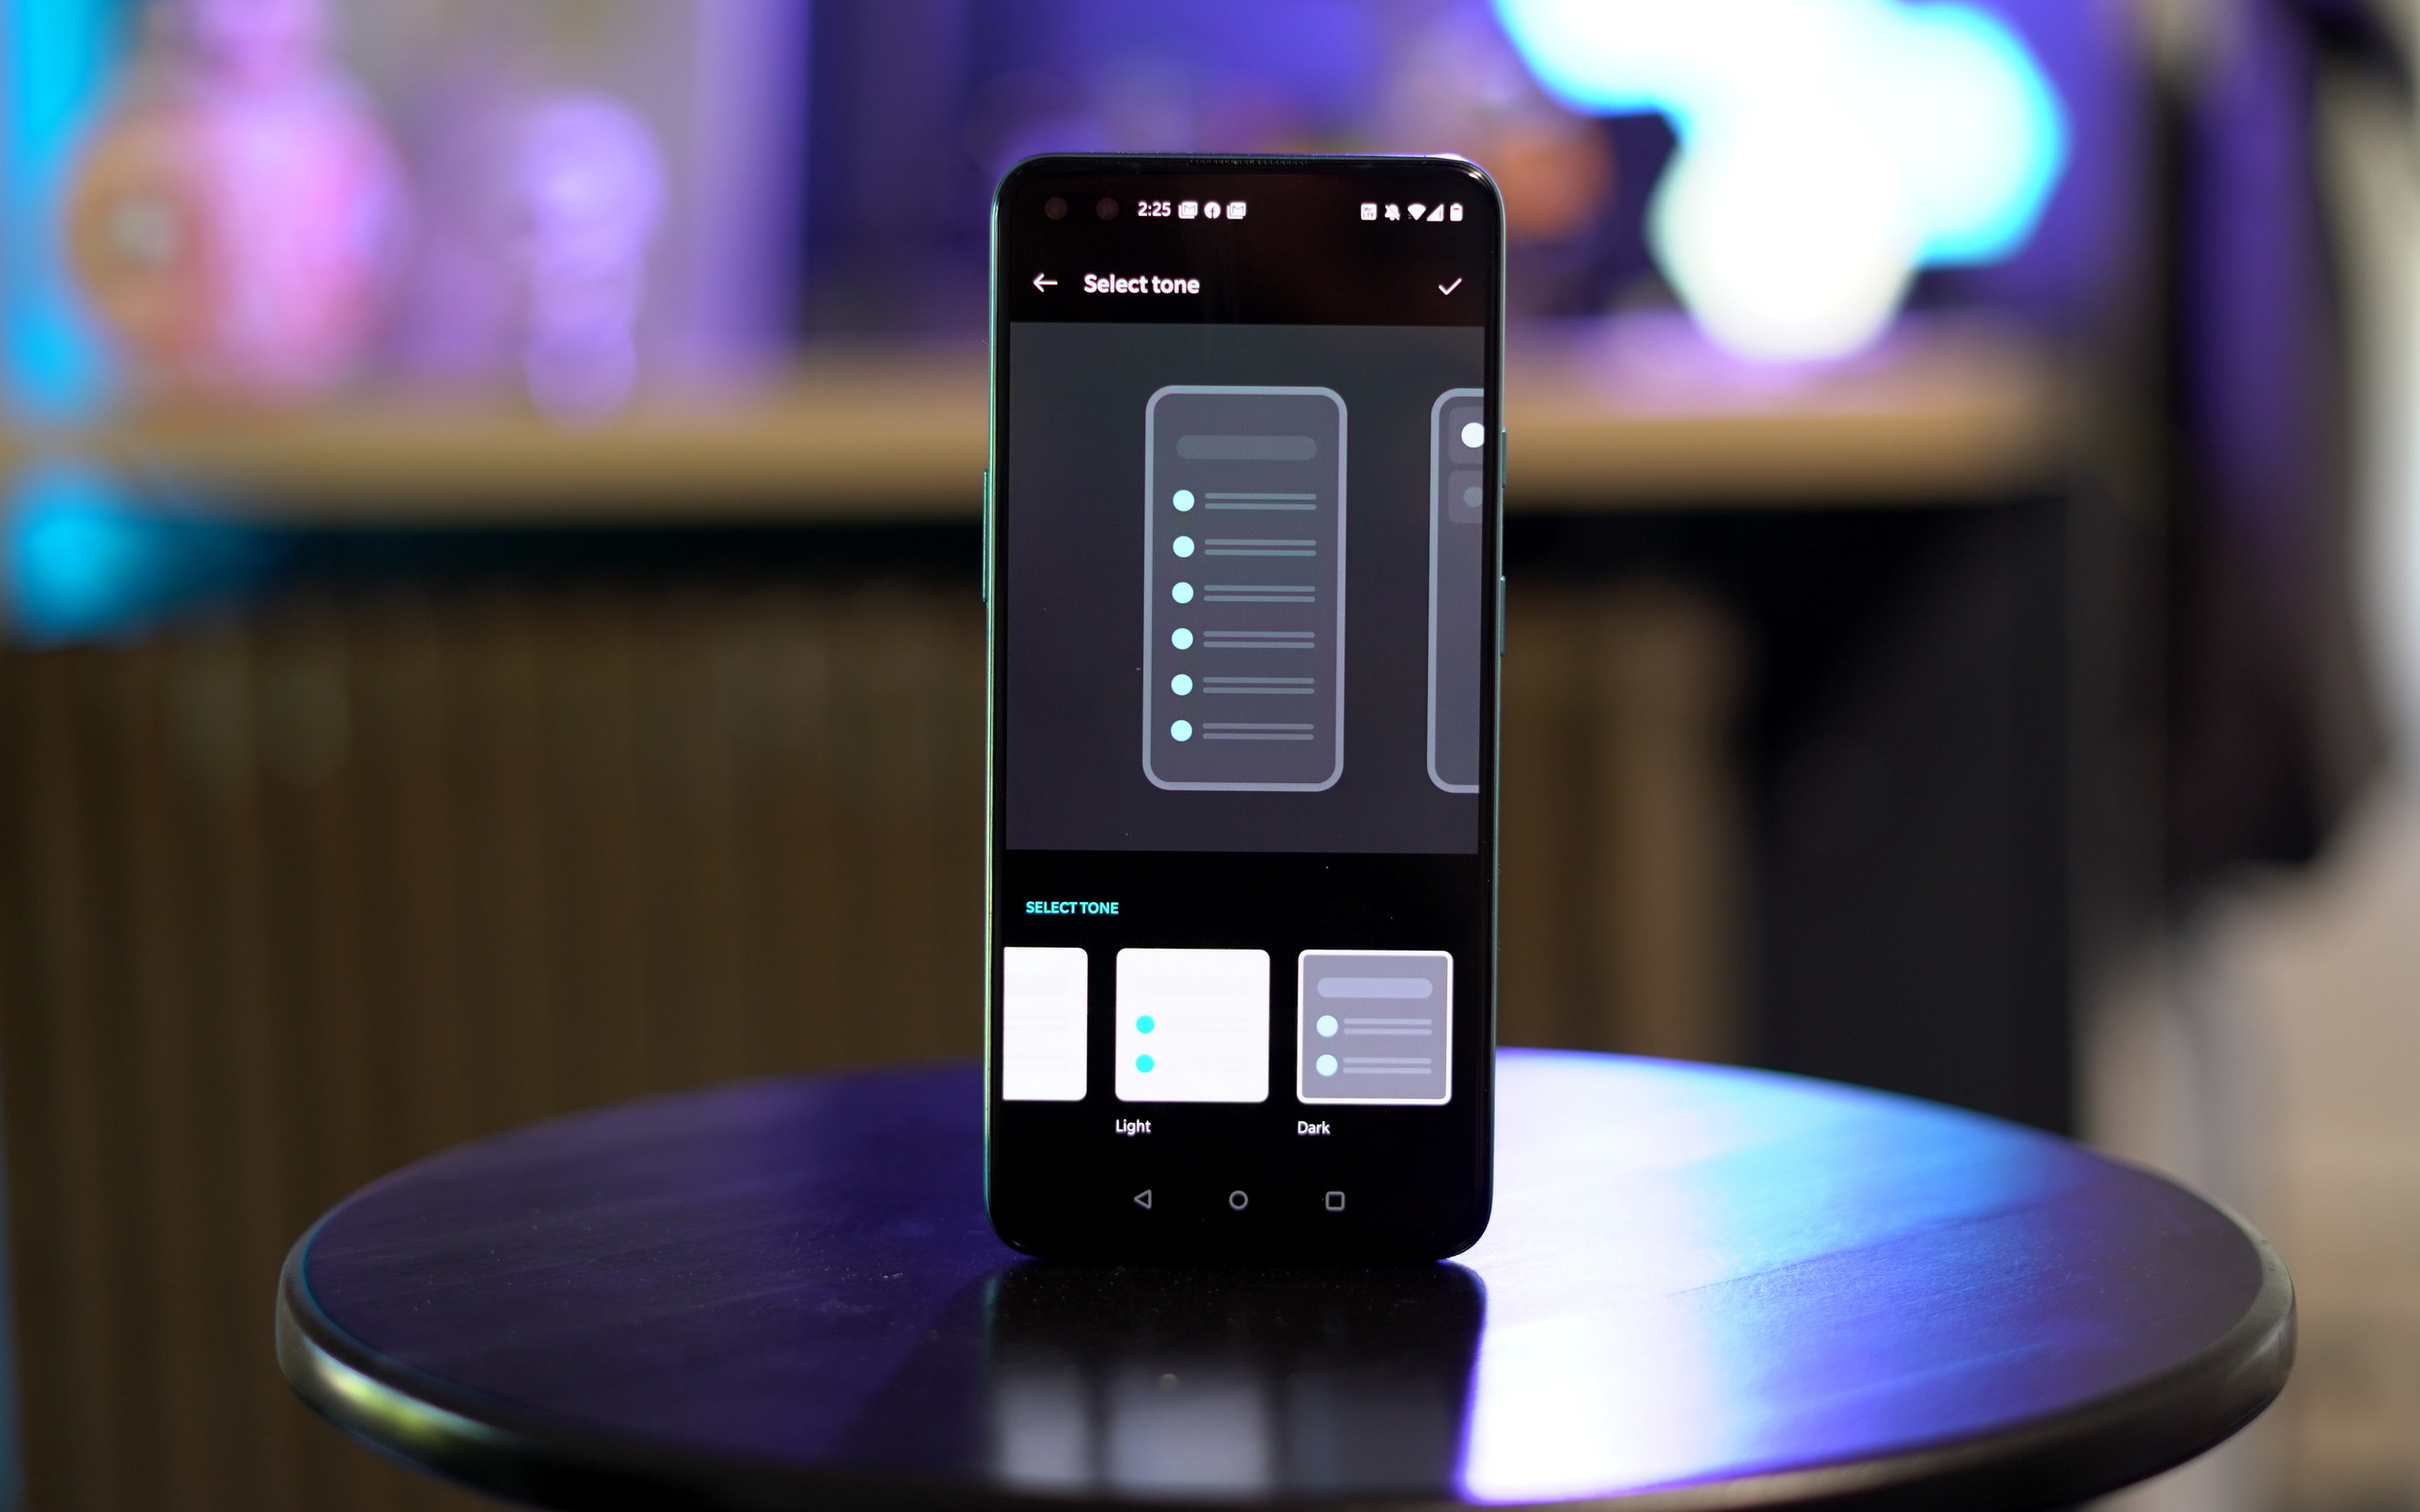
Dark Mode is one of our favorite new features that Google has recently added to the Android operating system. The feature allows you to switch the background in many apps and the phone’s UI from white to black, conserving battery power and making the display easier to view in dark situations.
To make the switch, go to Settings > Customizations > Tone and select Dark.
Change the power button function
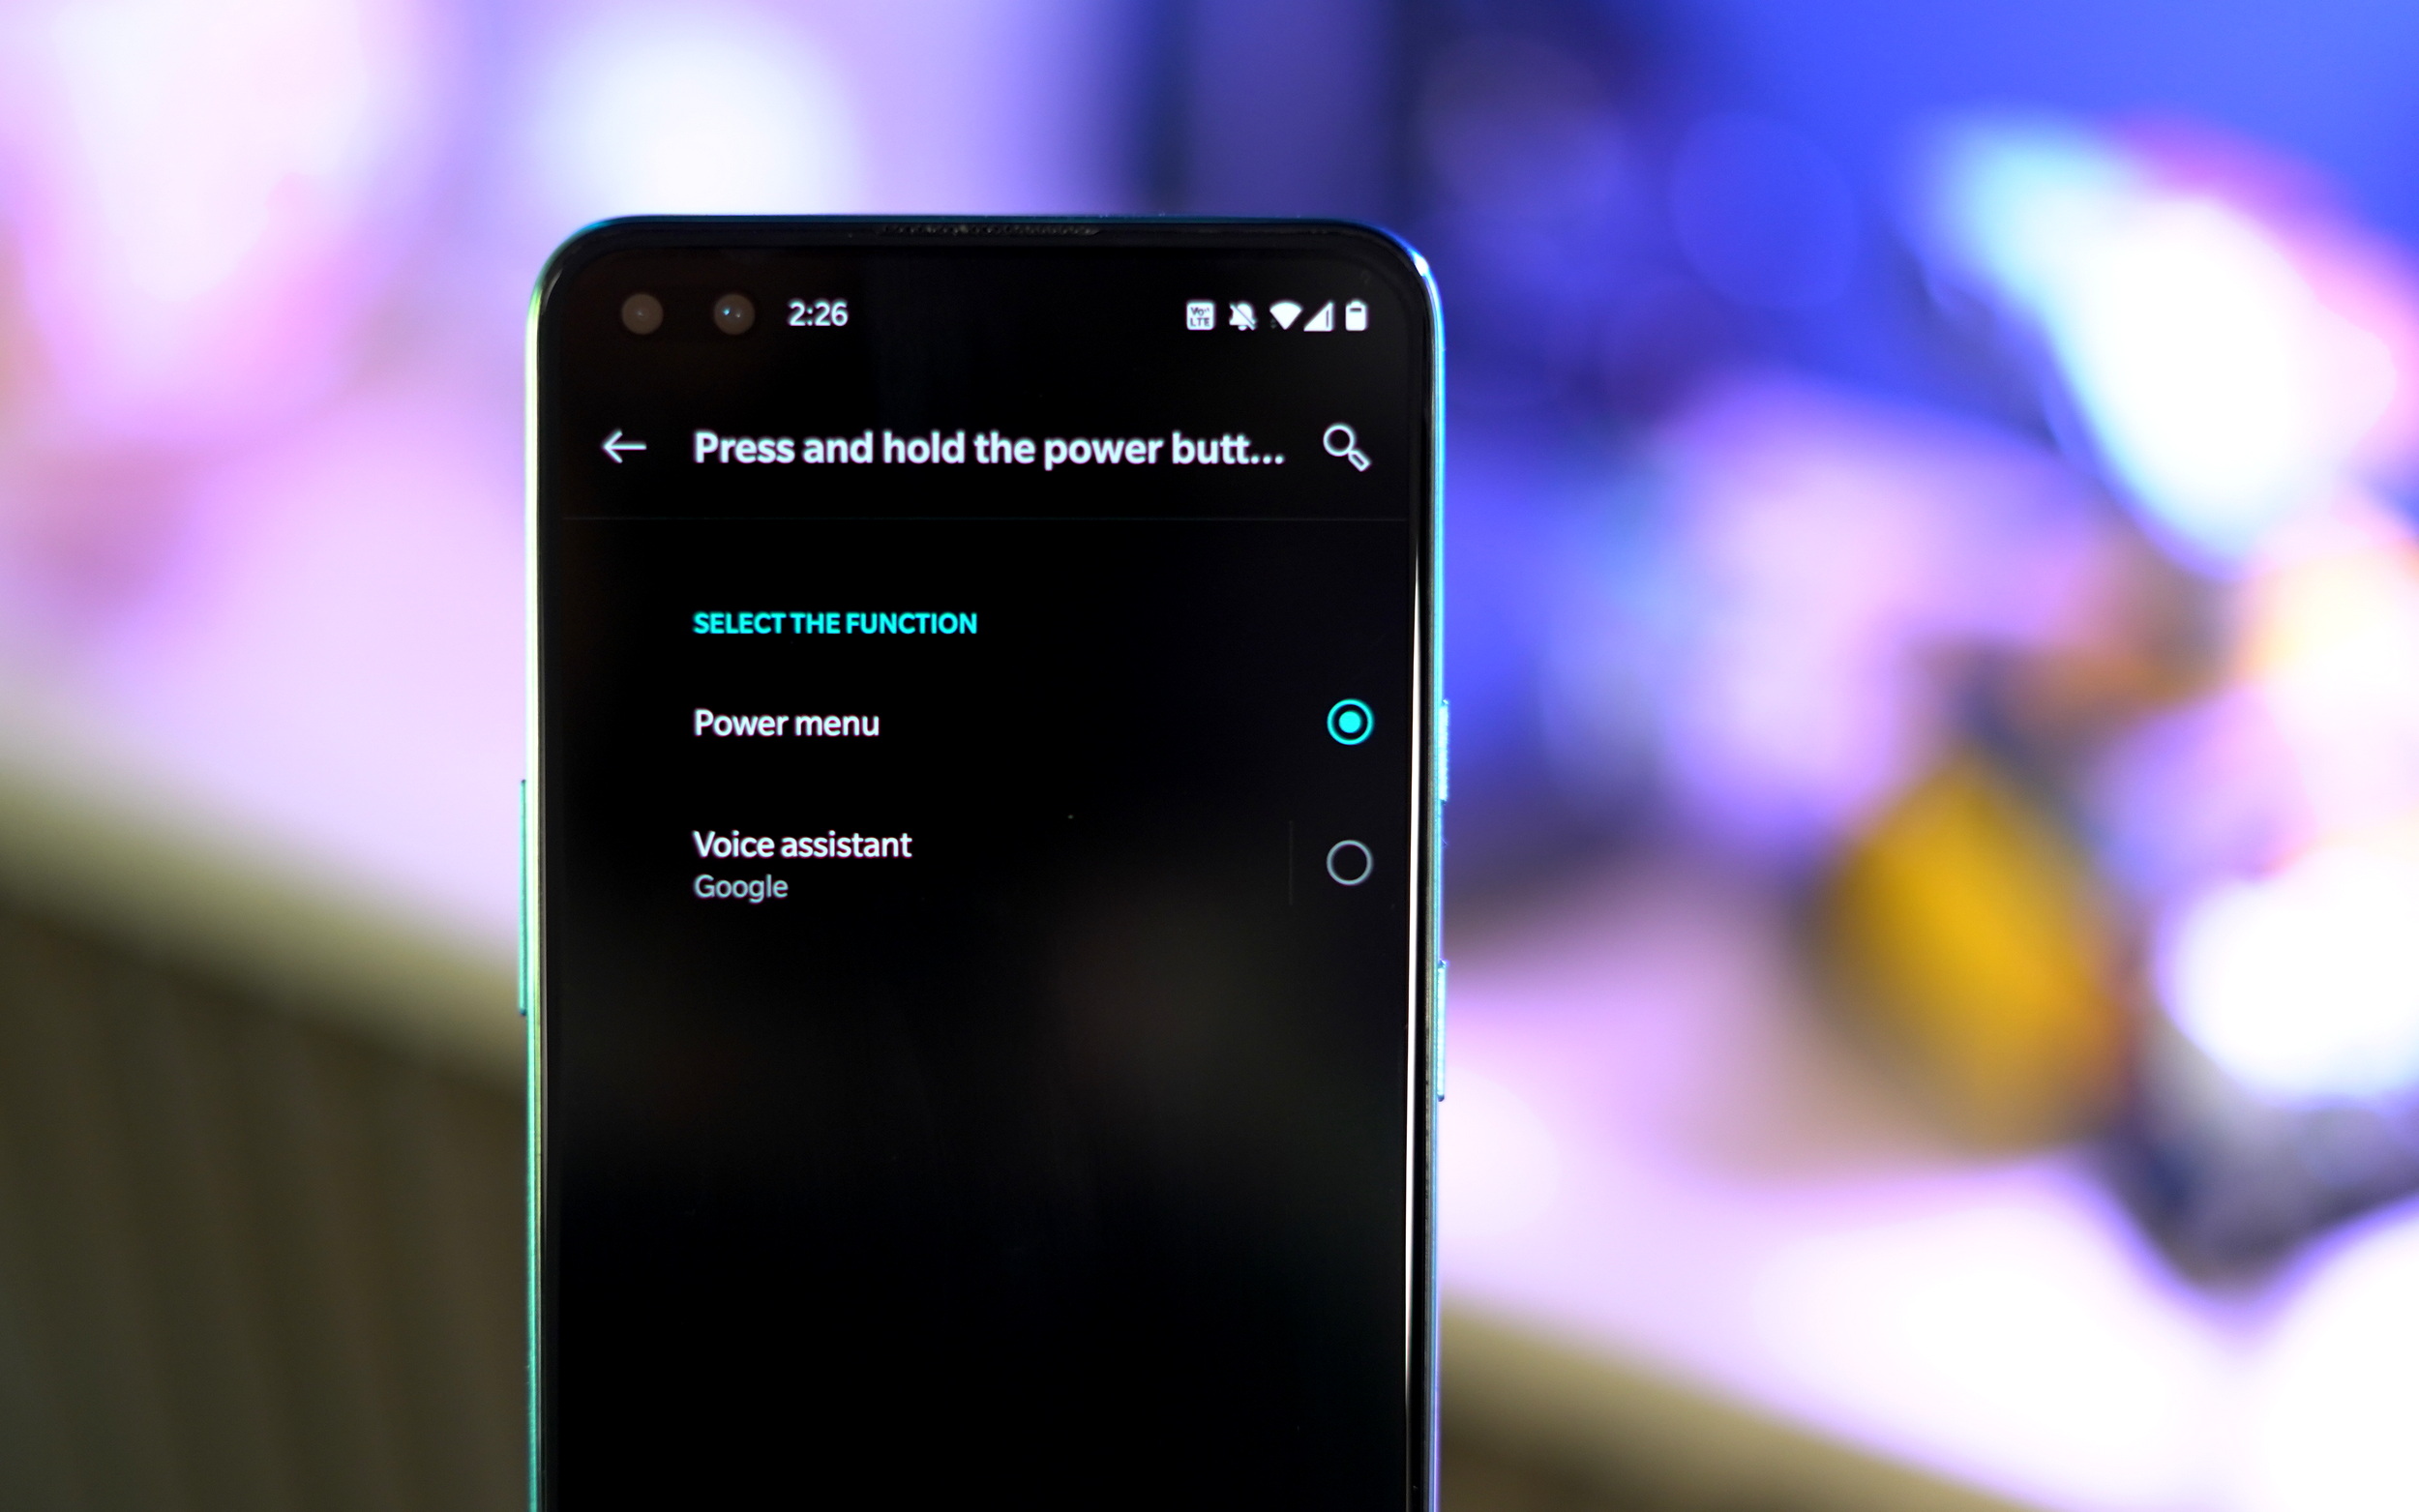
The OnePlus Nord is among a growing number of smartphones that have hijacked the phone’s power button to activate the Google Assistant. To change the long-press functionality of the power button on the OnePlus Nord back to the Power Menu, go to Settings Buttons & Gestures > Press and hold power button > and select Power menu.
Secure your phone with your fingerprint or face unlock
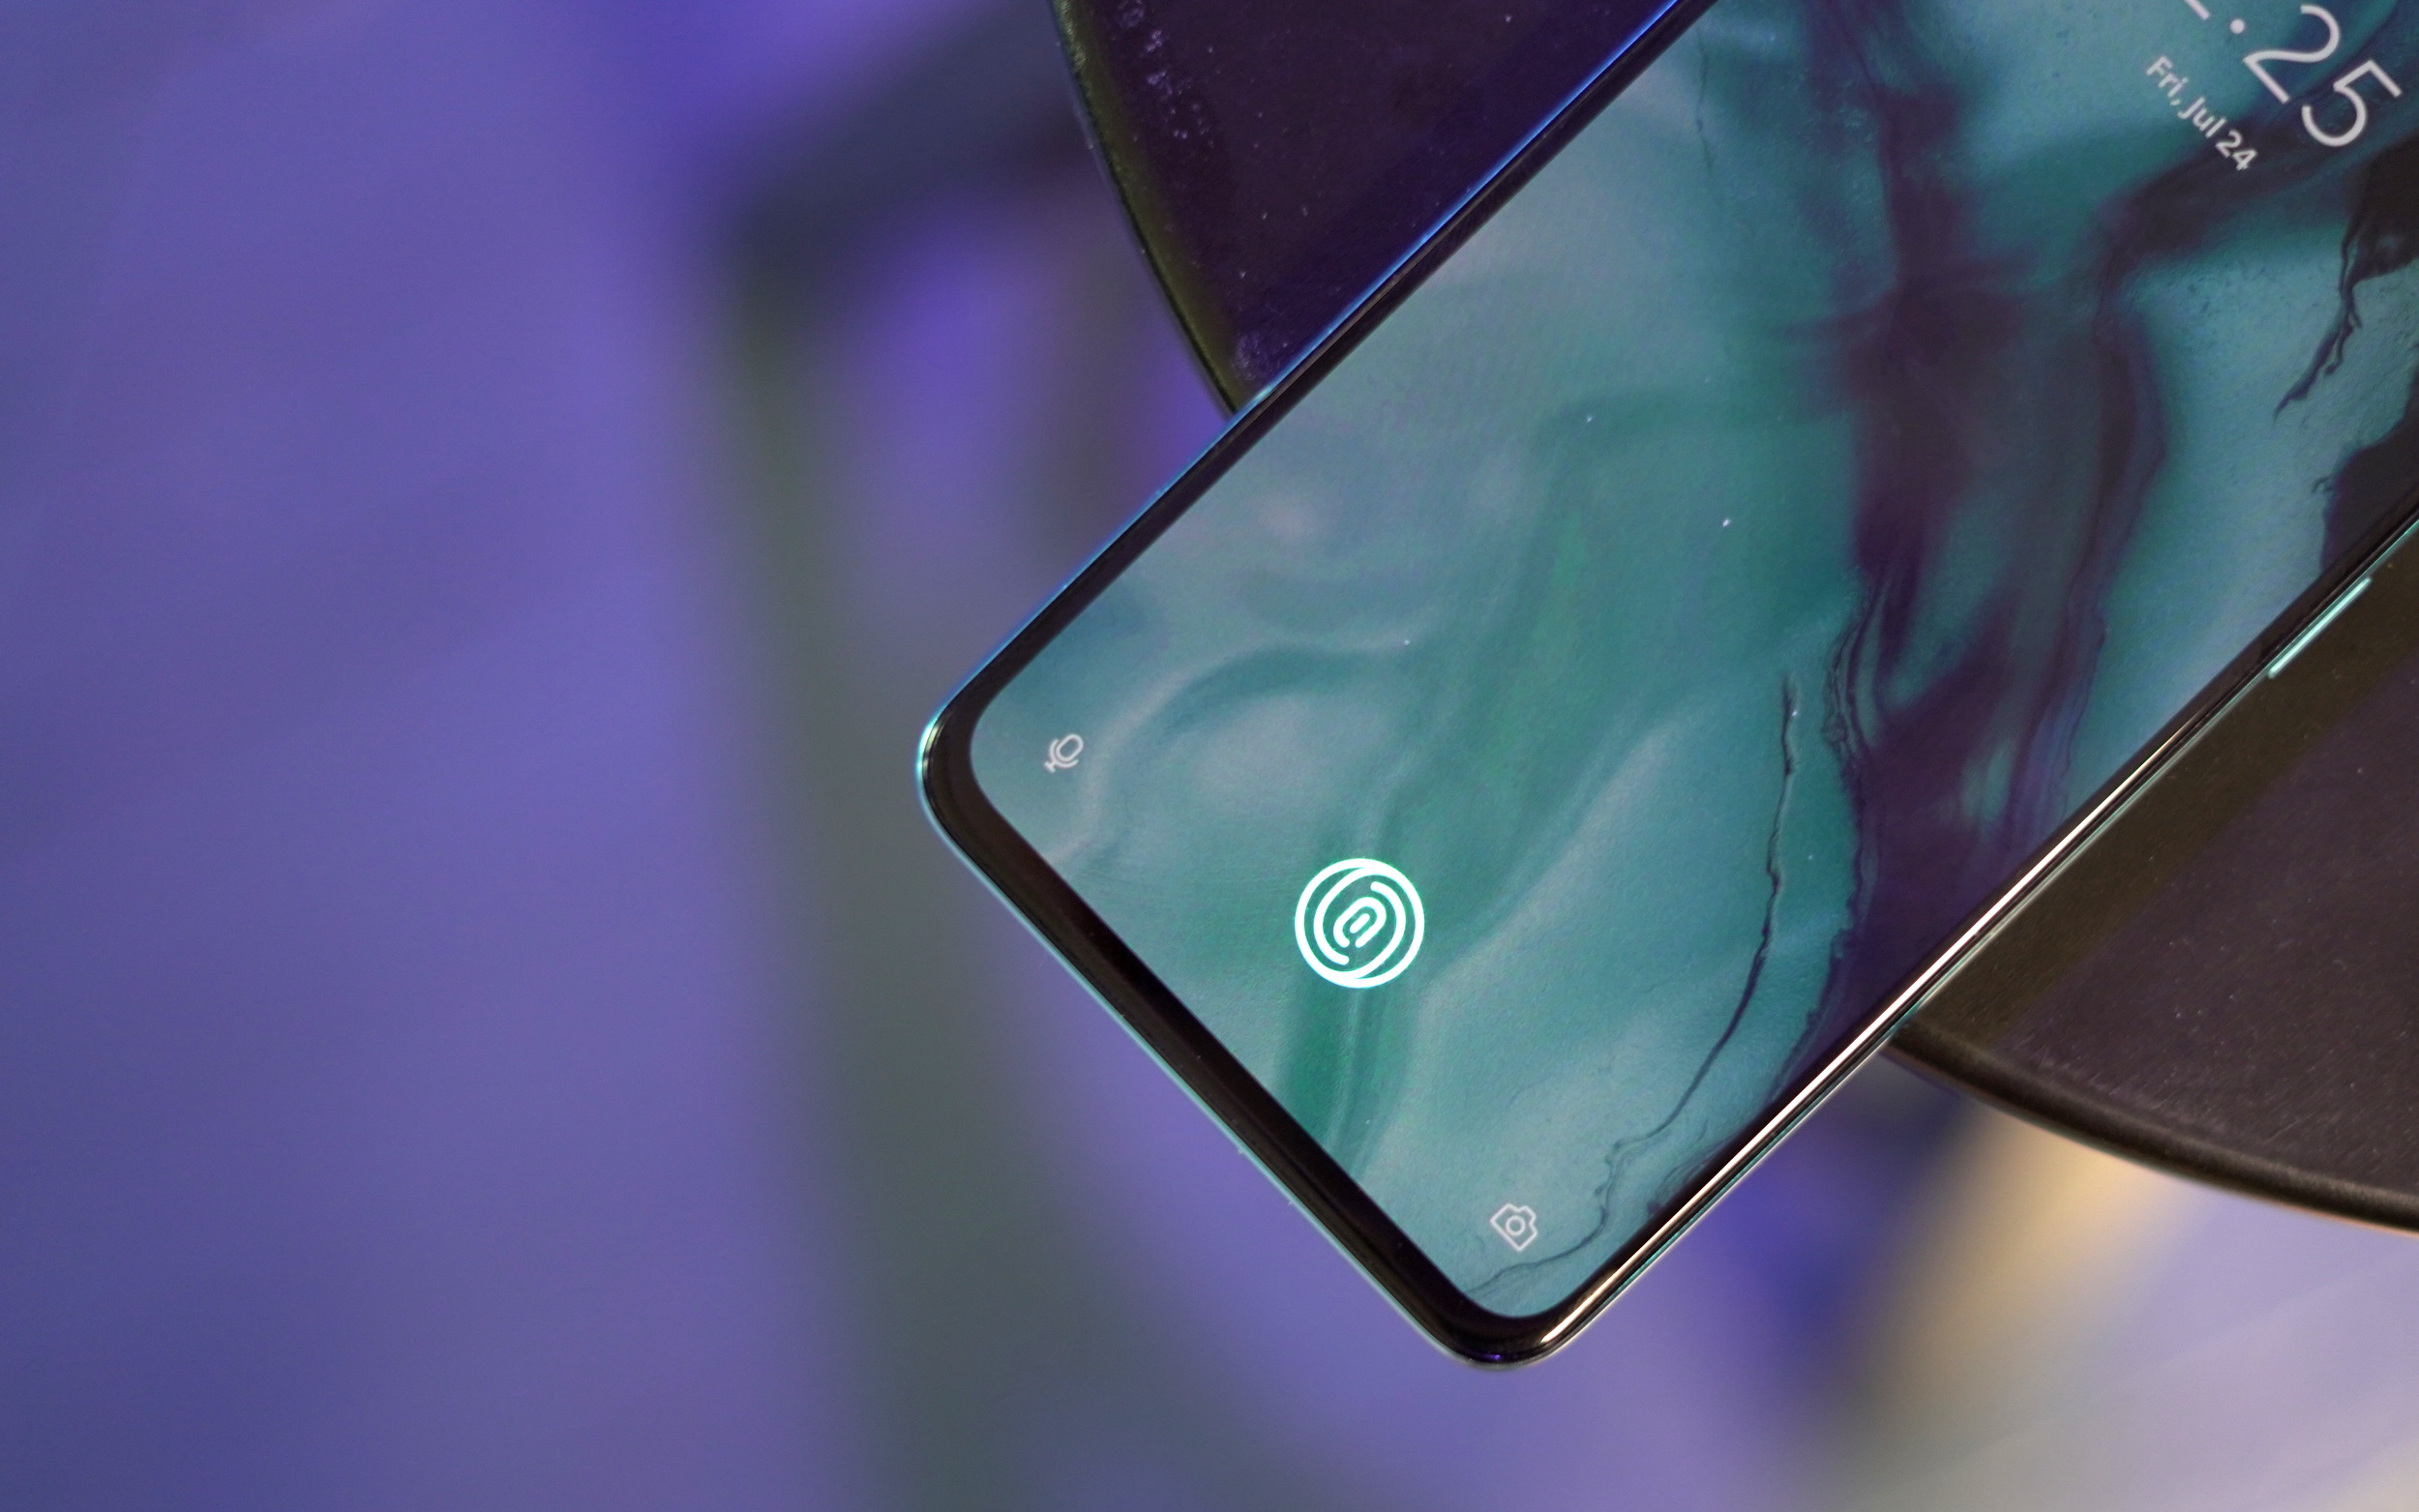
OnePlus gives you the opportunity to set up your fingerprint as a secure locking mechanism for your phone during the Nord’s setup process. If you happen to skip this section the first time you turn the device on, you can jump into Settings > Security & Lock screen > Fingerprint Unlock and follow the instructions to set up your fingerprint on the phone.
Within the Security & Lock screen section, you can also set up Face Unlock as well as a second form of biometric identification in case you have issues unlocking the phone with your fingerprint.
Switch between navigation gestures or buttons
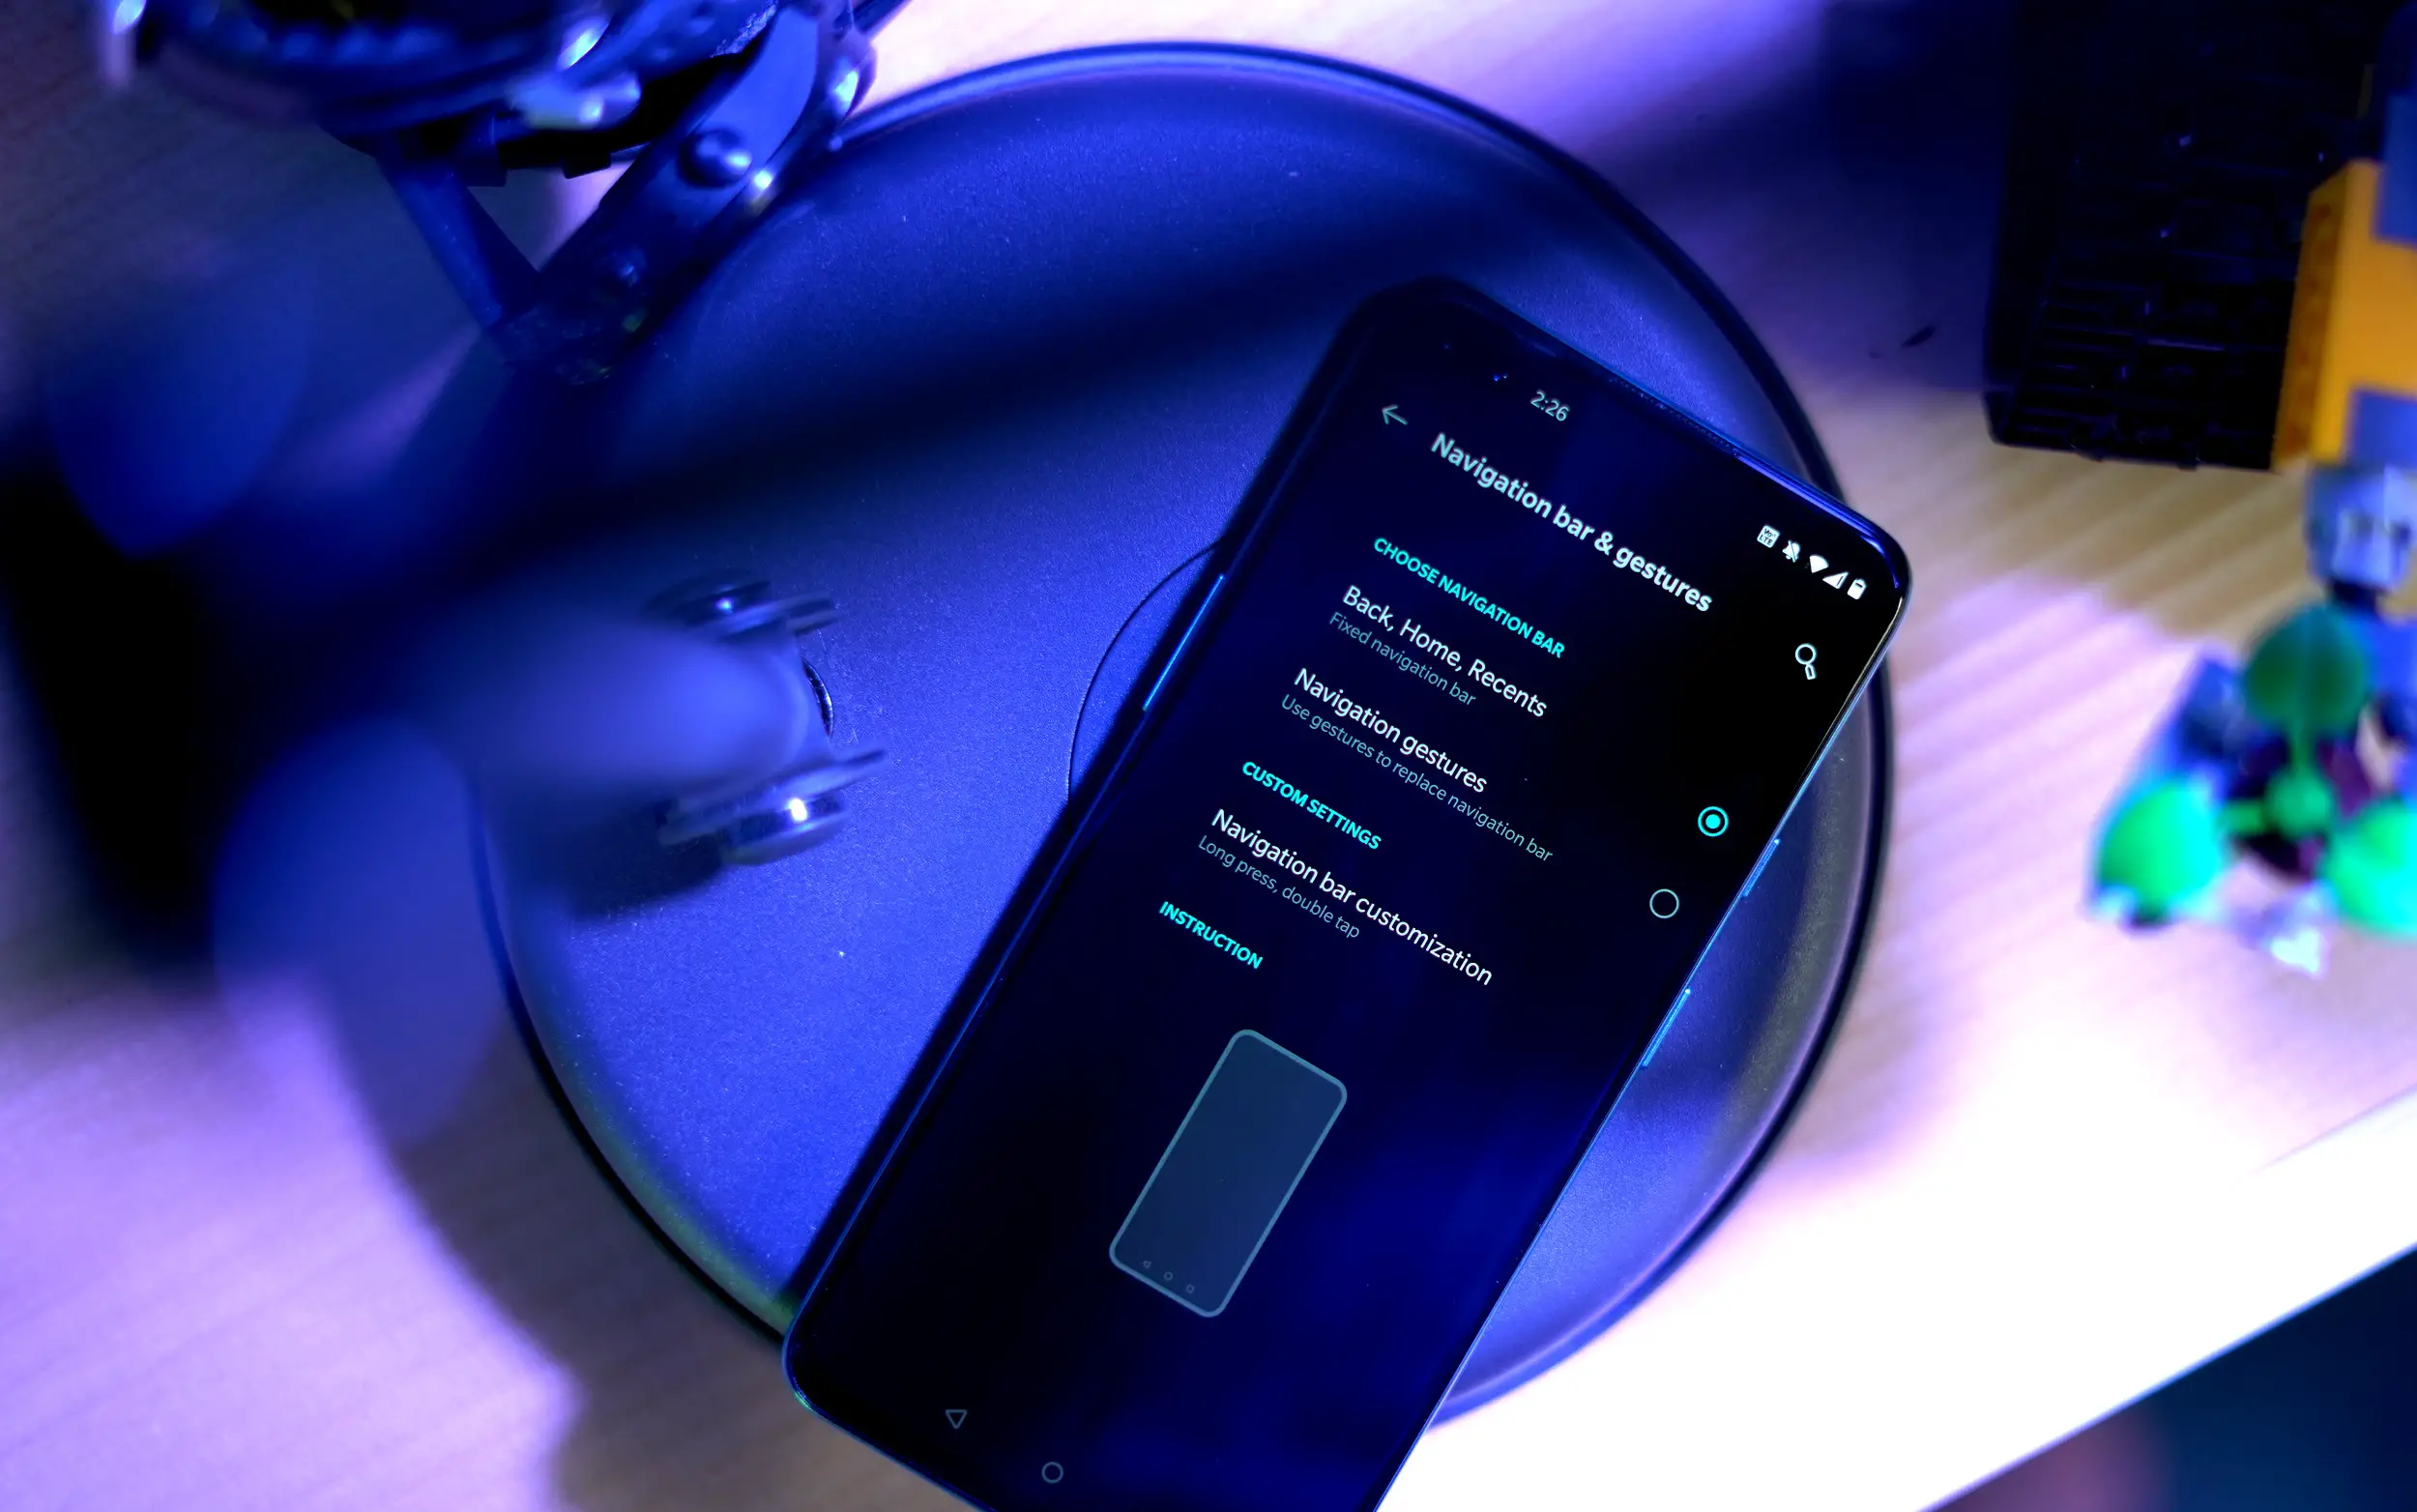
With Android 10, Google is pushing its new navigation gestures rather than the traditional three-button navigation system that Android has been using for years. The new navigation gestures work just fine, but if you’re frustrated with them or simply want to switch back to the old button system, you can make the switch manually.
Open Settings > Buttons & Gestures > Navigation Bar & Gestures and choose the Back, Home, Recents option. Once you’ve made the change, you can customize the functionality even further by tapping on Navigation bar customization to add double-tap or long-press functions to the various buttons.





Comments