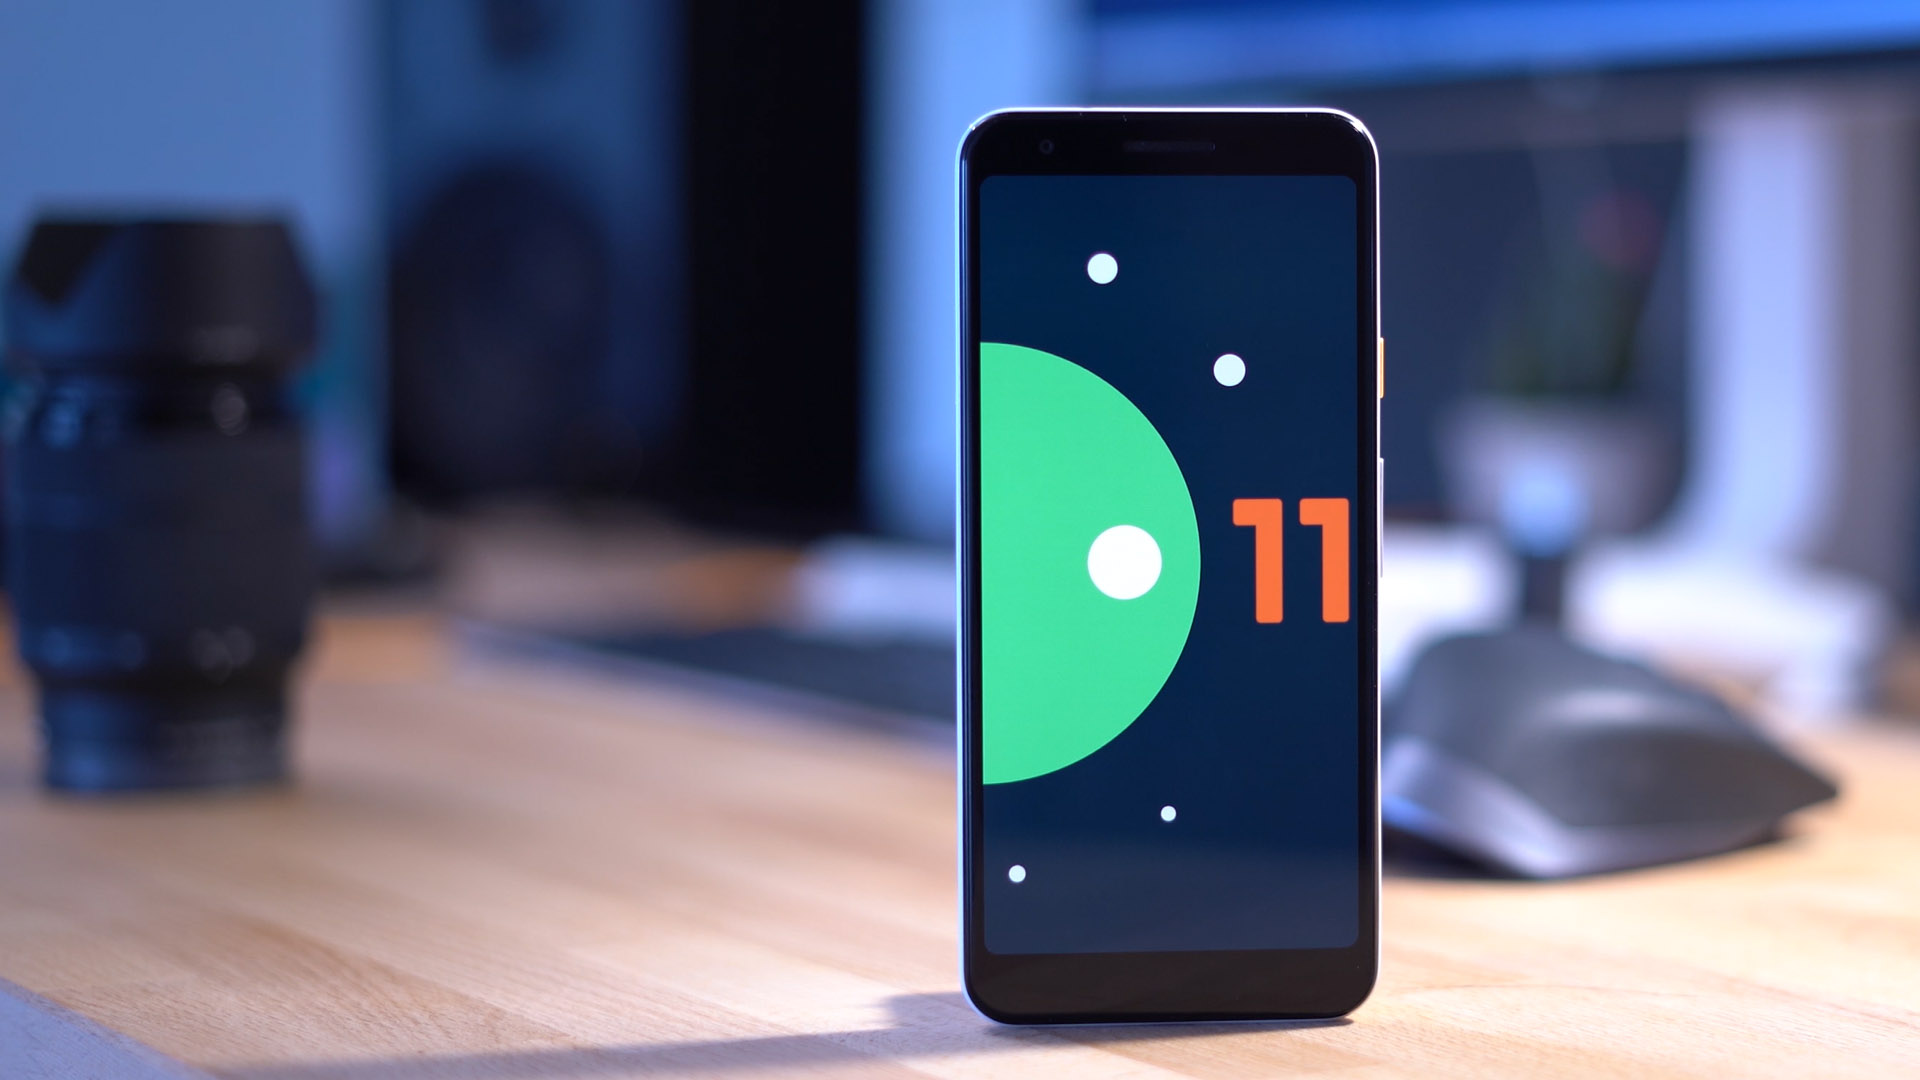
This week, Google released the first Android 11 developer preview for its Pixel phones. Unlike the beta versions of Android which can be installed over the air with a few simple clicks on Google’s developer website, the developer preview installation process is a bit more cumbersome. This article will walk you through the installation process step-by-step and you won’t even need an unlocked bootloader to do it. We’re also put together a video tutorial if you want to visually see the steps required to get the Android 11 developer preview installed on your Pixel smartphone.
Data Backup
The installation of the Android device preview won’t wipe the data, but it’s always good practice to create a backup before you get started. If something happens to go wrong during the Android 11 Developer Preview installation process, a backup will ensure that you won’t lose any of your photos, videos, text messages or any other data you have stored on your phone.
Required links/files
Android 11 Developer preview installation process
PC file prep
- Open the SDK Platform Tools on Google’s Developer website if you don’t have this on your computer already.
- Select the file for your operating system, agree to the terms of service and then press the download button.
- Open zip file and extract the folder inside. You can extract the folder anywhere you want, just make sure you remember where you put it for future reference.
- When the platform-tools folder is extracted, double click on it to open it up.
- Open Google’s Android 11 developer preview device OTA files page
- Click the file for your specific Pixel smartphone, agree to the terms of service and then press the download button.
- Open the folder you download the zip file to, copy the zip file and paste it into the platform-tools folder that we left open
Smartphone Prep
- On your Pixel smartphone go to Settings > About phone and scroll to the bottom
- Tap Build number 7 times to enable Developer Mode
- Go the Settings > System > Advanced > Developer options and turn on USB debugging
- Long press the power button and tap Restart
- Press and hold the Volume Down rocker while the phone reboots
- When the phone reboots to Fastboot Mode use the volume rocker to navigate to Recovery Mode and press power button to select
- On the next screen (Android on its back), press and hold the Power and Volume Up buttons
- Hold buttons for five seconds and then release the Volume Up button to enter Recovery Mode menu
- Use volume rocker to highlight Apply Update from ADB
- Press Power Button make your selection
- Connect your Pixel smartphone to your PC with a USB C cable
Android 11 installation from PC
- On your computer, click on the zip file we copied over to the platform-tools folder
- Highlight the name of the file and the zip extension and press Ctrl + C to copy the file name
- Click in the folder’s navigation bar, type CMD and then press enter
- In the command prompt window that opens, type adb devices and press enter to verify that your phone is connected properly
- Type adb sideload and press Ctrl + V to paste the zip file name
- Press enter to start the Android 11 Developer Preview installation.
The process should take 10 minutes. You can keep up with the installation with the percentage counter in the command prompt window. Once it’s done, your phone will switch back to the Recovery Mode screen. Press the power button to reboot it and your pixel will finish the final installation as it boots up.


Comments