
One of the best parts about smartphones nowadays is the amount of customization that is available by default. Gone are the days of workarounds that required far too many steps just to change basic settings such as ringtones.
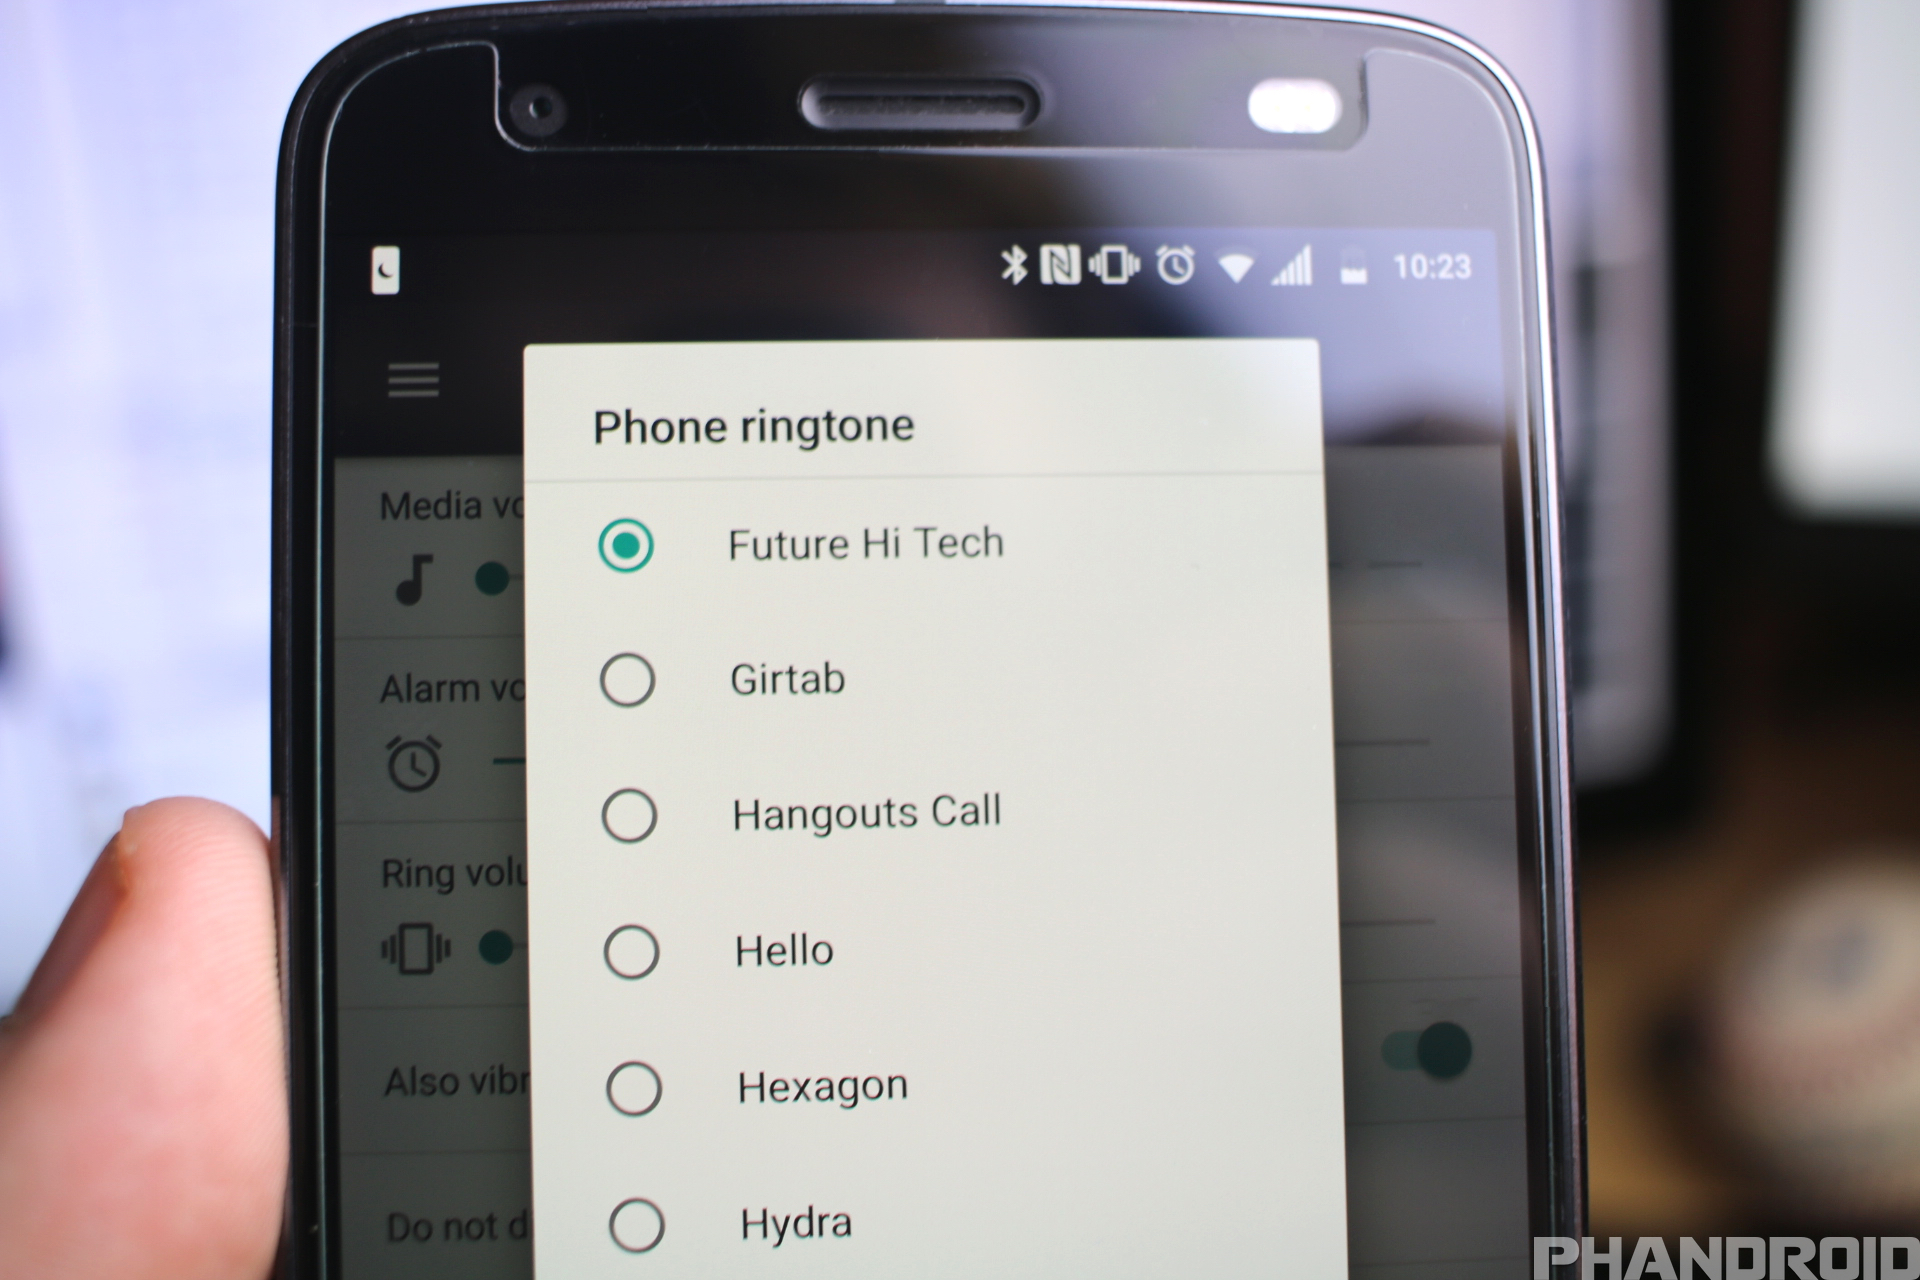
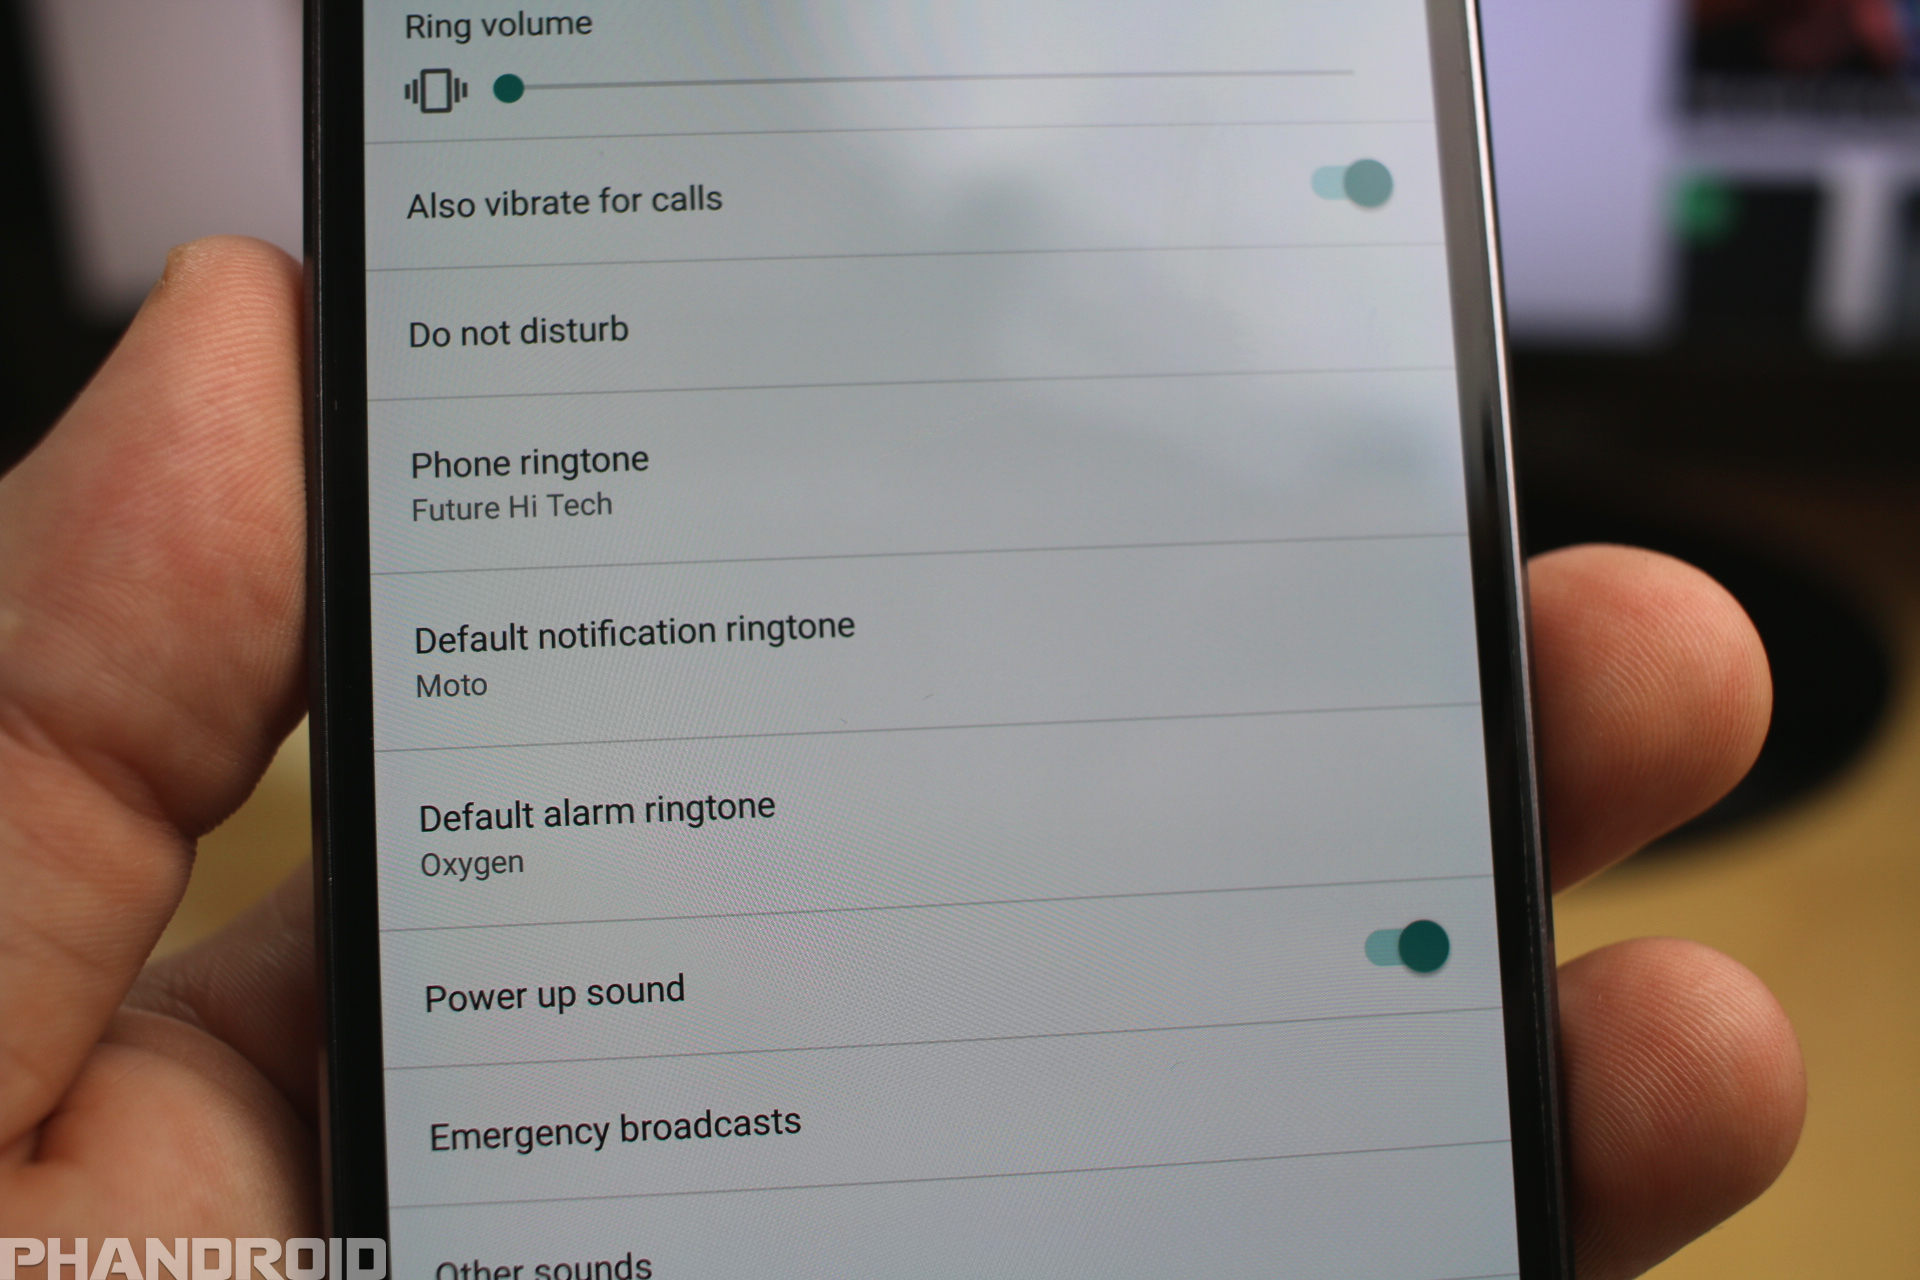
The steps for changing a ringtone on your Android device is pretty simple and can be done on just about every Android smartphone today. Starting off, we’re going to be looking at the steps needed to take to change your ringtone for any phone call coming through.
- Open Settings
- Scroll to Sound
- Select Phone Ringtone
- Select your ringtone of choice
- Tap Save
However, there is even more customization possible, as you can actually assign specific ringtones to your favorite contacts. This means you’ll be able to have one ringtone for any phone call, and a different one entirely for specific contacts that you choose.
In order to change this, follow these steps:
- Open your Contacts
- Select a contact
- Tap the three-dot overflow button in the top right
- Select Set ringtone
- Pick a ringtone that fits your contact
- Tap Save
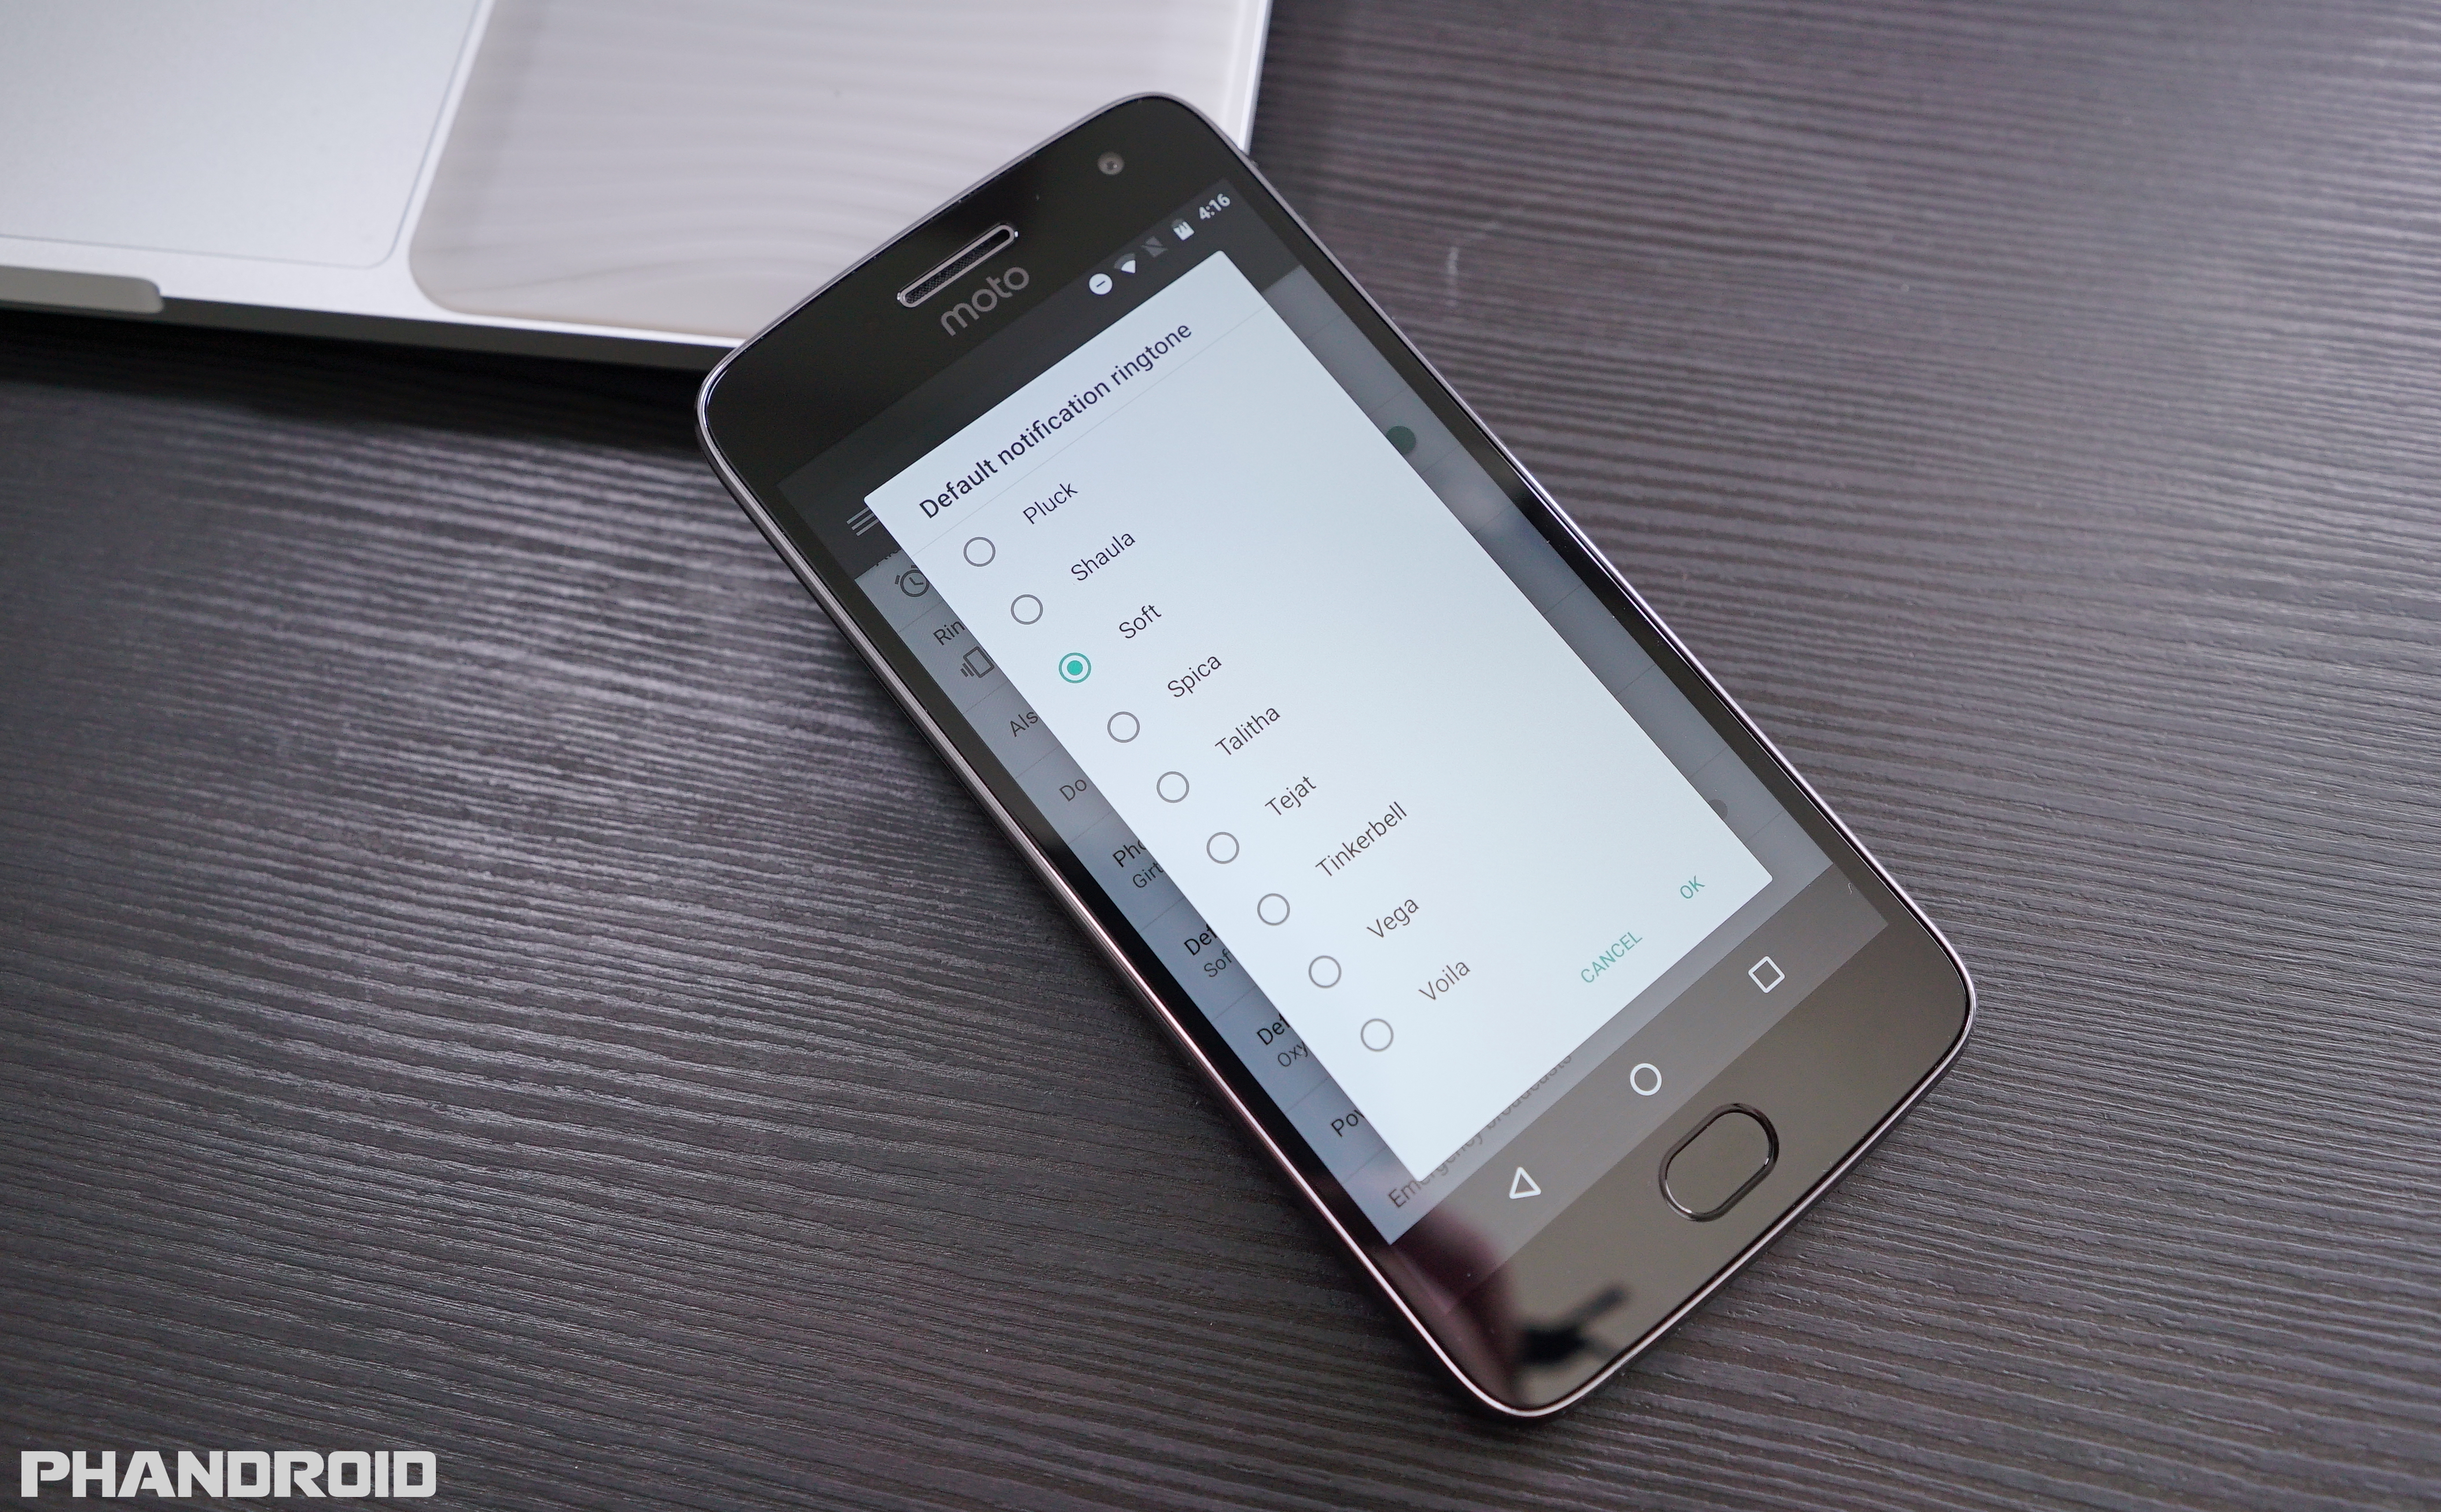
Finally, since there aren’t too many folks who still actually place phone calls on a regular basis, this leaves us to listening to various notification chimes throughout the day. As is the case with ringtones, you can actually switch up your notification sounds and move away from the default options.
- Open Settings
- Select Sound
- Tap Advanced
- Tap Default notification sound
- Select a sound to use
- Tap Save
From there, you will now have a new default notification sound that will be used across all notifications. There are some Android apps which allow you to change the notification sounds within the app.
These settings will be found within the app itself, meaning that you won’t be able to adjust them from your phone’s settings application. Nonetheless, you can explore your most-used applications to determine whether you can switch the default sounds.
