
Unexpected things in life happen all of the time and while it’s impossible to anticipate all of them, it’s always best to be prepared. One of the most important things you can do on your smartphone is backup your data.
Whether it’s photos, contacts, messages, or anything else stored on your phone, backing up your data and storing it safely in the cloud can help prepare you for disaster. Even when it comes time to upgrade your phone or switch to something different, you’ll be glad you backed up most of your important data in the cloud where it can be safely restored to your new phone.
Backing up photos and videos
Easily the most important data in need of backing up are your photos and videos. Once lost, these memories can never be replaced, so it’s important you have them tucked away in the cloud. While there are various apps and services you could use to backup this media to the cloud, the easiest and most affordable option is Google Photos.
Google Photos offers unlimited high-quality photo backups and videos up to 1080p, making it the perfect solution for backing up and offloading your media with the added benefit of freeing up precious internal storage. Since Google Photos comes pre-installed on most Android devices, it should already be in your app drawer under “Photos.” If it’s not already on your device, you can download it from the Google Play Store right here.
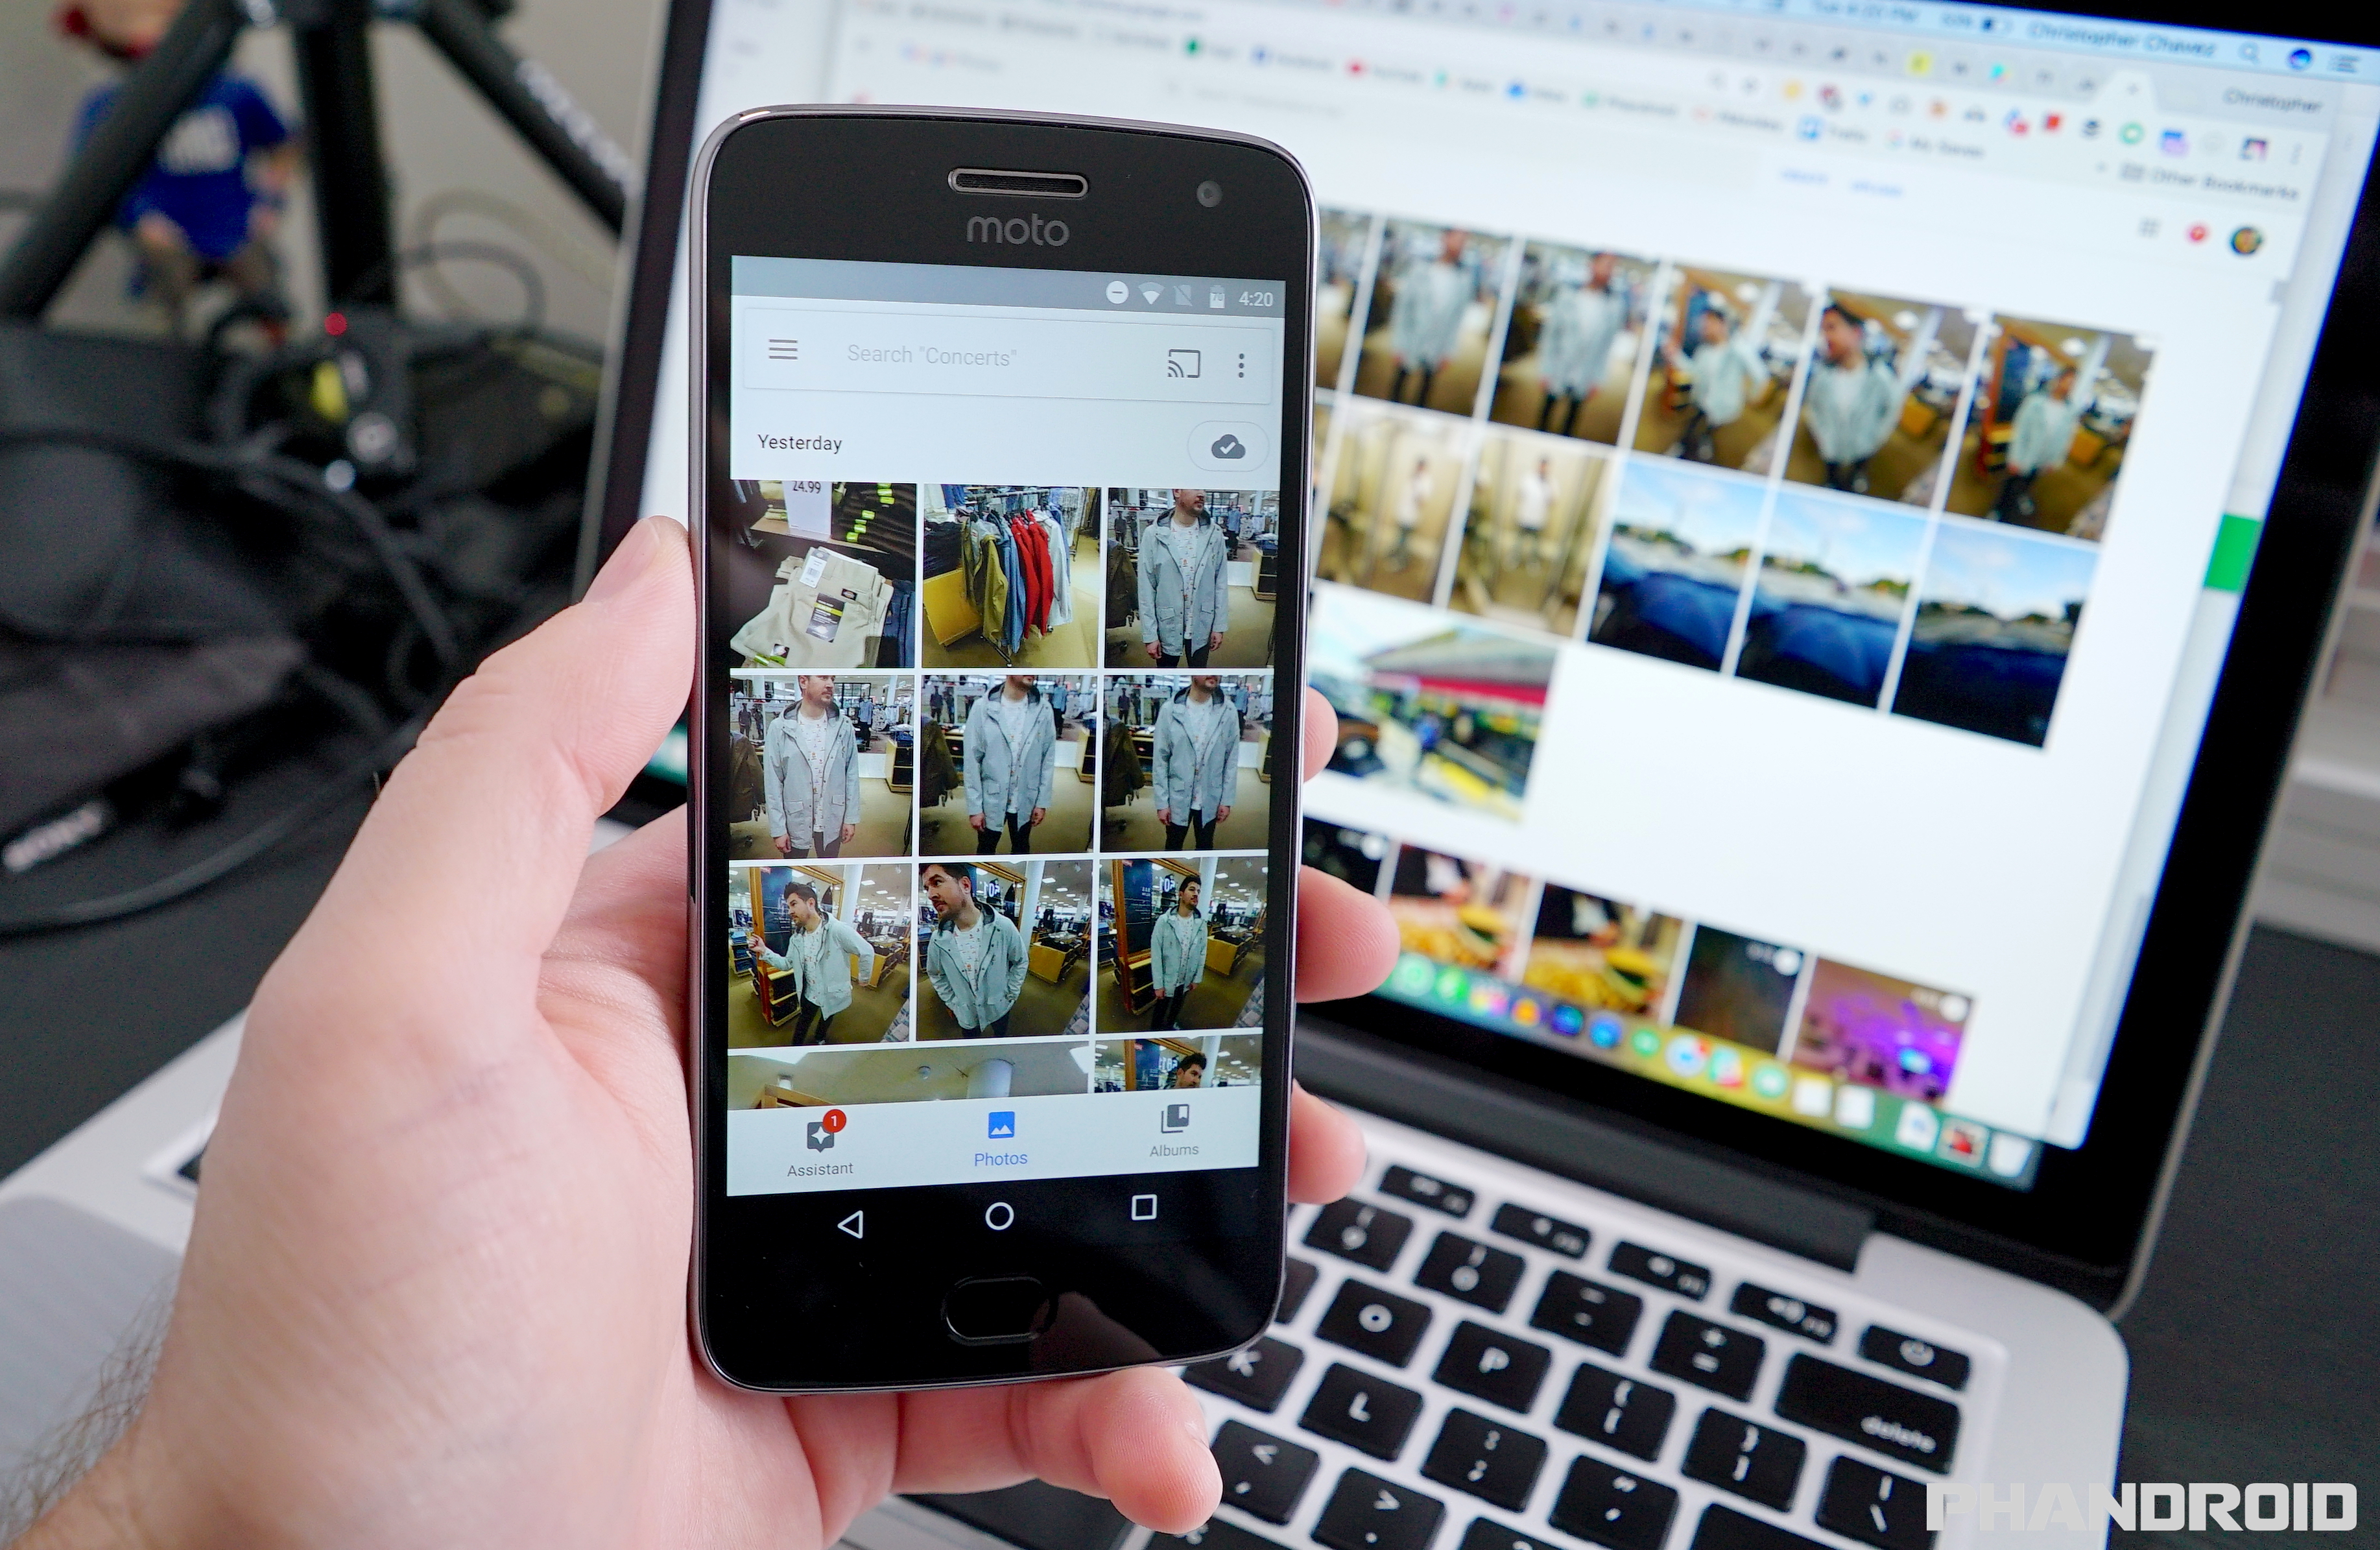
When you first open Photos, you’ll be presented with a chronological timeline of your camera roll — everything that’s both stored on your phone itself and media backed up to the cloud. To enable the backing up of photos and videos from your camera roll, you’ll first need to turn it on. You can do this by following these simple steps:
- Open the Photos app
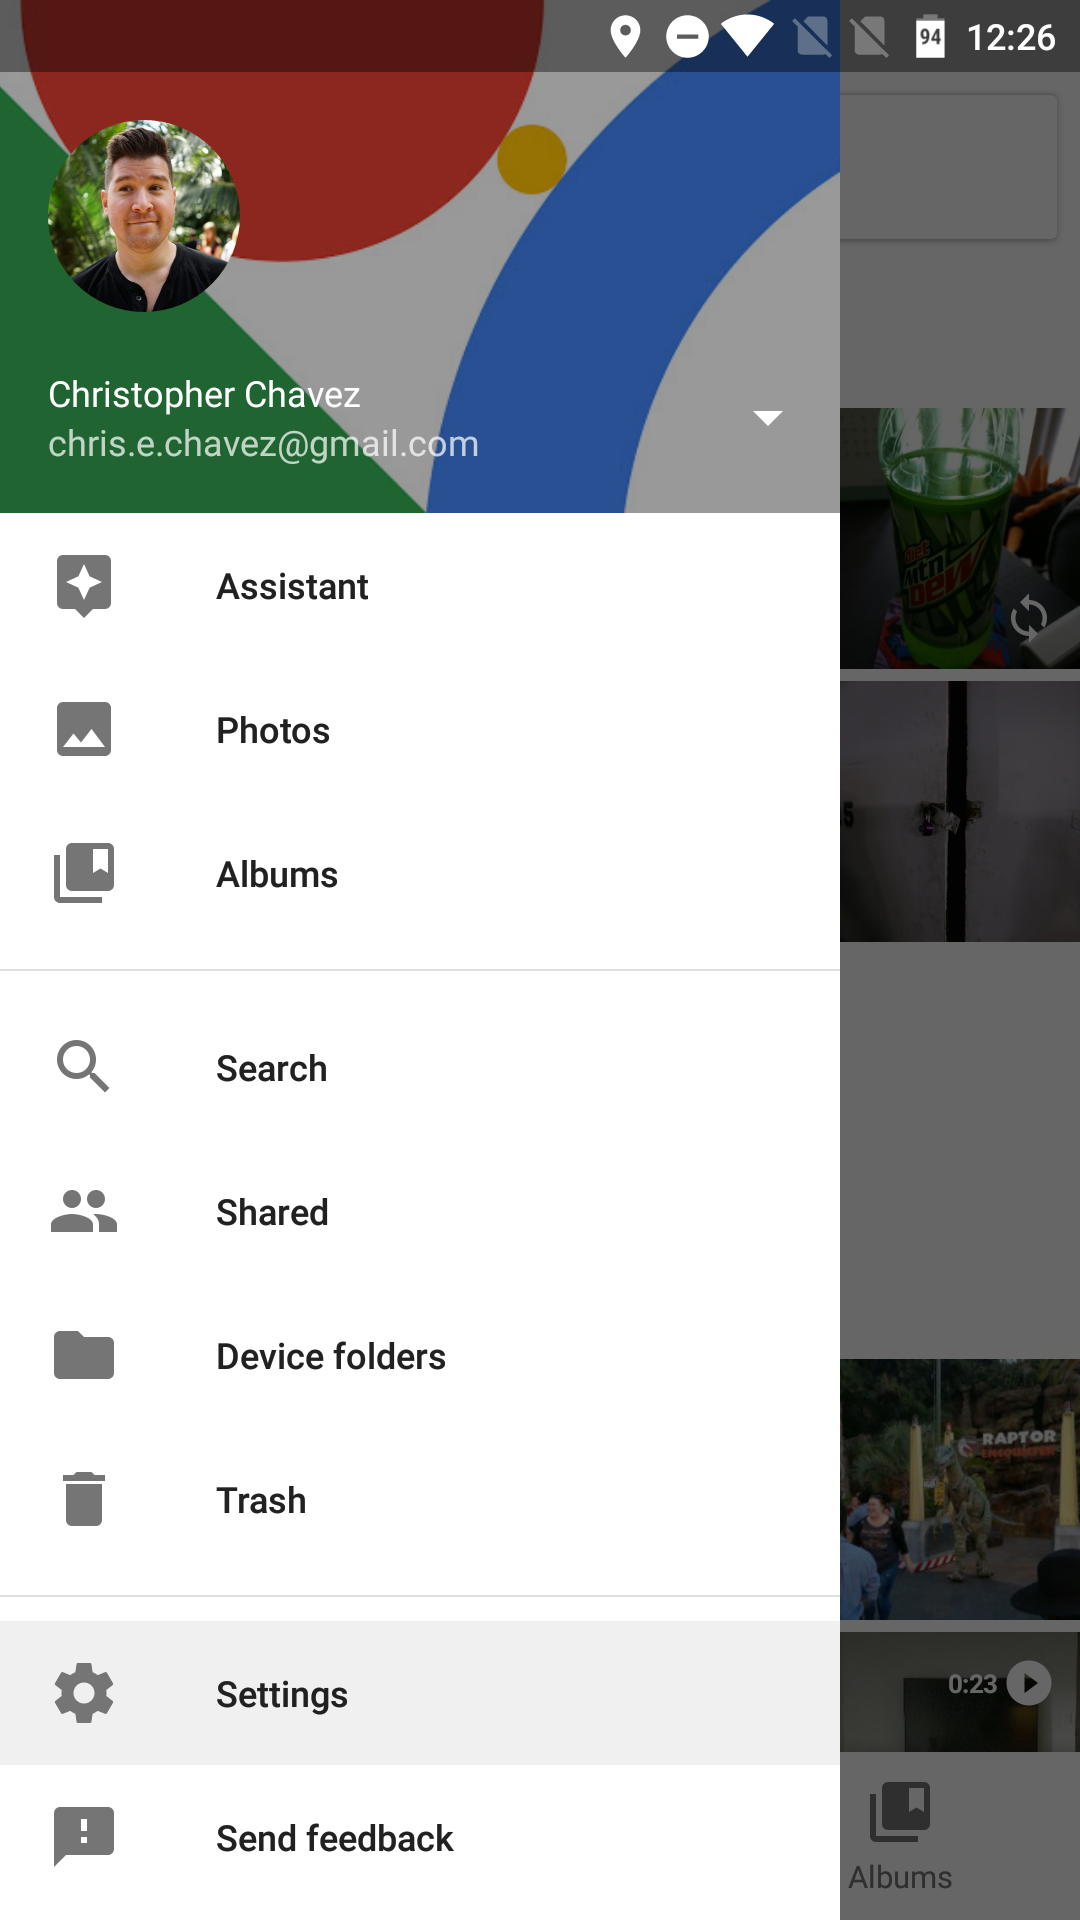
- Open the slide out menu by swiping from the left edge of the screen
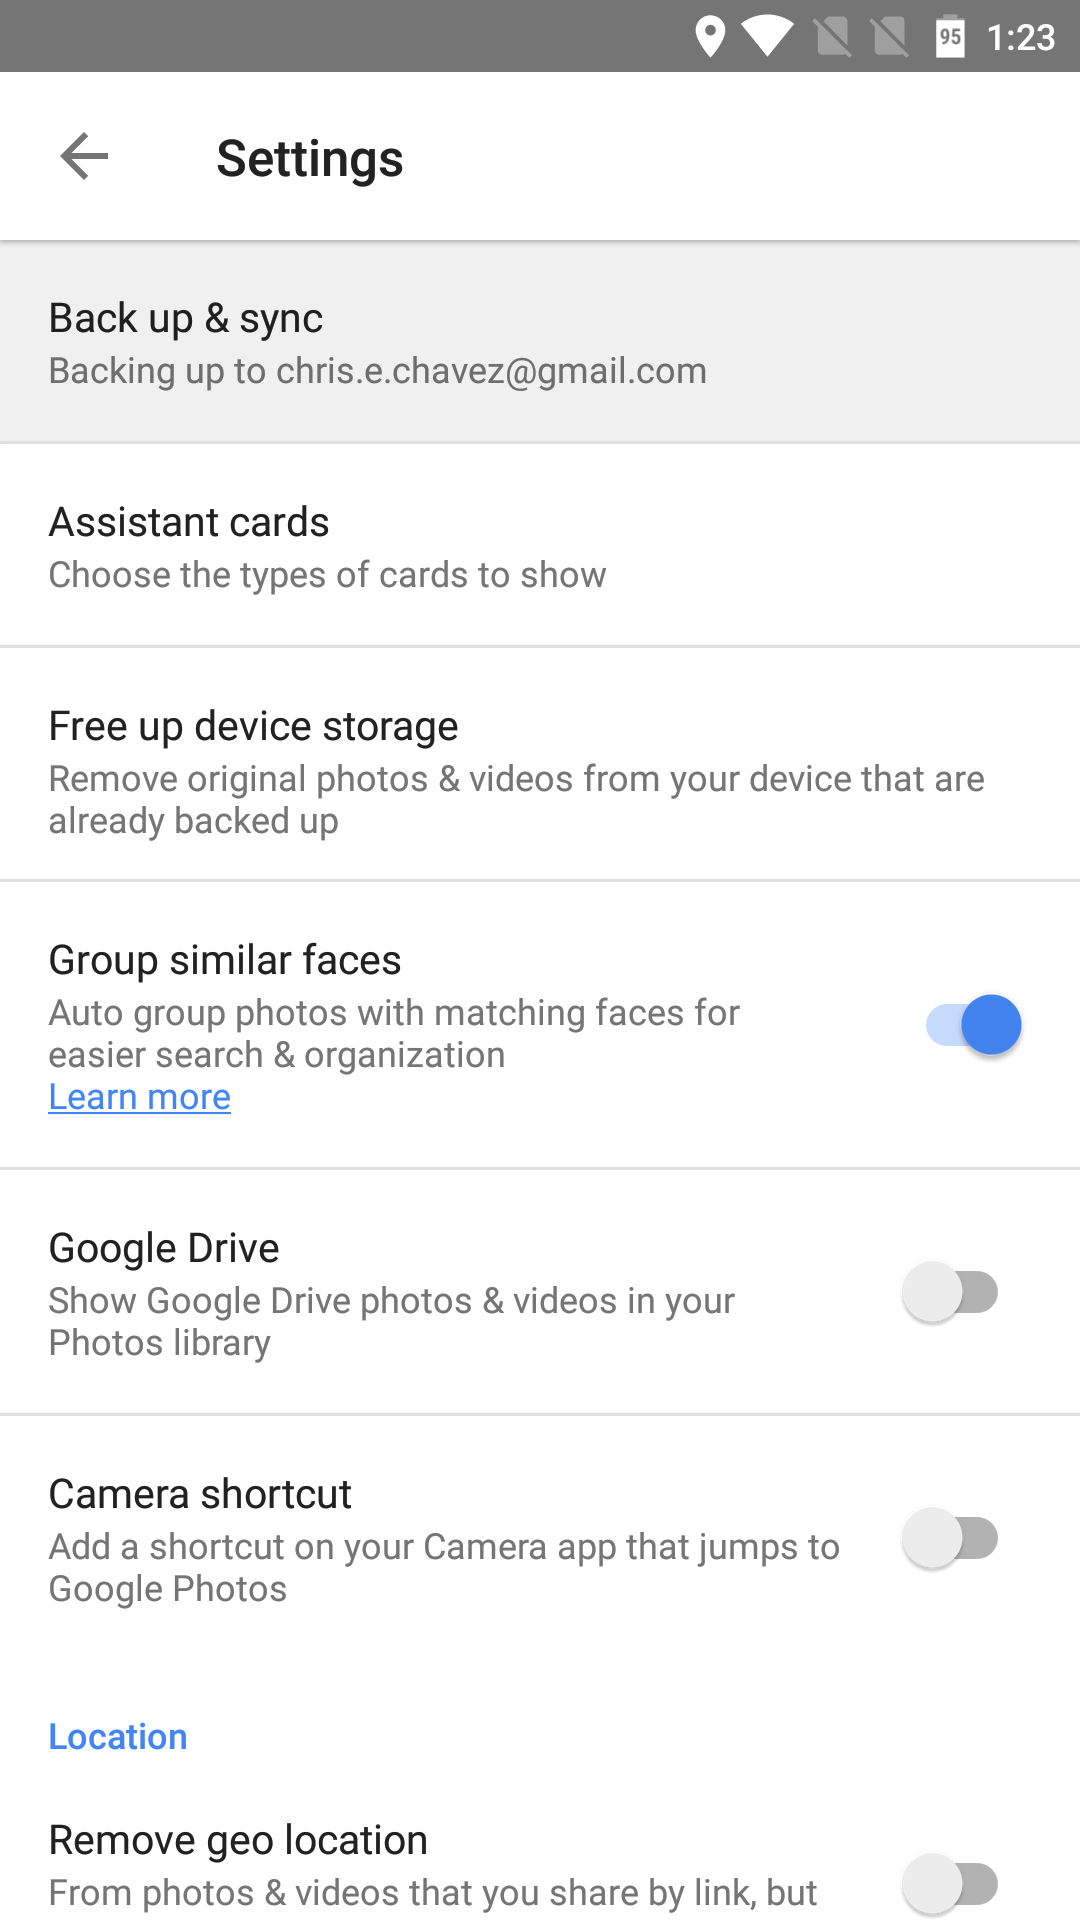
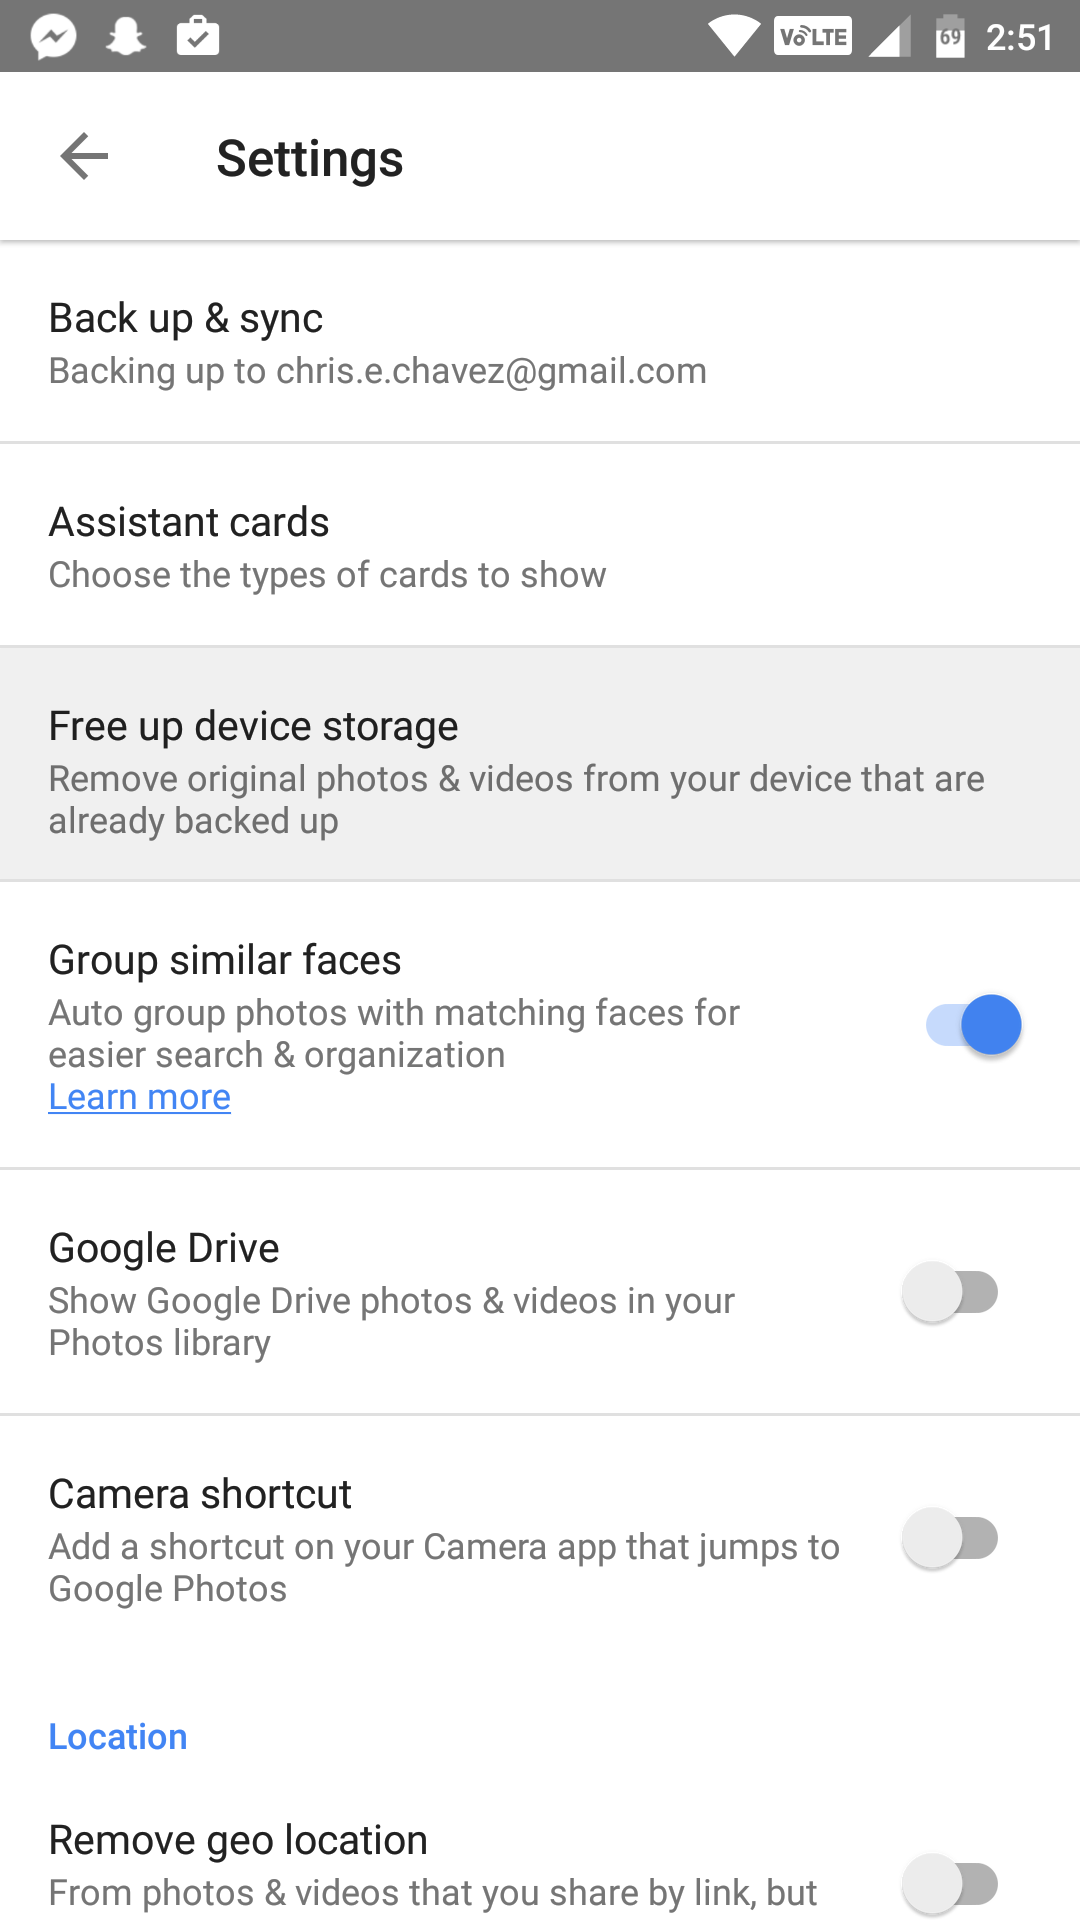
- Tap on Settings
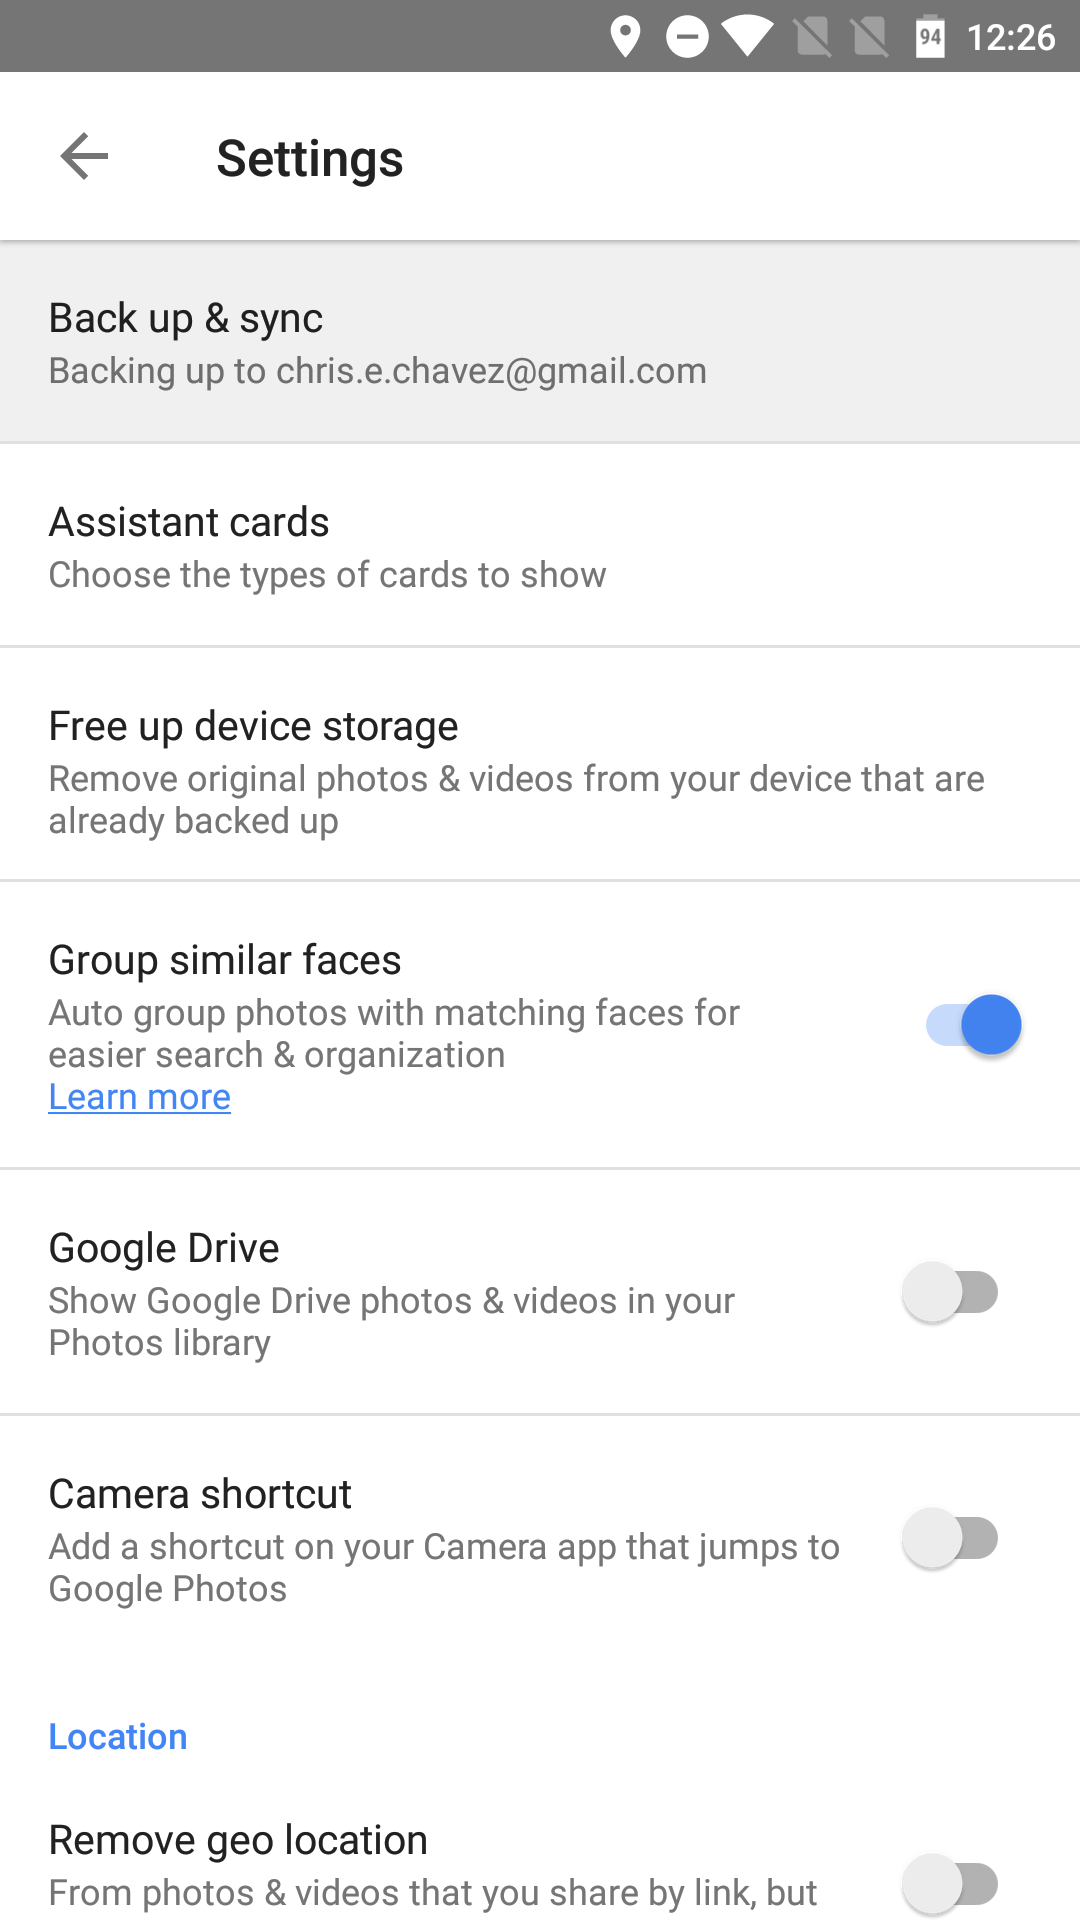
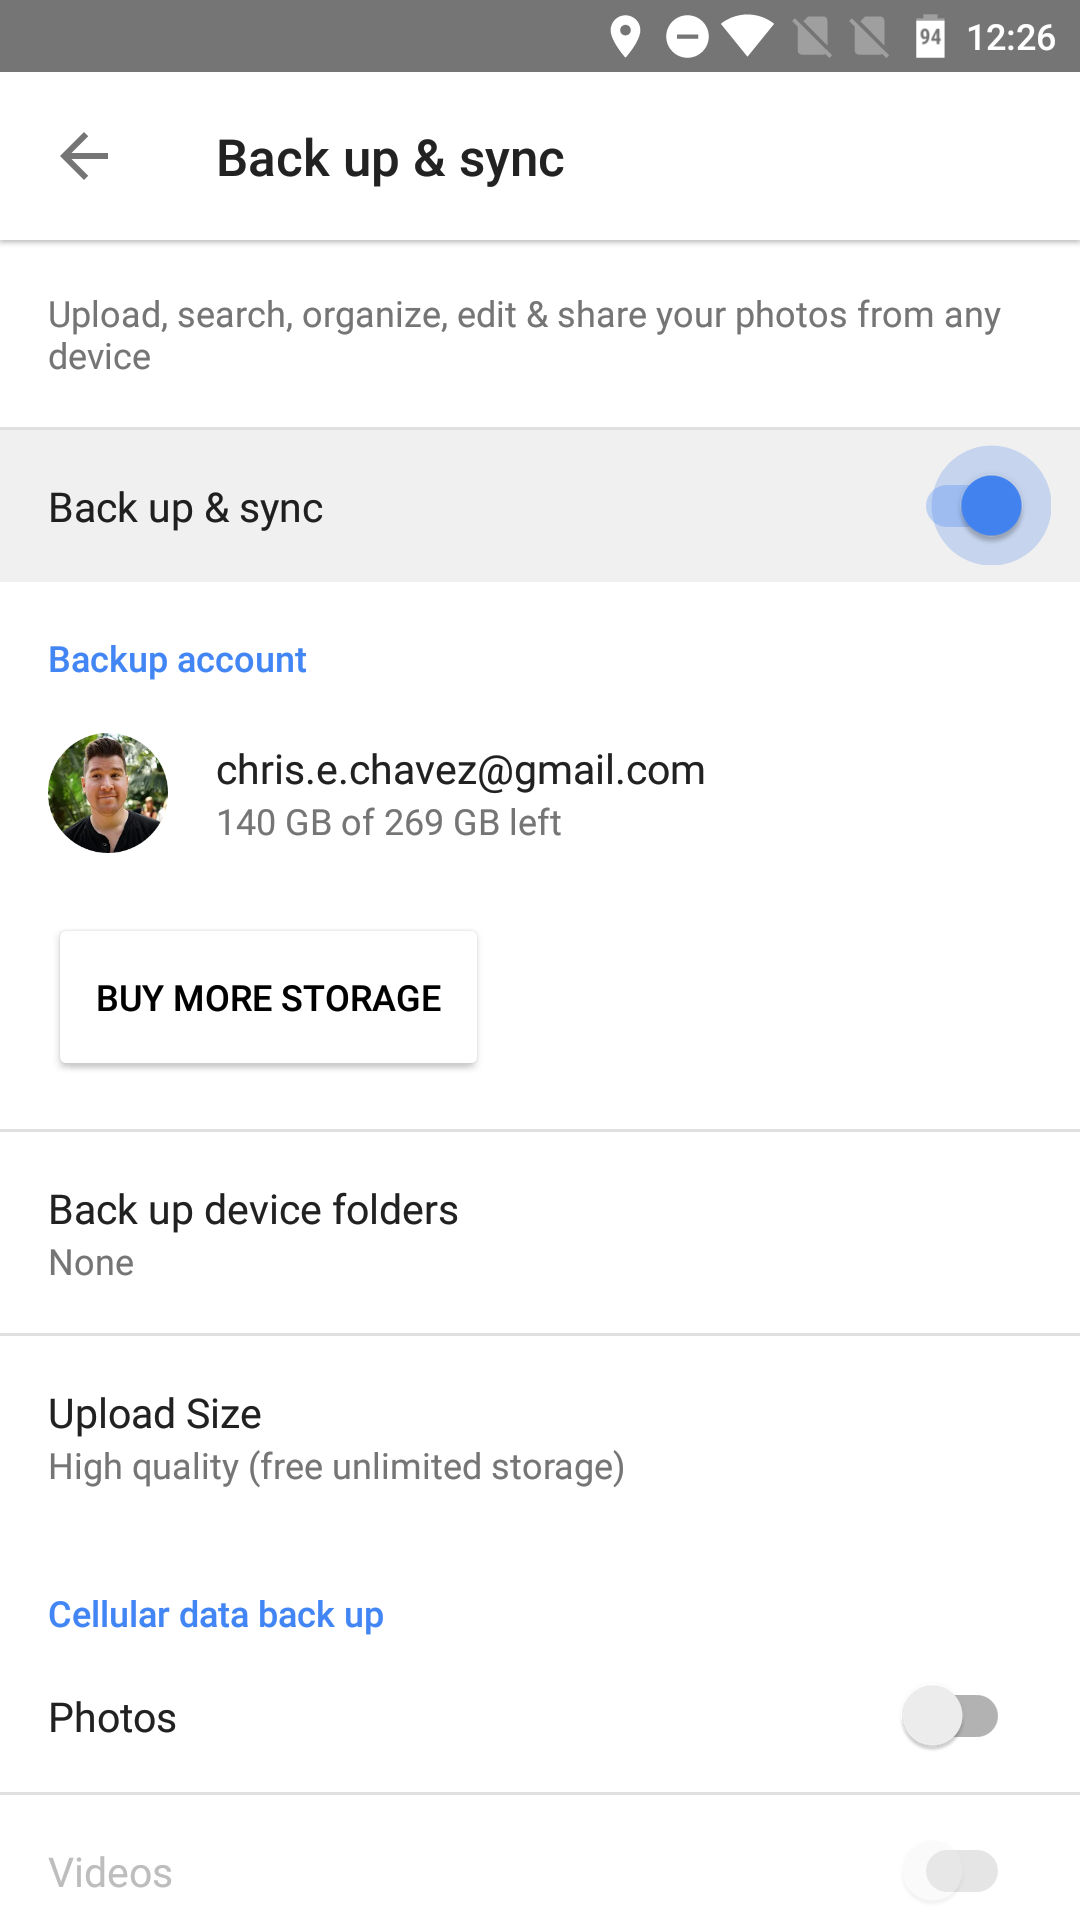
- Select Back up & sync
- Tap the Back up & sync switch to turn it on
It doesn’t work right away. You’ll first have to wait until you’re connected to WiFi before a backup takes place. If you don’t like this, you also have the option to start backing up as soon as a photo is taken over your cellular data connection (photos, videos, or both) but this is only recommended if you have an unlimited data plan.
Back up other folders on your device

Keep in mind that enabling back up & sync will only back up photos & videos taken with your camera app — not everything else you’ve downloaded, imported, or created in other apps. To also back these up, you’ll need to do the following:
- Open the Google Photos app
- Tap on Settings
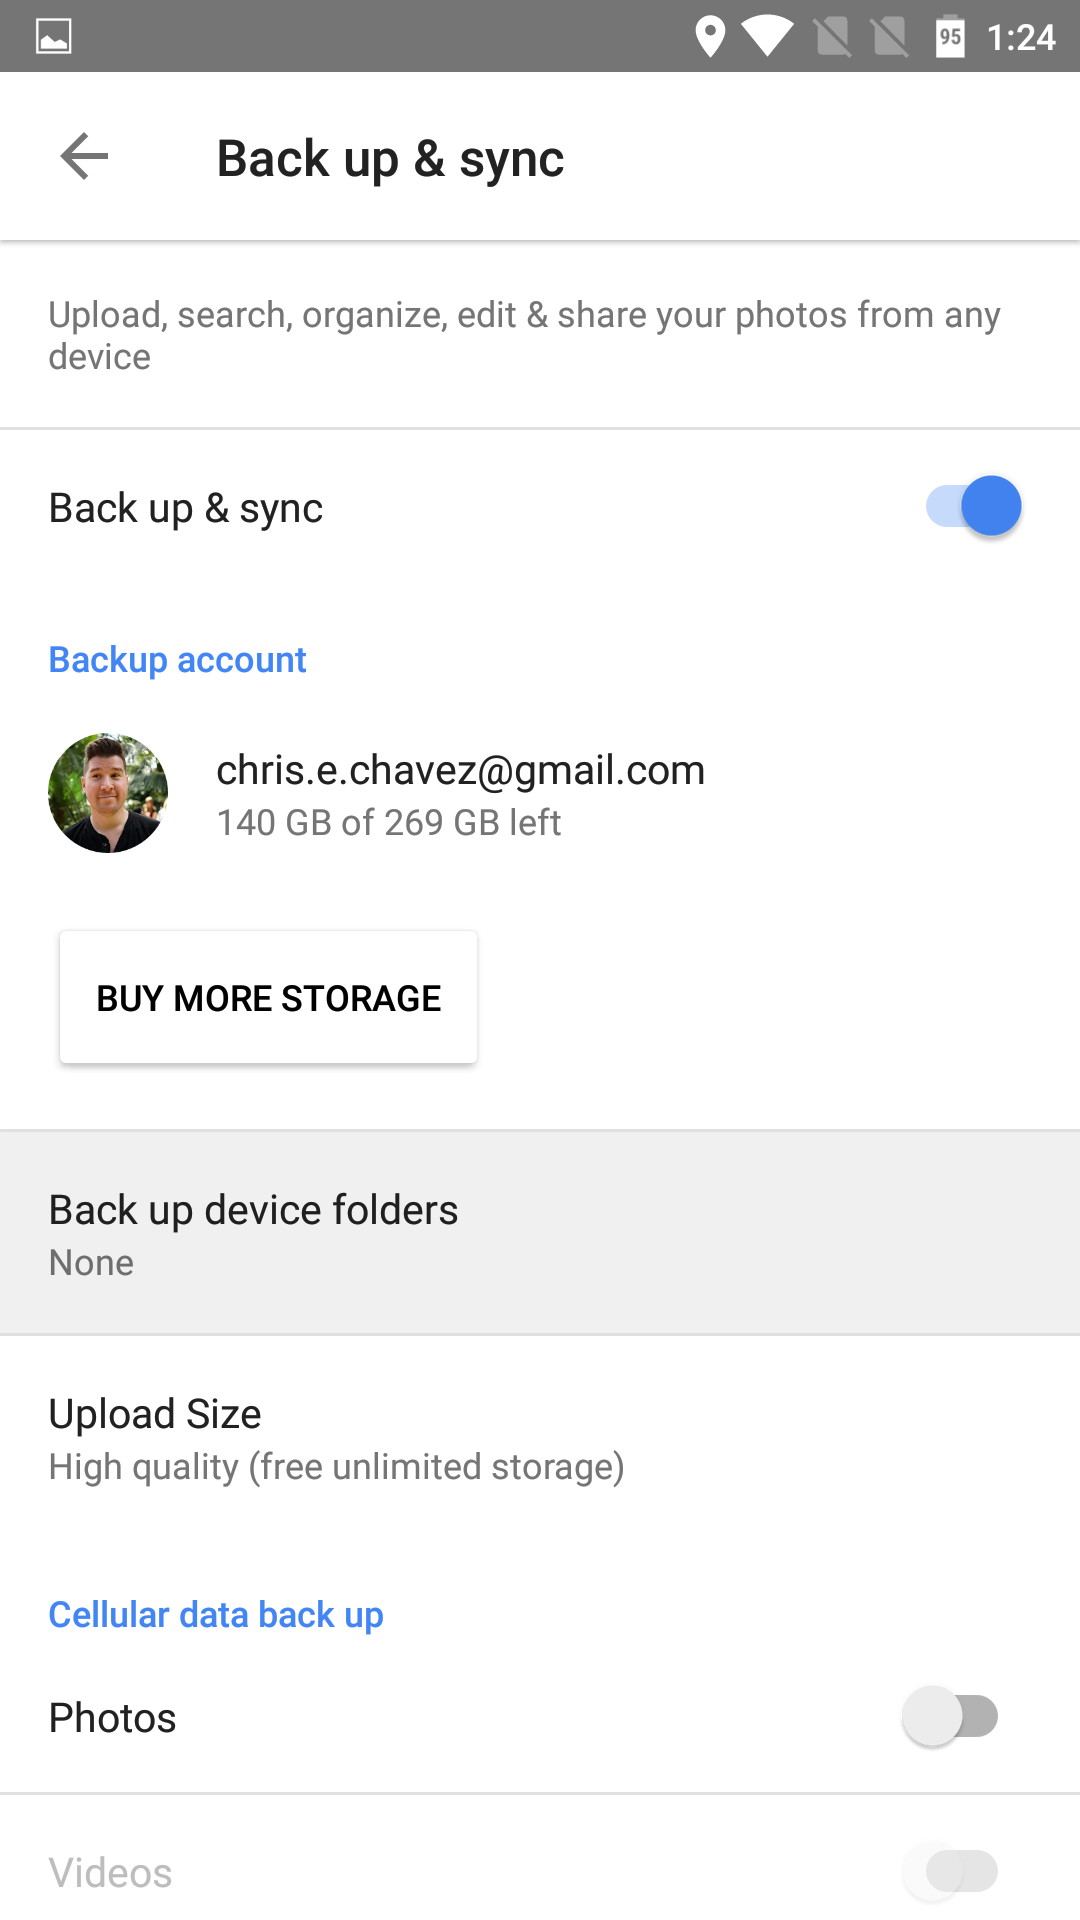
- Tap on Back up & sync
- Select Back up device folders
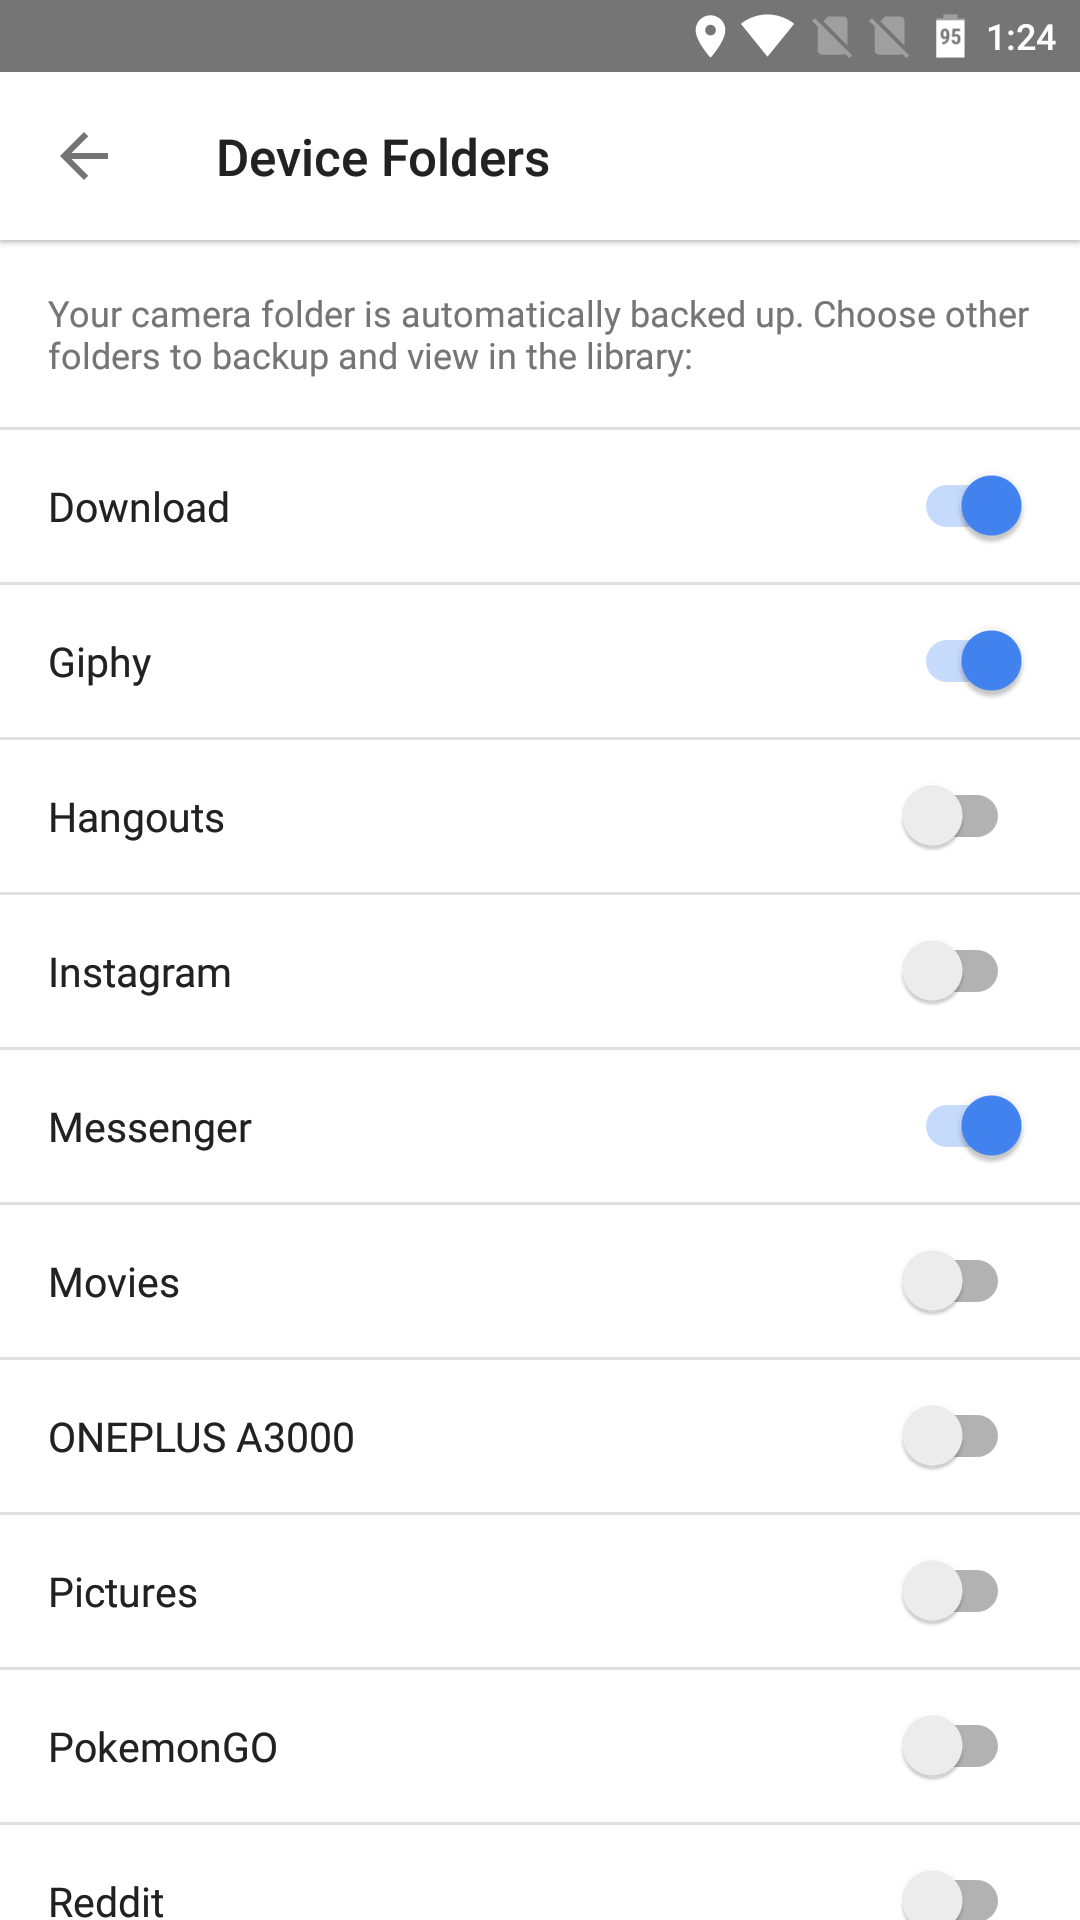
- Tap on the names of folders you want backed up (switch to the on position)
Or…


- Open the Photos app
- Open the slide out menu by swiping from the left edge of the screen
- Tap on Device folders
- Tap on a folder you’d like to backup
- Turn on “Back up & sync“
- Backed up folders will have a blue highlighted cloud icon
How do I know if my photos have been backed up?

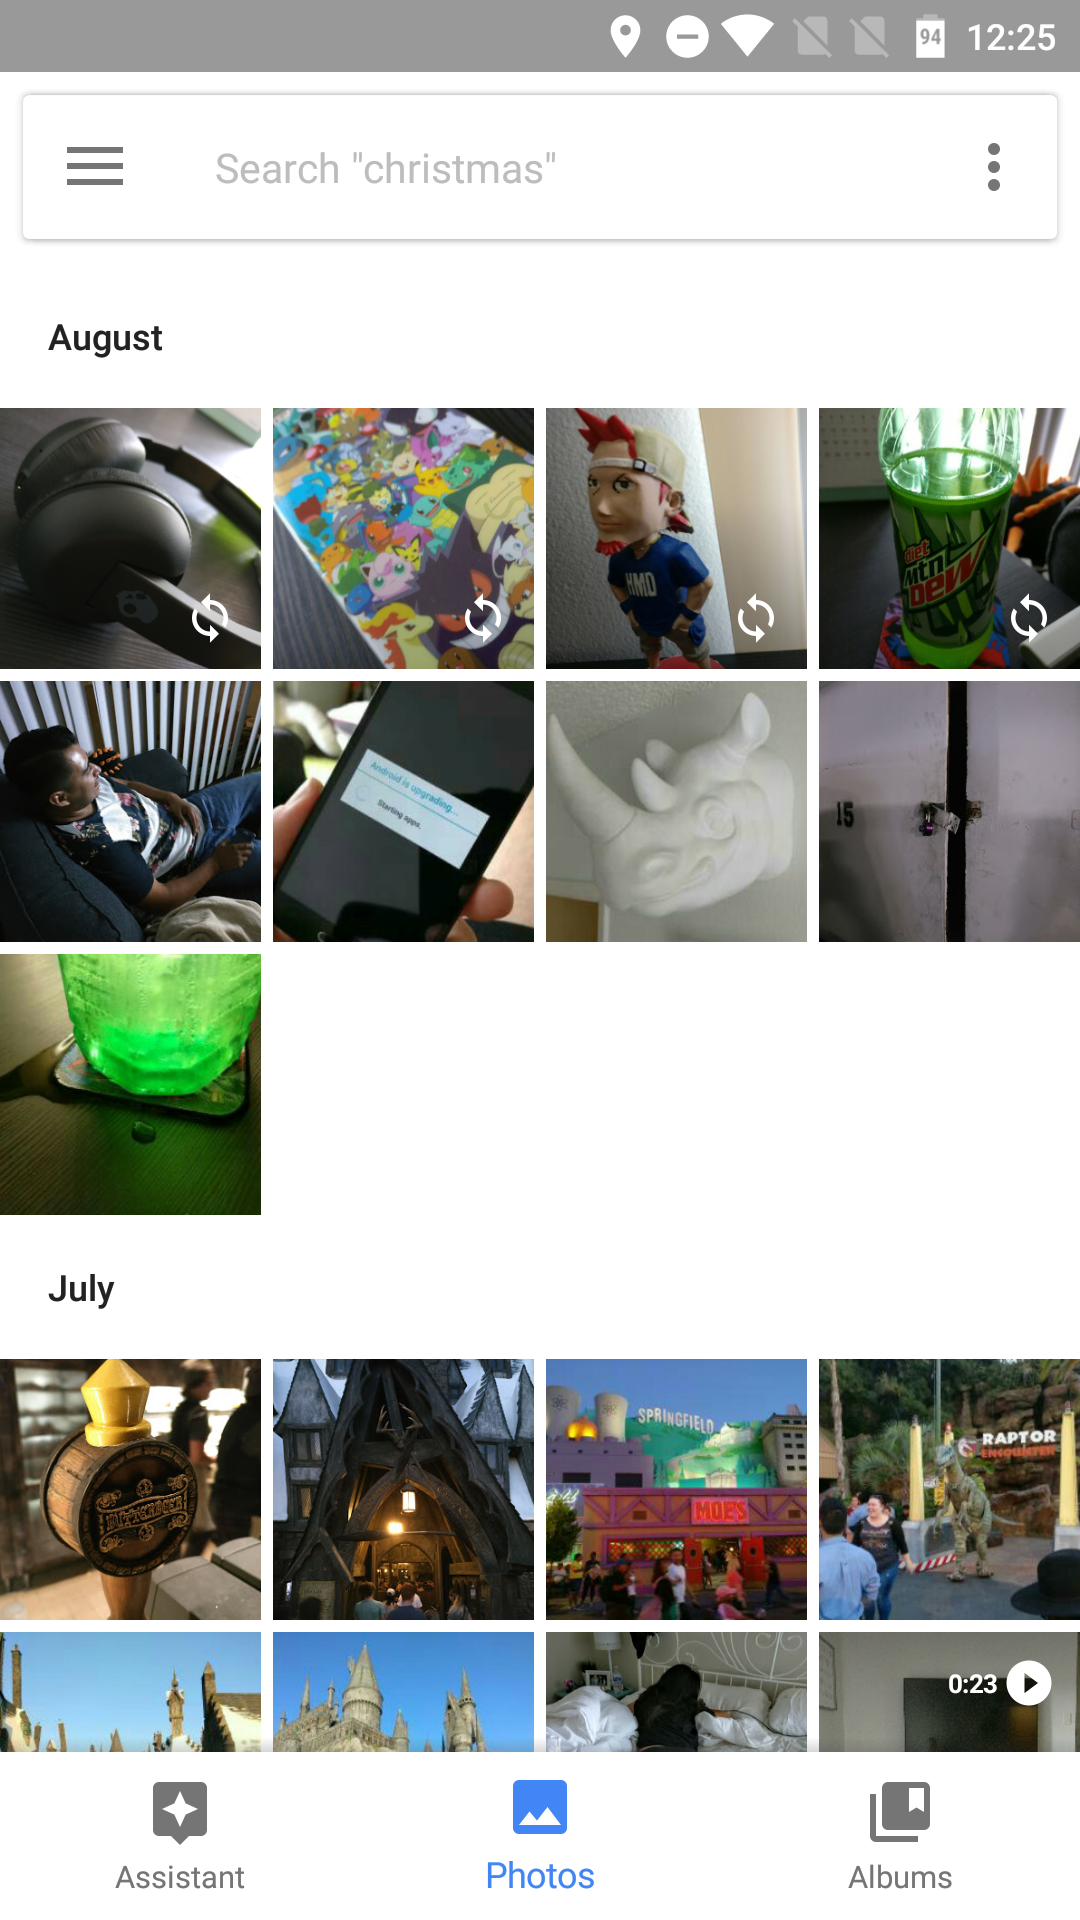
The main Photos tab shows you all the photos/videos taken from your camera roll — and the folders you’ve chosen to back up — in perfect chronological order. Everything here is already backed up to your account with the exception of photo/video thumbnails that have a cloud icon with a slash through it. This usually means these photos/videos are either in the process of being synced, or they’re waiting for the a WiFi connection before being uploaded.
Since these aren’t backed up yet, you should wait until the cloud icons disappear before factory resetting your device or deleting them in a separate gallery app.
Delete photos/videos from your phone that have already been backed up


Although not everyone will want to go this route, for many, the main reason they’re even using Photo is because they’re running out of space on their phone. For those, Google makes it super easy to free up precious internal storage by deleting the media you’ve already been backed up to your account. You just have to enable it.
It’s called Free up space and can be located inside the Photo’s slide out menu. Once selected, Photos will ask you to confirm you’d like to delete your photos & videos store on your phone that have already been safely backed up to the cloud. Once selected, sit back and wait while Photos does all the work for you.
Additional settings, features, and tools
Once backed up to Google Photos, all your photos will be stored in the cloud and immediately accessible from all your devices, computers, or other web connected devices. The benefit of having your photos backed up to your Google Photos account means you can easily share these photos, videos, and album collections with others, then collaborate or access them from any internet connected device via the app or website.
It’s more than just backup. Google Photos offers a plethora of features and tools to take advantage of. Here are a few:
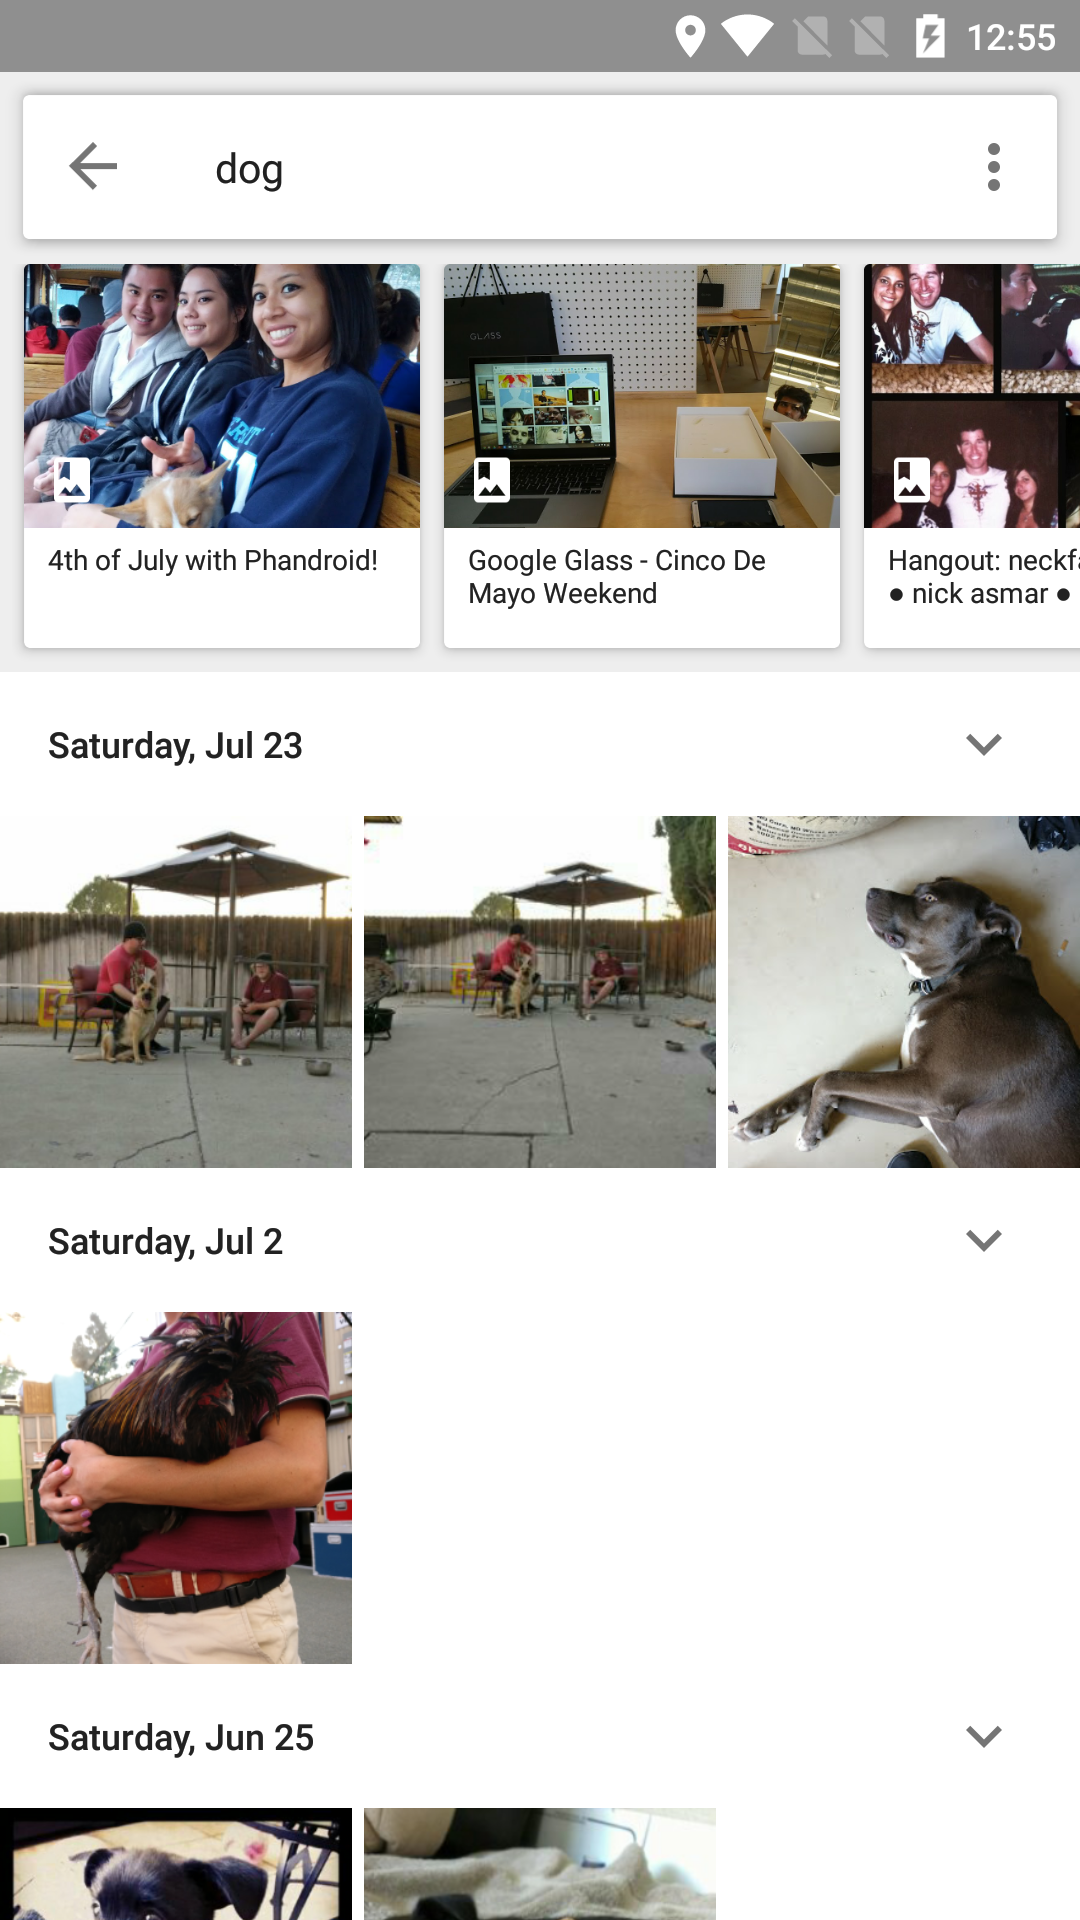
- Visual Search – Photos are automatically searchable by the people, places and things in them. Try searching “dog,” “food,” or a specific place to pull up relevant photos.
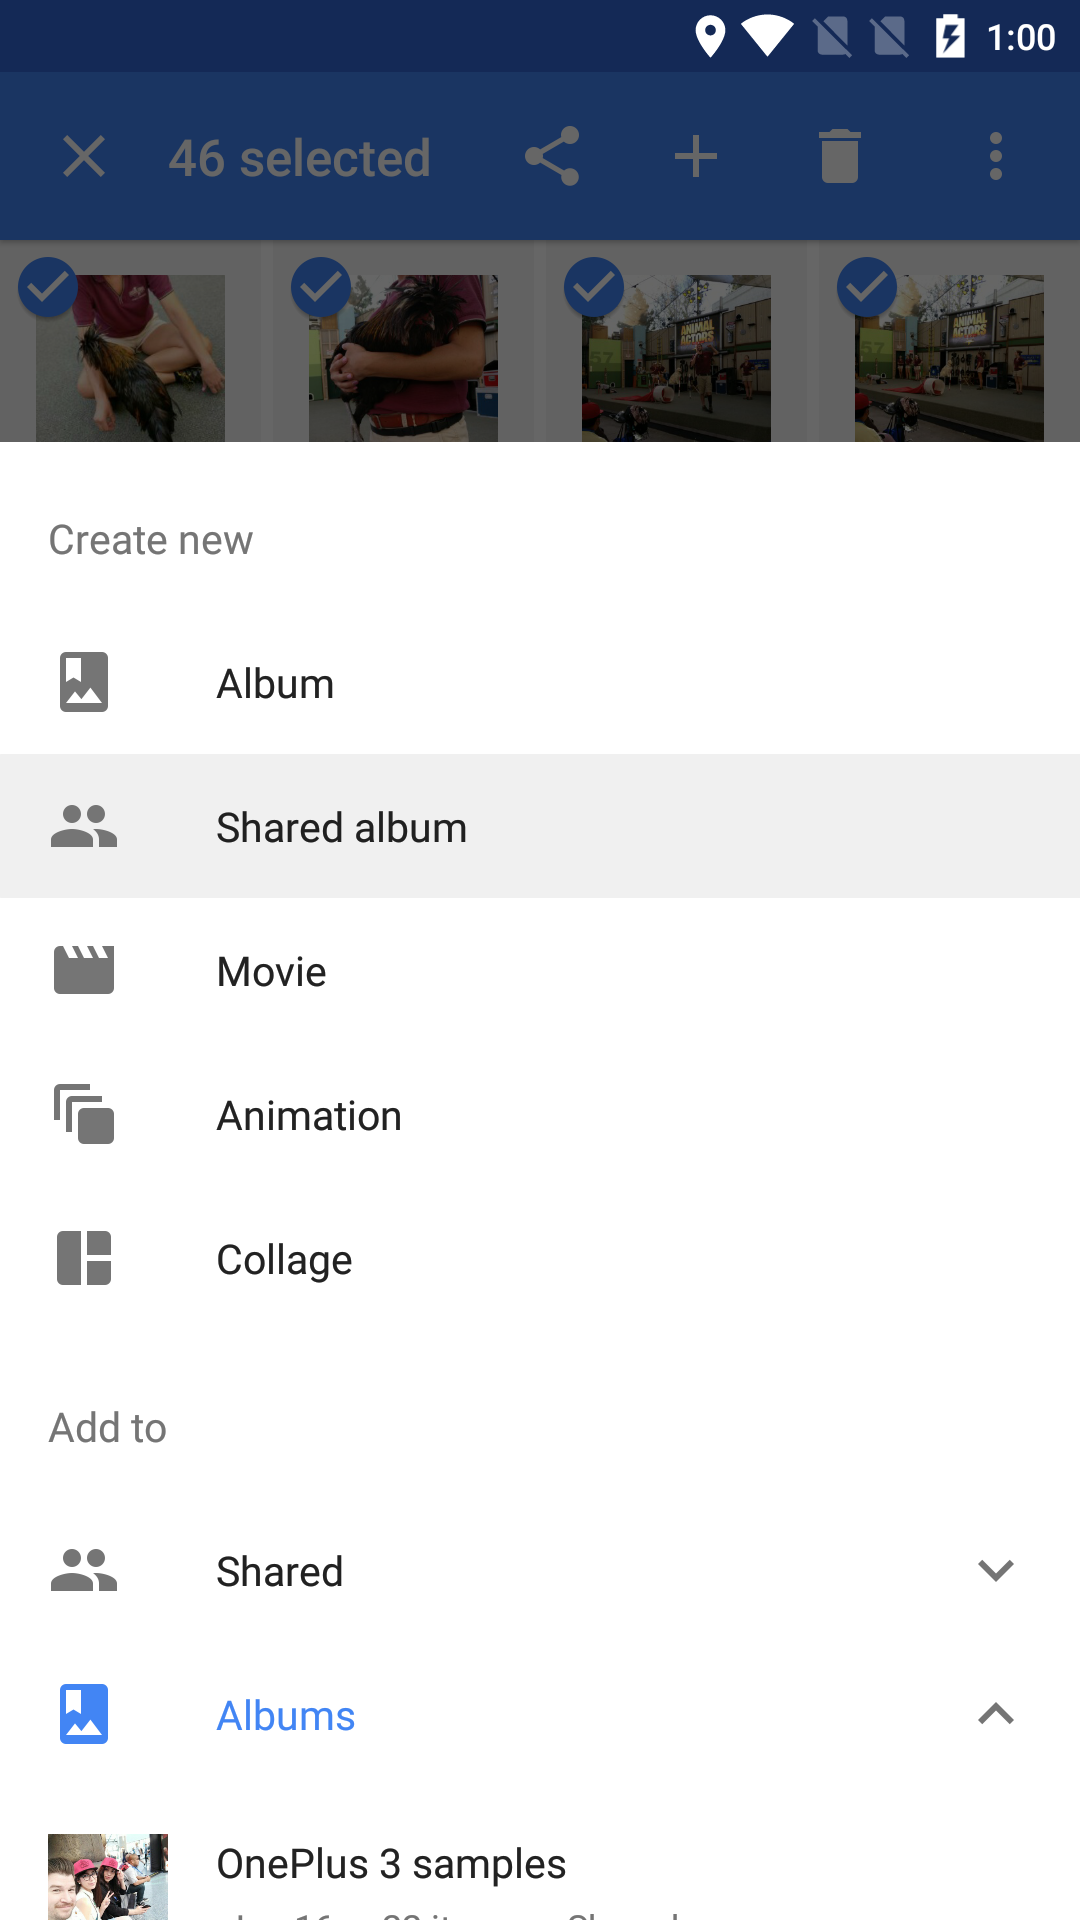
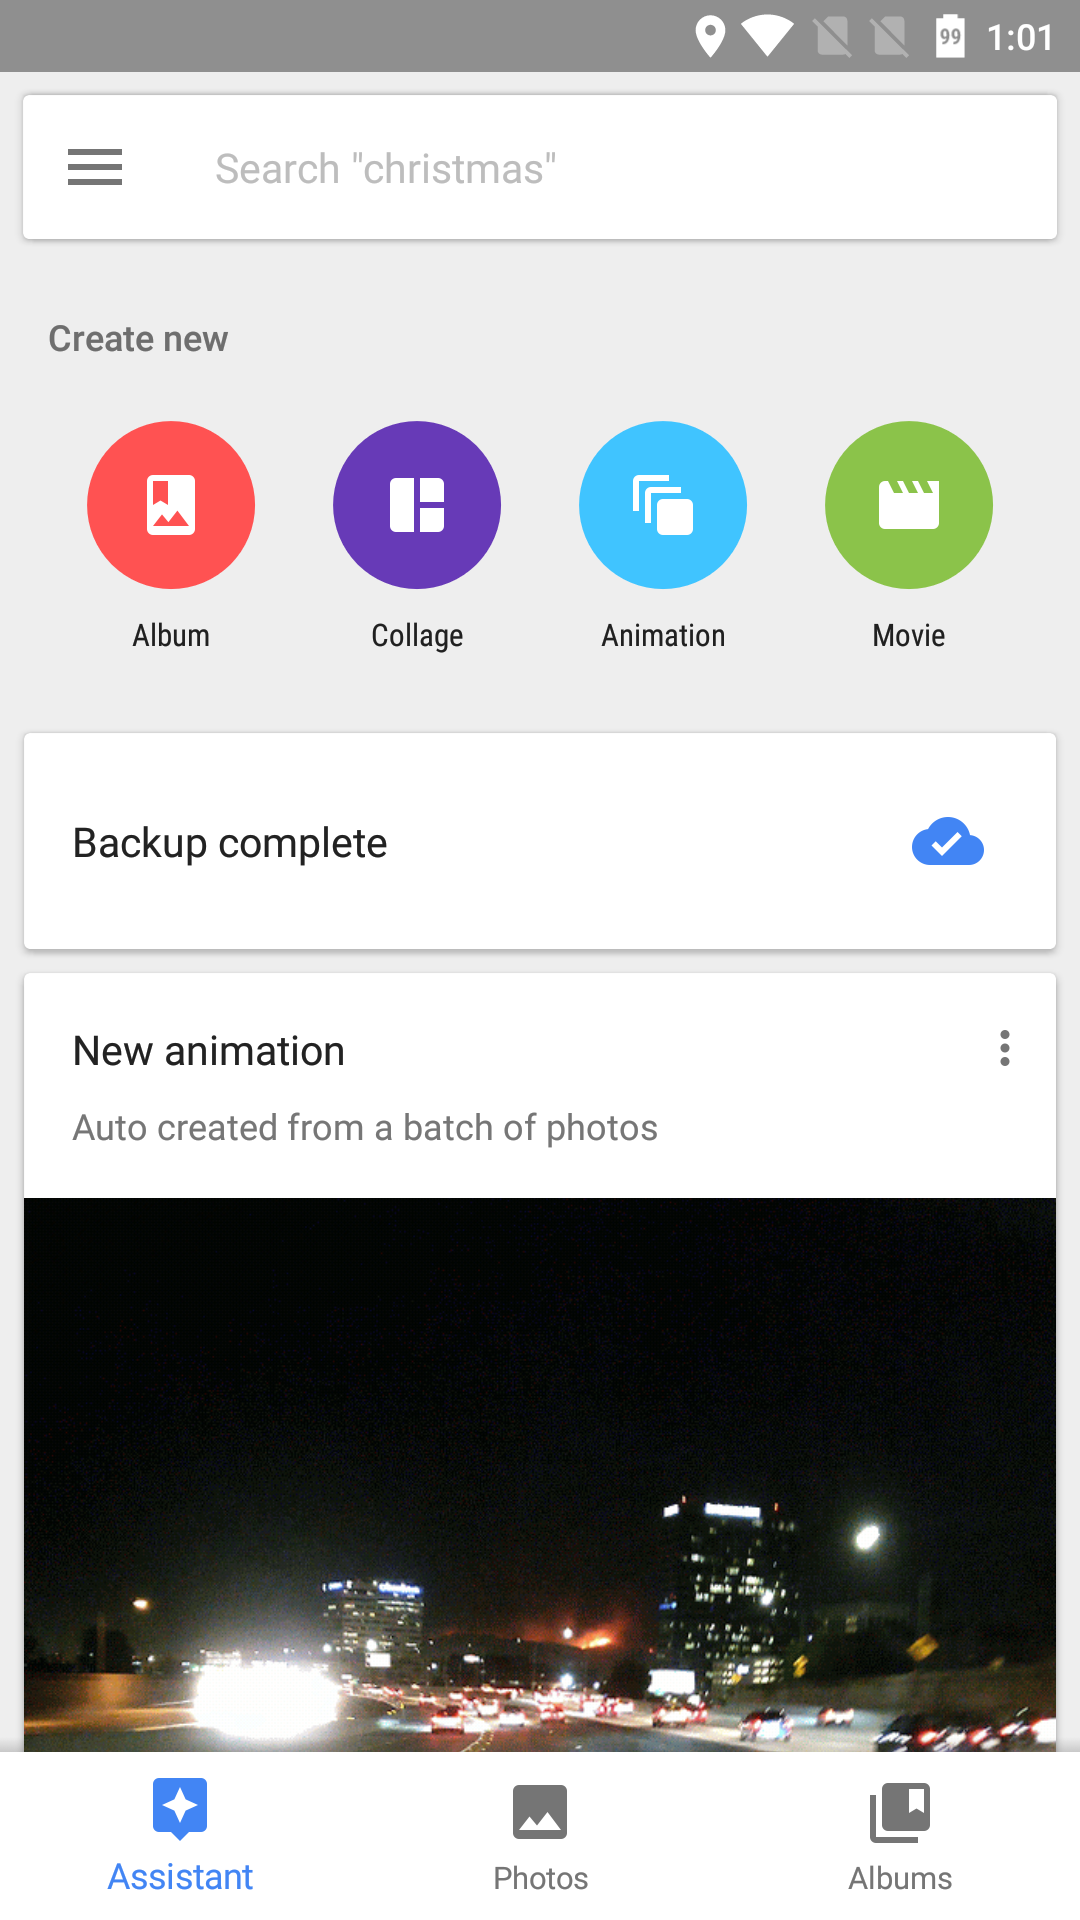
- Bring photos to life – Photos will automatically create montage movies, interactive stories, collages, animations, panoramas, and more from your photos. You can also create them yourself by tapping the “+” button.
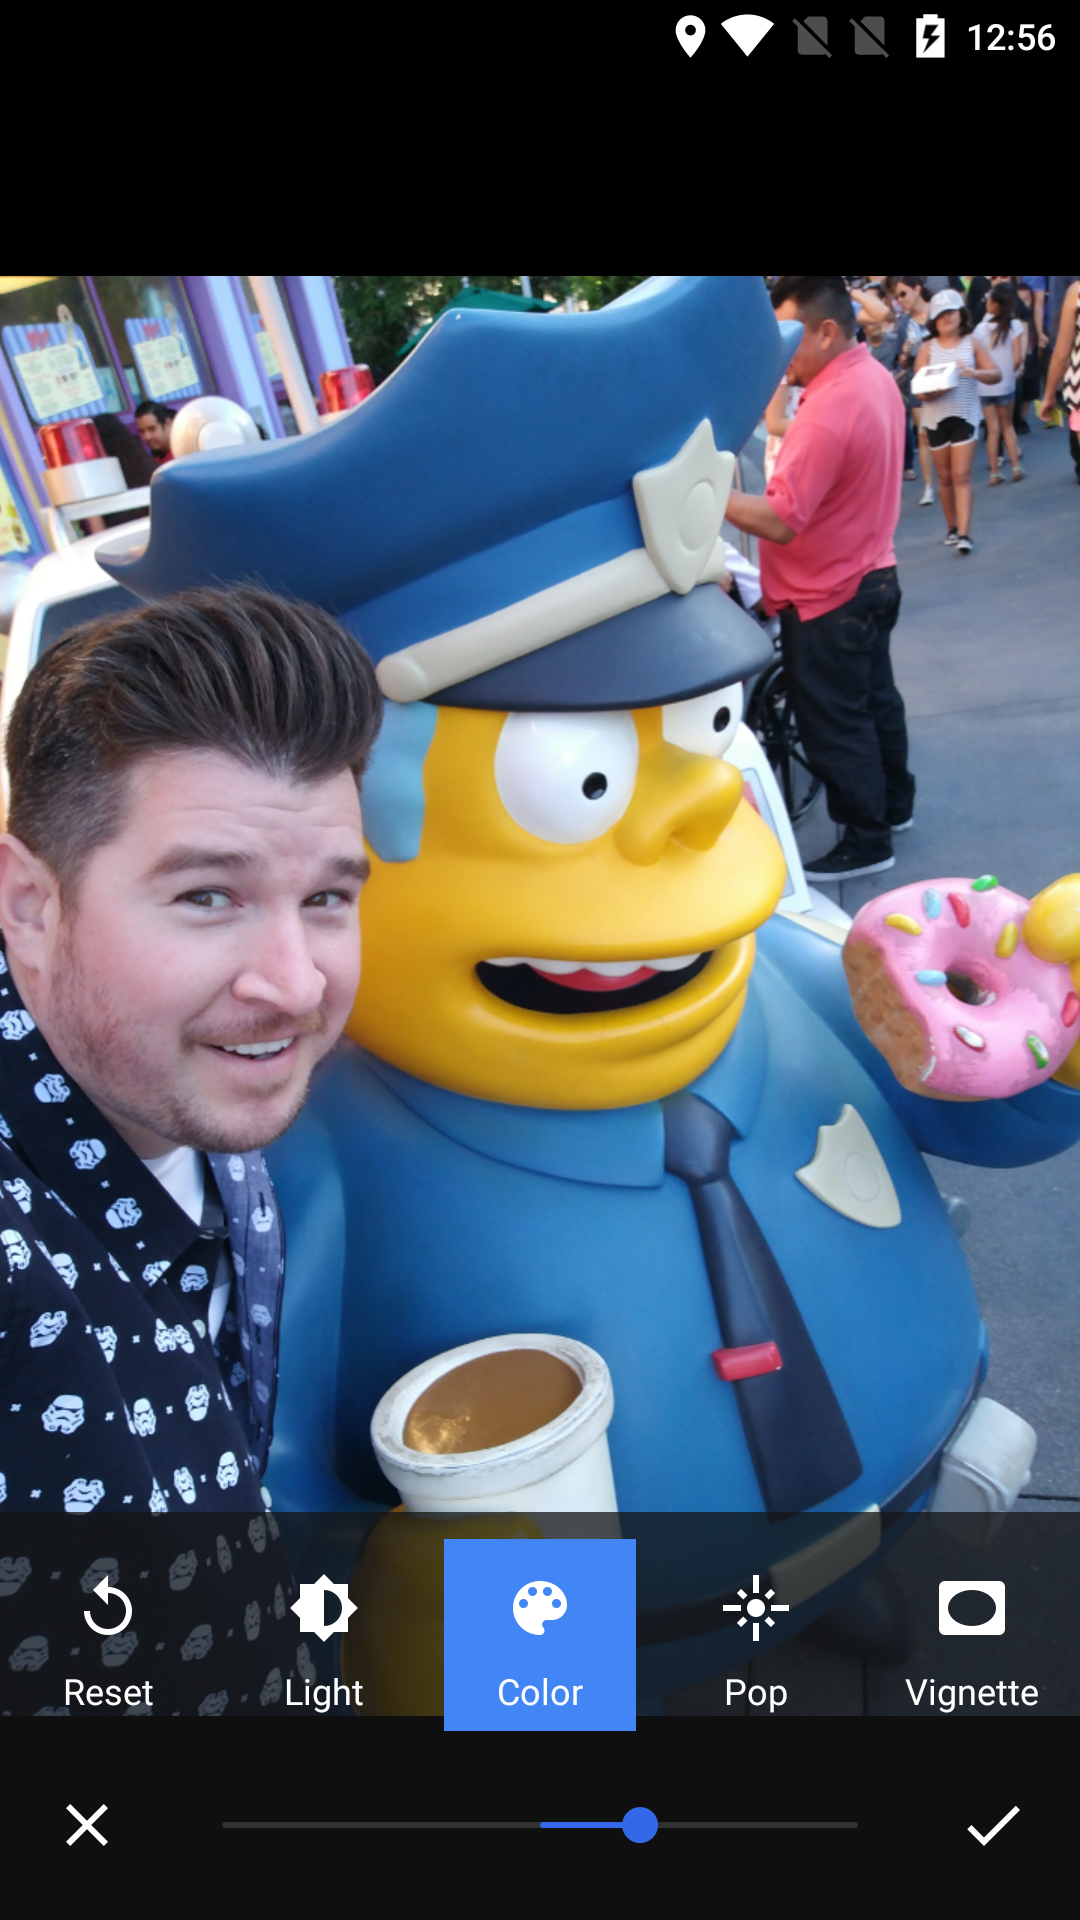
- Easy editing – Photos features powerful, easy to use photo editing tools to apply filters or adjust the image however you like.
- Shared albums – By adding friends or family to a shared album, you can compile all your photos from an event into one single place.
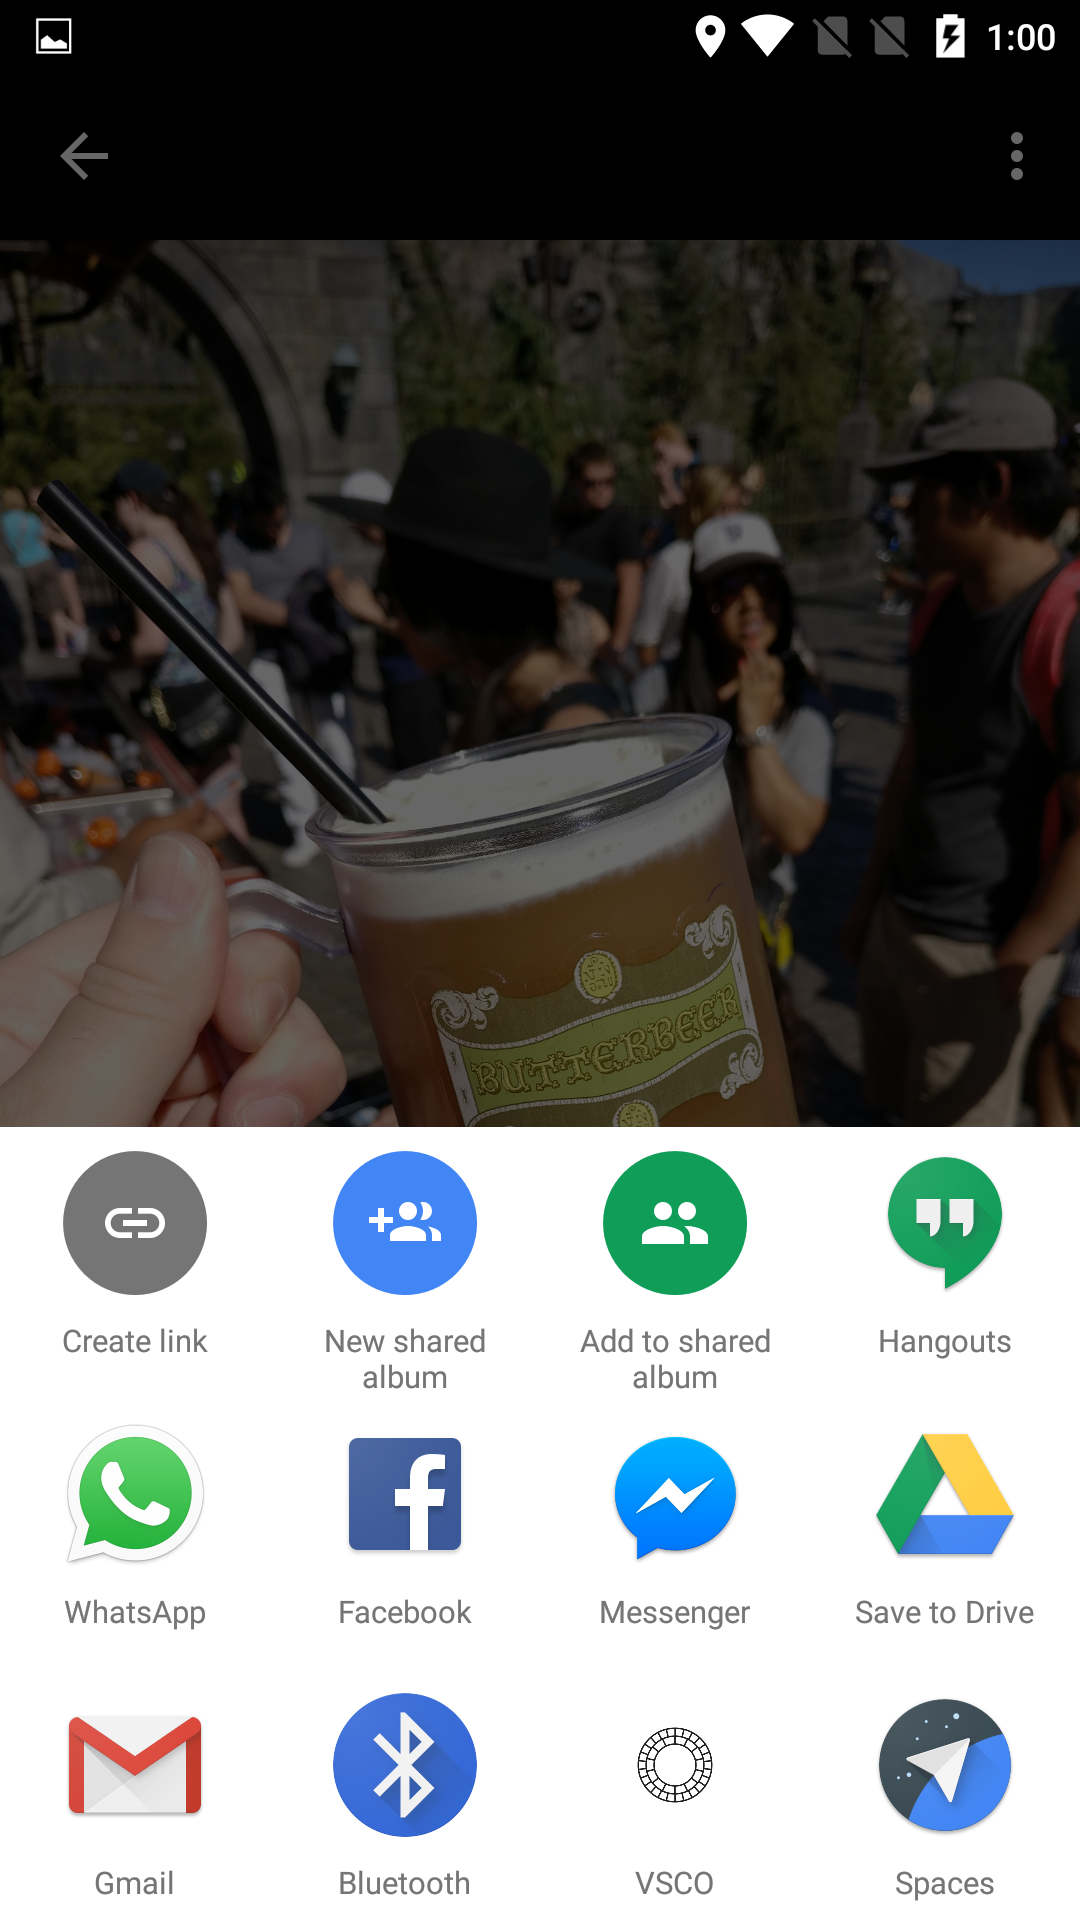
- Instant sharing – Photos and videos can instantly be shared with anyone by tapping the “Create Link” button and sharing it with whomever you like.
- Rediscover your photos -The “Assistant” feature in Photos can automatically create collages of your old photos, or help you relive the past by pulling up old ones.
- Ready to Cast – With Chromecast support, it’s easy to cast all your photos and videos to your TV.
And of course…
- Unlimited free high quality storage – All of your photos and videos are stored safely in the cloud and viewable via the app or on the web at photos.google.com.
- Free up space on your device – Never worry about your smartphone or tablet running out of storage with the ability to remove media that’s already been backed up.
And that’s all there is to it. Photo and video backup shouldn’t be something you have to worry about on Android and Google Photos makes the whole process easy and painless. Should you decide you’d like to save your photos and video in their full, original quality, you also have that option but should definitely consider upgrading your Google Drive Storage first. For the vast majority of folks, Google Photos should fulfill the need to keep all their photos and video backed up safely in the cloud.
Download Google Photos
Back up your contacts, apps, messages, etc.
For everything else on your phone — apps, contacts, messages, call history, and more — Android makes it easy to back up most of this using your Google account. So what exactly is being backed up? In Android 6.0 and newer, this is what can be safely stored in the cloud (Google Drive):
- Apps
- Call History
- Device Settings
- Contacts
- Calendar
- SMS (Pixel phones only)
- Photos & videos (Pixel phones only)
The backing up process is dead simple and usually already on by default. To double check (or turn this back on in case you turned if off), just follow these easy steps:
Settings may be slightly different depending on your specific Android device
- Open the Settings app
- Tap on System
- Tap on Backup
- Make sure the “Back up to Google Drive” setting is enabled
It’s also here you’ll be able to see which Google account your data is being backed up to and can even add another account if you’d like (tap Account > Add account).

It’s worth noting that backups are only stored for 60 days from when you stop using the device. To manage your backups and, if you’d like, delete some of them, just follow these steps:
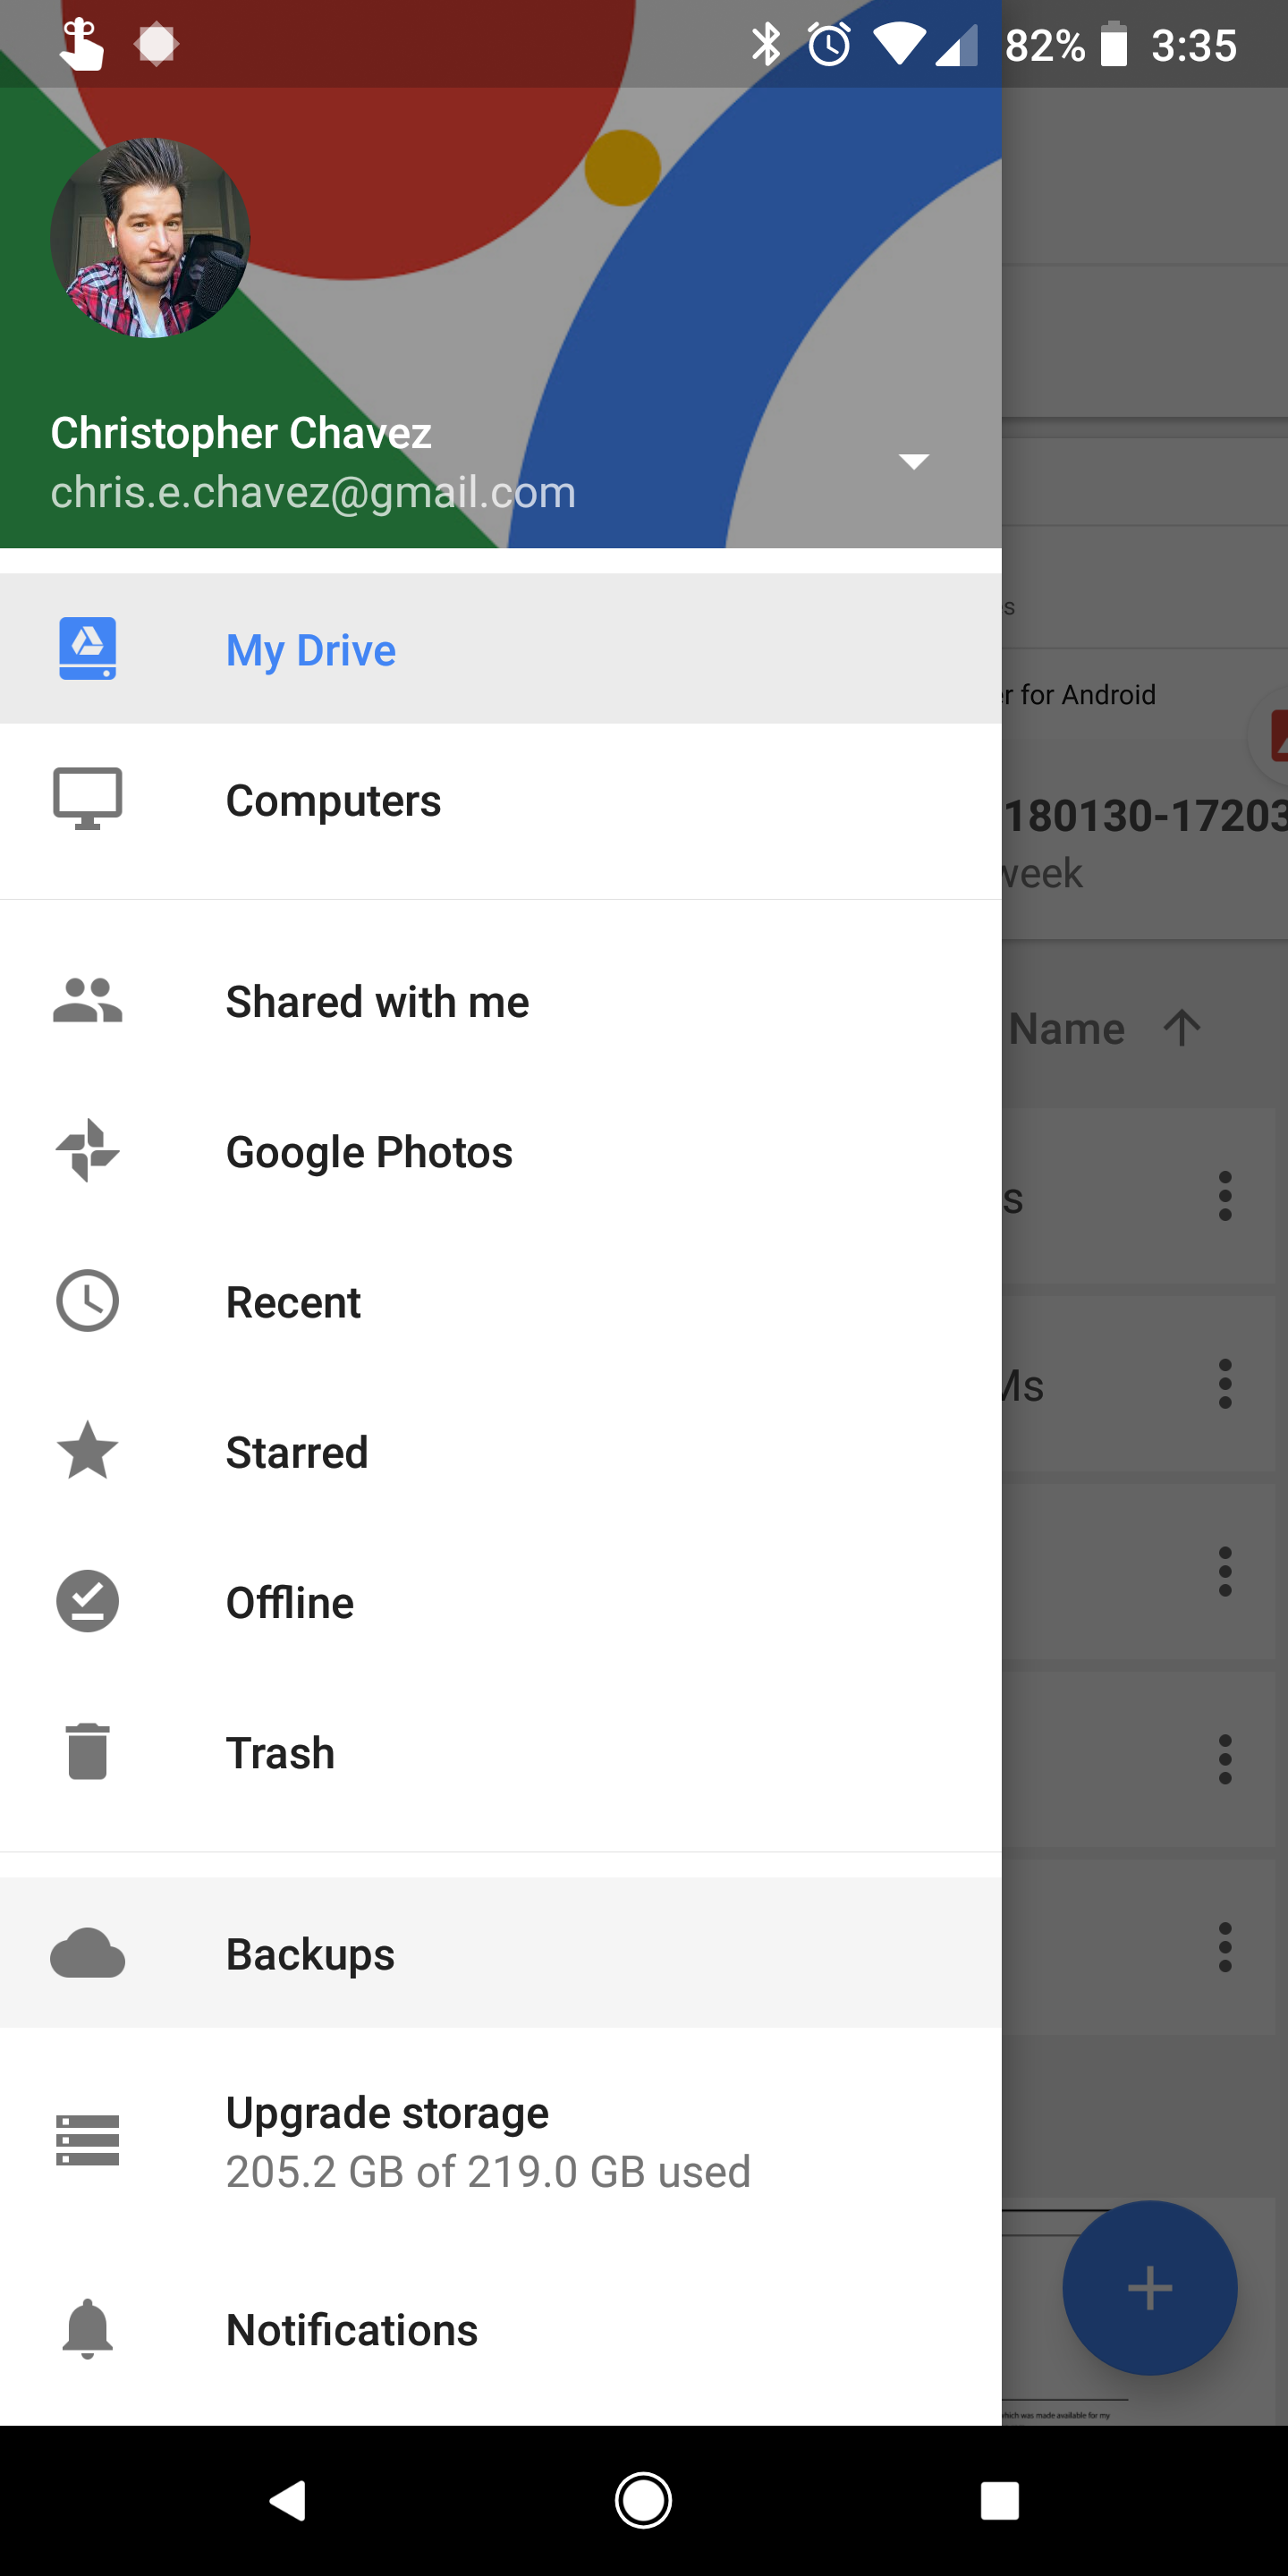
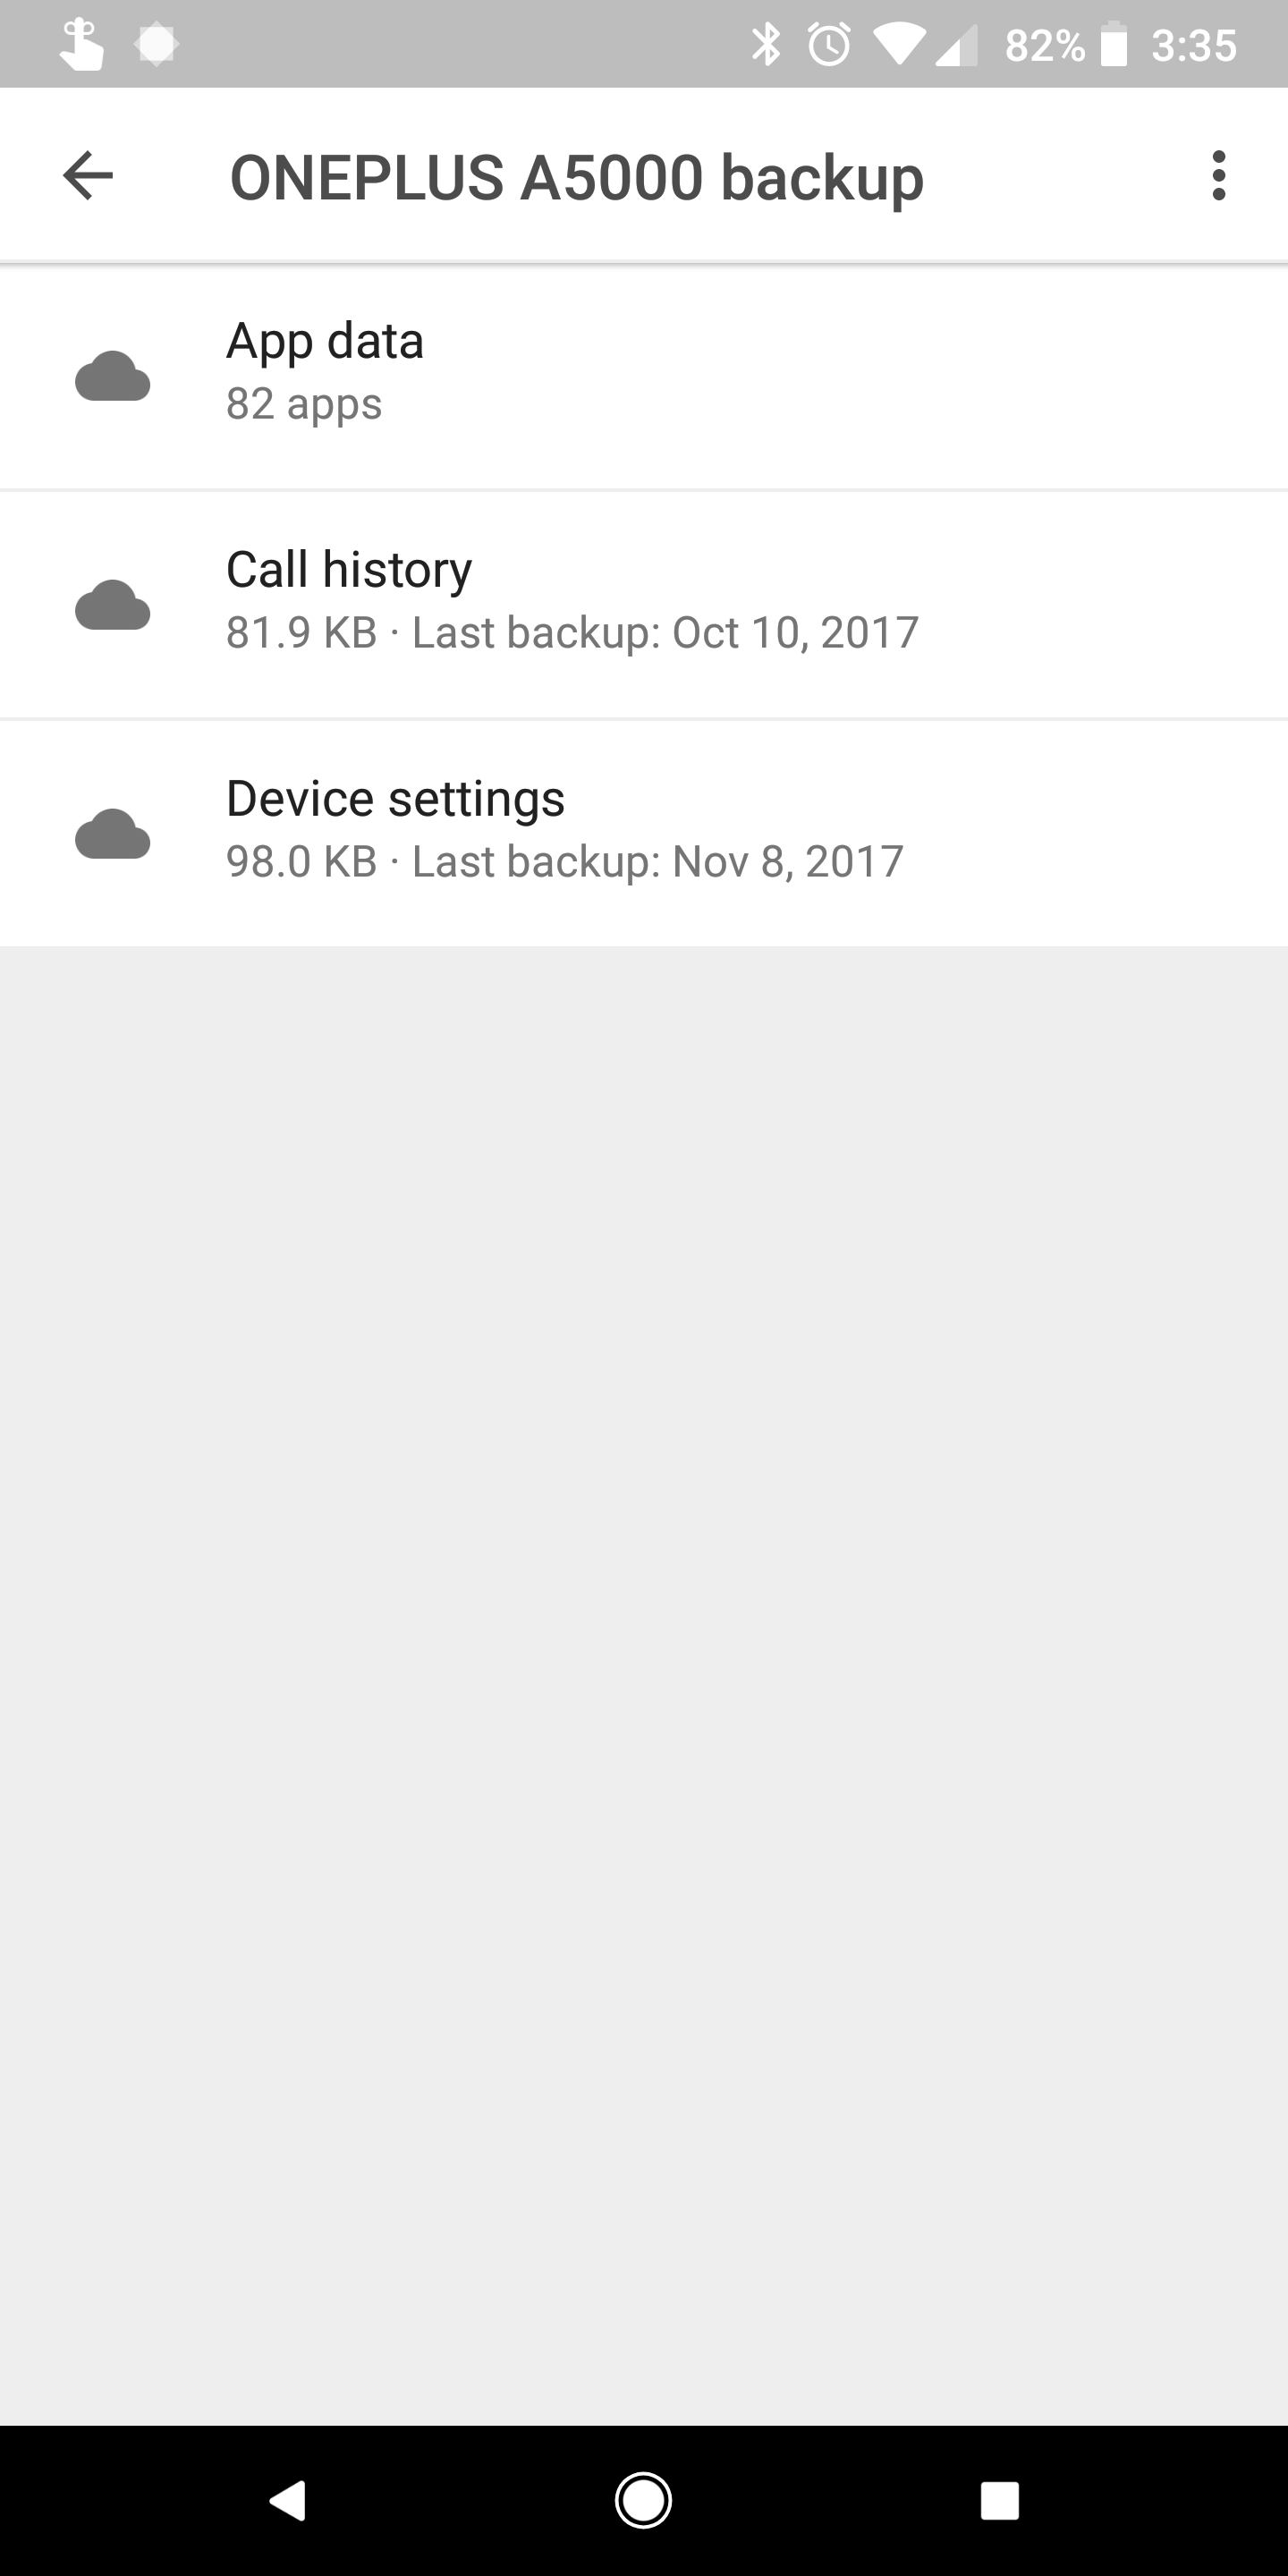
- Open the Google Drive app
- Tap on the menu button or slide it out
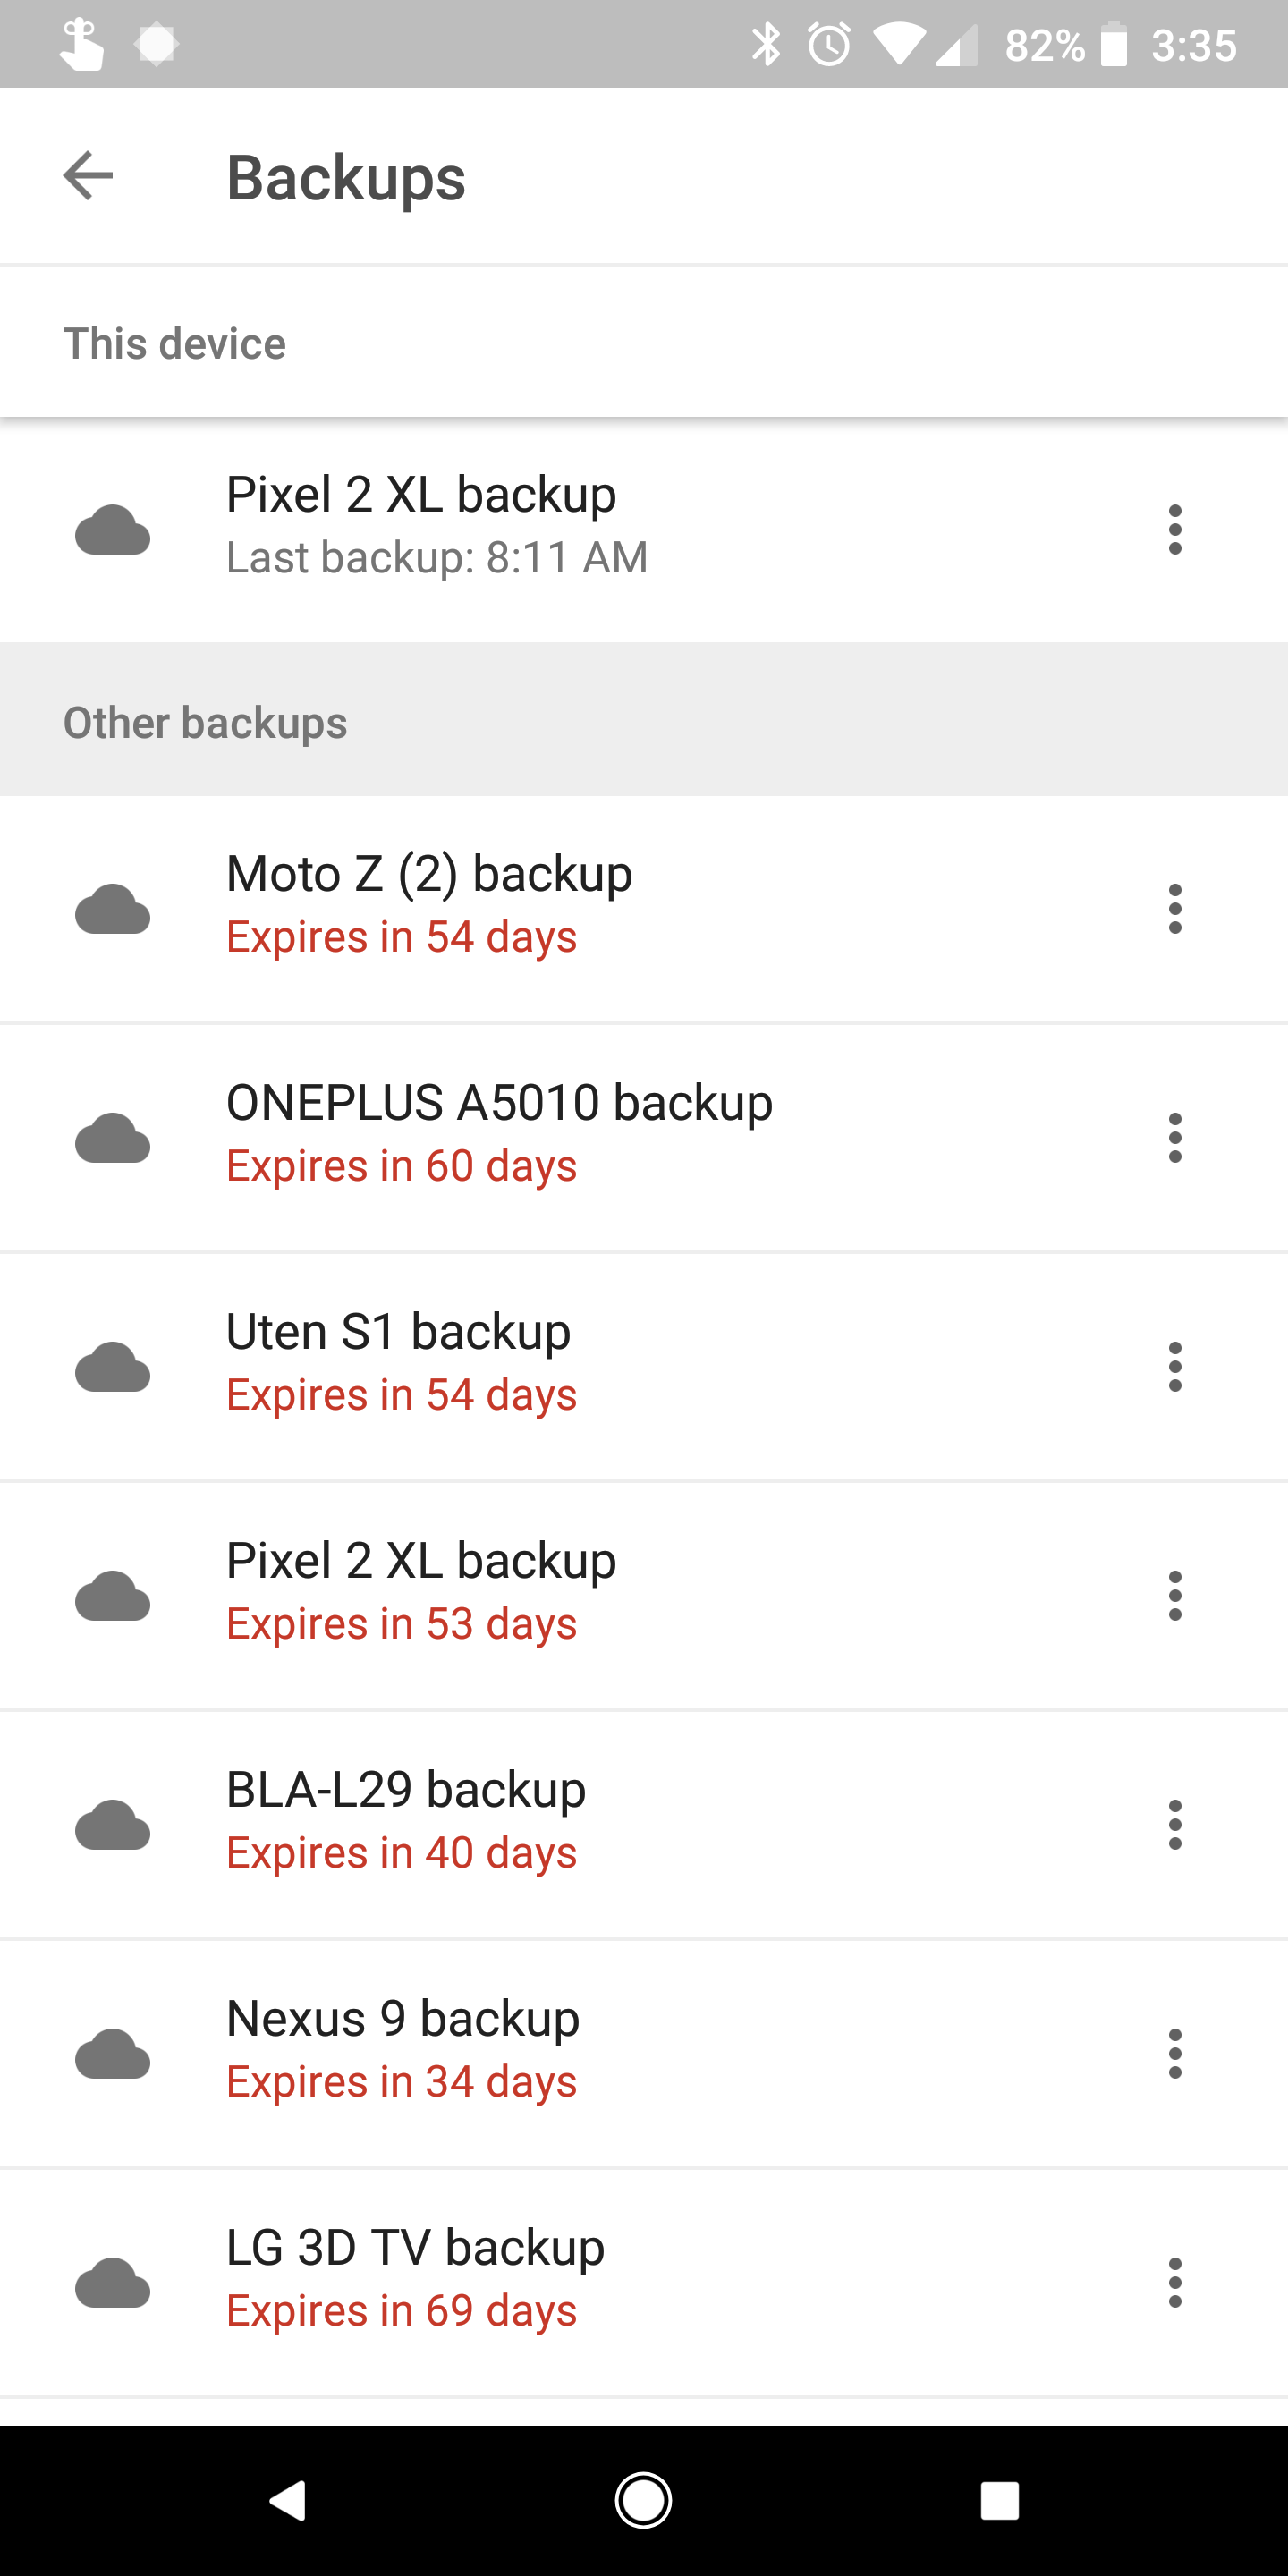
- Tap on Backups
- Tap on the backup you’d like to see what is saved inside
- Tap the 3-dot menu button to Delete backup
- Confirm by tapping DELETE
Once a backup is deleted, a new backup will be created but only if you start using that device again and backup is still enabled on it.
Having Trouble?
If you’re having issues transferring data from your old Android phone to your new Android phone, head over to Android Forums, search for your specific Android device, and ask in the related forum.
