Even though the Meta Quest 2 is an older-generation VR headset, it is still a capable device to have. The best part is you can now get it for a lot cheaper than before. It becomes a perfect choice for anyone looking to test the waters without going for expensive options.
It offers a wireless VR experience and you do not have to worry about cables. The headset boasts over 500 VR apps and games or experiences that you can enjoy right from your couch. If you are planning to buy or have already got the headset, we are here to help you get started. This is how can set up your Meta Quest 2.
Unboxing Meta Quest 2
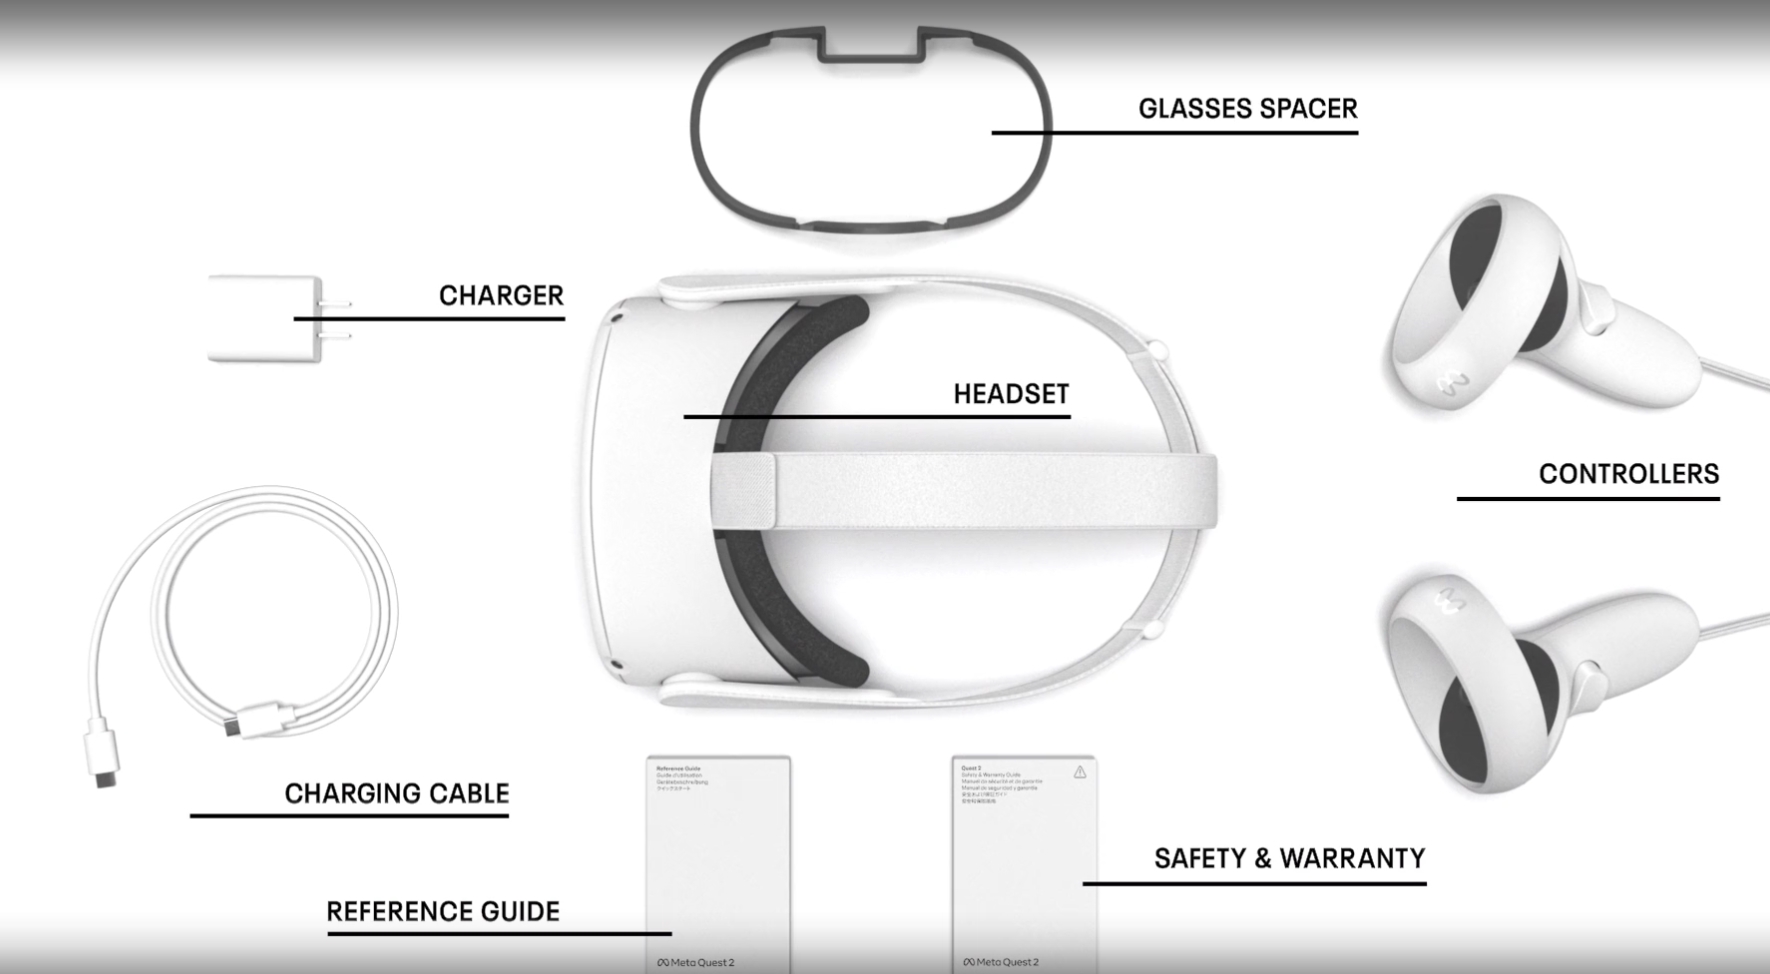
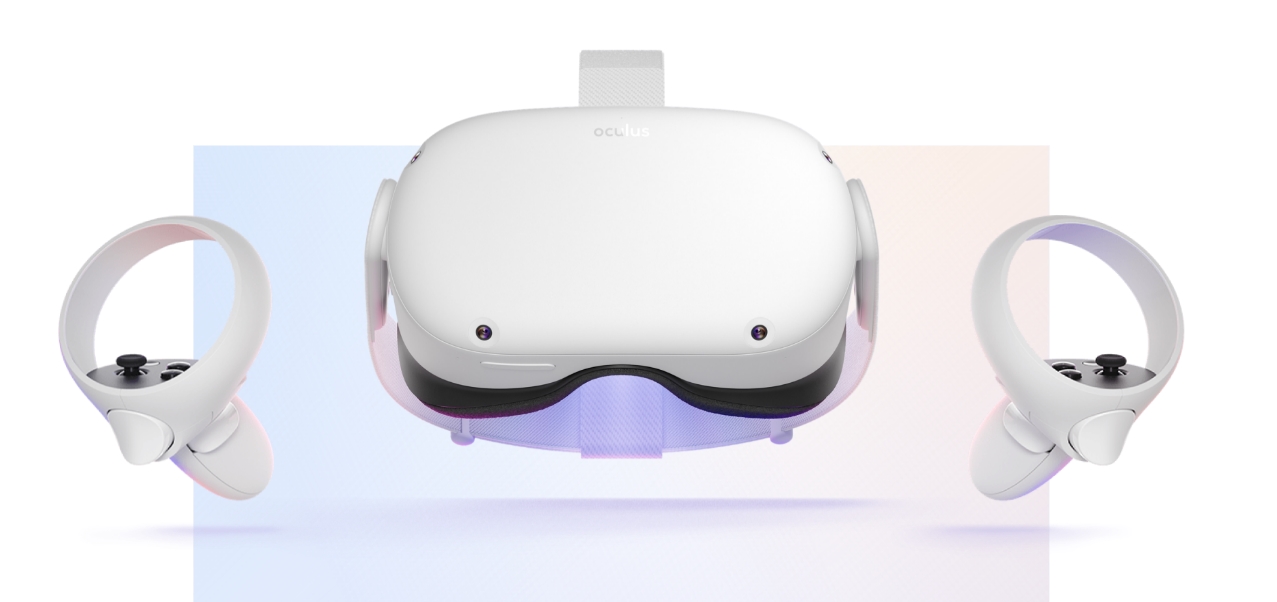
When you unbox the Meta Quest 2, you will get a few items in the box. These include the Quest 2 VR headset, controllers, glasses spacer, a charging cable, and a charger. Make sure your retail package has all these items and nothing is missing.

The first step is to charge your brand-new Meta Quest 2. You can do this using the bundled charging cable and charger. The VR headset has a USB-C port for charging on the left side. There is a charging indicator light that glows orange when the headset is charging. It turns green once the headset is completely charged.
Find Meta Quest 2 Comfortable Fit
It is important to find the right fit for your Meta Quest 2. This will ensure that your user experience is comfortable and convenient. You can gently squeeze the lenses to shift right and left to find the perfect positioning for sharp visuals. There are three positions to choose from. Similarly, you need to adjust the side straps and the head strap to wear the headset comfortably.
If you use glasses, you will need to use the glasses spacer that came in the box. It needs to be inserted into the headset after popping off the foam and the plastic face pad. Once inserted, you need to replace the plastic face pad.
Setting Up Meta Quest 2
- Power on the Meta Quest 2 using the button next to the charging indicator and wear it.
- Take your controllers and pull the small plastic tab on each of them. Squeeze the triggers to pair them with the headset.
- Select your preferred language on the headset and connect to WiFi.
- Take the Quest 2 headset off and download the Oculus companion app from the app store on your Android/iOS device.
- Launch the app and sign in with your Meta account. You can even create one if you want to.
- Follow the on-screen instructions to create your unique VR profile. Choose a username and profile picture.
- Add a payment method and a 4-digit PIN for making purchases like buying apps and games.
- Choose Quest 2 from the list of devices to link the device with the app. Make sure the VR headset and Bluetooth on your phone are turned on.
Setting Up Meta Quest 2 Play Area aka Guardian Boundary
There is just one last thing to do before you start enjoying your favorite VR apps and games. It is to set up a safe play area aka Guardian boundary for the Quest 2. It is the area determined by you that is safe to be in while interacting with VR experiences. The headset will give you a warning when you move out of this specific area to ensure your safety.
To get started, you first need to look for an area in your house/room that is safe for playing VR games. Wear the headset and it will prompt you to create a Guardian boundary. Follow on-screen instructions to mark the safe play area and that’s it.


Comments