

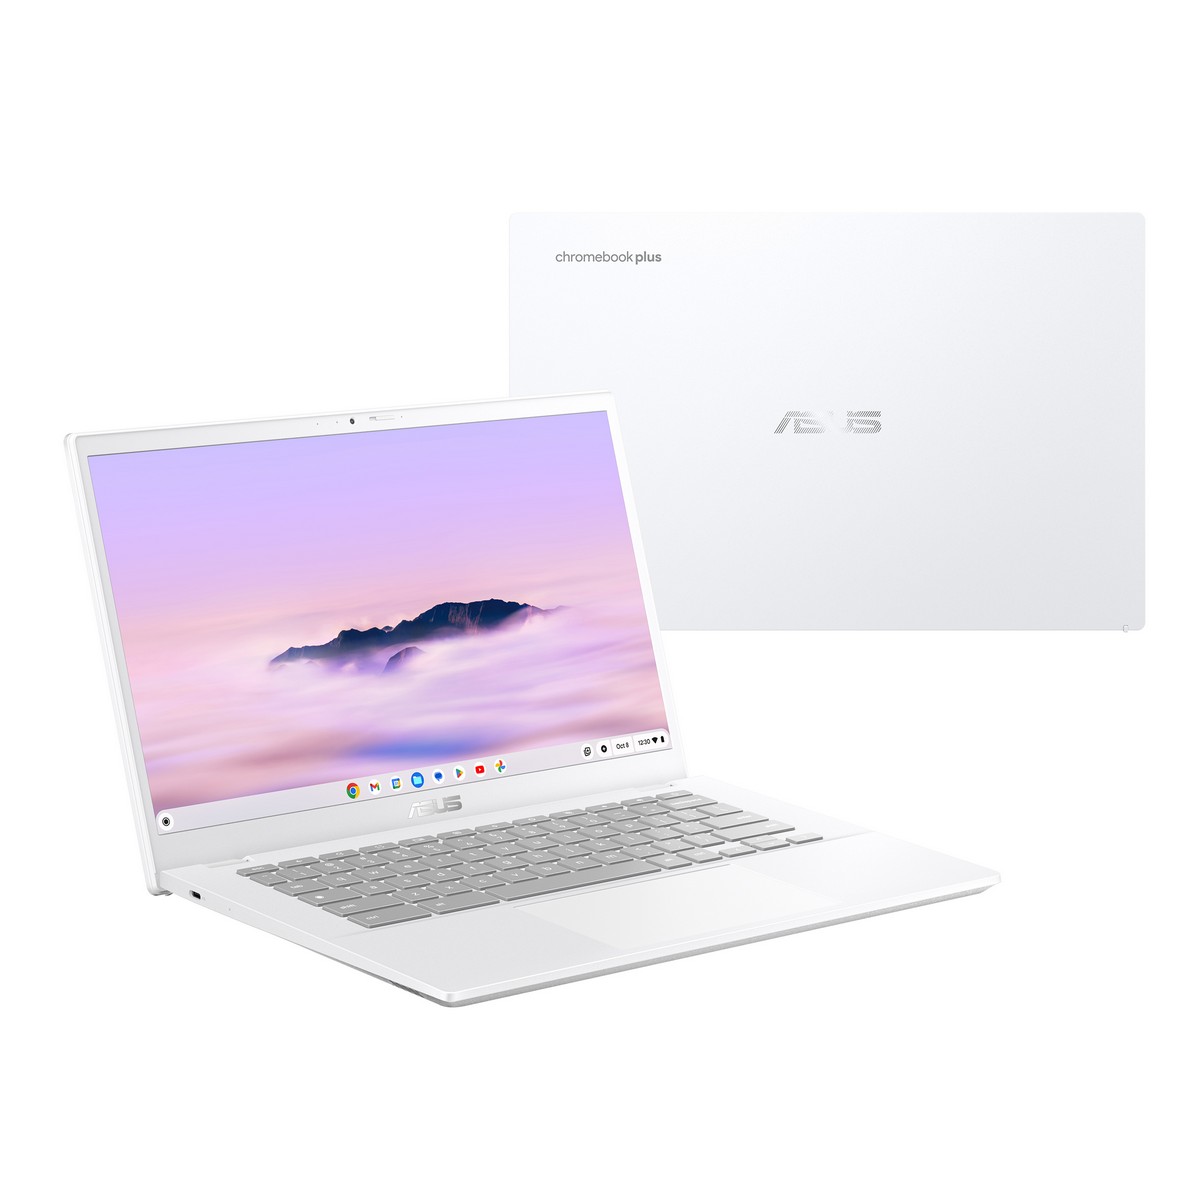
Chromebooks have made quite a name for themselves as an affordable and easy-to-use alternative to buying a Windows notebook. These have become a lot more mainstream among all sorts of users, especially school and college students. While these notebooks are fairly easy to use, there is still a learning curve for first-time Chrome OS users.
This is why we have compiled a list of the first things that you should do with your brand-new Chromebook. These will help you feel at home with your Chromebook and start using it like a seasoned user in no time.
Plug-in to power on
If your brand-new Chromebook is not powering on right after you unboxed it, there is a good chance it does not have battery power. You should plug its bundled charger into a power source and let it charge for a bit. It should power on thereafter but if the problem persists, it is advised that you get in touch with the company’s customer support for further assistance.
Sign-in with Google:
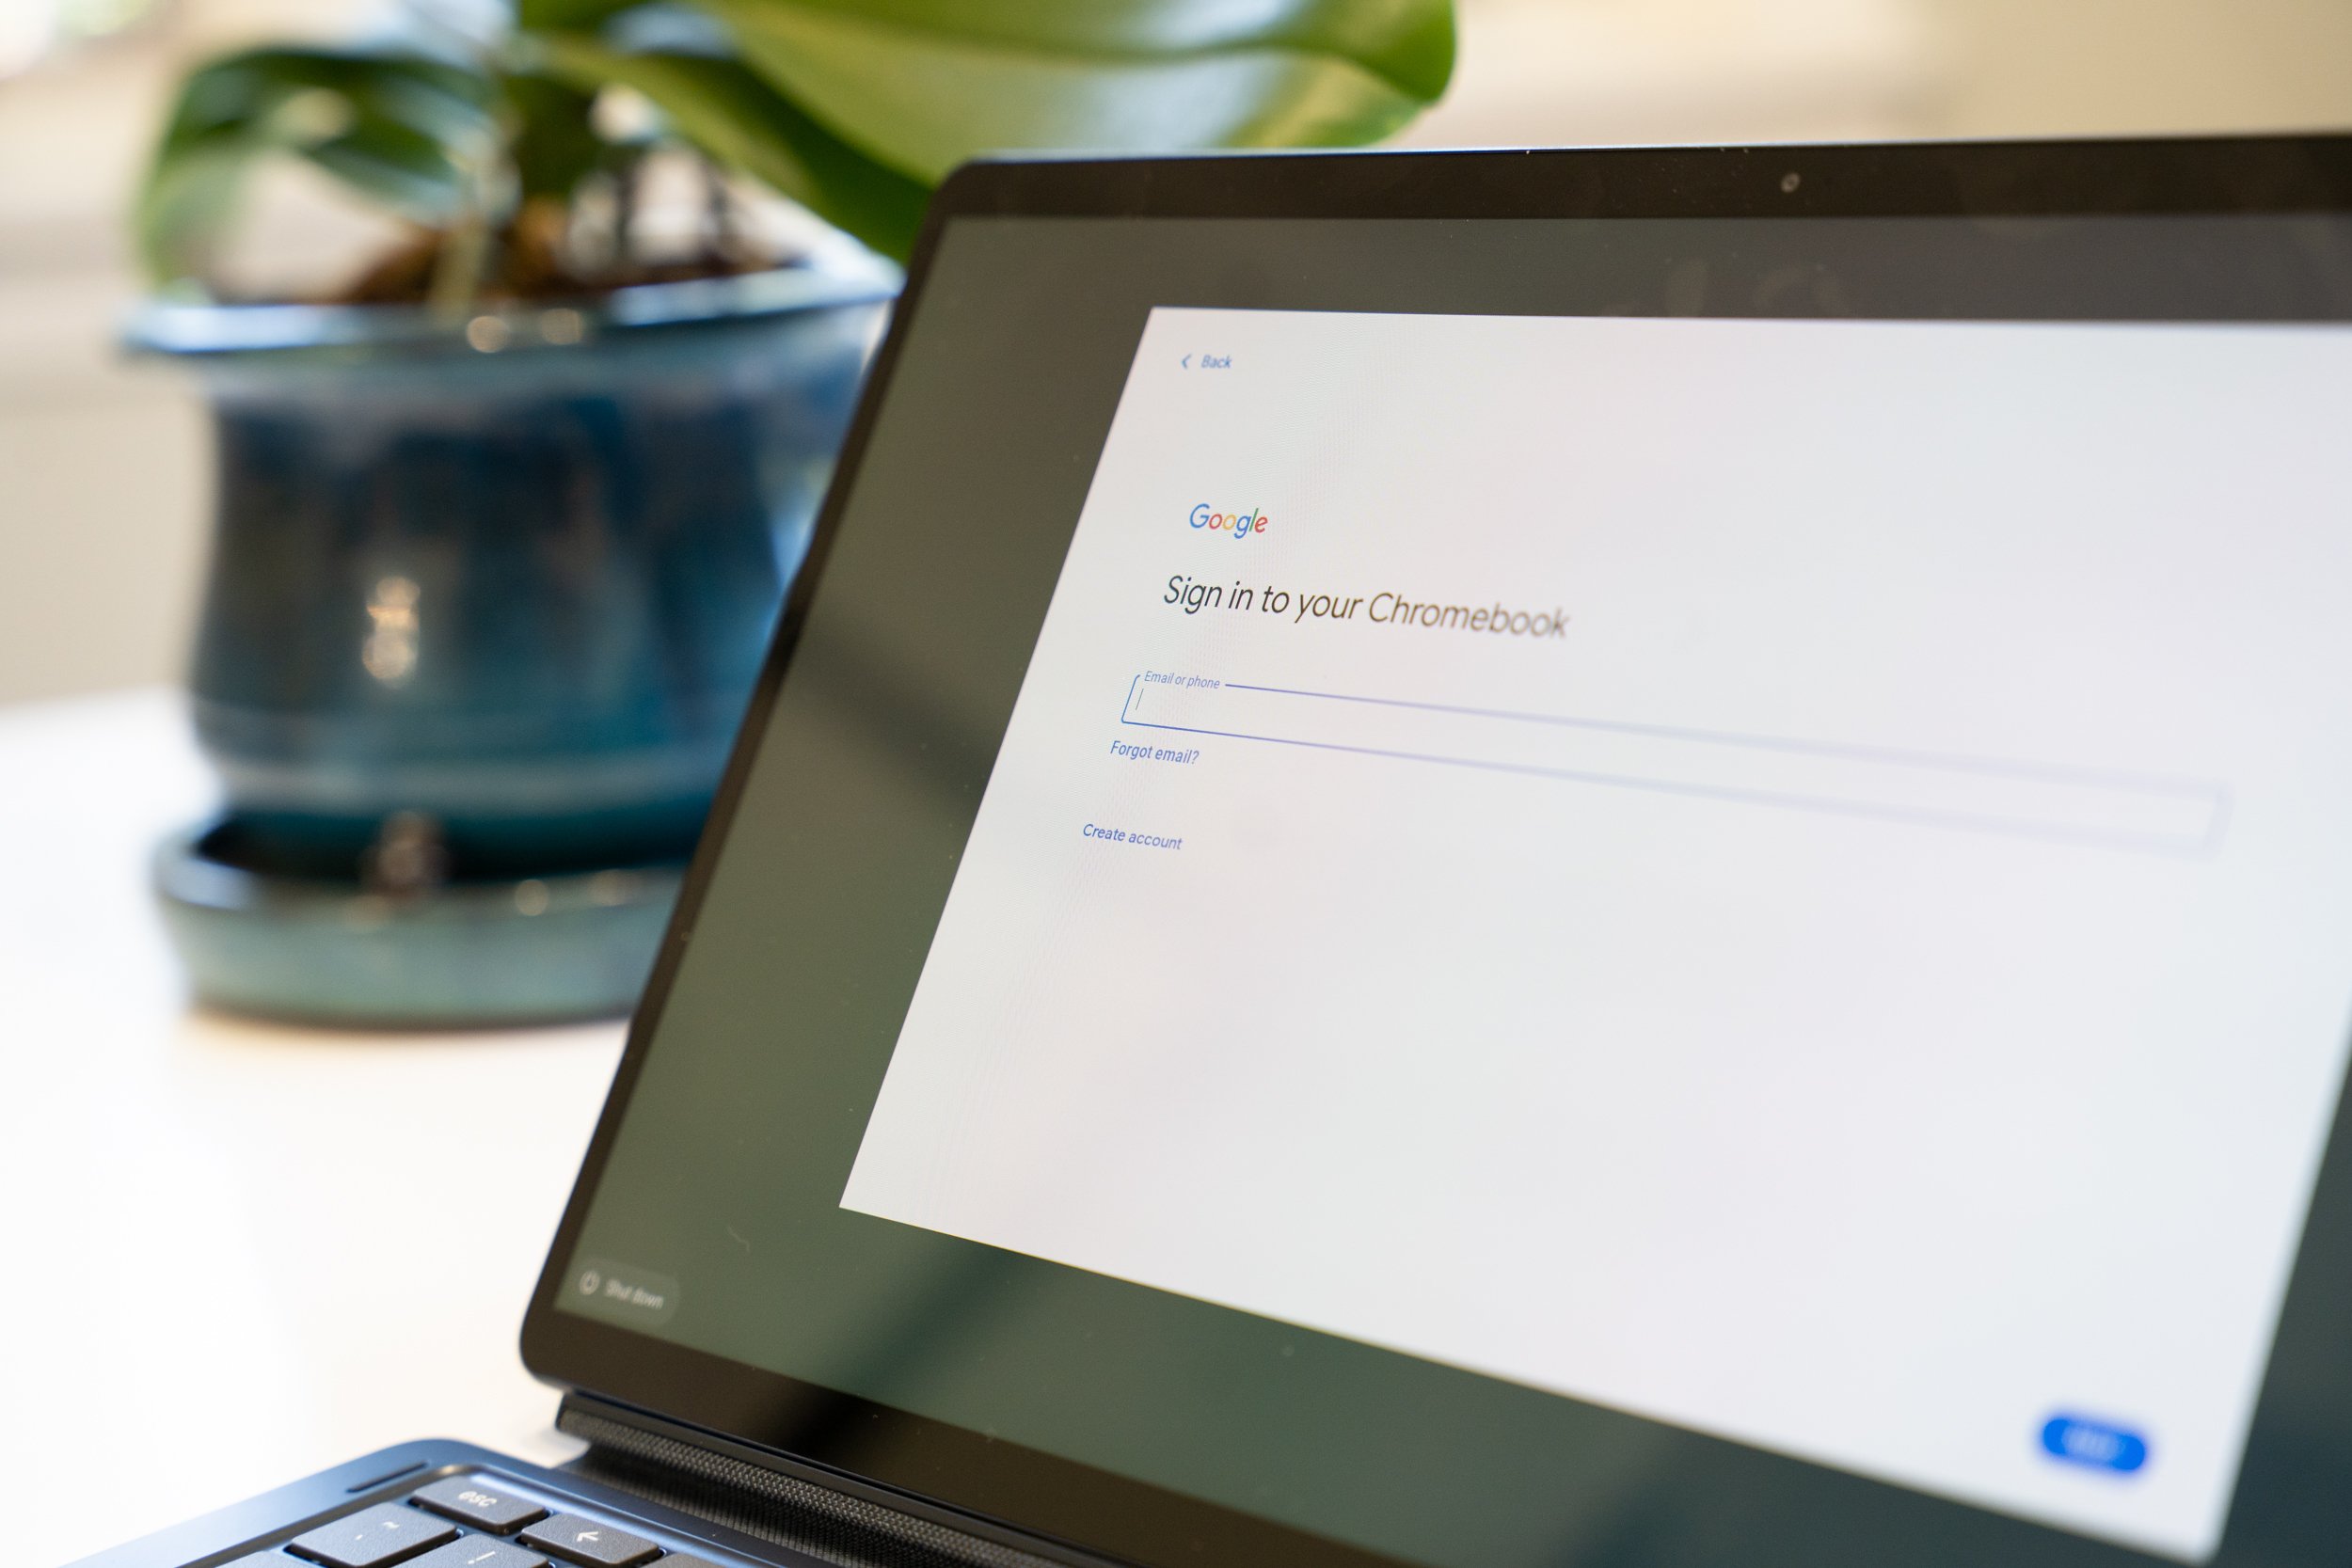
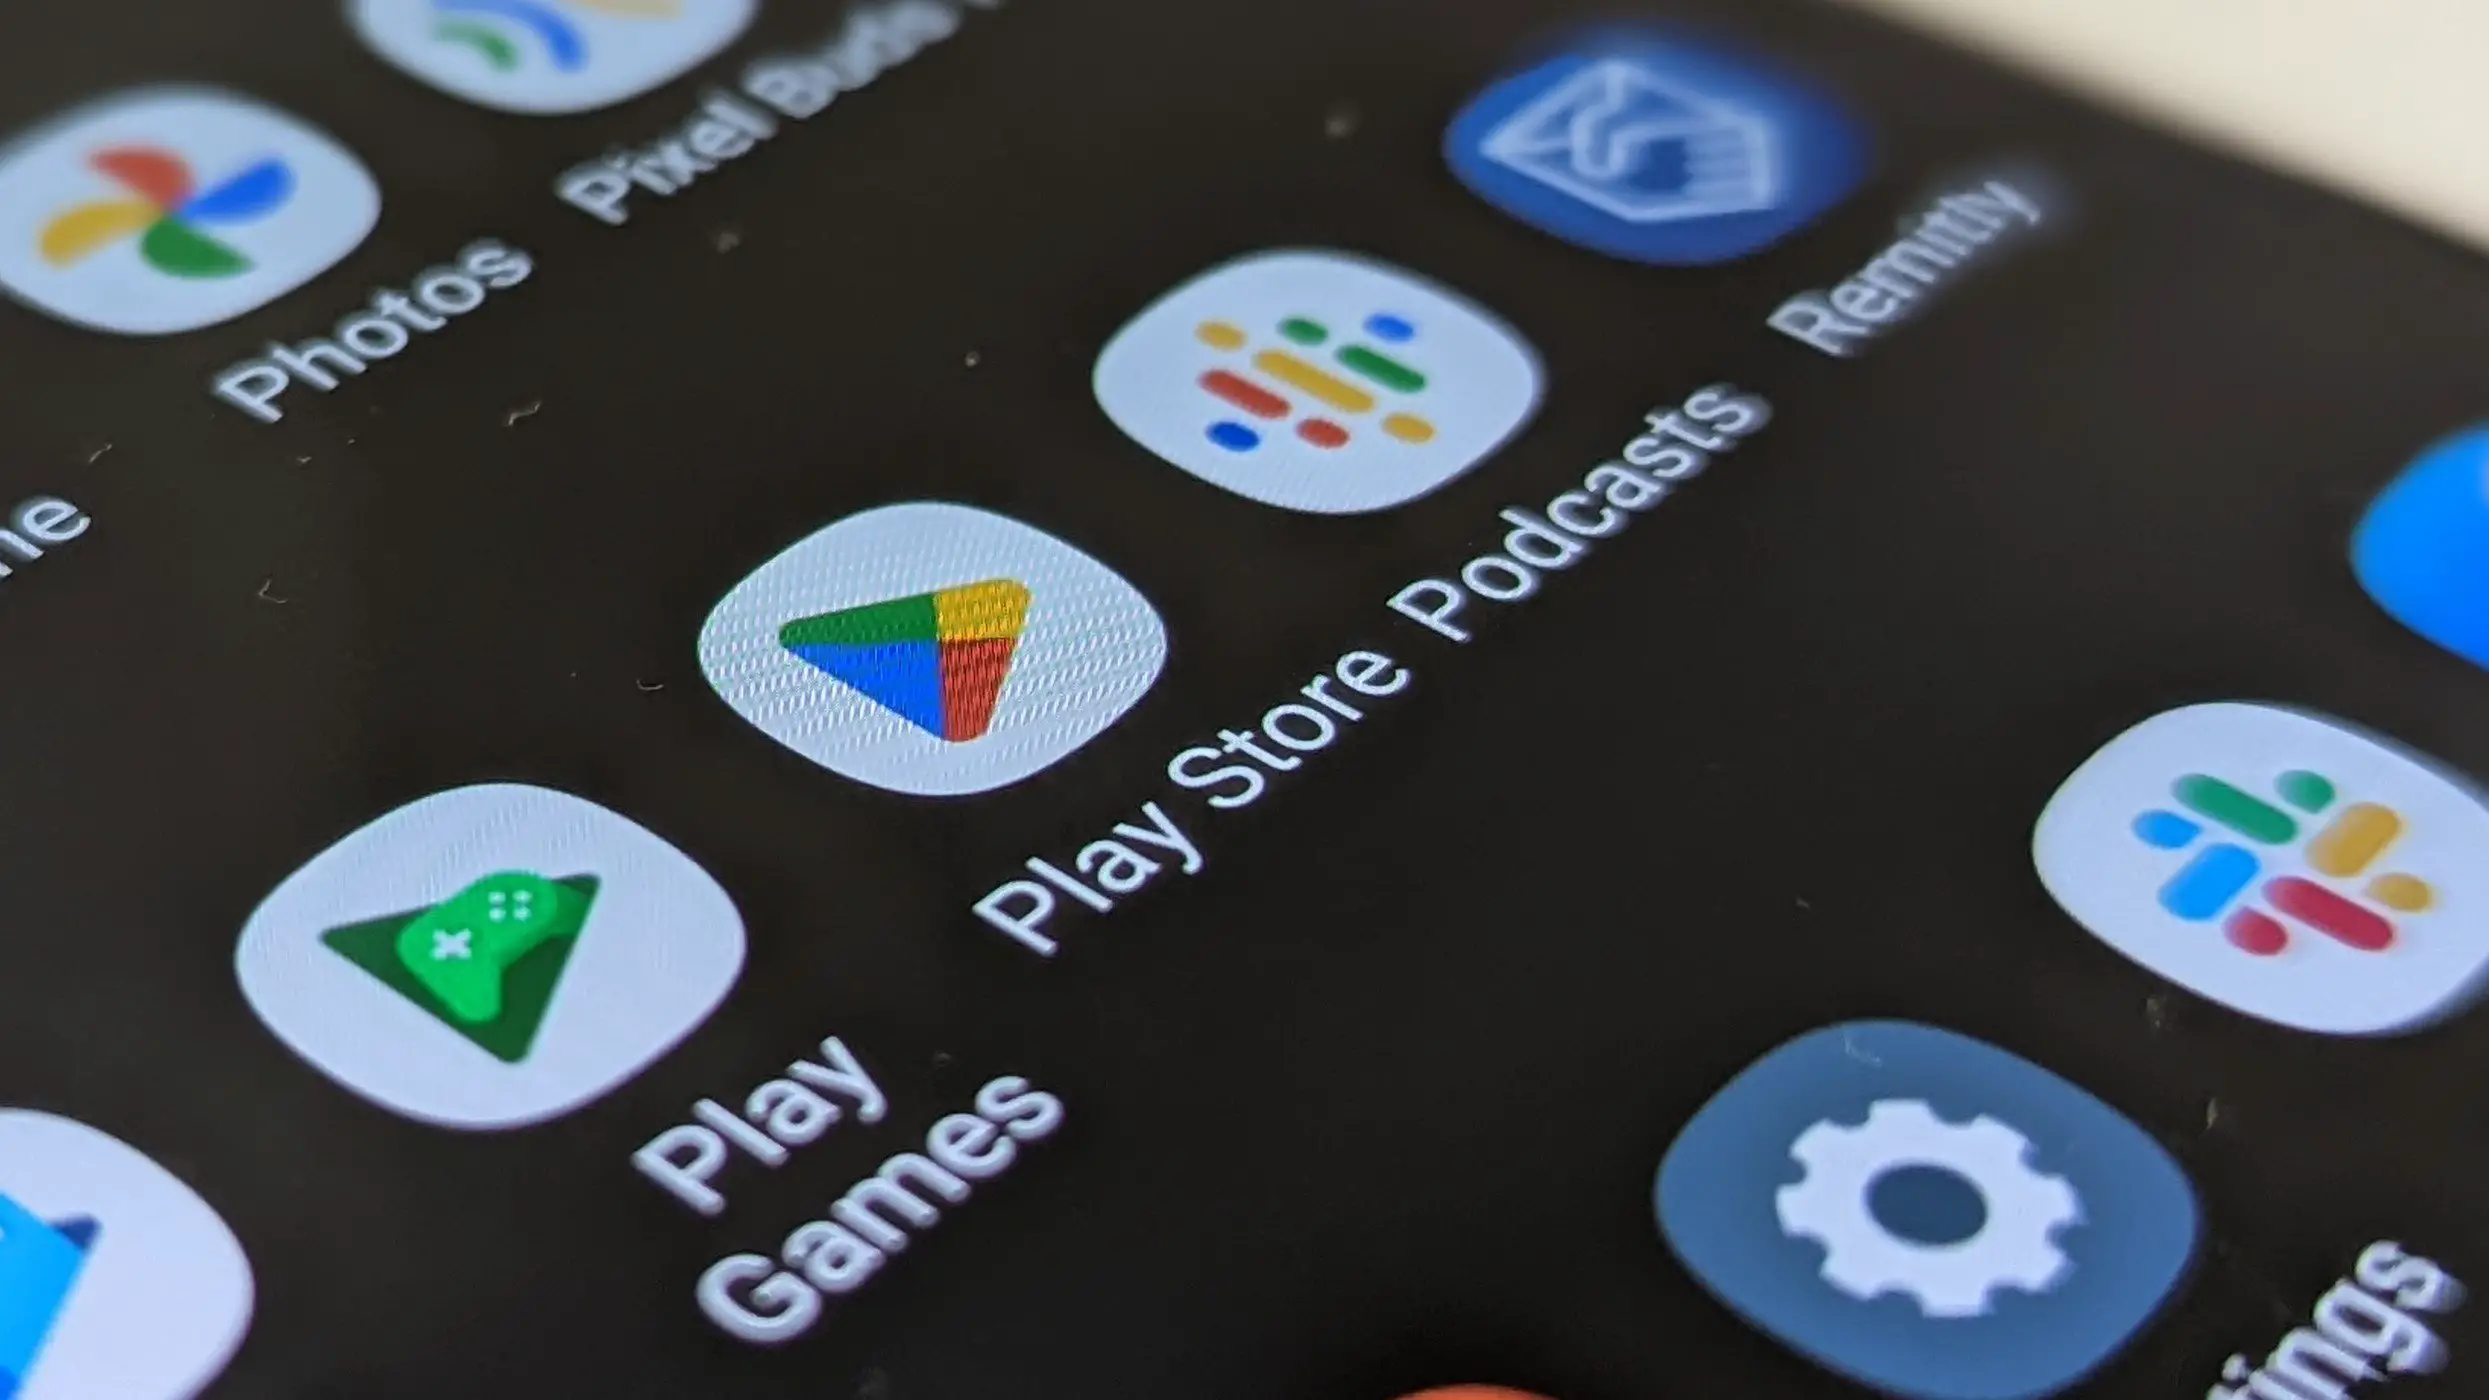
All Chromebooks run on cloud-first Chrome OS which is a Google offering. This is the reason it is important that you have a Google account linked with the notebook. It will help you take advantage of its full potential and work a lot more efficiently. You should log in with your Google account and if you don’t have one already, you can always create a new one for absolutely free.
Redeem Chromebook Perks
When you get a new Chromebook, Google has a bunch of free perks for you. These usually include free subscriptions and special discounts on various services. All available benefits are listed on the dedicated Chromebook Perks website and they keep changing from time to time.
You will need to redeem your perks within 60 days of linking your Chromebook with a Google account. While this is plenty of time, we advise that you redeem them as soon as possible, so that you do not end up forgetting about them.
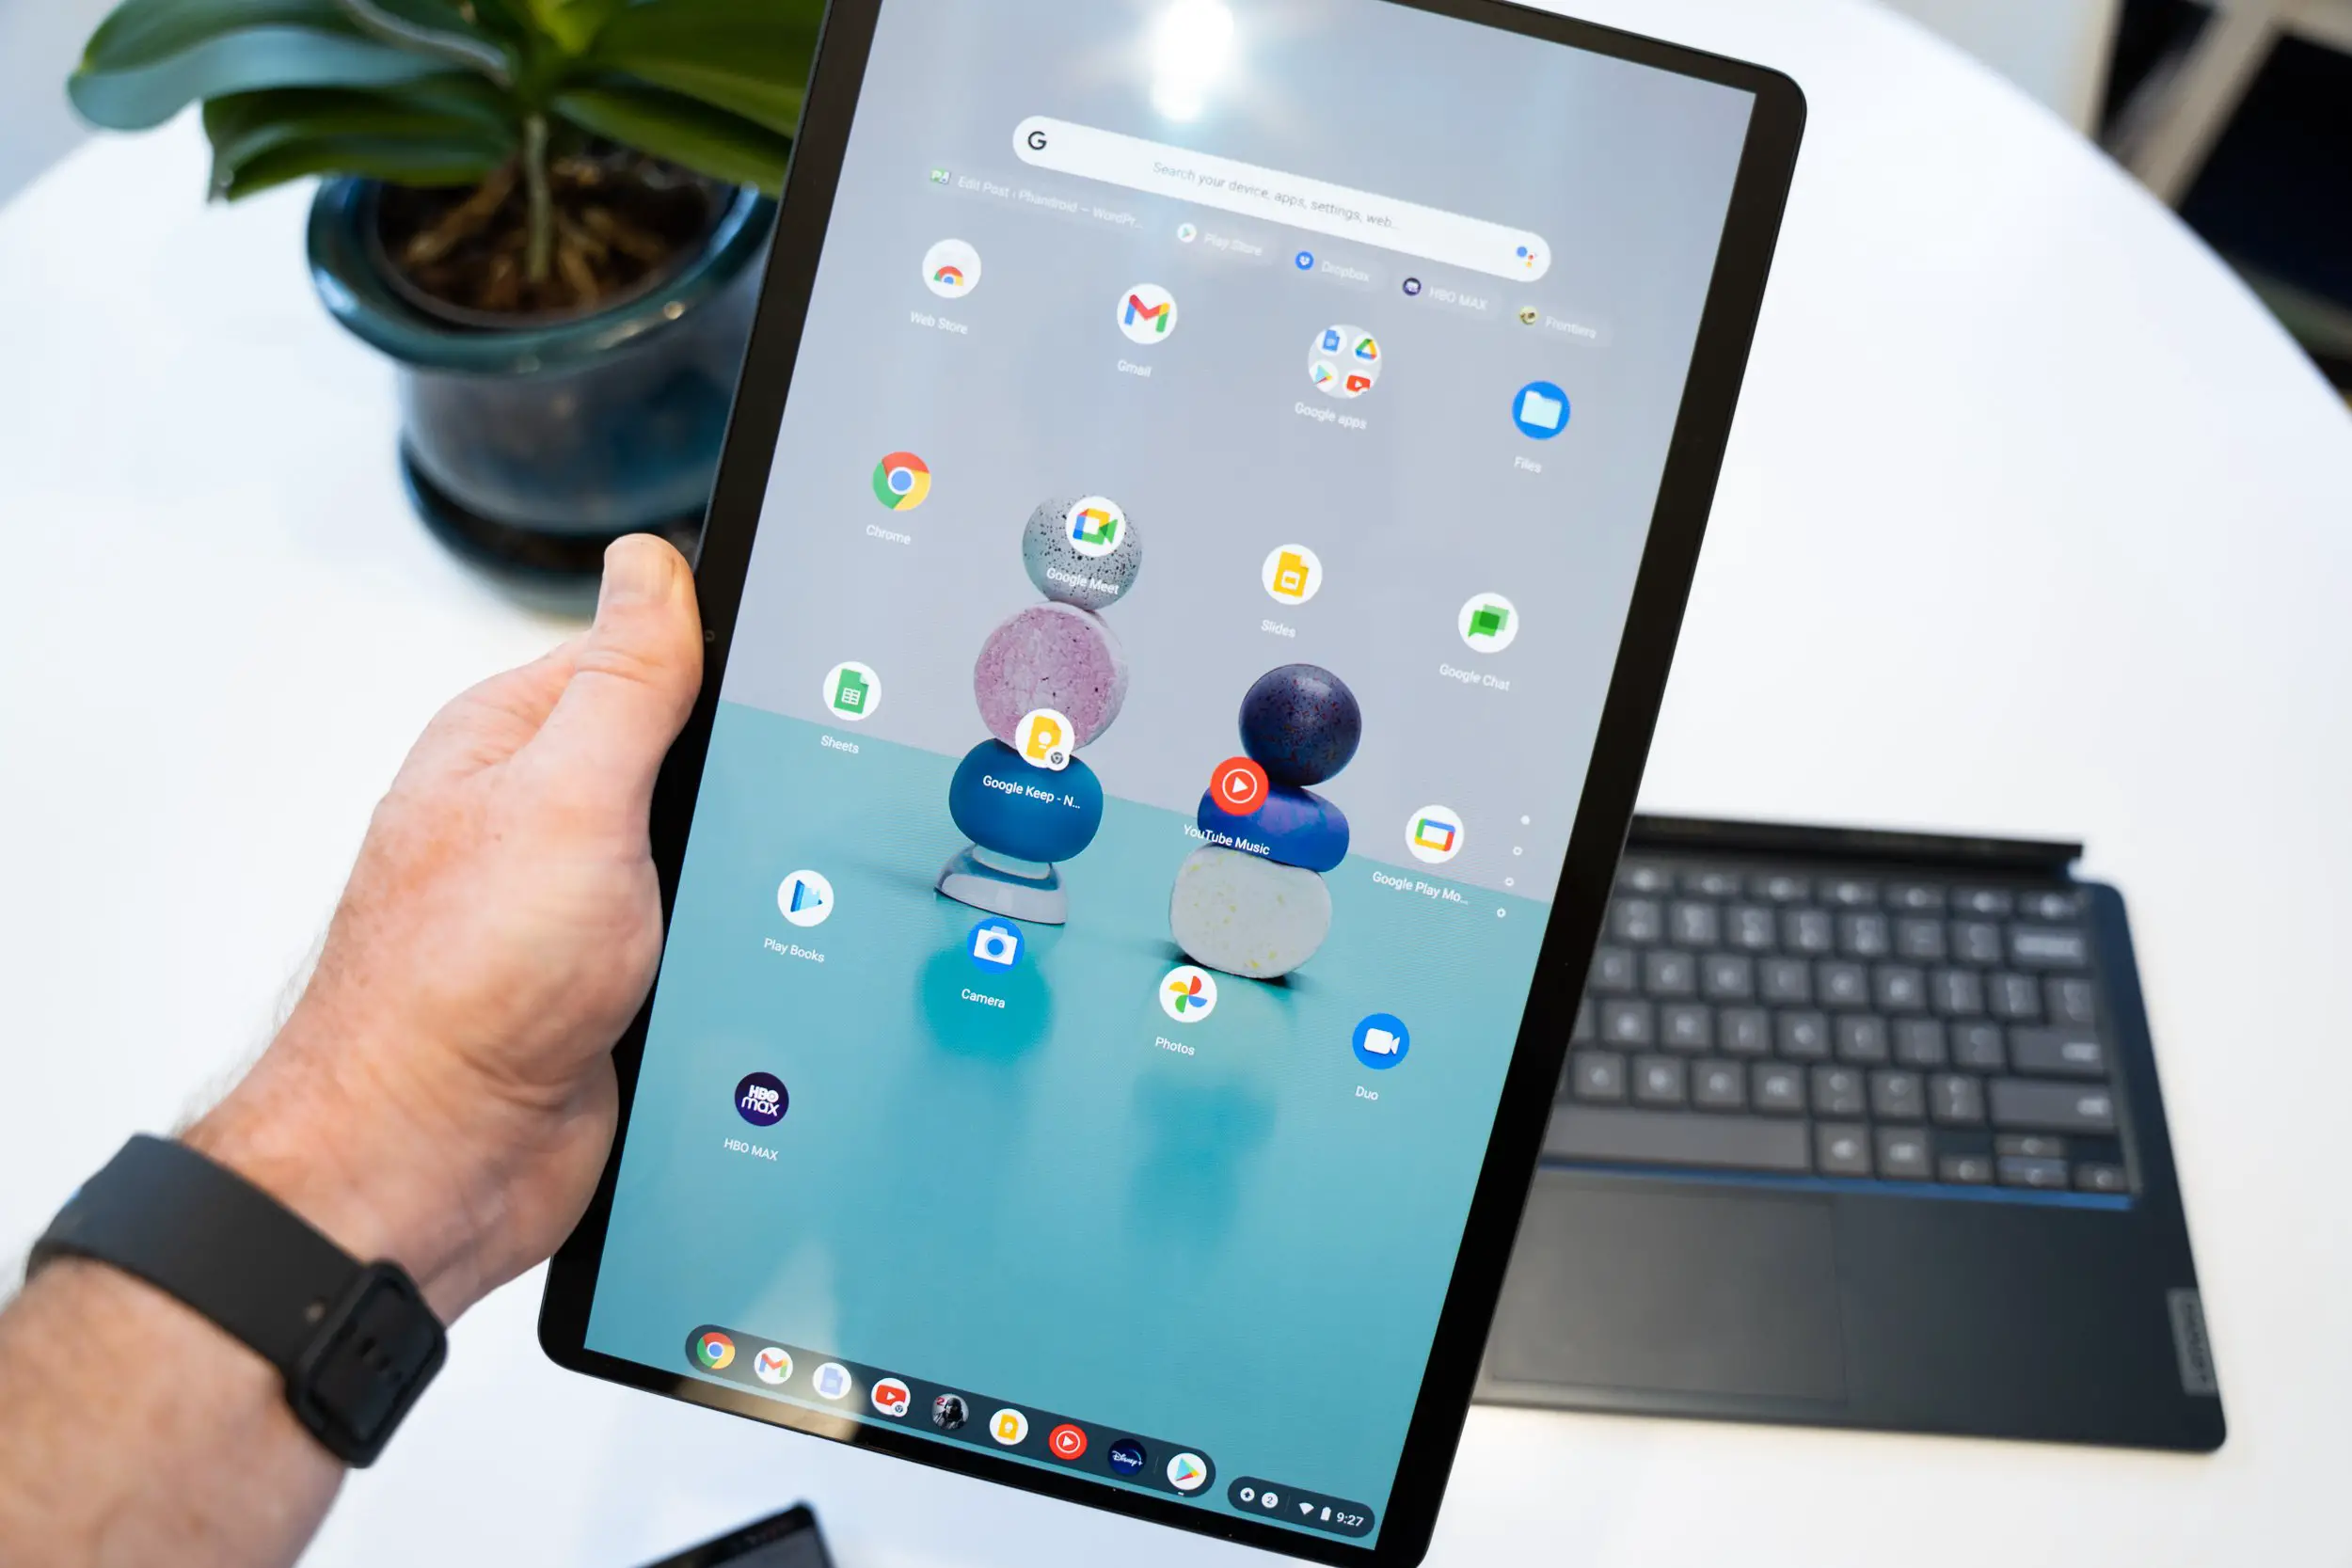
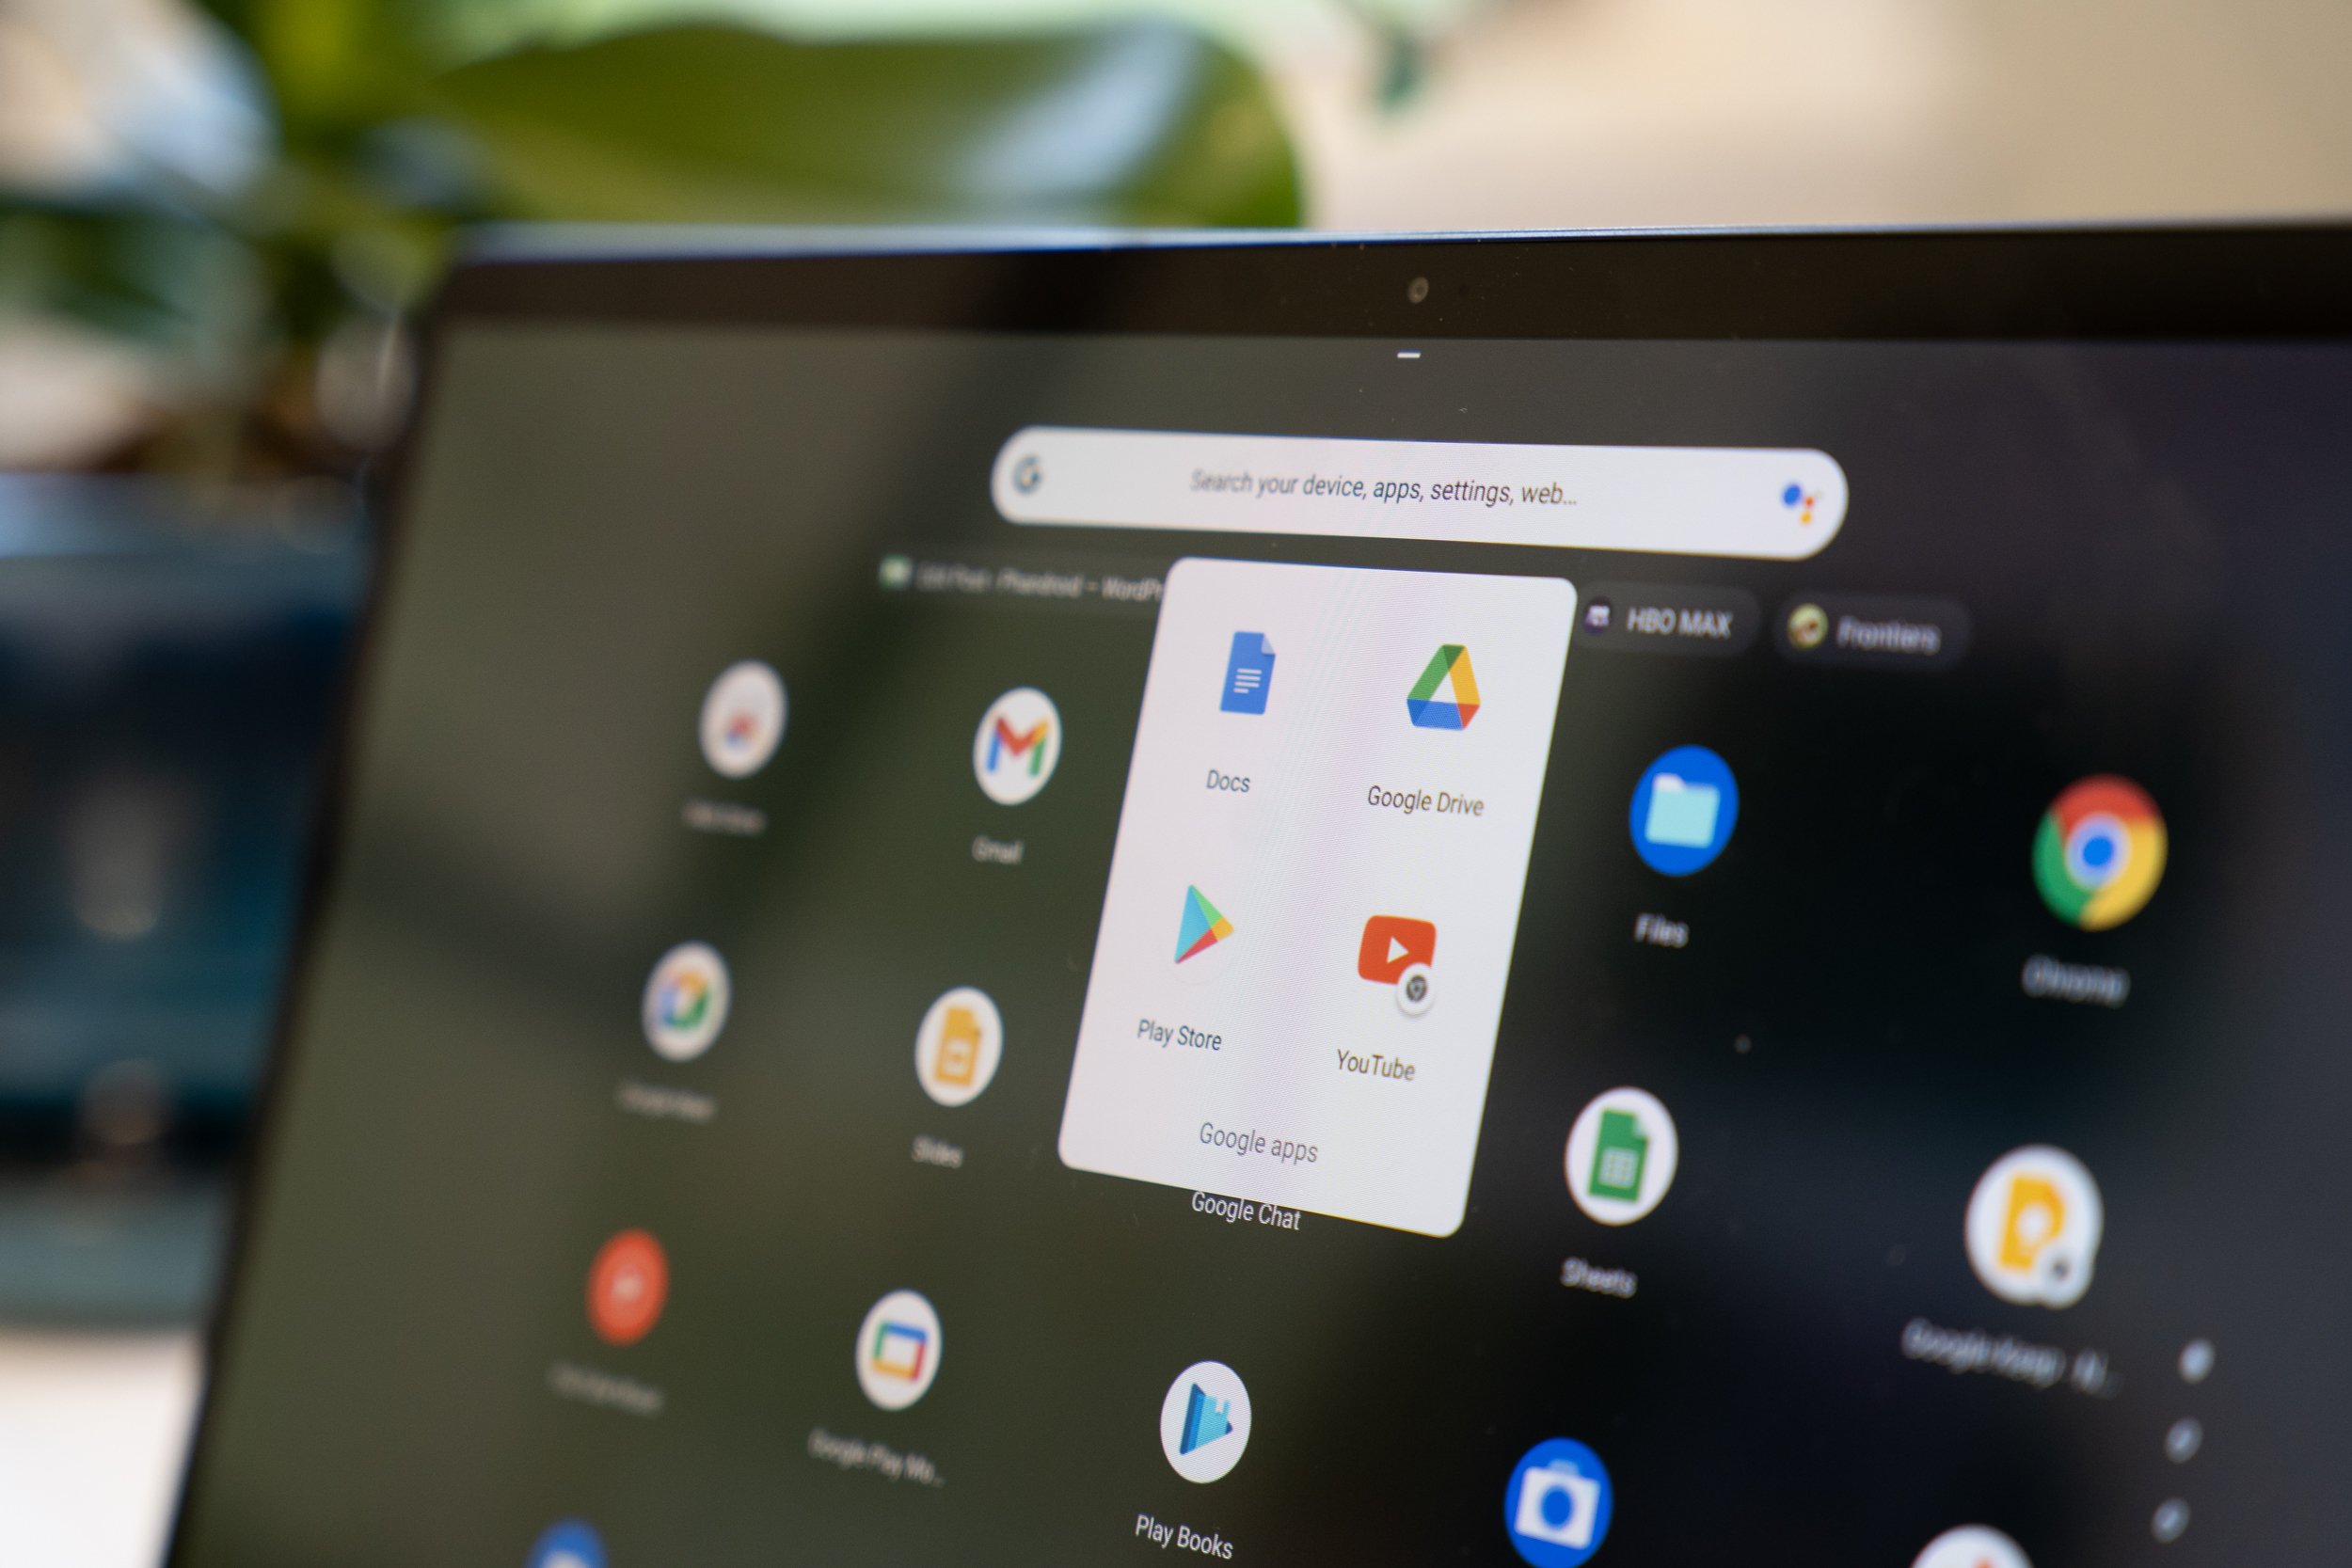
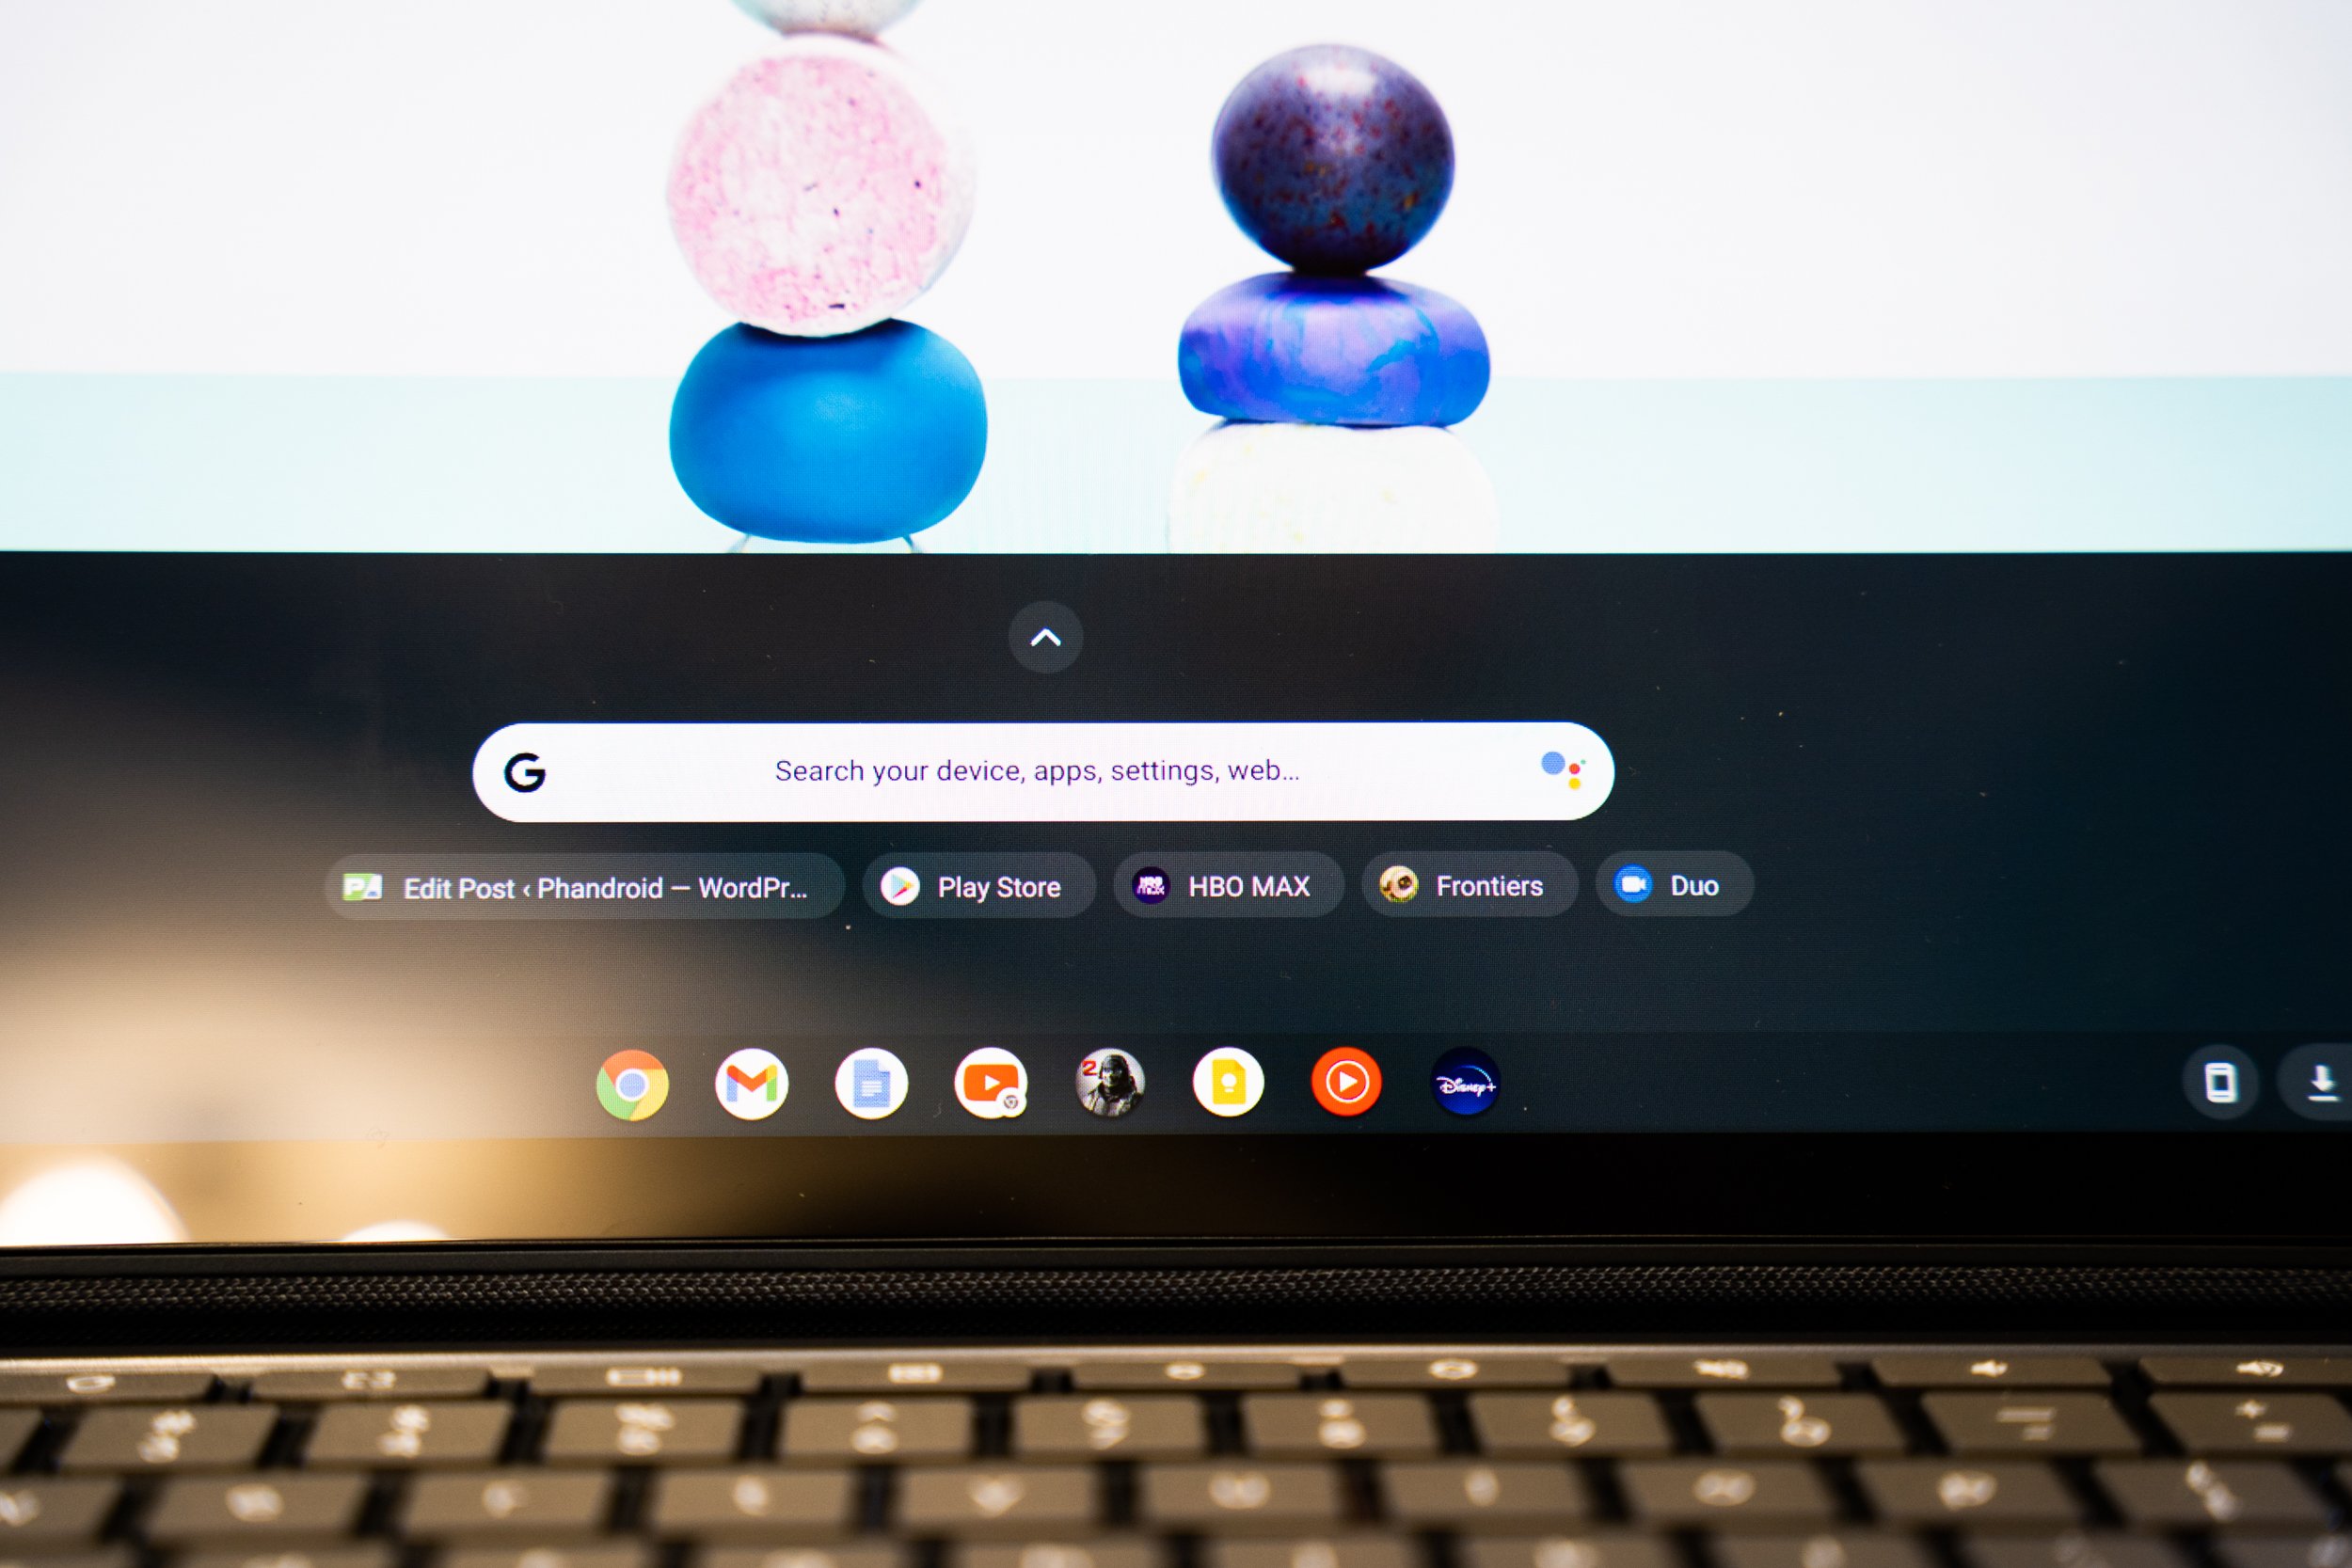
Shelf Customization

Shelf is the row of apps that you see at the bottom of your Chromebook. These are pinned apps for users to access with just one click. While there are preset pinned apps, you can easily add your frequently used apps to the Shelf. You need to select the Launcher in the corner of the screen. Search for the app that you want to add and right-click on it. Choose the Pin to Shelf option and that’s it.
Explore Settings
Chrome OS has plenty and plenty of settings for you to explore and play around with. These will help you adjust various aspects of hardware and software to best suit your preferences and needs. Settings can be accessed by selecting time in the bottom right corner and then clicking the gear icon. You can also use the shortcut Alt + Shift + s to open them quickly.
Explore Keyboard Shortcuts
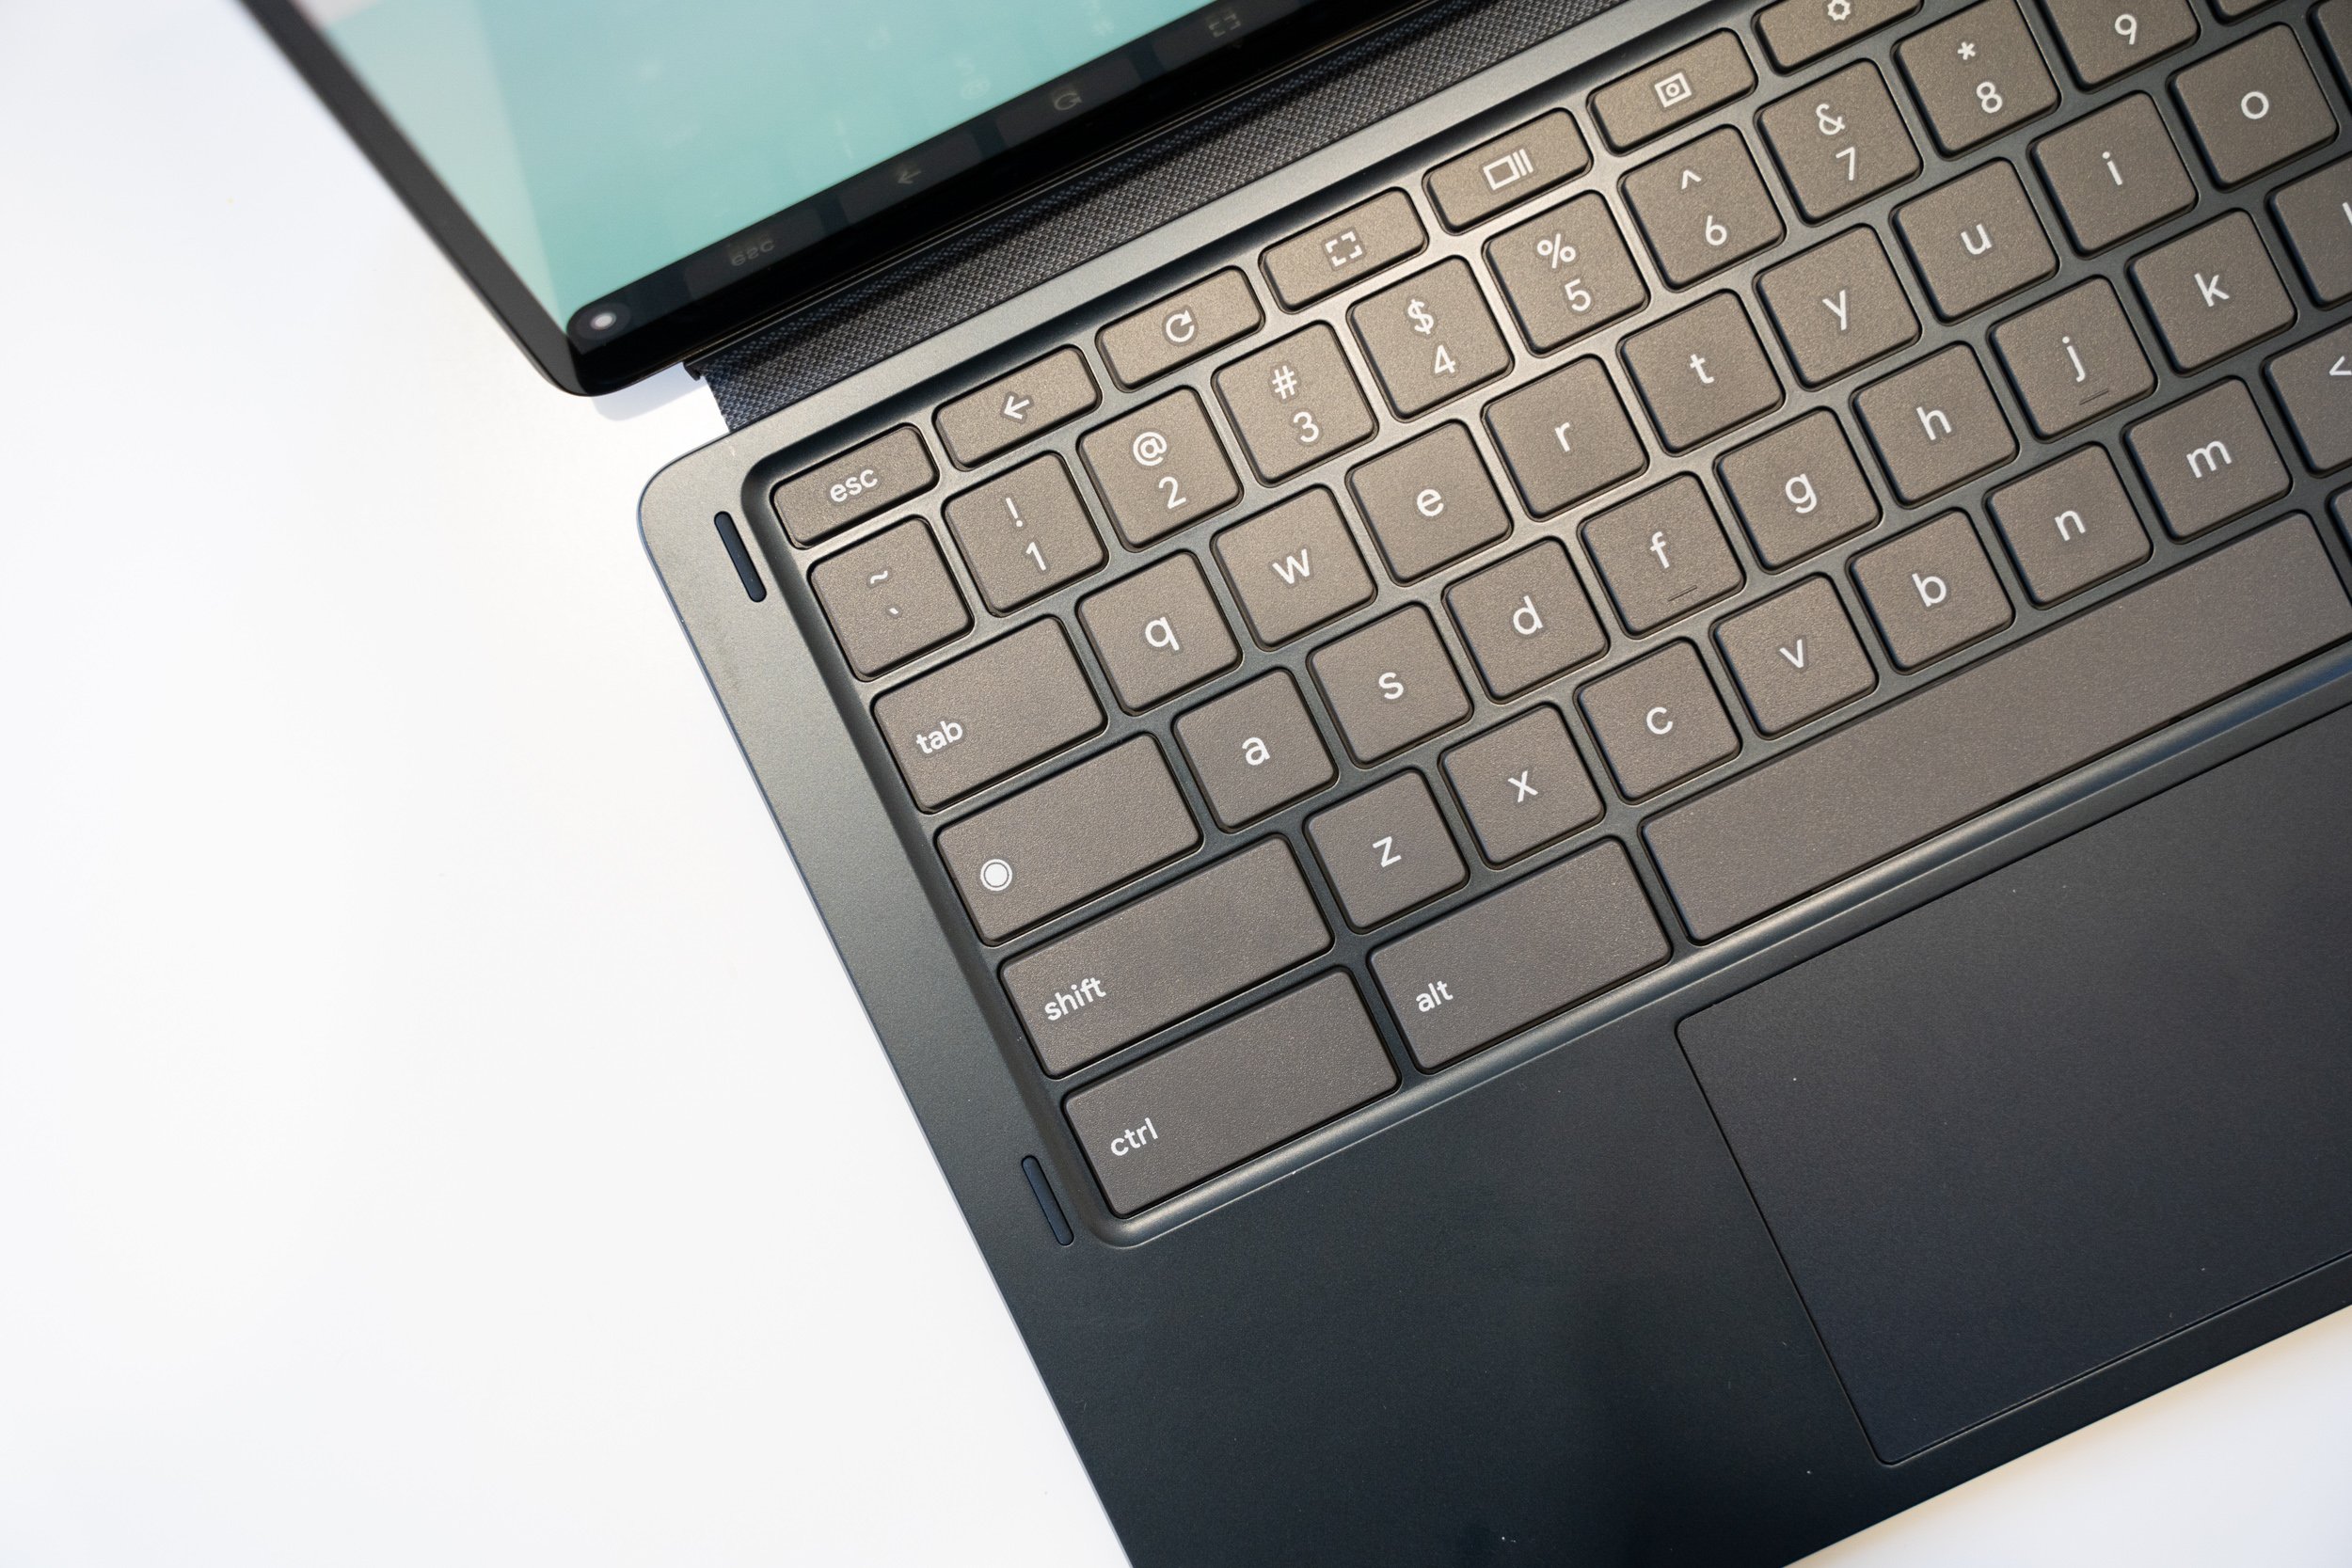
Keyboard shortcuts are an integral part of using any desktop operating system like a pro, be it Windows or macOS. Chromebooks run on Chrome OS and there is no shortage of keyboard shortcuts here as well. There are so many that it would not be an easy task to remember them all but the good thing is you do not have to.
Simply press Ctrl + Alt + ? to get the list of all Chrome OS keyboard shortcuts. There is in-built search functionality so that you can quickly find the shortcut for performing a particular task.
Trackpad Gestures
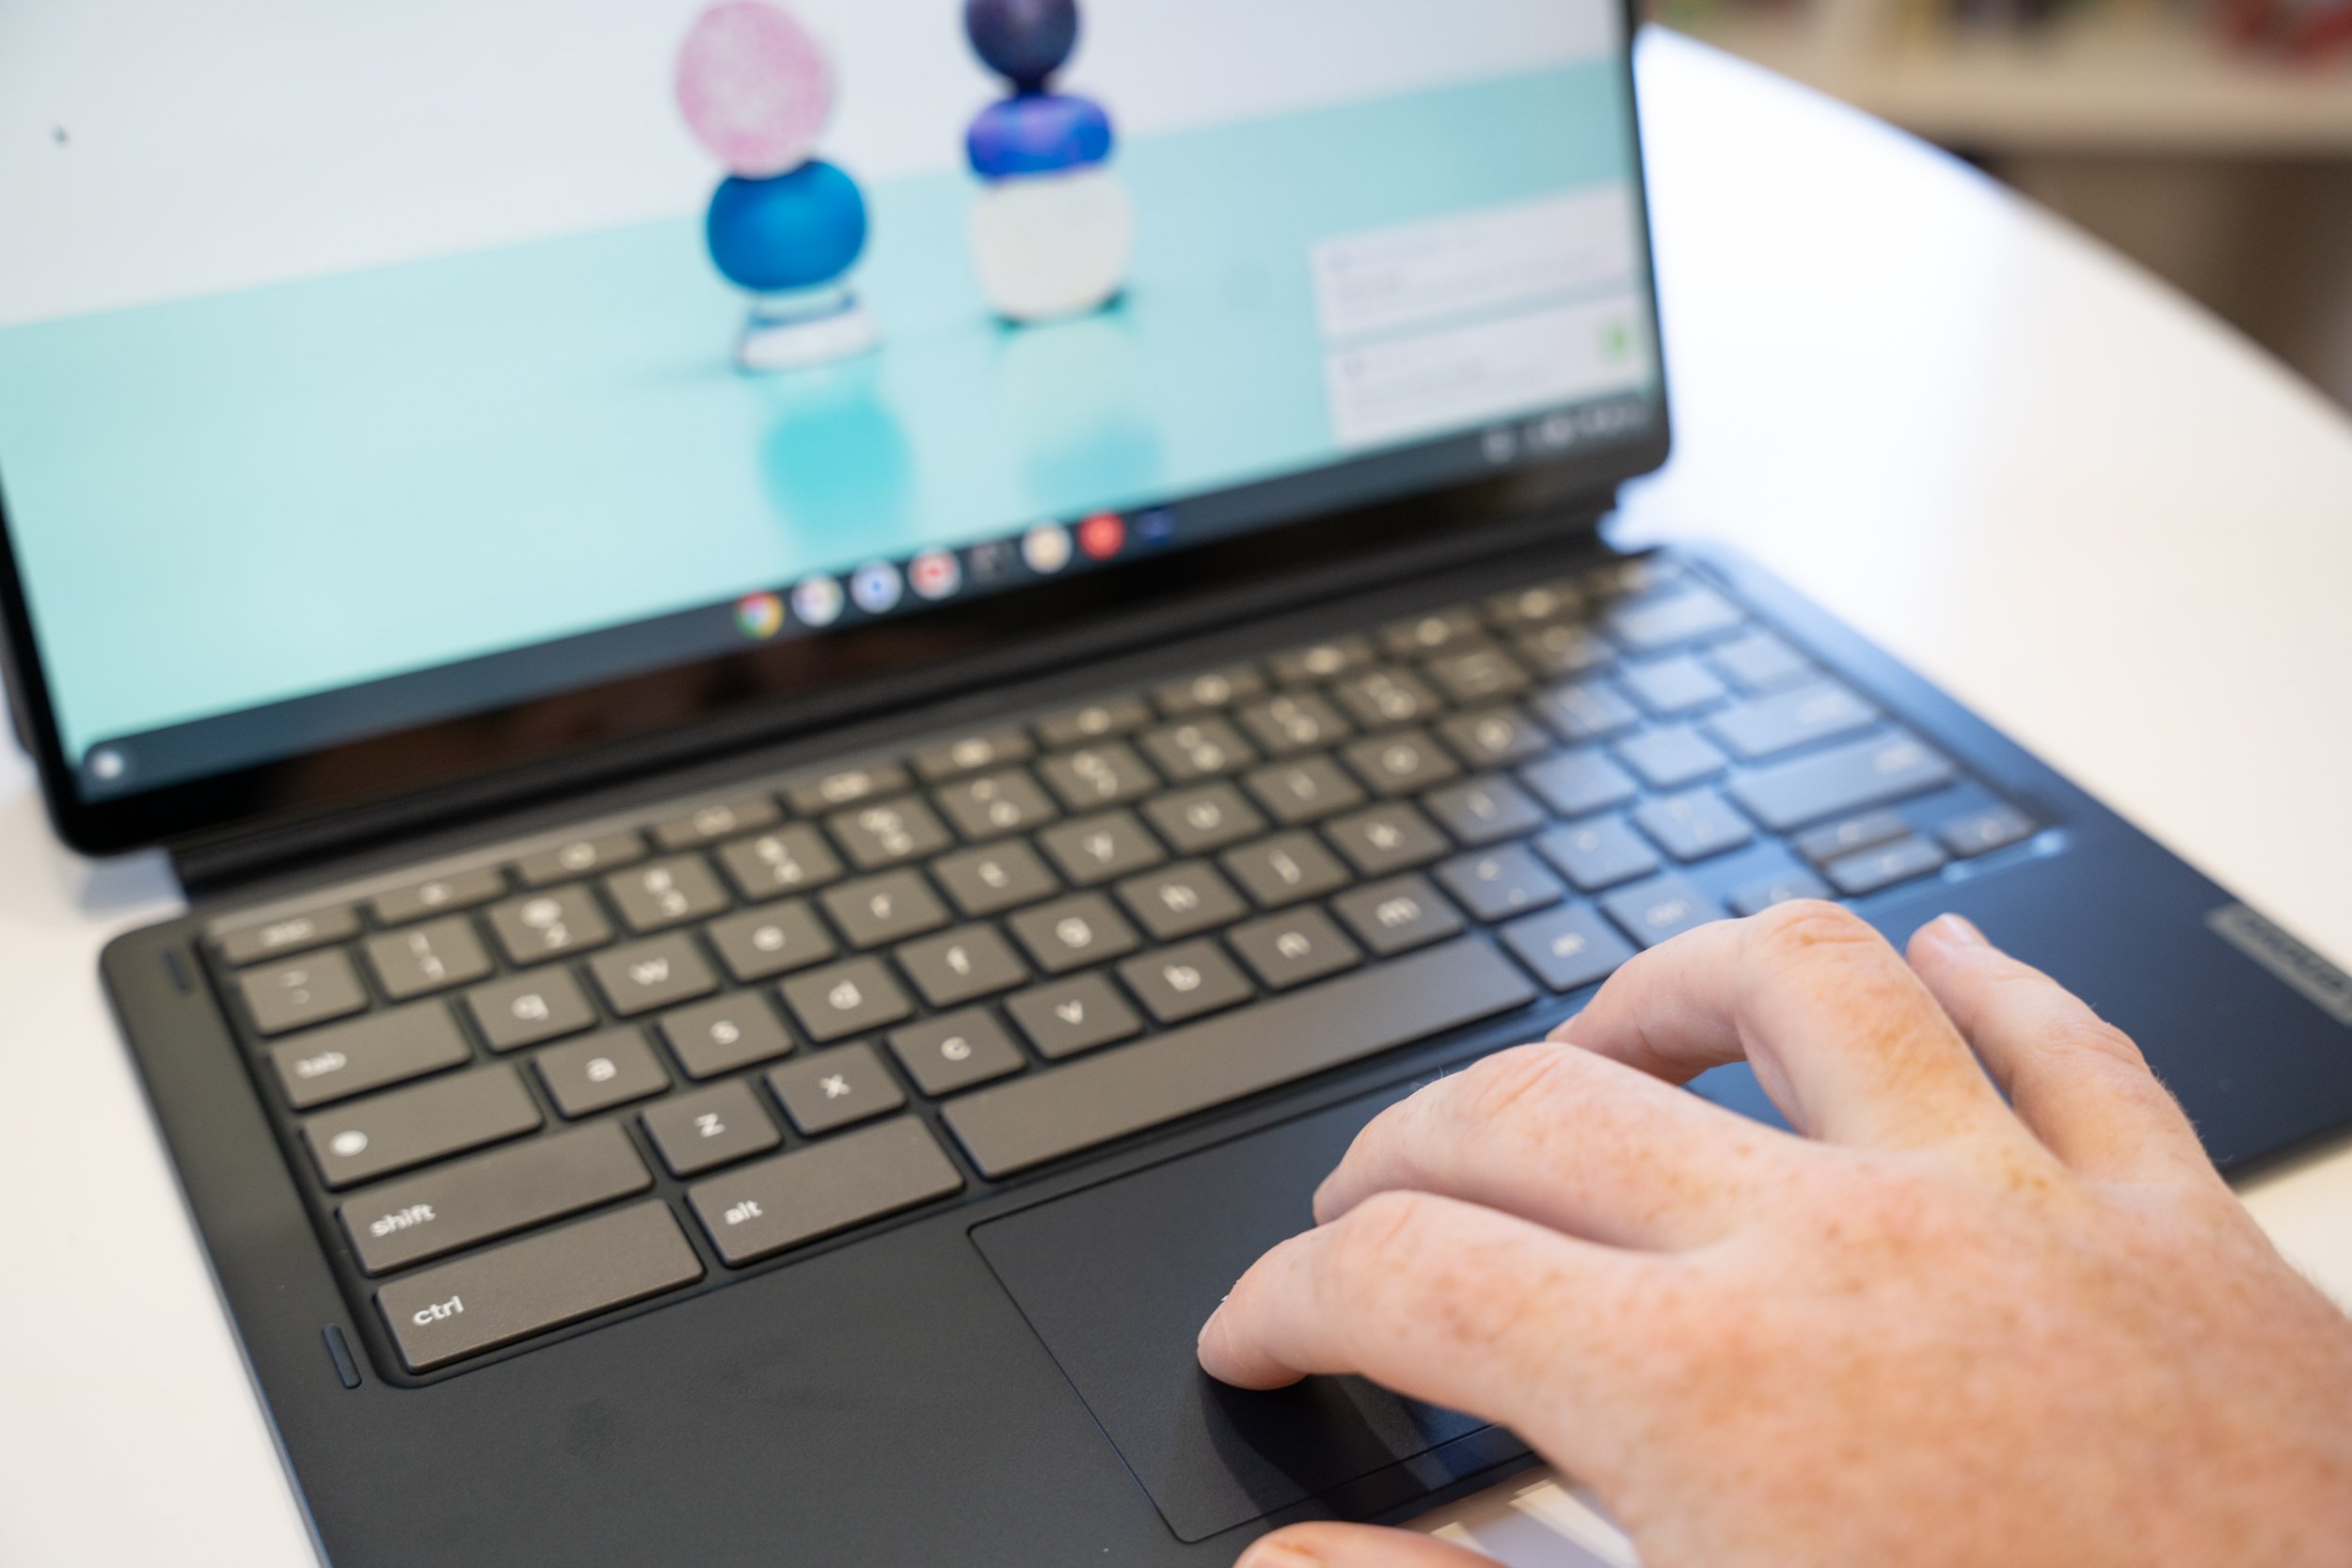
Chromebook trackpad gestures are one of those things that you do not think you need to use but once you start to, then there is no going back. You can scroll through a web page by moving two fingers on the trackpad. Three-finger horizontal swipe will allow you to move through Chrome browser tabs. You can get to the overview interface by swiping up using three fingers. Lastly, use a four-finger swipe to go from one virtual desk to another but this will work only if you have the virtual desk feature enabled.
Tablet Mode
Convertible aka 2-in-1 Chromebooks come with tablet mode that lets you use your notebook with a software experience similar to using a tablet. The first thing that you will notice is that the shelf at the bottom is now a floating one instead of being fixed. It means it will disappear when not needed and will re-appear when you feel like using it.
You will be able to use gestures as it happens on the iPad. It means apps can be exited by swiping up, recent apps can be checked by swiping up until the half, and swiping up from the bottom to exit the opened app. The tablet mode gets triggered automatically when you flip the screen over the hinge.
Smart Lock
If you do not want to enter your Chromebook password every time you wake it up, you can make use of the Smart Lock feature. All you need to do is to pair an Android smartphone with the Chromebook and follow the initial setup. You will be required to enter the login password only during the first wake up. Afterward, you can simply have your phone unlocked and the Chromebook will wake up without requiring you to enter the password.
Night Light
Night Light is a feature that helps you from the display’s blue light when you are using the Chromebook at night or in dark. It can be enabled by visiting Settings > Display > Night Light > Schedule. There are two schedule options: Sunset to sunrise and Custom. The latter is for setting up a custom schedule to enable and disable Night Light.
Guest Mode
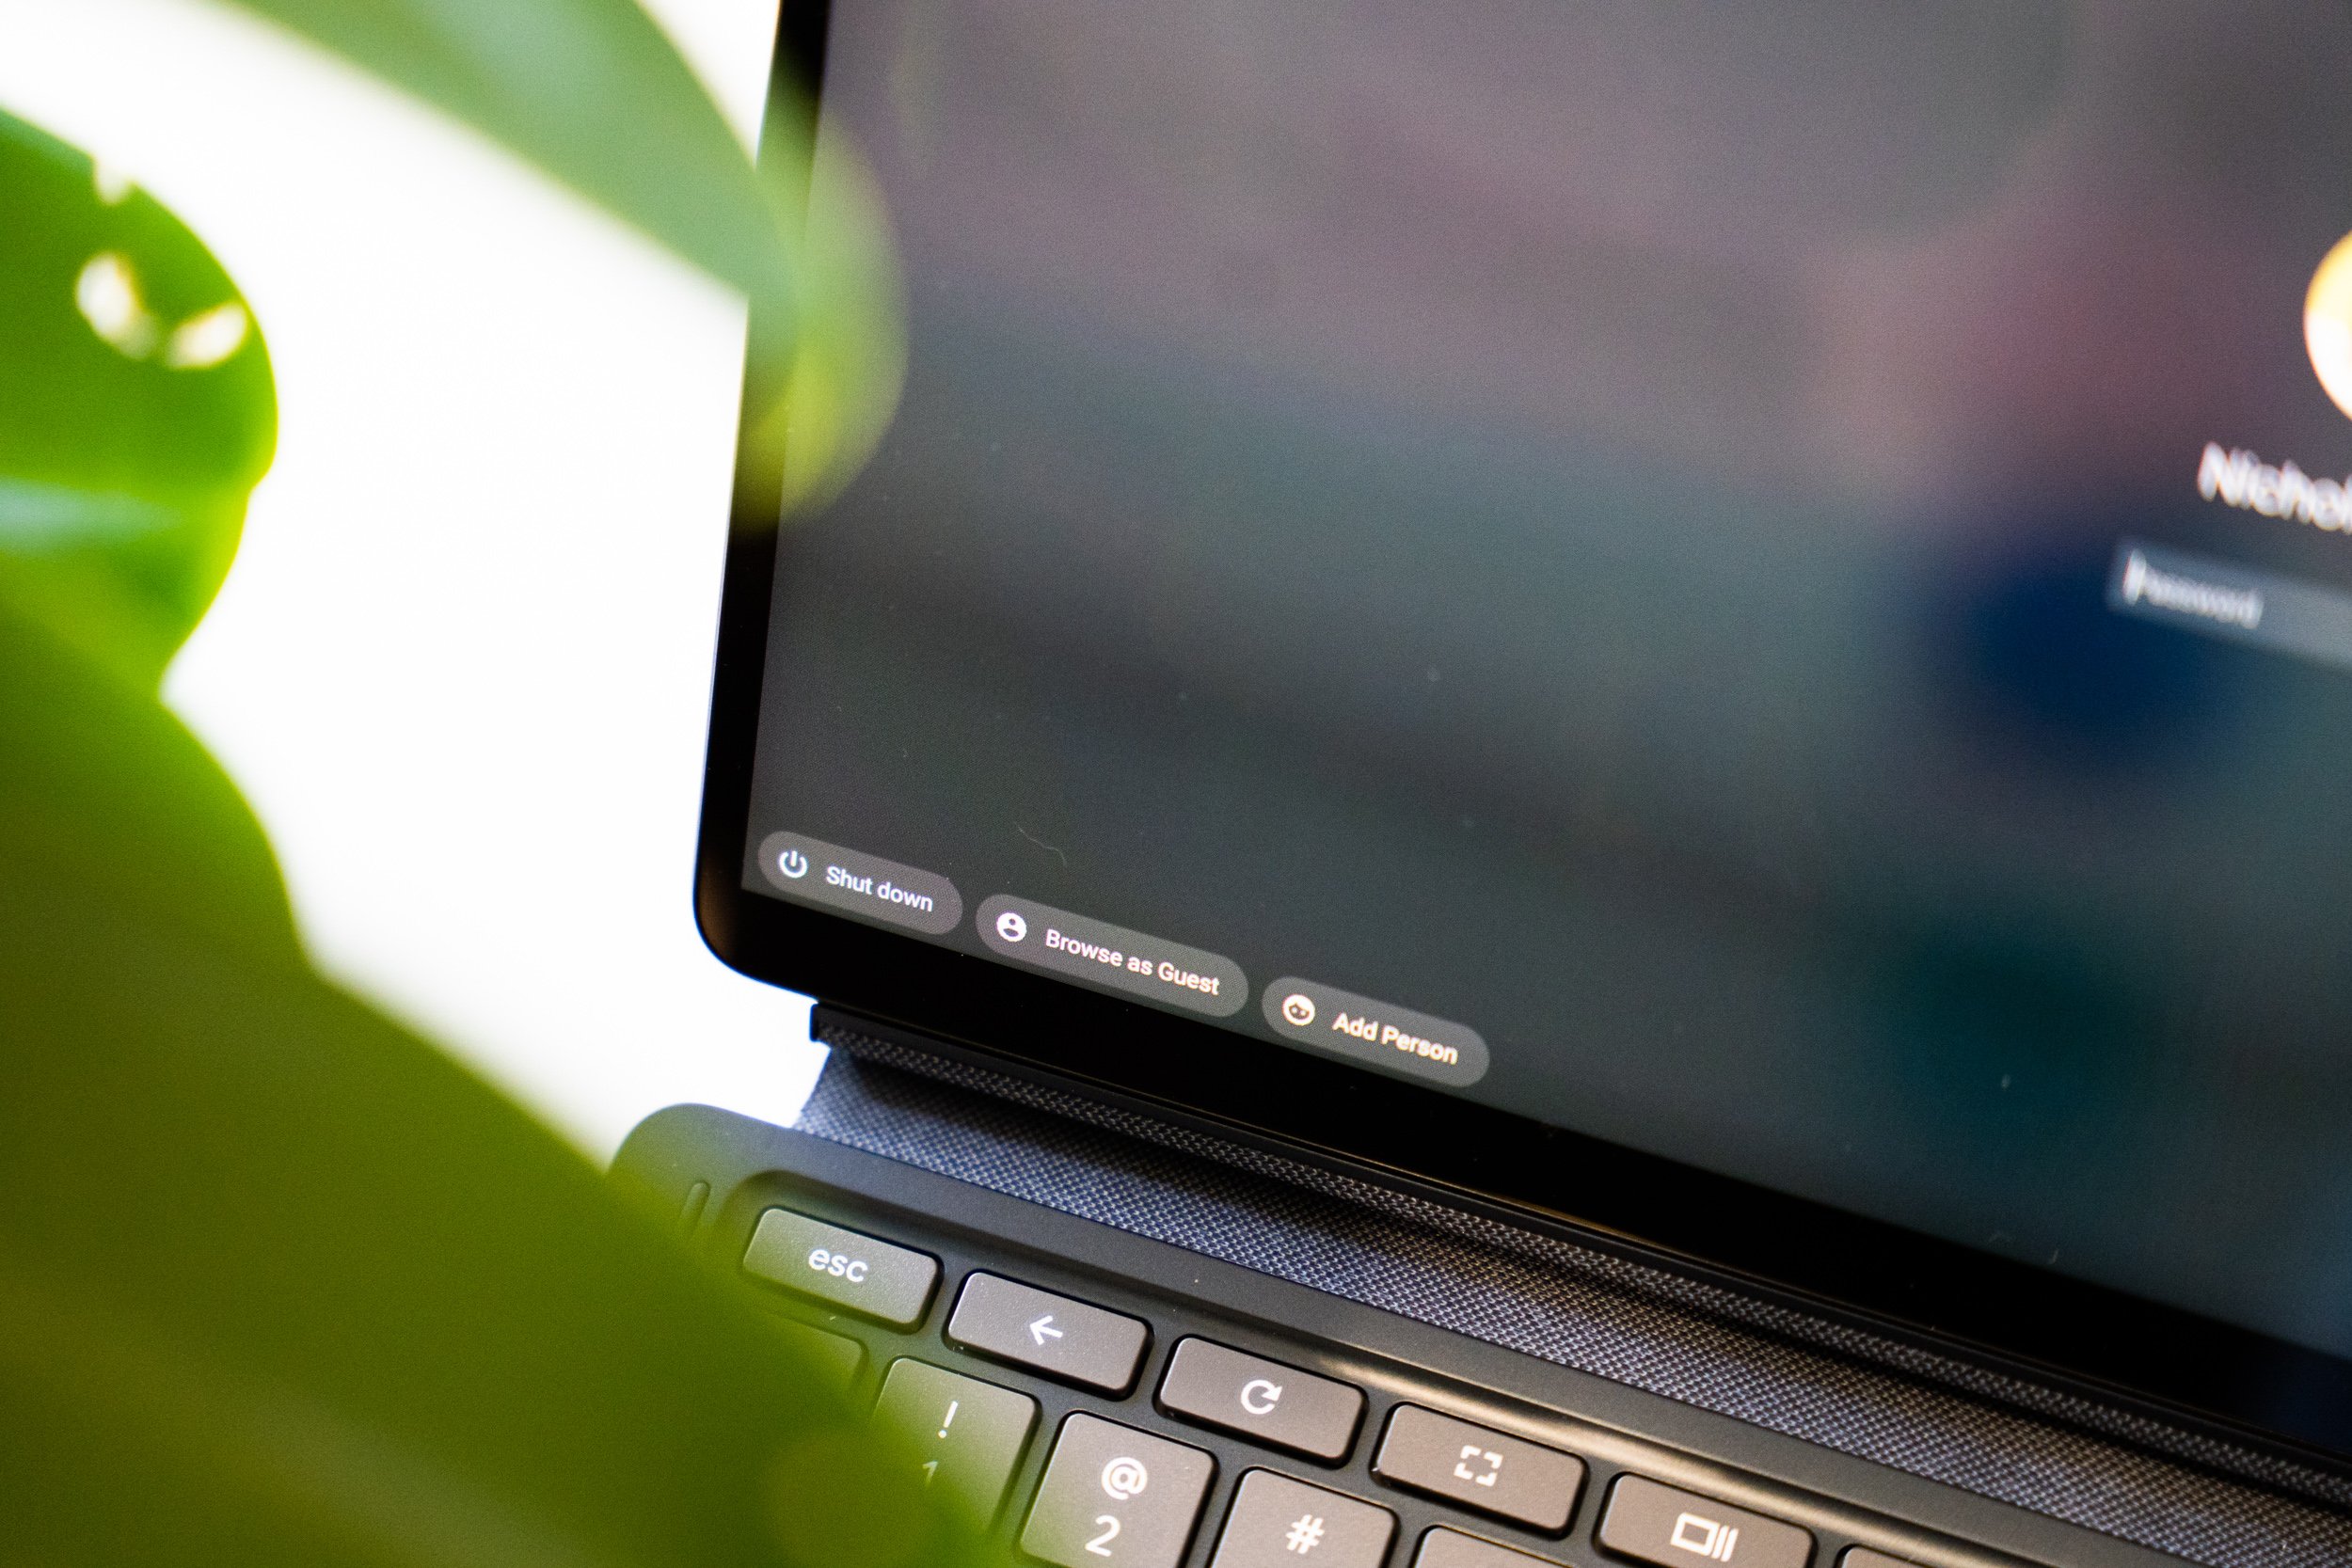
If you have to give your Chromebook to someone temporarily and do not want them to be looking at your data, Guest Mode is what you need to enable. You simply need to sign out of the device and then choose Browse as Guest. Once they have used and returned the Chromebook to you, simply exit the guest mode and sign in again with your Google account.
App Folders
If you have numerous apps installed on your Chromebook, you can categorize them into app folders for faster access next time. Open the App Launcher and click All Apps to get the list of all the apps you have installed. You can now drag and drop apps on one another to create folders and give them names for easier recognition later on.
Google Assistant
Google Assistant on a Chromebook works similarly to how it works on a smartphone, tablet, or smart TV. It helps users get things done with just a voice command. Simply visit Settings > Search and Assistant > Google Assistant and turn on the toggle. You can then say OK Google to trigger the assistant and follow it up with a relevant query.


Comments