

If you’re looking for a way to help organize your bills, photos, or mail, creating a digital copy and cloud backup is a great solution to help declutter your home or office while ensuring you always have a digital copy at your fingertips.
Today we’ll be walking you through the process of using your scanner with your Android smartphone or tablet with the Mopria Scan app.
A while back, we introduced you to the Mopria Print Service app from the Mopria Alliance, the group responsible for the technology behind Android’s Default Print Service. It essentially allows any Android device running on Android 8 or higher to wirelessly connect and print to more than 120 million Mopria certified products. The same team has also developed an innovative technology that allows you to scan documents and wirelessly transfer the scanned files to your Android-powered smartphone or tablet.
Follow the instructions below to scan your documents, photos, and more with the Mopria Scan app.
Mopria Scan requirements
- Android smartphone or tablet
- Mopria certified scanner or printer/scanner (check the Mopria certified products list)
- Wi-Fi network
How to use Mopria Scan App

- Install the Mopria Scan app from the Google Play Store on an Android smartphone or tablet.
- Ensure your Android device and Mopria certified scanner are on the same Wi-Fi network
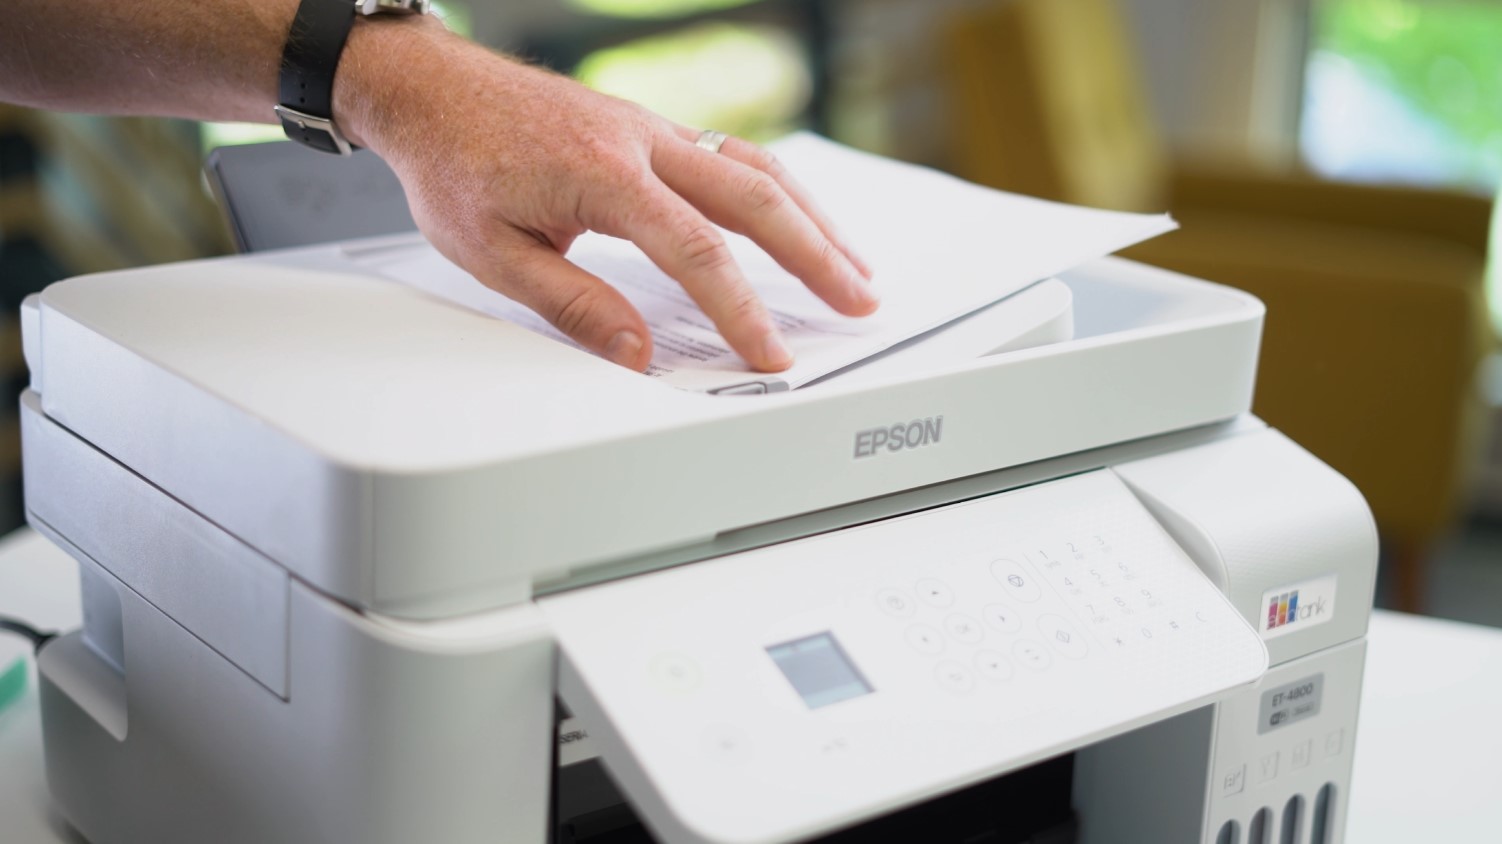
- Place the document you want to scan and place it on the scanner.
- Open the Mopria Scan app and select the scanner from the list.
Note: If you’re in a larger corporate office, there’s a good chance that you’ll have 4-5 or even a dozen options. If that’s the case, you can tap the star next to the scanners you use the most so that they’re always at the top of your list. - Adjust the scan properties (document type, file format, color preferences, resolution, and compression level).
Note: we recommend a minimum resolution of 300 x 300 for documents and at least 1200 x 1200 for photos. When scanning a document you can go ahead and select the document size from the drop-down, but if you’re scanning a photo, select “define on preview” then tap the preview button and then select the area you would like scanned by dragging the circles on the four corners to crop in. - Once you have your area set, tap the scan button for the full-resolution scan.
It’ll take anywhere from 2 seconds to over a minute for the file to then show up on your screen, depending on your scanner’s speed and the resolution you picked for the scan.
The default file name will be today’s date and time, but you can easily change that by tapping the pencil icon and then entering your own name for the file or photo. To save the file on your Android device, make sure to press the download button in the top bar. This will save the file to the Mopria Scan folder on your phone or tablet’s internal storage.
If you have a printer/scanner with a document feeder, you can use it to scan multiple documents at once with the Mopria Scan app. When you select your scanner from within the app, tap the “Feeder” option from the Scan source drop-down. If you are saving the file as a PDF, you’ll be given the option to save each page into a single PDF file or have them saved individually.
Save scanned documents or photos to the cloud
To save your scanned documents or photos to your online backup cloud service of choice, after the document has been scanned, tap the “Share” option and then tap the icon for your preferred cloud service.
If you are using Google Drive, it will ask you to confirm the file name, select the account you want the file uploaded to and then pick a folder as well.
The Mopria Scan app is absolutely a must-have for your Android device and it’s definitely helpful in keeping down the office clutter and creating a digital backup of all your important documents and photos.


Comments