
Screen savers aren’t a new concept for computers. They were initially designed so that older CRT monitors would not get burn-in from having a static image displayed on their monitors for an extended period of time.
![]()
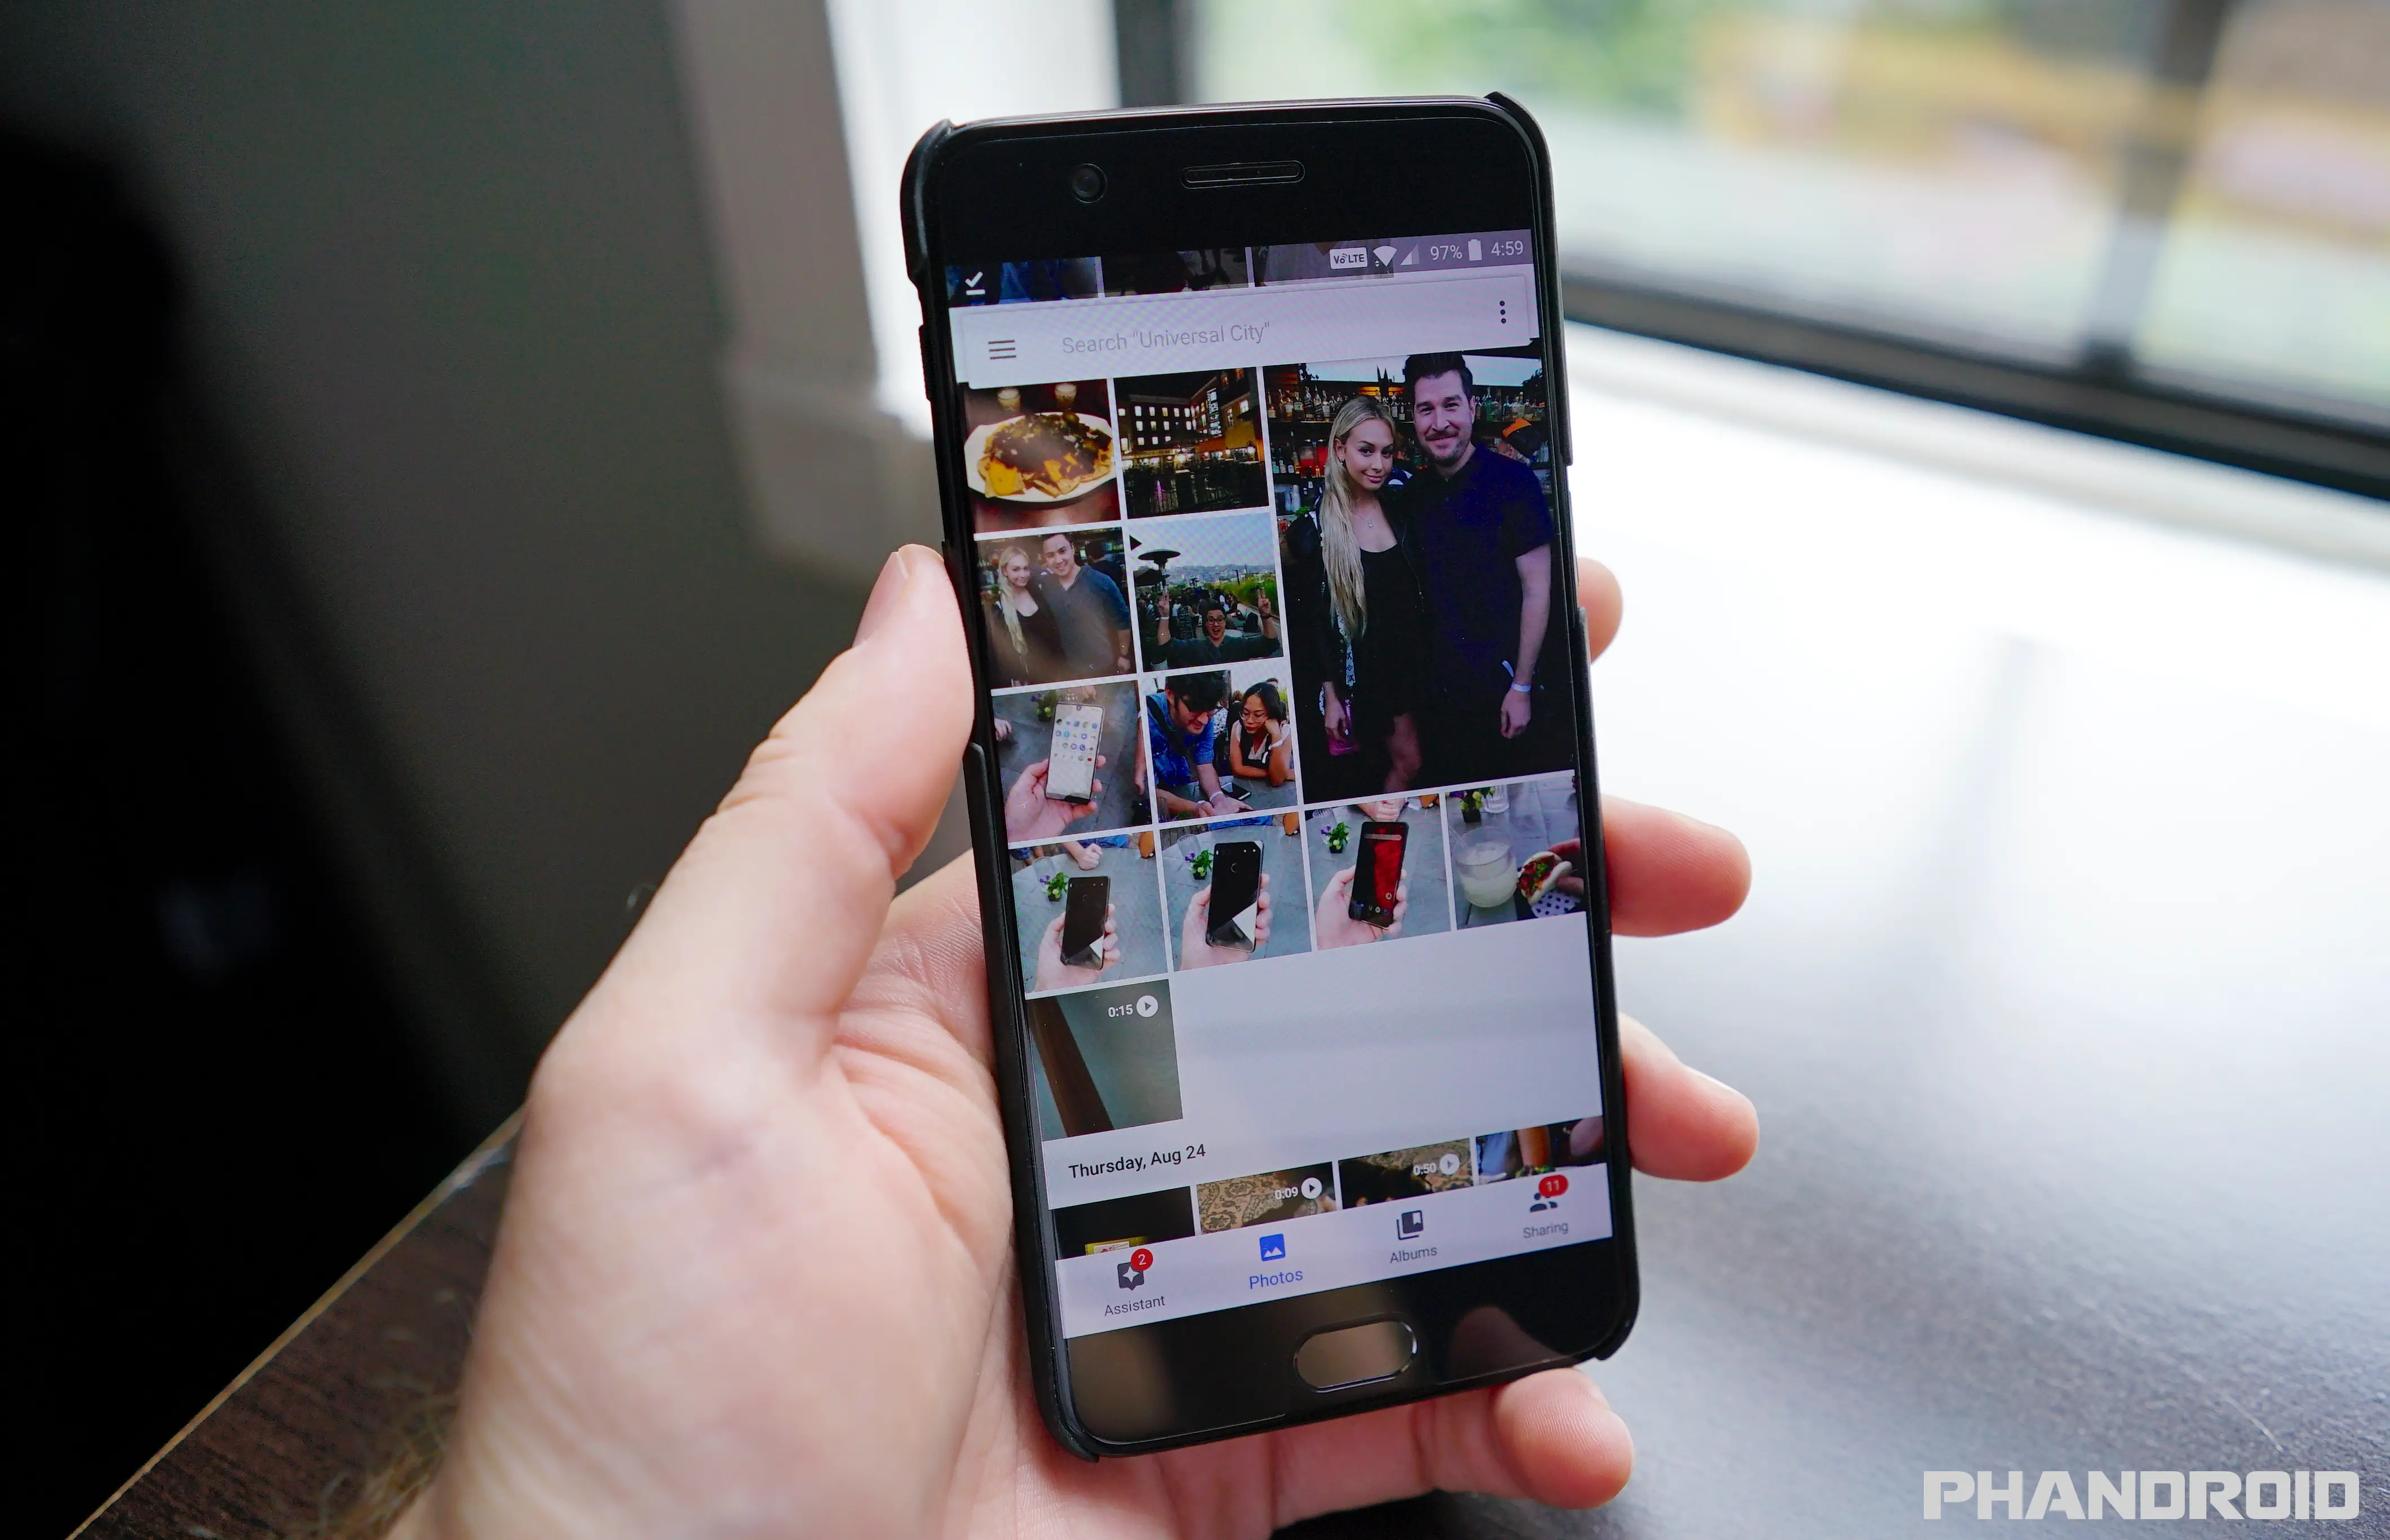
These days, screen savers feel more like a novelty and rehash from the past, but when it comes to Android devices, screen savers can actually be pretty useful and a fun way to turn your phone into a digital picture frame of sorts.
This means that when your phone is charging in a dock, screen savers can be used to display photos so that you’ll always have something fun and memorable to do that, and if you want to know how to activate the feature using Google Photos, here’s how.
Use Google Photos as Android screen saver
- Launch your Android phone’s Settings
- Tap on Display
- Scroll down and look for “Screen Saver” and tap on it
- Choose your photo source, which in this case would be “Photos” (short for Google Photos)
- Once you’ve selected “Photos”, tap on the gear icon
- Choose your connectivity options and if you have multiple Google accounts, choose which account you want the photos to be pulled from
- Scroll down and select which albums you want to be displayed as a screen saver
- When you’re done making your settings, go back to the previous page
- Tap on “When to start”
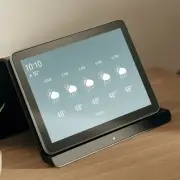
- Choose between “While charging”, “While docked”, or “While charging or docked”. This means that the screen saver only kicks in when either of those options are selected, so if you own a device like the Pixel Stand, you would choose “While docked”
Once you’ve made your selections, you’re good to go! You can always go back through the steps to disable it or choose from different albums. One thing to note is that make sure the albums you’ve chosen do not contain photos that might be private because it could be easily seen by someone walking by your desk or phone if it’s laid out somewhere public.


Comments