Let’s say you’re taking leave from work to go on holiday, but you know that an important meeting or event is coming up and you want to make sure that your employees or your colleagues stay on top of it. Instead of having to open your phone and send messages or emails, which could interrupt your holiday, how about sending a scheduled email instead?
Scheduled emails is one of the features of Gmail and if you want to know how to send a scheduled email, then read on to find out.
Sending a scheduled email
- Open Gmail on your computer
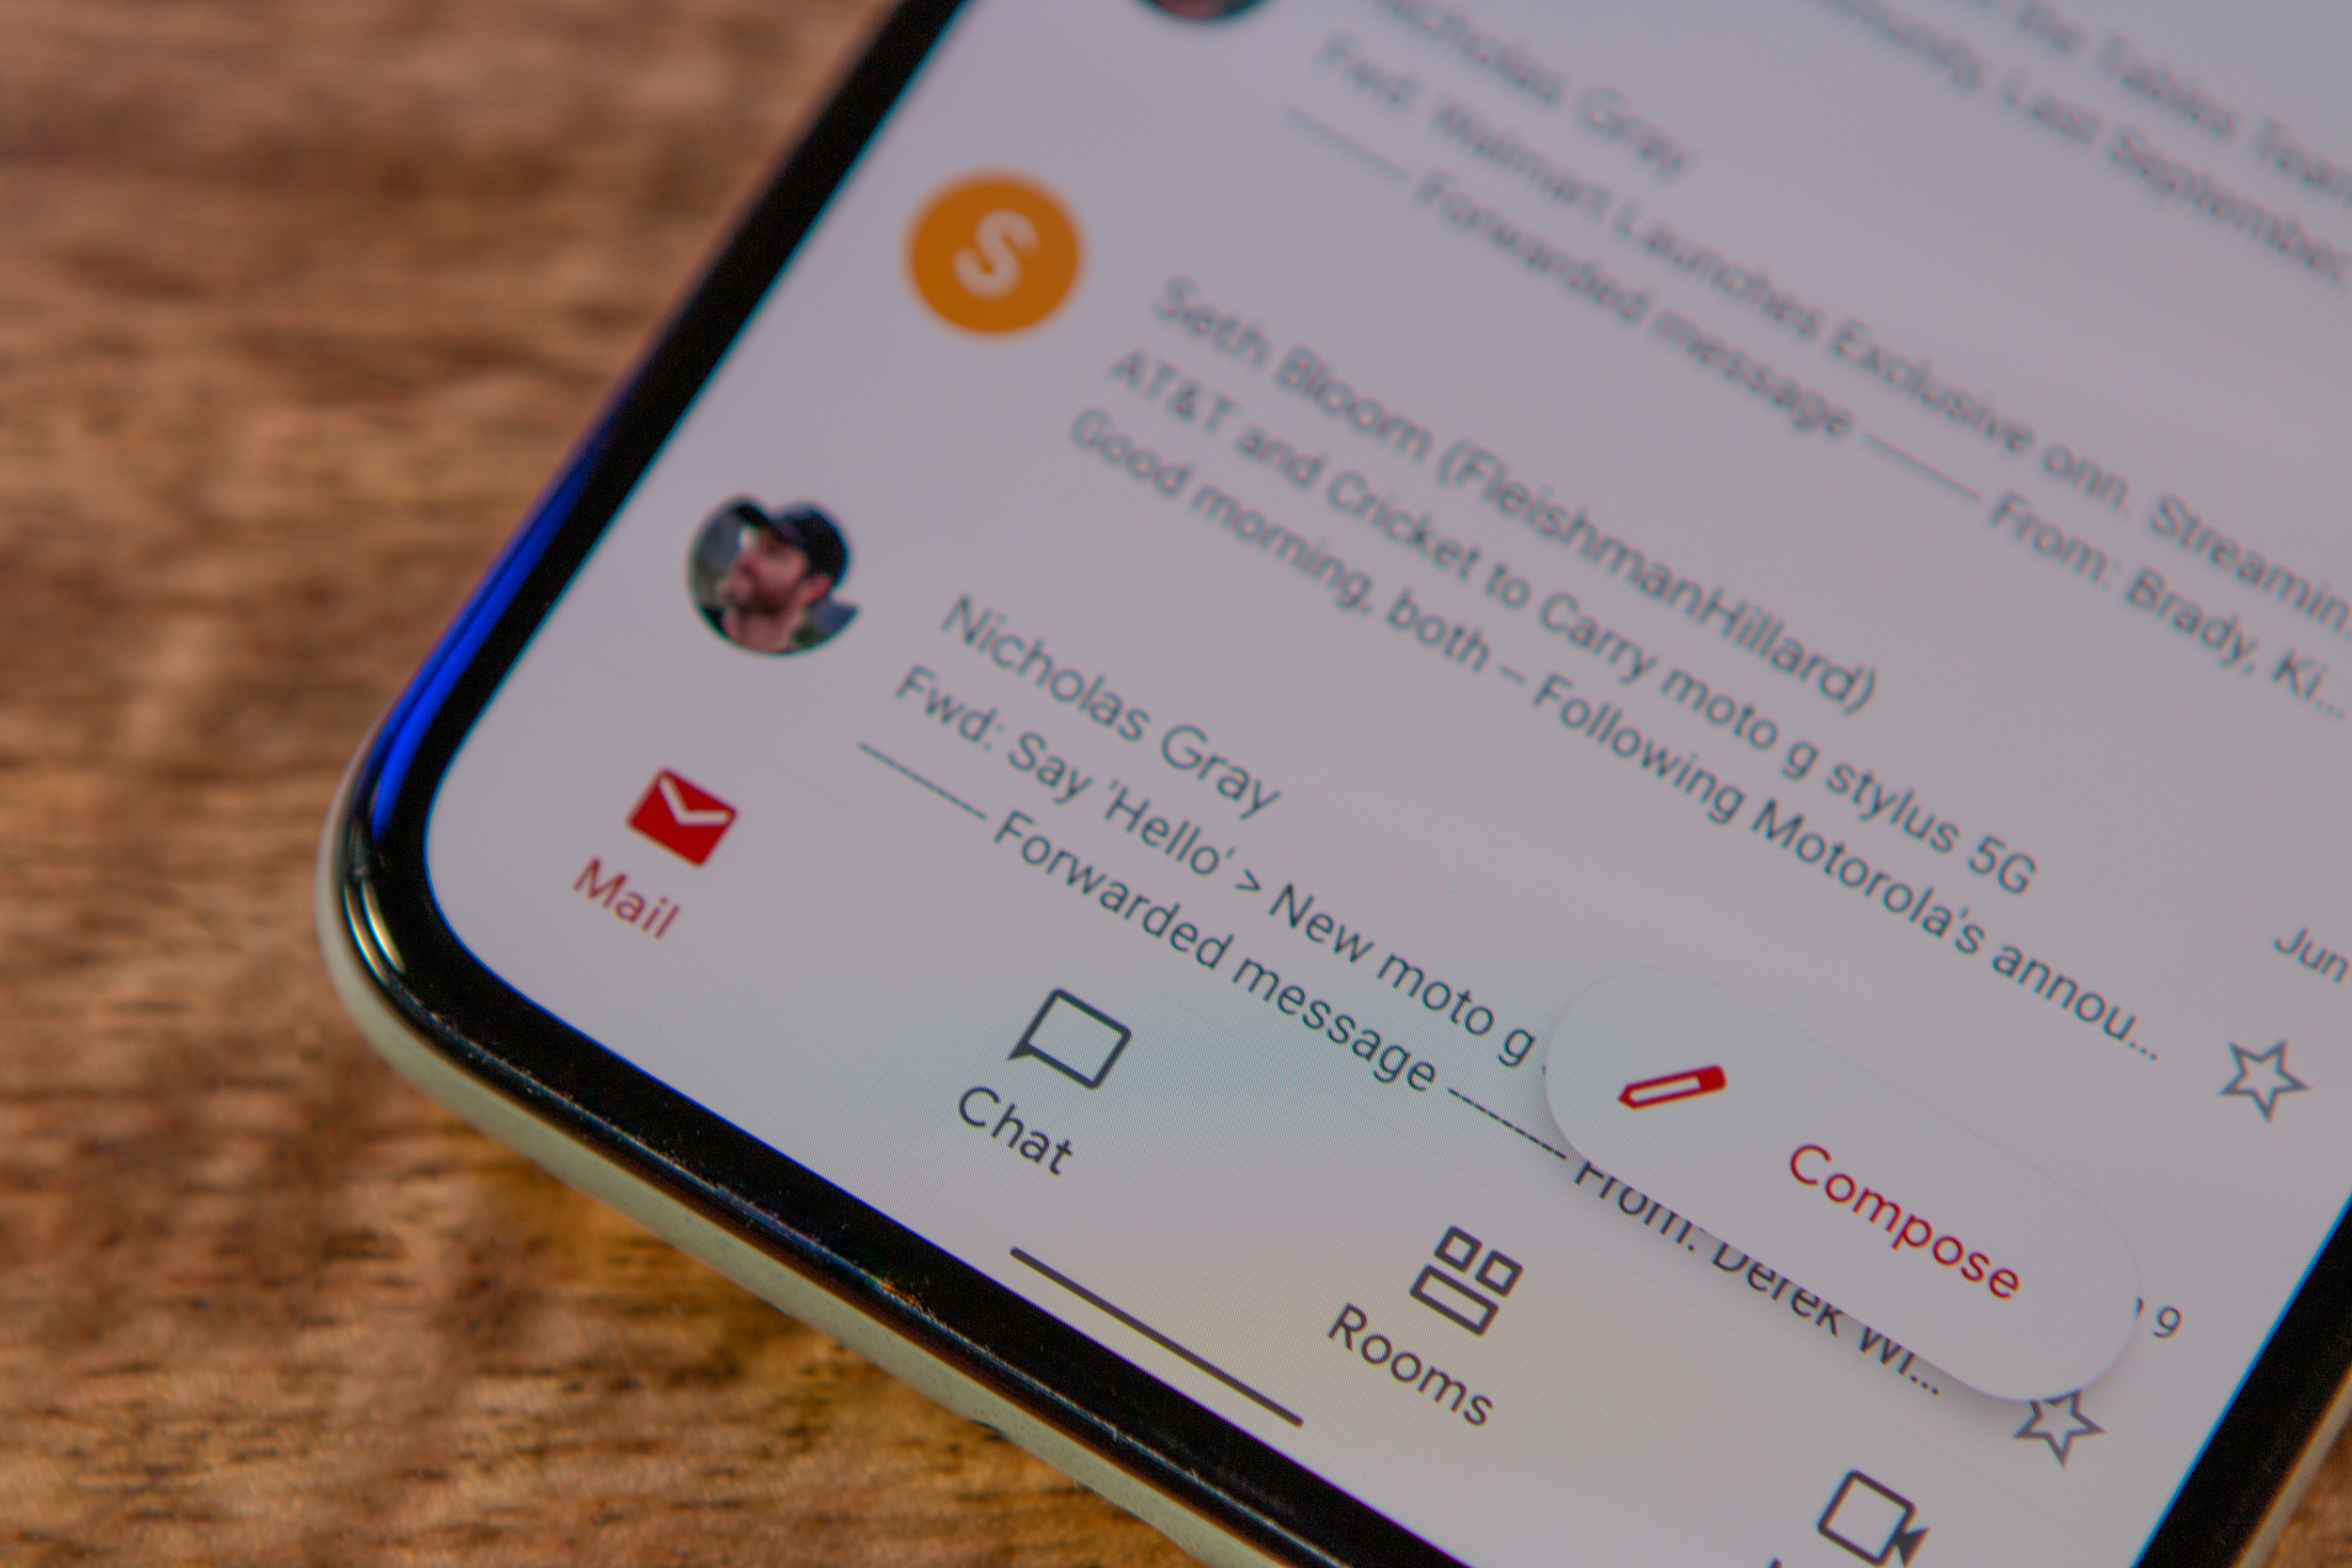
- Click on the Compose button
- Fill out the email like you normally would
- Enter your message

- Click the arrow button next to the Send button
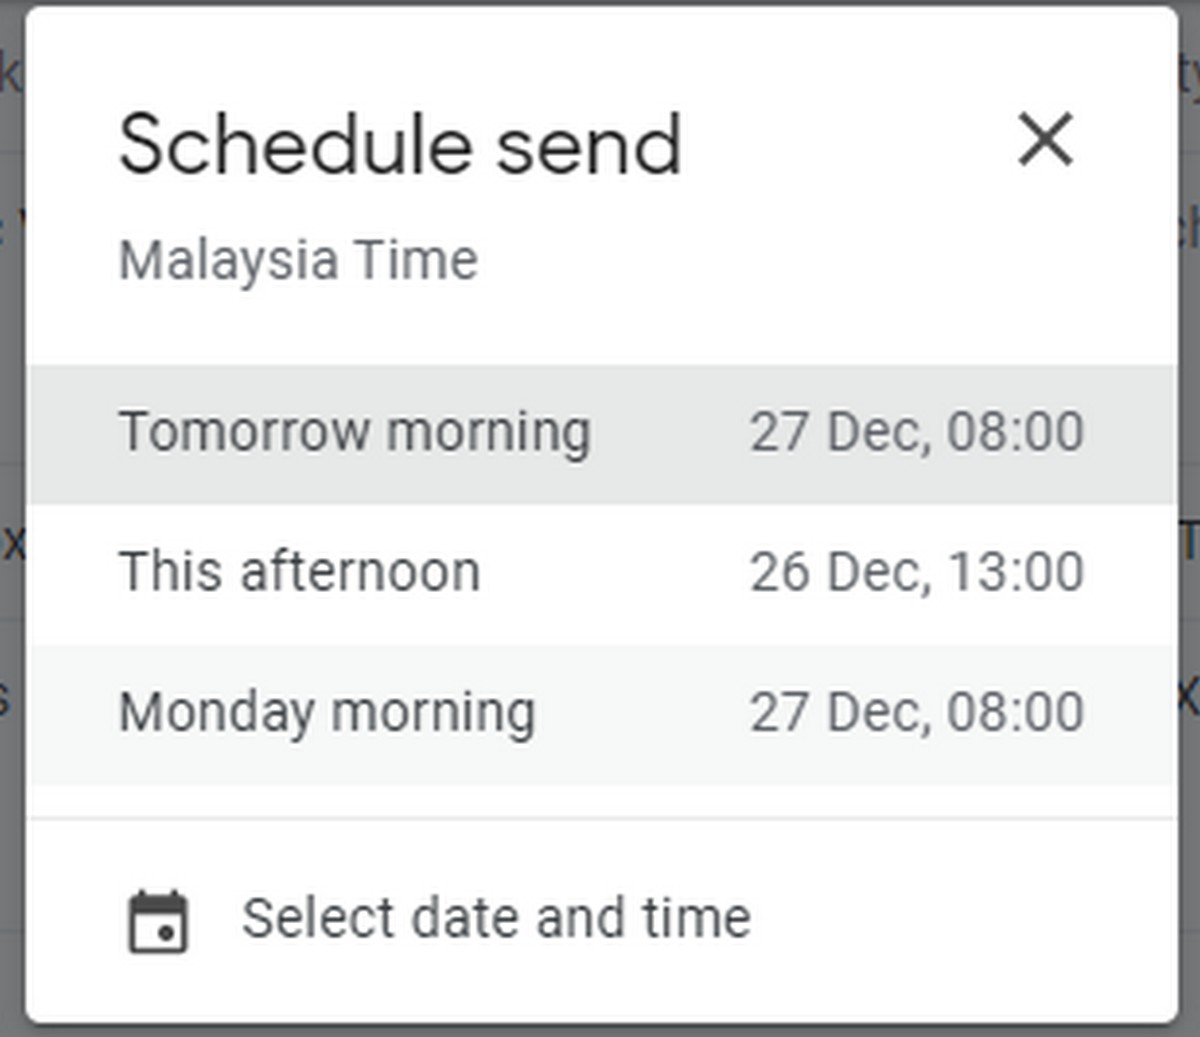
- Click Schedule send

- You can choose from preselected dates

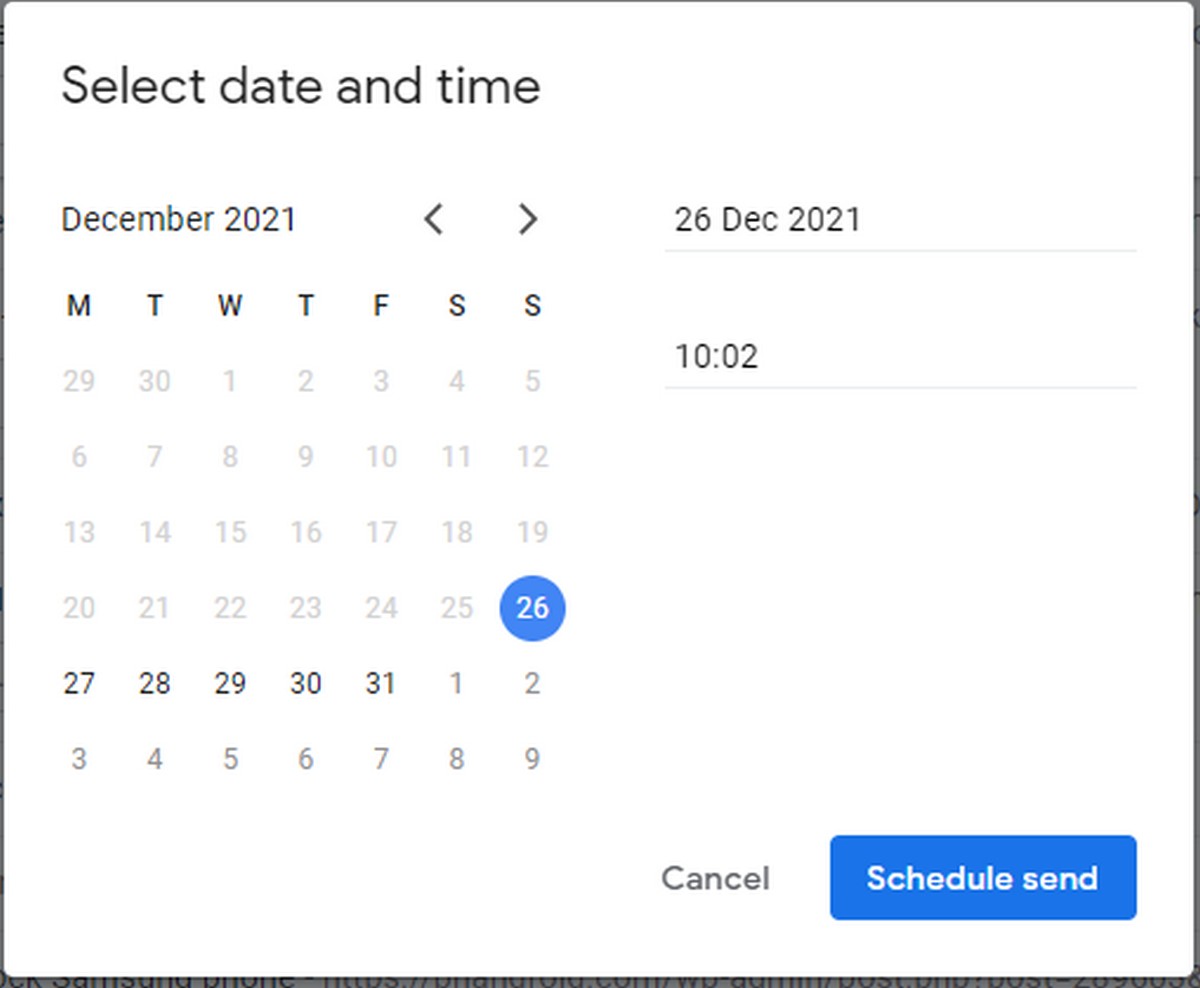
- If there is a specific time or date you prefer, click “Select date and time” and choose from the calendar
- Click Schedule send

- You should see a notification at the bottom left corner of the screen letting you know the email has been scheduled. You can click Undo if you need to change the date or time or if you decide you don’t want to send the email at all

- You can also click “Scheduled” in the navigation bar to the left to see all the emails that you have scheduled


Comments