
The Pixel 5 may not be as earth-shattering of a device as some of the Android flagships that have been launched recently. But if you want the best that Google has to offer, with stock Android in-tow, there’s nothing better.
Even though this is more of an upper to mid-range device, there are still quite a few features packed into the Pixel 5. Today, we’re going to take you through some of the tips and tricks you should learn in order to master the latest Pixel.
Set up the fingerprint scanner
![]()
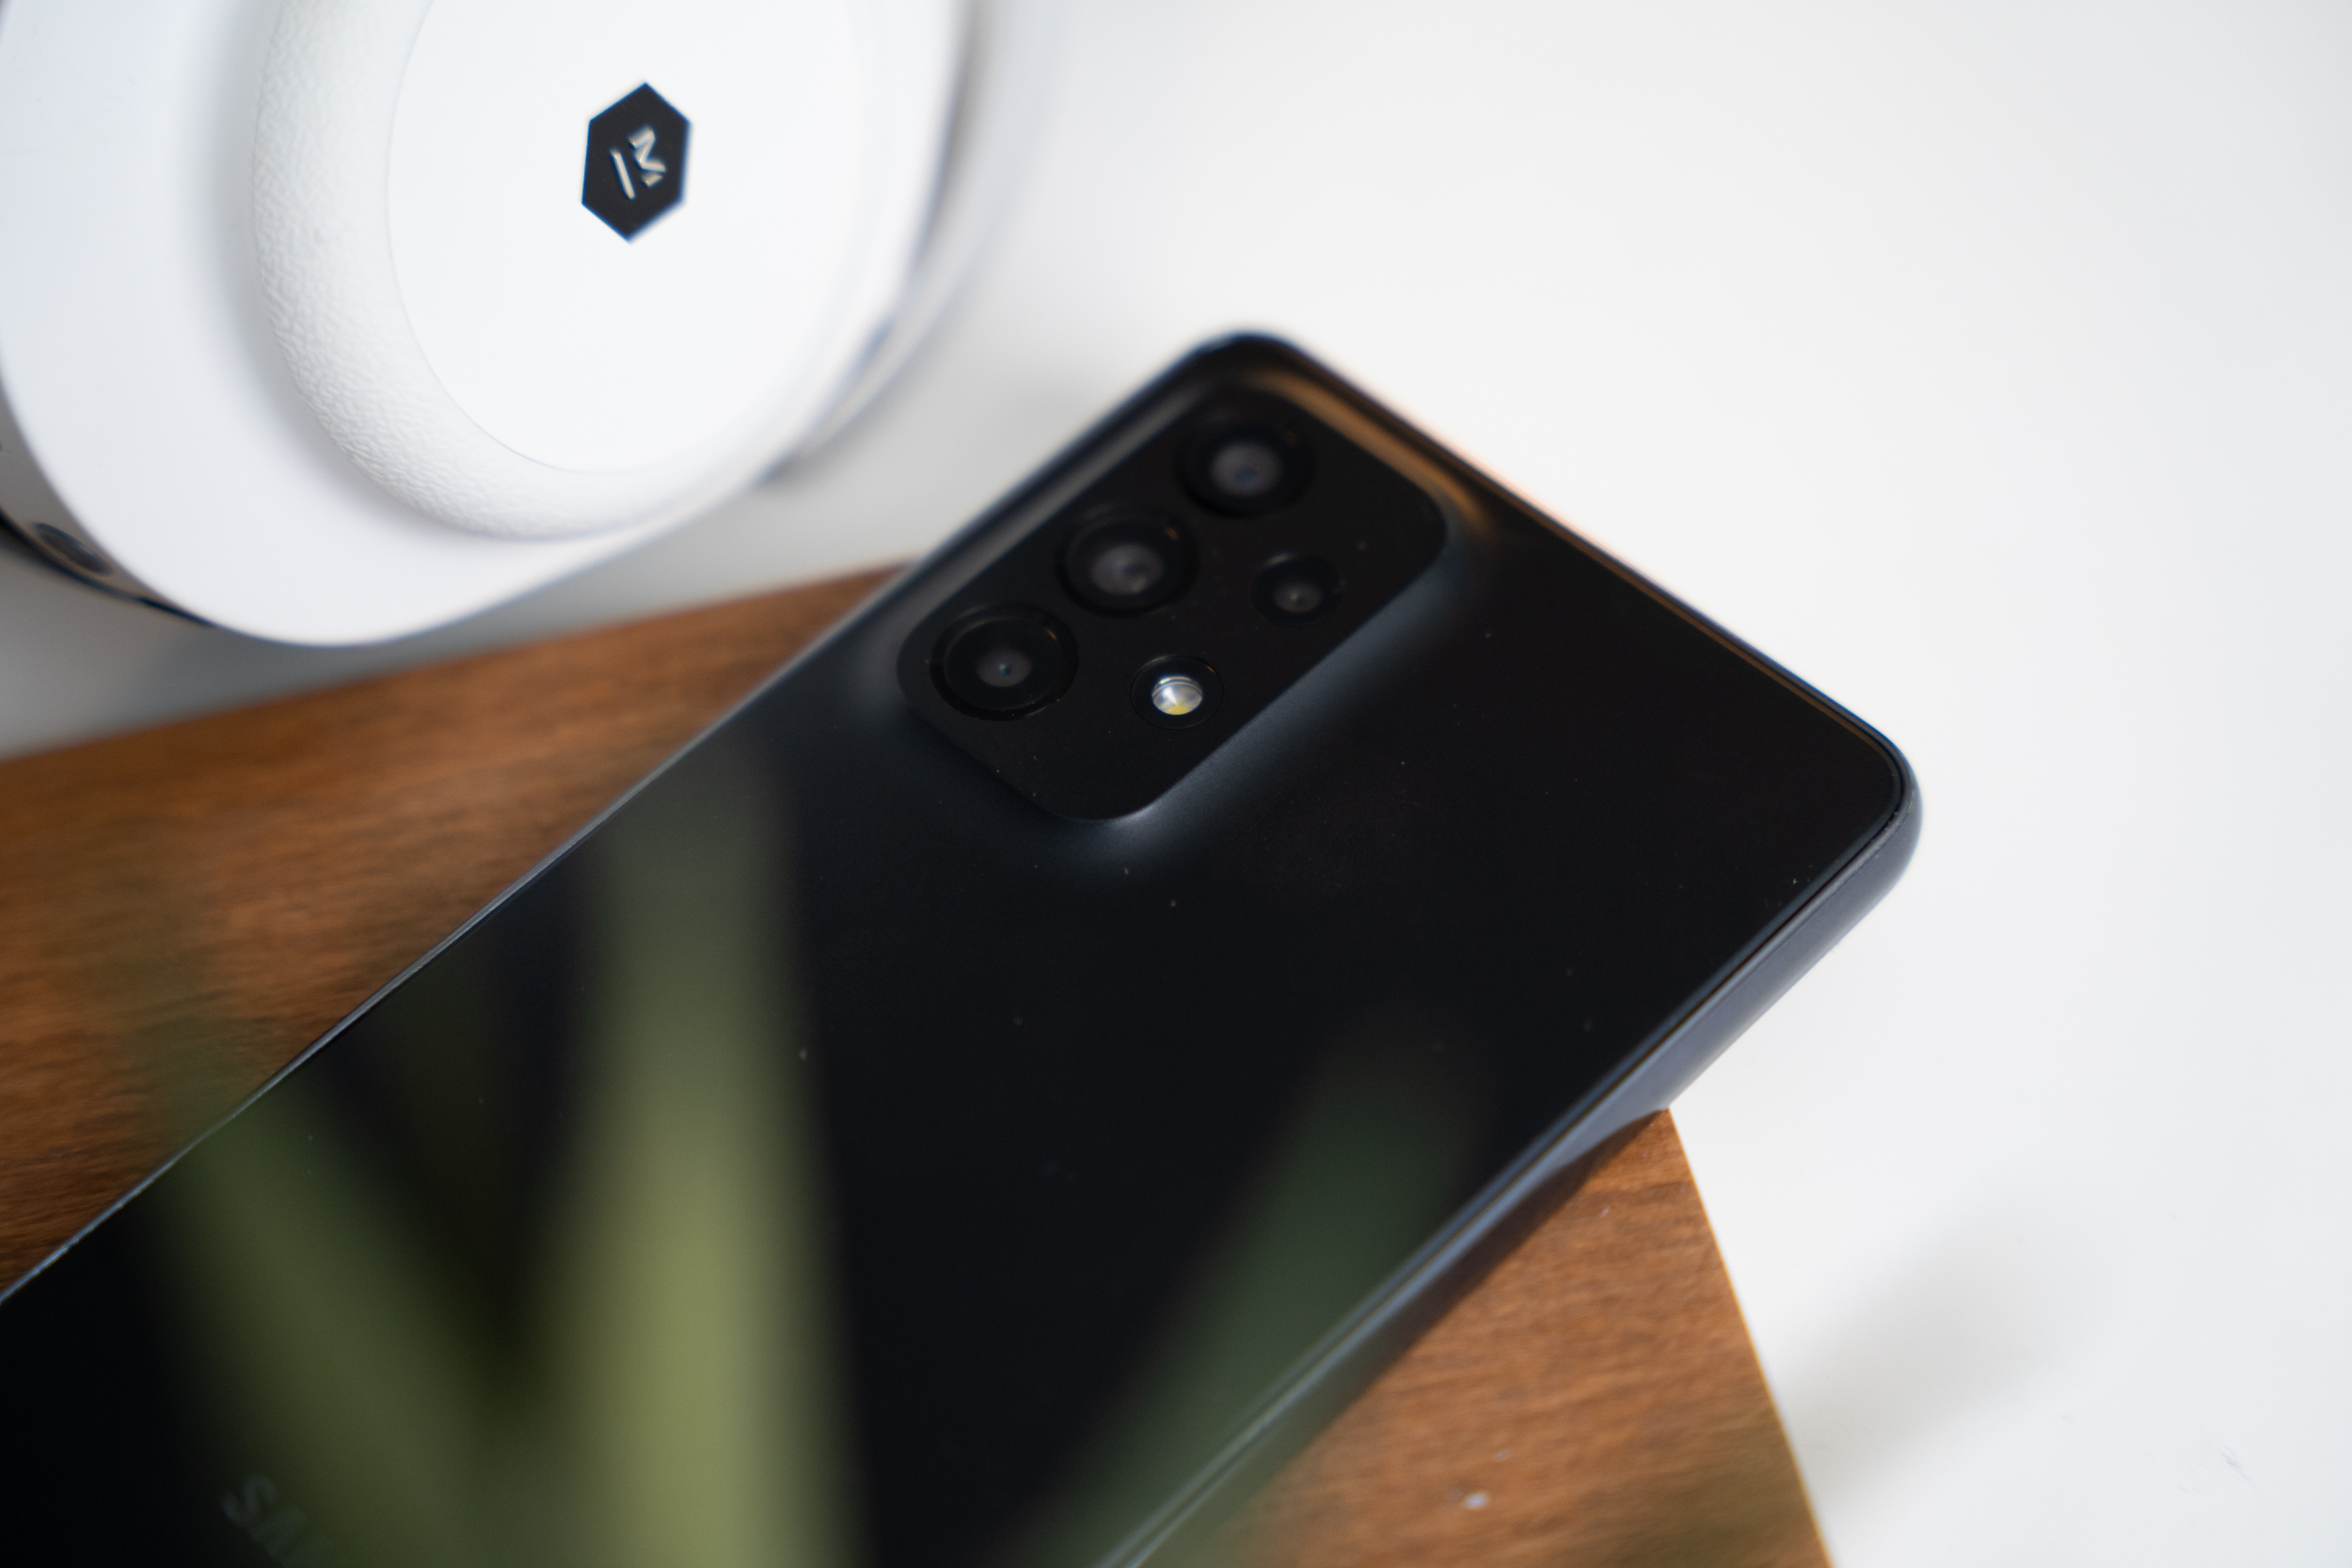
For better or worse, Google removed Face Unlock with the Pixel 5, opting instead for a rear-mounted fingerprint scanner. Upon your initial setup, you will be prompted to create a PIN or password d, along with setting up the fingerprint scanner. However, if you decided to skip that step, here’s how you can set up the Pixel 5’s scanner.
- Open the Settings app on your Pixel 5.
- Scroll down and select Security.
- Under Device Security, select Pixel Imprint.
- Enter your PIN, if applicable.
- Tap Add Fingerprint.
- Follow the on-screen instructions.
Swipe the fingerprint scanner to check notifications
Another added benefit of having the fingerprint scanner over something like Face Unlock is the ability to use gestures with the scanner. The most useful of which is to be able to swipe down on the fingerprint scanner to reveal the notification shade. Here’s how you can set it up:
- Open the Settings app.
- Scroll down and select System.
- Tap Gestures.
- Select Swipe fingerprint for notifications.
- Tap the toggle to turn the feature on.
Extreme Battery Saver
![]()
There will be a time where you need your phone to not run out of juice, whether you happen to be near a charger or not. Google has built-in a few battery-saving features to help get the most out of the Pixel’s vastly-improved battery. Extreme Battery Saver is available on devices starting with the Pixel 3 and later, and restricts a number of background processes. Here’s how you can enable it:
- Open your phone’s Settings app.
- Tap Battery
- Battery Saver
- Extreme Battery Saver
- When to use.
- Pick when Extreme Battery Saver will turn on.
- Ask every time: When Battery Saver turns on, it asks whether to turn on Extreme Battery Saver.
- Always use: When Battery Saver turns on, Extreme Battery Saver turns on.
- Never use: Extreme Battery Saver never turns on.
When turned on, Extreme Battery Saver limits the following:
- Most apps pause. Paused apps won’t send notifications.
- Your phone’s processing (CPU) slows.
- Wi-Fi and Bluetooth work, but Wi-Fi Scanning and Bluetooth Scanning for location data turn off.
- Your work profile turns off.
- Your phone’s screen timeout drops to 30 seconds.
- Any current hotspot or tethering stops.
- To use the leftmost home screen, unpause the Google app.
Battery Share
On the other hand, the Pixel 5 also introduces a feature that we’ve seen on the likes of Samsung and Xiaomi phones. You can actually turn your smartphone into a reverse wireless charger, which is perfect if you want to top off your Qi-compatible smartwatch or wireless earbuds. However, Battery Share is not turned on by default and here’s how you can turn it on.
- Open the Settings app.
- Tap Battery.
- Battery Share
Extend your battery life with Dark Mode
![]()
If you’re looking for any way to extend the life of your battery throughout the day, one of the best ways to do so is with the help of Dark Mode. You can either turn this on permanently, or set a schedule for the theme to change at custom time frames, or just from sunset to sunrise.
- Open the Settings app on your Pixel 5.
- Scroll down and select Display.
- Tap on Dark theme.
- Select Schedule.
- Choose one of the following:
- Turns on at custom time
- Turns on from sunset to sunrise
- Follow the on-screen prompts to create your schedule.
On-Screen Google Assistant
One of the biggest issues with activating Google Assistant in the “old days” was that your entire screen would be taken over. That’s no longer the case, as you can quickly activate Assistant just by swiping from either the bottom left or right corners. Swipe in from one of the corners, hold for a second, and the new Google Assistant interface will appear. Then, you can either ask your question, tap the keyboard icon in the bottom right corner to type your request.
Unleash the hidden power
![]()
These next few tips are not limited to just the Pixel 5, but do require you to dive a bit deeper. You can make your Pixel 5 feel even faster than it already is, or maybe you want to make sure you make sure that your bootloader is unlocked for some rooting goodness. Unlocking the Developer Options is the first step you’ll need to take.
Unlock Developer Options
Before you can start having some fun, you’ll need to make the Developer Options menu appear in the Settings app.
- Open the Settings app.
- Scroll down and tap About phone.
- Scroll down and tap Build Number, 7 times.
- When prompted, enter your PIN.
- Go back to the main Settings screen.
Make the Pixel 5 feel faster
- Open the Settings app.
- Tap System.
- Tap the arrow down next to Advanced
- Select Developer Options.
- Locate the following:
- Window animation scale
- Transition animation scale
- Animator duration scale
- Change the scale option to .5x for each option.
Force the faster refresh rate
Just as was the case with the Pixel 4 and 4 XL, the Pixel 5 sports a faster 90Hz refresh rate for that buttery smoothness that we all love. Of course, 120Hz would have been much nicer, but you can only ask for so many new features when a new phone is released. Nevertheless, if you want to make sure that your Pixel 5 is always taking advantage of the fastest refresh rate possible, then here’s how you can do it:
- Open the Settings app.
- Tap System.
- Tap the arrow down next to Advanced
- Select Developer Options.
- Scroll down and tap the toggle next to Force 90 Hz refresh rate.
It’s important to note that if you force the faster refresh rate to be active all of the time, your battery life will definitely suffer. However, you won’t have to worry about dealing with slower refresh rates while interacting with different aspects of your phone.
Customize your gestures
Gestures are a feature that some folks just can’t get used to, but if you enjoy using gestures, it’ll make it feel like you are navigating your phone faster than ever before. With the Pixel 5, there are many more gestures to use other than just to replace the navigation bar at the bottom. Here’s how you can find those gestures and customize them to your liking.
- Open the Settings app.
- Scroll down and select System.
- Tap Gestures.
From here, there are quite a few different gestures that you can either enable or remove. Here’s what you can do from this settings menu:
- Swipe fingerprint for notifications
- Quickly open camera
- Flip camera for selfie
- System navigation
- Tap to check phone
- Life to check phone
- Prevent ringing
- Flip to shhh
- Power Menu
Familiarize yourself with the Camera
Even though Google has continued to use the same camera sensor since the Pixel 3, the Pixel 5 is still a fantastic camera, and one of the best on the market. You may notice that pictures take longer to process, but that’s due to the fact that Google removed the Visual Core from the Pixel 5. Nevertheless, on-device image processing is still at the top of its class.
After you’ve gotten your Pixel 5 all setup, then you’ll want to start getting used to the different features found within the Camera app. I mean, you don’t want to miss out on a picture of the night sky, in the event that the camera doesn’t automatically switch to the right mode.
Take photos of the night sky
If you want to take some pictures at night and actually get something other than a dark picture, then you’ll want to activate Night Sight. In most cases, your Pixel 5 will automatically switch over to Night Mode. However, there may be some times where you want to use Night Sight manually, and you can do so by opening the Camera app, swiping over to the left, and tapping Night Sight.
Enjoy Motion Photos
Motion Photos is a pretty nifty way to not only make sure you get the perfect shot, but you can also use this feature to create GIFs. This feature takes multiple pictures in rapid succession, and then displays them after the pictures are taken so that you can pick the best one. Here’s how you can manually enable Motion Photos:
- Open the Camera app.
- Tap the Down Arrow at the top of the screen.
- Under Motion Photo, tap either Auto or On (circle filled in).
Now Motion Photos will be enabled on all of your pictures. Just remember to go back and delete the ones you don’t want to keep so your storage doesn’t get filled up too quickly.
Adjust your photo resolution
As one would expect, the Pixel 5 is not equipped with a microSD card slot, as has been the case on every Pixel device. This can leave you searching for ways to free up some storage, and one way to do so is to lower the resolution of pictures that you take.
- Open the Camera app.
- Tap the Down Arrow at the top of the screen.
- Tap the Gear icon.
- Scroll down and select Camera photo resolution.
- Select either Full Resolution or Medium resolution.
Find the angle of a slope with your camera
If you are trying to ensure that your picture is properly aligned, there are a few tools built-in to make this easier. These include the grids that can appear, along with a new feature to tell you the angle of a slope, or to see if your picture framing is off by a few degrees.
- Open the Camera app.
- Tap the Down Arrow at the top of the screen.
- Tap the Gear icon.
- Scroll down and tap the toggle next to Framing hints.
When enabled, you will now see a horizontal line appear after aiming your camera’s viewfinder at a flat surface and holding it in place for a few seconds. The line will initially show the 0° measurement, but any movements will reveal the angle of the slopes your camera is looking at.
Use Google Photos to adjust the pop and blur
After you’ve finished taking a few pictures and are ready to start editing them, you don’t have to peruse the Play Store for some photo editors. Instead, you can edit them right from your Pixel 5 with the help of the Google Photos app. This cuts down on the need to hop around between apps, like moving from your gallery to a different photo editor.
Google has added more than enough tools to get some basic photo editing done, without downloading another app. Photos can automatically analyze your pictures and provide various suggestions on how you could edit the image to turn it into something amazing. Plus, a recent Feature Drop brings new suggestions, including Dynamic. This will provide suggestions on how you can enhance the brightness, contrast, and even the sky colors.
Create a custom theme
Let’s be real, arguably the best reason to use Android over iOS comes down to the customization options that are available. Sure, you can go download another launcher, but Google has integrated a new theming feature to change how your Home Screen looks.
- Press and hold on an empty space on the Home Screen.
- Tap Styles & wallpapers.
- Select one of the three sections:
- Wallpaper
- Style
- Grid
- Choose the style that works for you.
- Have some fun with it.
Enable the battery percentage
![]()
For one reason or another, the battery indicator has seemingly always been the default. Some phone makers allow for you to change it to just the battery percentage, while others make it so you can have the percentage show alongside the battery icon. Google’s Pixel 5 falls in the latter category, and here’s how you can make sure you always know precisely how much juice is left in the tank.
- Open your phone’s Settings app.
- Tap Battery.
- Tap the toggle next to Battery percentage.
Pause those distracting apps
Our smartphones are absolutely wonderful and amazing, as they open the doors to be able to do so much more than we could have ever imagined. But when you have hundreds of apps installed, that means hundreds of chances for notifications to disturb you when you’re trying to get some work done. Thanks to the inclusion of Digital Wellbeing in Android 11, you can actually pause apps from sending you notifications.
- Unlock your Pixel 5.
- Locate the app you wish to pause.
- Long-press the app icon.
- Tap the time glass icon from within the pop-up menu.
- Tap Pause in the dialog box that appears.
One thing to make note of is that if you pause an app, it’s notifications won’t appear for the rest of the day. So you may want to set a reminder for yourself to unpause that app after you’re done working.
Snooze notifications
There are times where notifications come through and you just don’t have the time to deal with them. With the Pixel 5 and Android 11, you can finally snooze those notifications until you have the time to manage and take care of them. But it doesn’t just “work” out of the box, and you’ll need to enable notification snoozing.
- Open the Settings app.
- Scroll down and select Apps & Notifications.
- Select Notifications.
- Tap Advanced.
- Turn on Allow notification snoozing.
Now that notification snoozing is enabled, it’s pretty easy to snooze those pesky notifications until you have time to deal with them later on. When a new notification arrives, follow these steps:
- Swipe down to reveal your Notification Shade.
- Drag the notification slightly to the right or left, being careful not to dismiss it entirely.
- Tap the Snooze button that appears.
- Tap the down arrow to select a time for when the notification will reappear.
Hide silent icons in the status bar
Notifications are annoying enough as it is, but it’s even worse when you have those “silent” notifications that cannot be dismissed. Instead, you are stuck looking at something in your status bar even though it can’t be removed. Well, with the Pixel 5 and Android 11, that has changed, as you can finally, FINALLY, hide those annoying notifications from appearing in your status bar.
- Open the Settings app.
- Scroll down and select Apps & Notifications.
- Select Notifications.
- Scroll down and tap Hide silent notifications in status bar.
Set up your phone’s Safety Check
There are a lot of “fun” features to mess around with and take advantage of, but Google understands that your smartphone is an extension of you. In the event that something has happened, the new Safety app can reveal a slew of information.
You have to manually set the app up for the first time, along with entering all different pieces of information. These include emergency contact information, medical information, and much more. Then, the information can be activated just by holding down your phone’s power button.
Another great feature of Google’s Safety app is automatic car crash detection. This will notify the authorities for you, along with the person listed as your emergency contact.
Spend time away from the screen
Back in 2018, Google first introduced its Digital Wellbeing tools to help you be more mindful of the time being spent on your phone. Mental Health is of utmost importance, and one way to help determine of something is “off” is by measuring and monitoring your screen time with your phone or tablet.
Digital Wellbeing is built right into Android 11 on the Pixel 5, and can be easily accessed from the Settings app. After it has been set up for the first time, you’ll be able to view a myriad of information such as the average number of notifications per day, how many times you unlocked your phone, and what your most used apps were.
- Open the Settings app.
- Scroll down and tap Digital Wellbeing & parental controls.
- Under Your Digital Wellbeing tools, select Show your data.
Digital Wellbeing can even be taken a step further, as you can set periods of time that certain apps can be used. For example, say you spend too much time on Twitter every day. Well, with Digital Wellbeing, you can set a timer that only allows you to use the app for a specific amount of time, before the app will be locked out, requiring you to enter a passcode to unlock the app.
Enable Now Playing
We’ve all been there before. You’re at a store or driving in the car and a song comes on that you don’t know but want to add it to your music streaming app. Well, with the Pixel 5, your phone can always be listening to what songs are playing. Then, the song name and artist will appear on your Lock Screen. Plus, your Pixel can keep a running list of the songs that it has identified, allowing you to dive in and add them to your playlists for listening later on.
- Open the Settings app on your Pixel 5.
- Scroll down and select Display.
- Tap on Lock screen.
- Tap Now Playing.
- Click the toggle next to Show songs on lock screen.
Enjoy Android 11

Android 11 is making its way to more and more smartphones from different phone makers, including Samsung and OnePlus. However, there are some Pixel-only features available with the final version of Android 11.
Control your smart home easily
With Android 11, just press and hold on your Power Button to reveal the power menu. However, the fun doesn’t stop there, as there’s an all-new Device Controls section. This is listed at the bottom of your power menu, providing quick access to turn off lights, rooms, or adjust the brightness.
Record your screen
Gone are the days of relying on third-party apps to record your screen on stock Android. Google has finally added this as a native feature, and it’s pretty easy to access.
- Swipe down to reveal your Quick Panel.
- Swipe to reveal the second Quick Panel page.
- Tap the Screen Record icon.
- Opt into recording audio and/or showing touches on the screen.
- Tap Start.
- When finished, open your notification shade and tap the Screen Recorder notification to stop it.
Show suggestions in Dock
In another effort to help make your phone work for you Google introduced App Suggestions in the Dock with Android 11. Previous versions of Android saw these suggestions limited to the App Drawer, but now your Dock can be replaced with your most-used apps, or apps that your phone thinks you’ll be using next.
- Press and hold a blank space on your Home Screen.
- Tap Home settings from the pop-up menu.
- Tap Suggestions.
- Enable Suggestions on Home screen.
App suggestions will appear based on what apps you are using the most, meaning that your dock could be made up of a series of apps that you would not normally put there. The cool thing about the dock suggestions is that you can “pin” certain apps so they are never removed, while leaving some other apps open for suggestions.
Use Chat Bubbles for conversations
Facebook Messenger has been using Chat Bubbles for years, and this is arguably a much better way to access your most-used conversations. With Android 11, Chat Bubbles can be used with all of your messaging applications. But the real kicker is that you can even pick which conversations use the Chat Bubbles, and which ones don’t.
- Open the Settings app.
- Tap Apps & notifications.
- Select Notifications.
- Tap Bubbles.
- Select from the following:
- All conversations can bubble.
- Selected conversations can bubble: Tap a person. Then, turn on Bubble.
- Nothing can bubble.
Use Google Assistant to wait on hold for you
One of the most annoying aspects to making phone calls is that just about everything uses an automated service. Even after you pass through the automations, you’ll end up having to be put on hold. Instead of wasting those precious minutes of the day, Google Assistant can do the holding for you. When activated, Assistant will stay on the call, and provide a notification when a live representative picks up. But first, you’ll have to enable the Hold for Me feature.
- Open the Phone app.
- Tap the three dot overflow icon.
- Select Settings.
- Tap Hold for Me.
- Tap the toggle to turn Hold for Me on or off.
Screen spam calls with Google
![]()
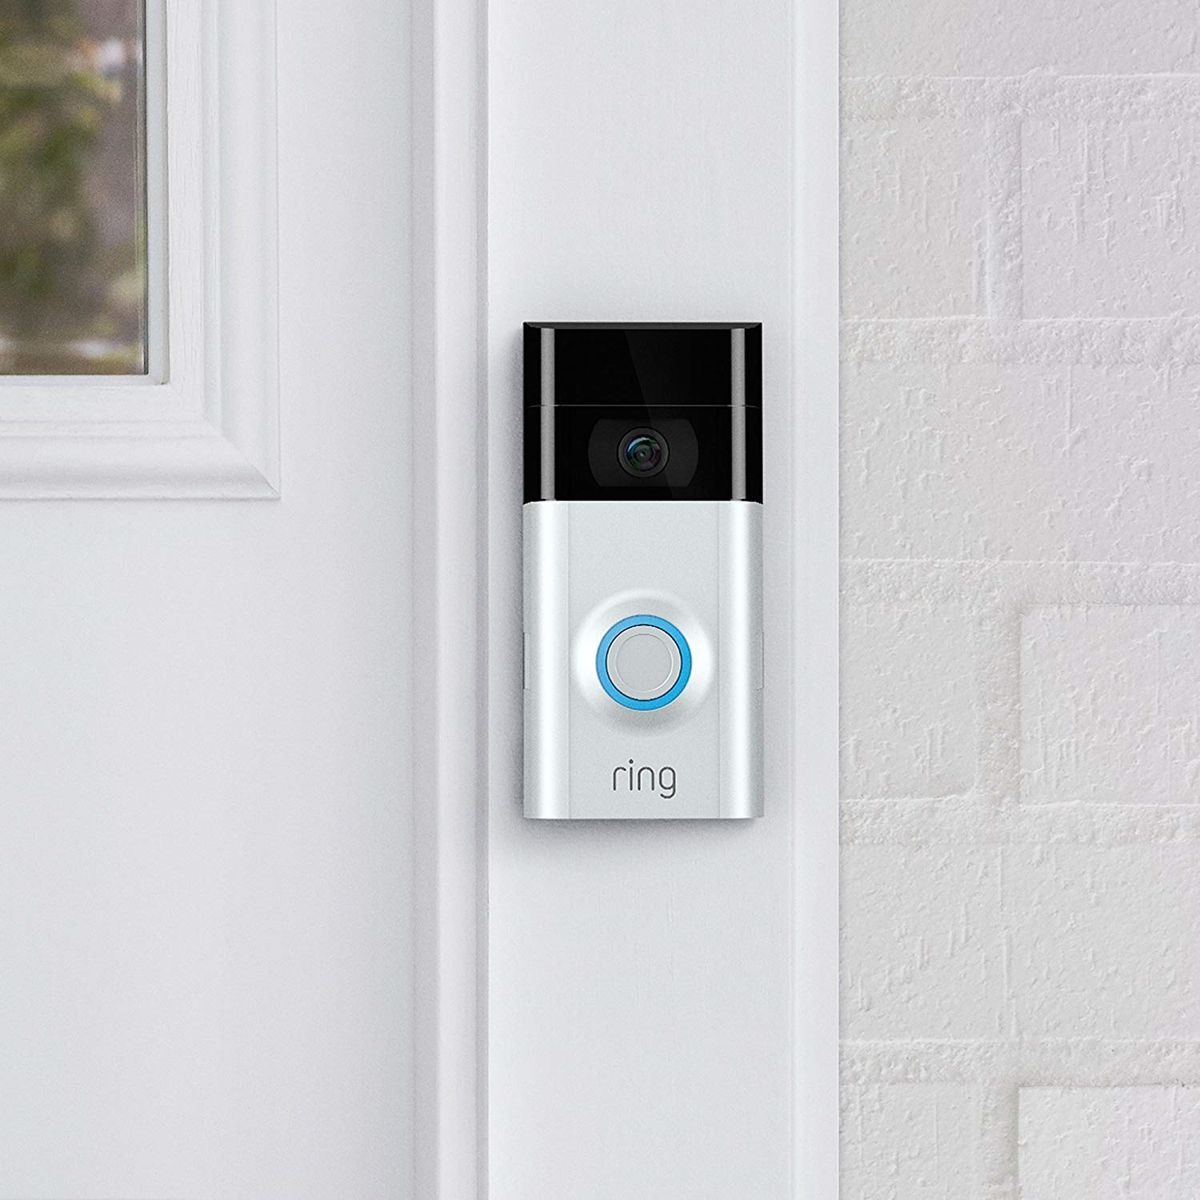
Spam calls are the worst, and they are increasing in regularity at an alarming rate. Google understands the frustration, and has made it possible for the Phone app to automatically screen calls to determine whether they are spam or not. Plus, you can even see whether a call coming through is potentially spam before answering.
- Open the Phone app.
- Tap the three-dot overflow button.
- Select Settings.
- Tap Spam and Call Screen.
Grab some accessories
Even though the Pixel 5 is a sleek and unique device with its textured back and wireless charging, you’re going to want to make sure that it withstands the elements. From cases to wireless chargers and some great headphones, there are some accessories here for everyone.
- Caseology Parallax
- Spigen Ultra Hybrid
- Pixel Fabric Case
- Google Pixel Stand
- CHOETCH Wireless Charger 2-pack
- Galaxy Buds+
- Soundcore Life P2 Earbuds
Try out some new apps and games
![]()
Although the Snapdragon 765G may not be the most powerful chipset on the market, it’s still quite capable of handling almost everything you can throw at it. Now that you’ve masted the Pixel 5, dive into the Play Store and try out some new apps and games to enjoy on your smartphone.
- Best Evernote alternatives for taking notes
- Best Gmail alternatives to manage your email
- Great browser alternatives to Google Chrome for Android
- Best Rugby & Football games
- Best Action games
- Best arcade games
- Retro games for Android and iOS
- First-person shooter games for Android and iOS
- The best Video Calling Apps for Android
- 5 Best Android Apps to Keep You Focused
Learn more about the Pixel 5
The Pixel 5 is perhaps even more exciting than the Pixel 4 and 4 XL from 2019, so if you want to get even more familiar with Google’s flagship, we’ve got you covered.


Comments