
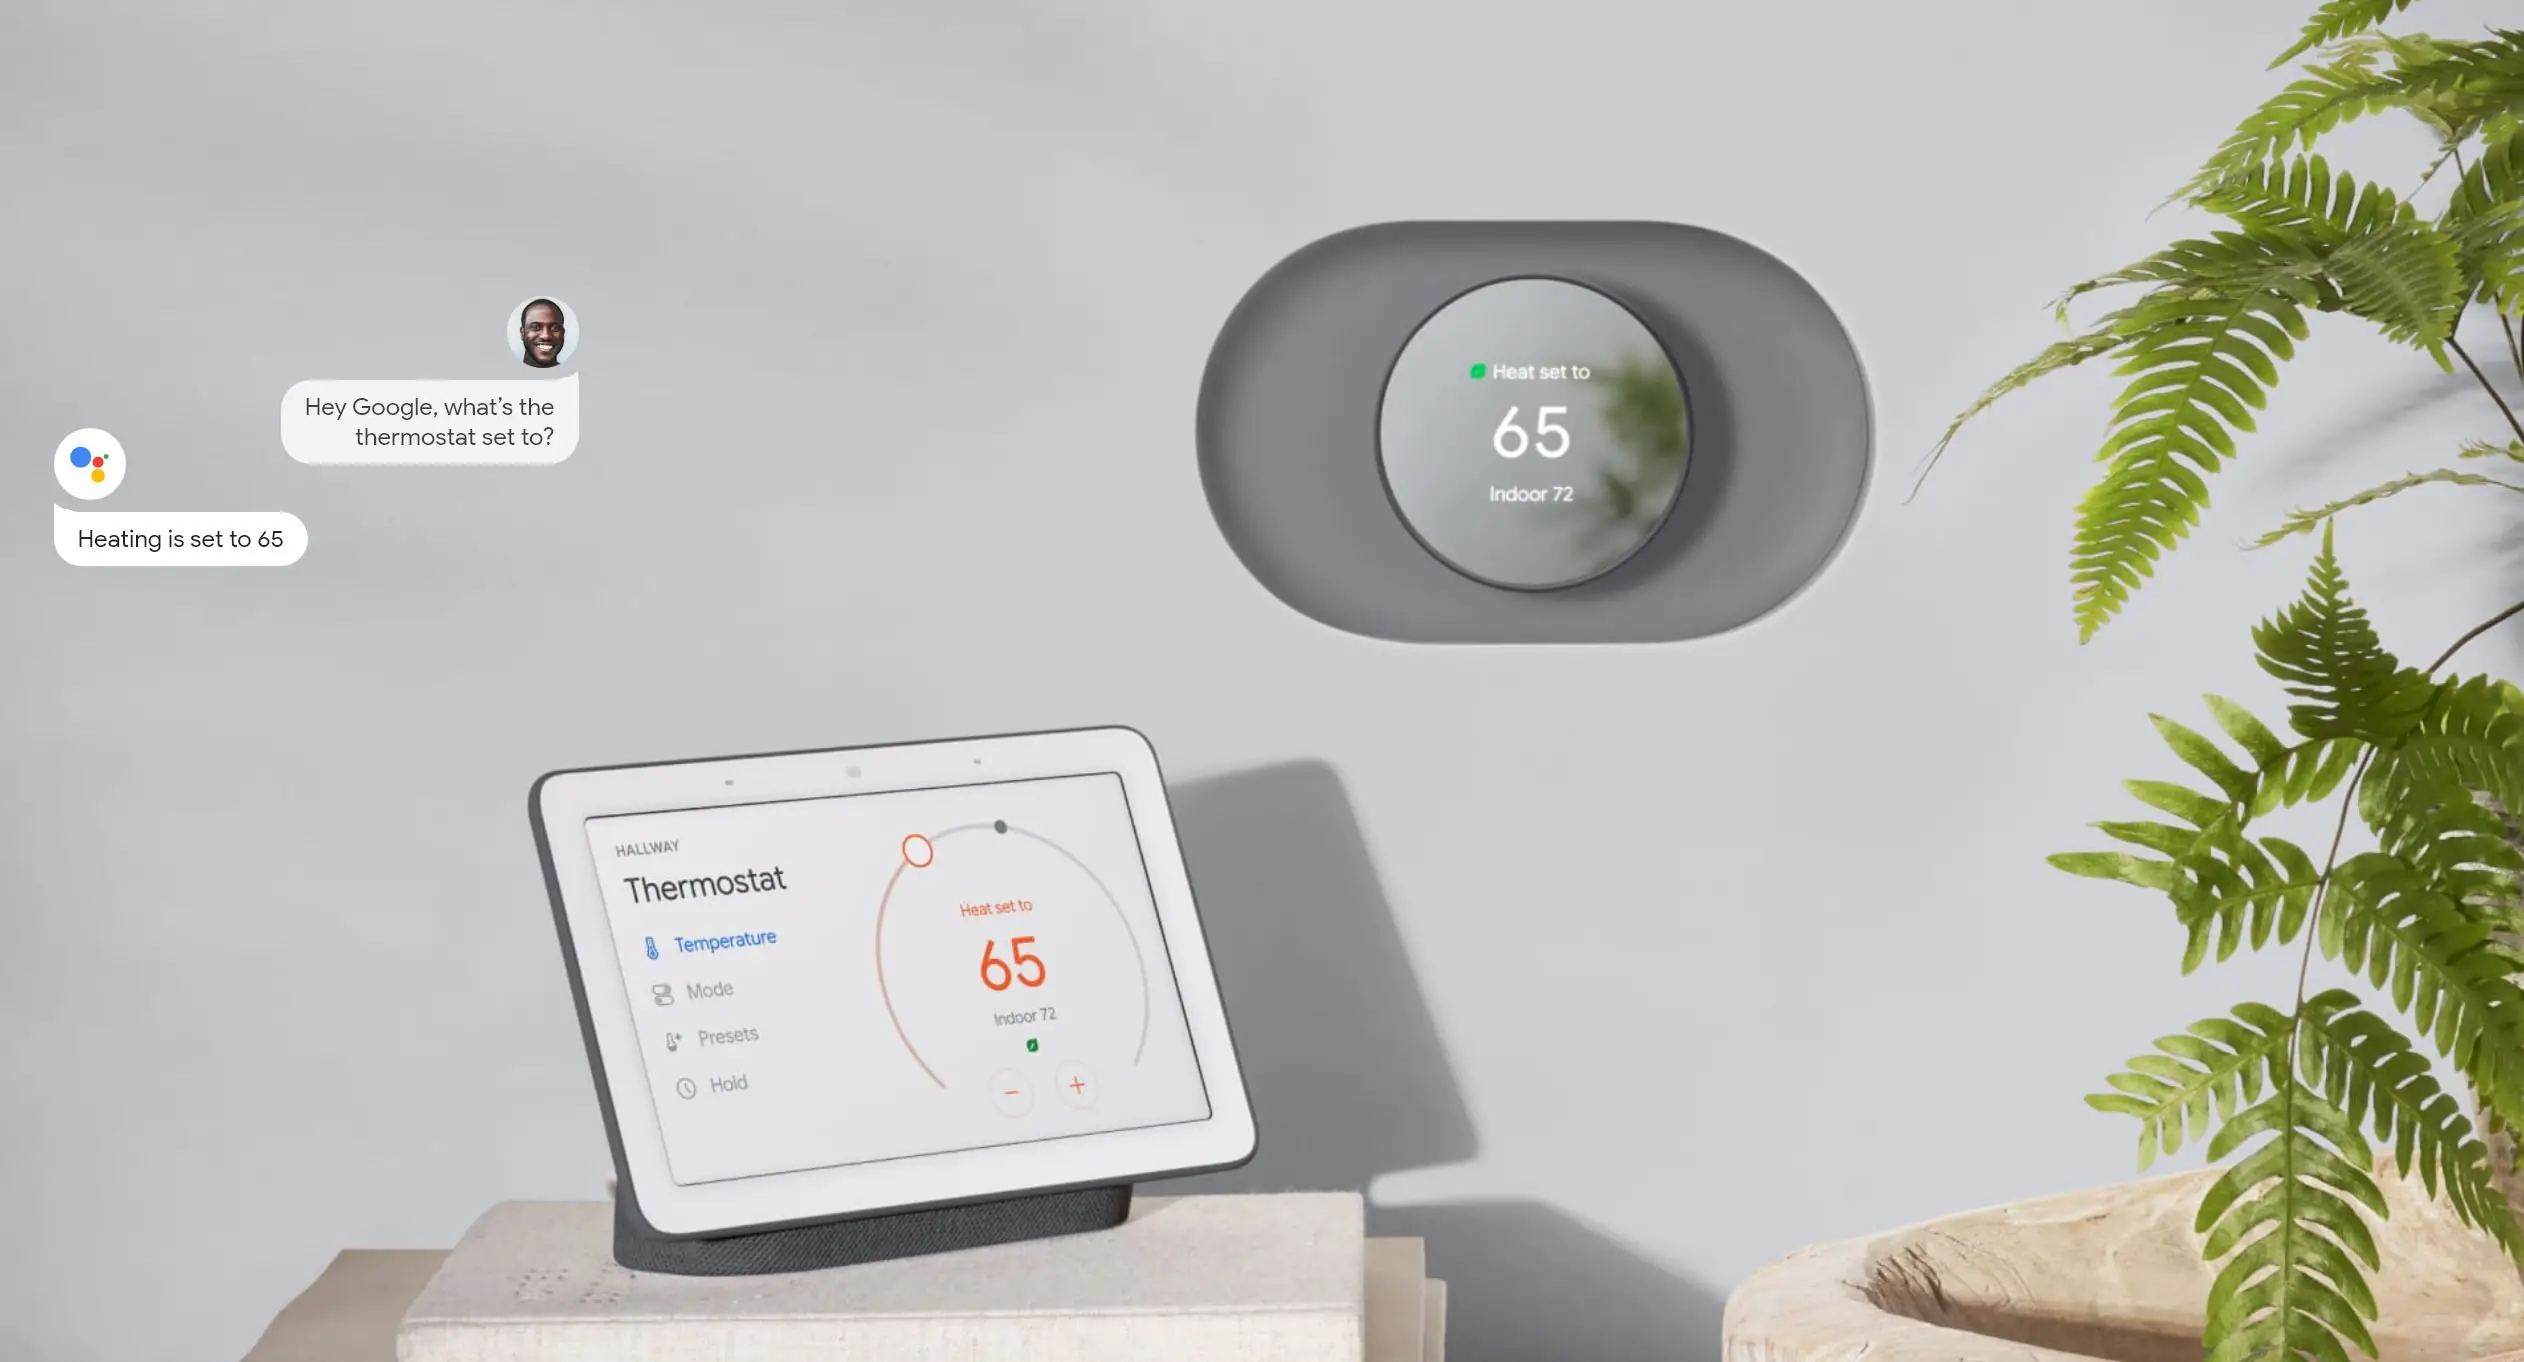
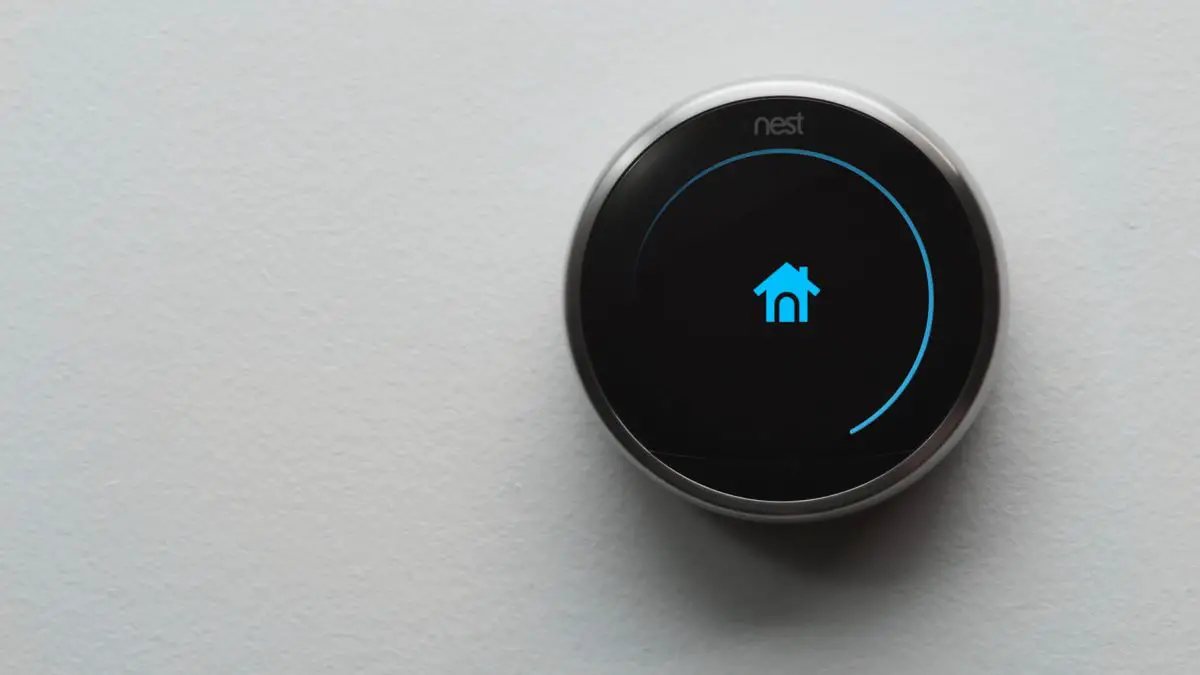
When the Nest Thermostat was first introduced, we have to admit that we never knew we needed such a device. It was sleek, simple to operate, and most importantly, it was smart. It’s almost safe to say that thanks to the Nest, the smart home revolution might not have kicked off the way it did.
So now that you’ve gotten your hands on the Nest Thermostat and want to set it up for your home, how do you go about doing it?
Check compatibility
We can only assume that you would have checked to see if the Nest Thermostat is compatible with your current setup. If you haven’t done so already:
- Head on over to the Nest website to check for compatibility
- Take note of the personalized wiring guide that will vary from system to system, assuming that it is compatible
How to install the Nest Thermostat
- Go to your home’s breaker box and turn off the switches that are tied into your home heating/cooling system. This will help ensure safety and prevent any potential damage.
- Go back to your current thermostat and adjust the temperature, and wait a few minutes to see if it kicks in. If it doesn’t, then you have successfully turned your home’s heating/cooling system off.
- Take off the front of your old thermostat
- Take a picture of the wires for reference later
- Remove the jumper wire if there is one
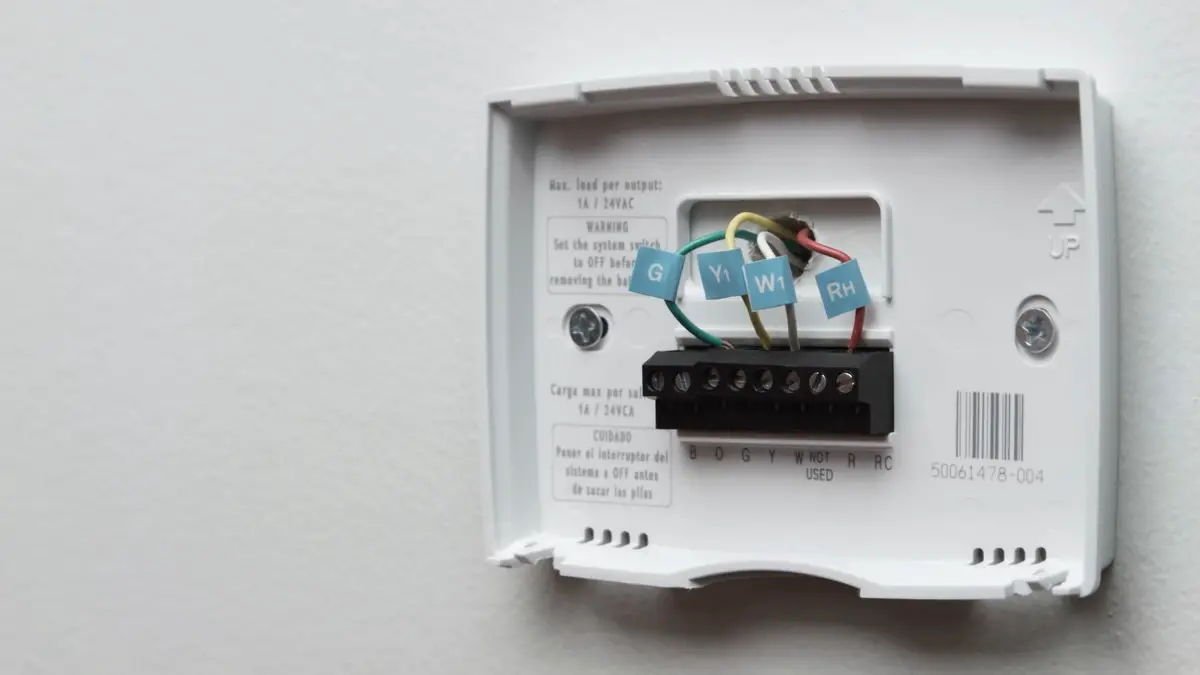
- Use the labels supplied in your Nest Thermostat and label each wire accordingly to make it easier for identification
- Disconnect them from your old thermostat and remove the backplate
- Take the Nest Thermostat base and place it against the wall and pull the wires through the base
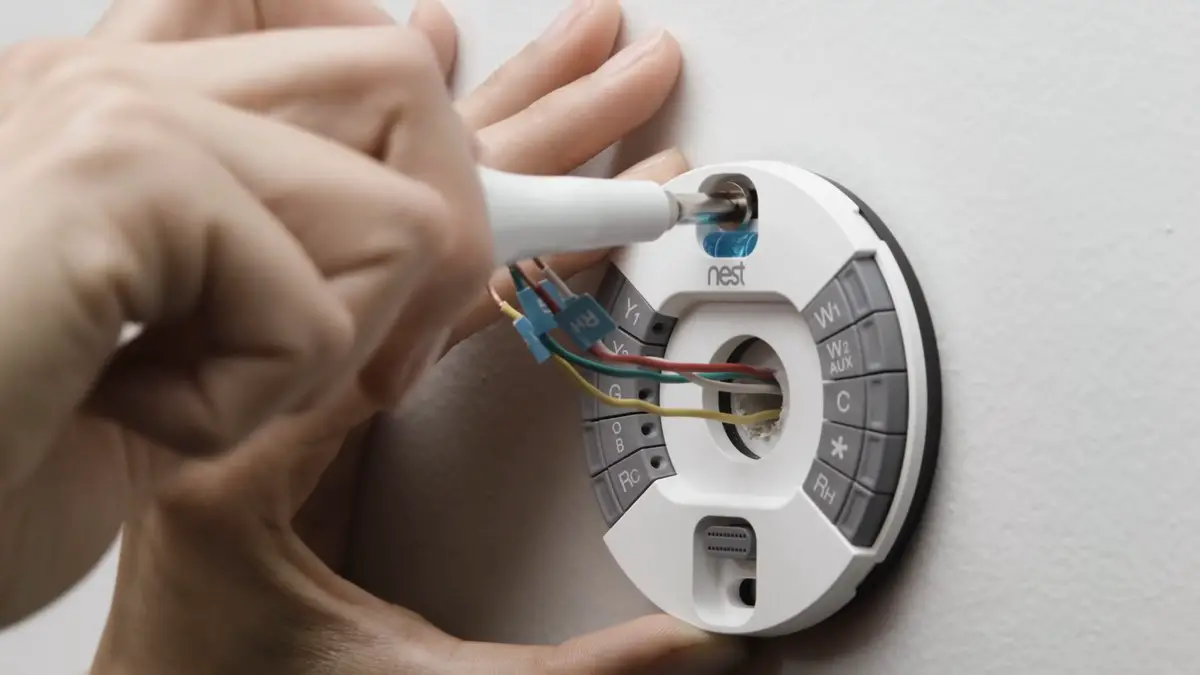
- Screw in the base to the wall and use the built-in level to ensure that it is straight
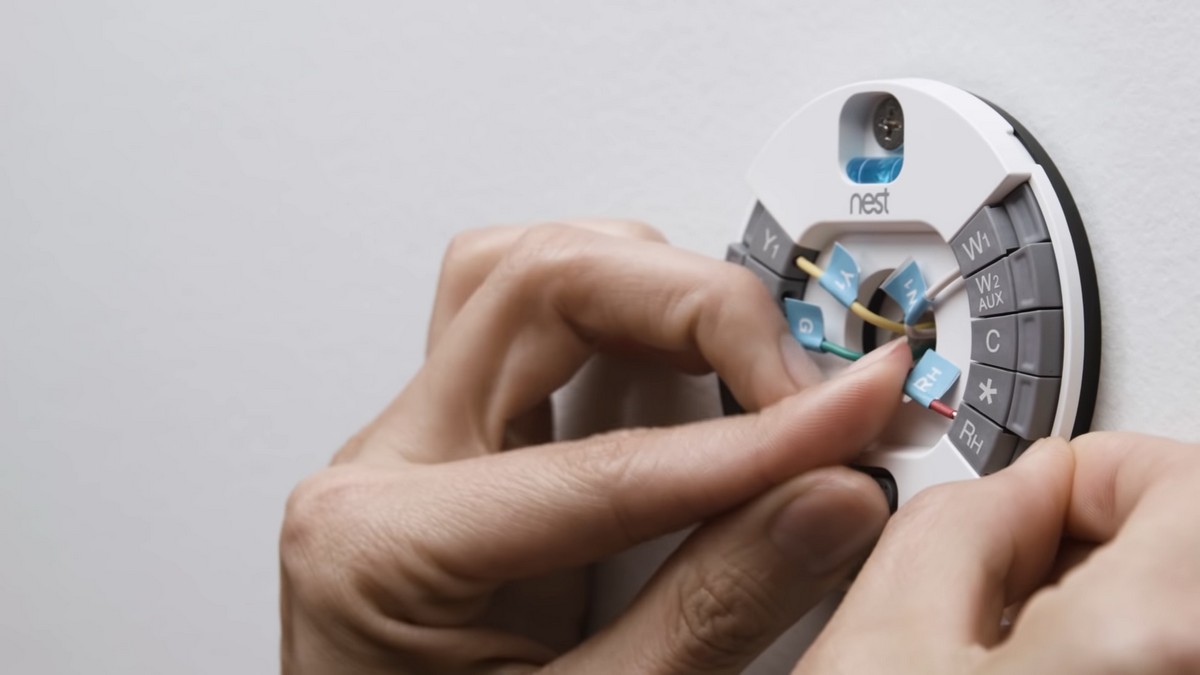
- Insert the wires into the matching connectors by pressing down on the button while inserting the wire. The buttons should stay down once the wires are in.
- Take the Nest display and with the Google/Nest logo sitting at the top, push it into the base until you hear a click
- Go back to your breaker box and turn the heating/cooling system back on. If the wires are connected properly, the Nest Thermostat should turn on and you can begin the setup process.
How to setup the Nest Thermostat
- Download the Google Home app from the Play Store or the iOS App Store
- Launch the Google Home app and click the + button at the top left corner of the screen
- Tap Set up device
- Tap Set up new devices in your home
- Select your home and wait for the app to search for your device
- Select Thermostat
- Scan the QR code on the back of your Nest Thermostat to have it be recognized
- Following the steps on the screen to have the thermostat learn more about your home
- Connect to your home’s WiFi, and you’re pretty much set on installing the Nest Thermostat in your home


Comments