
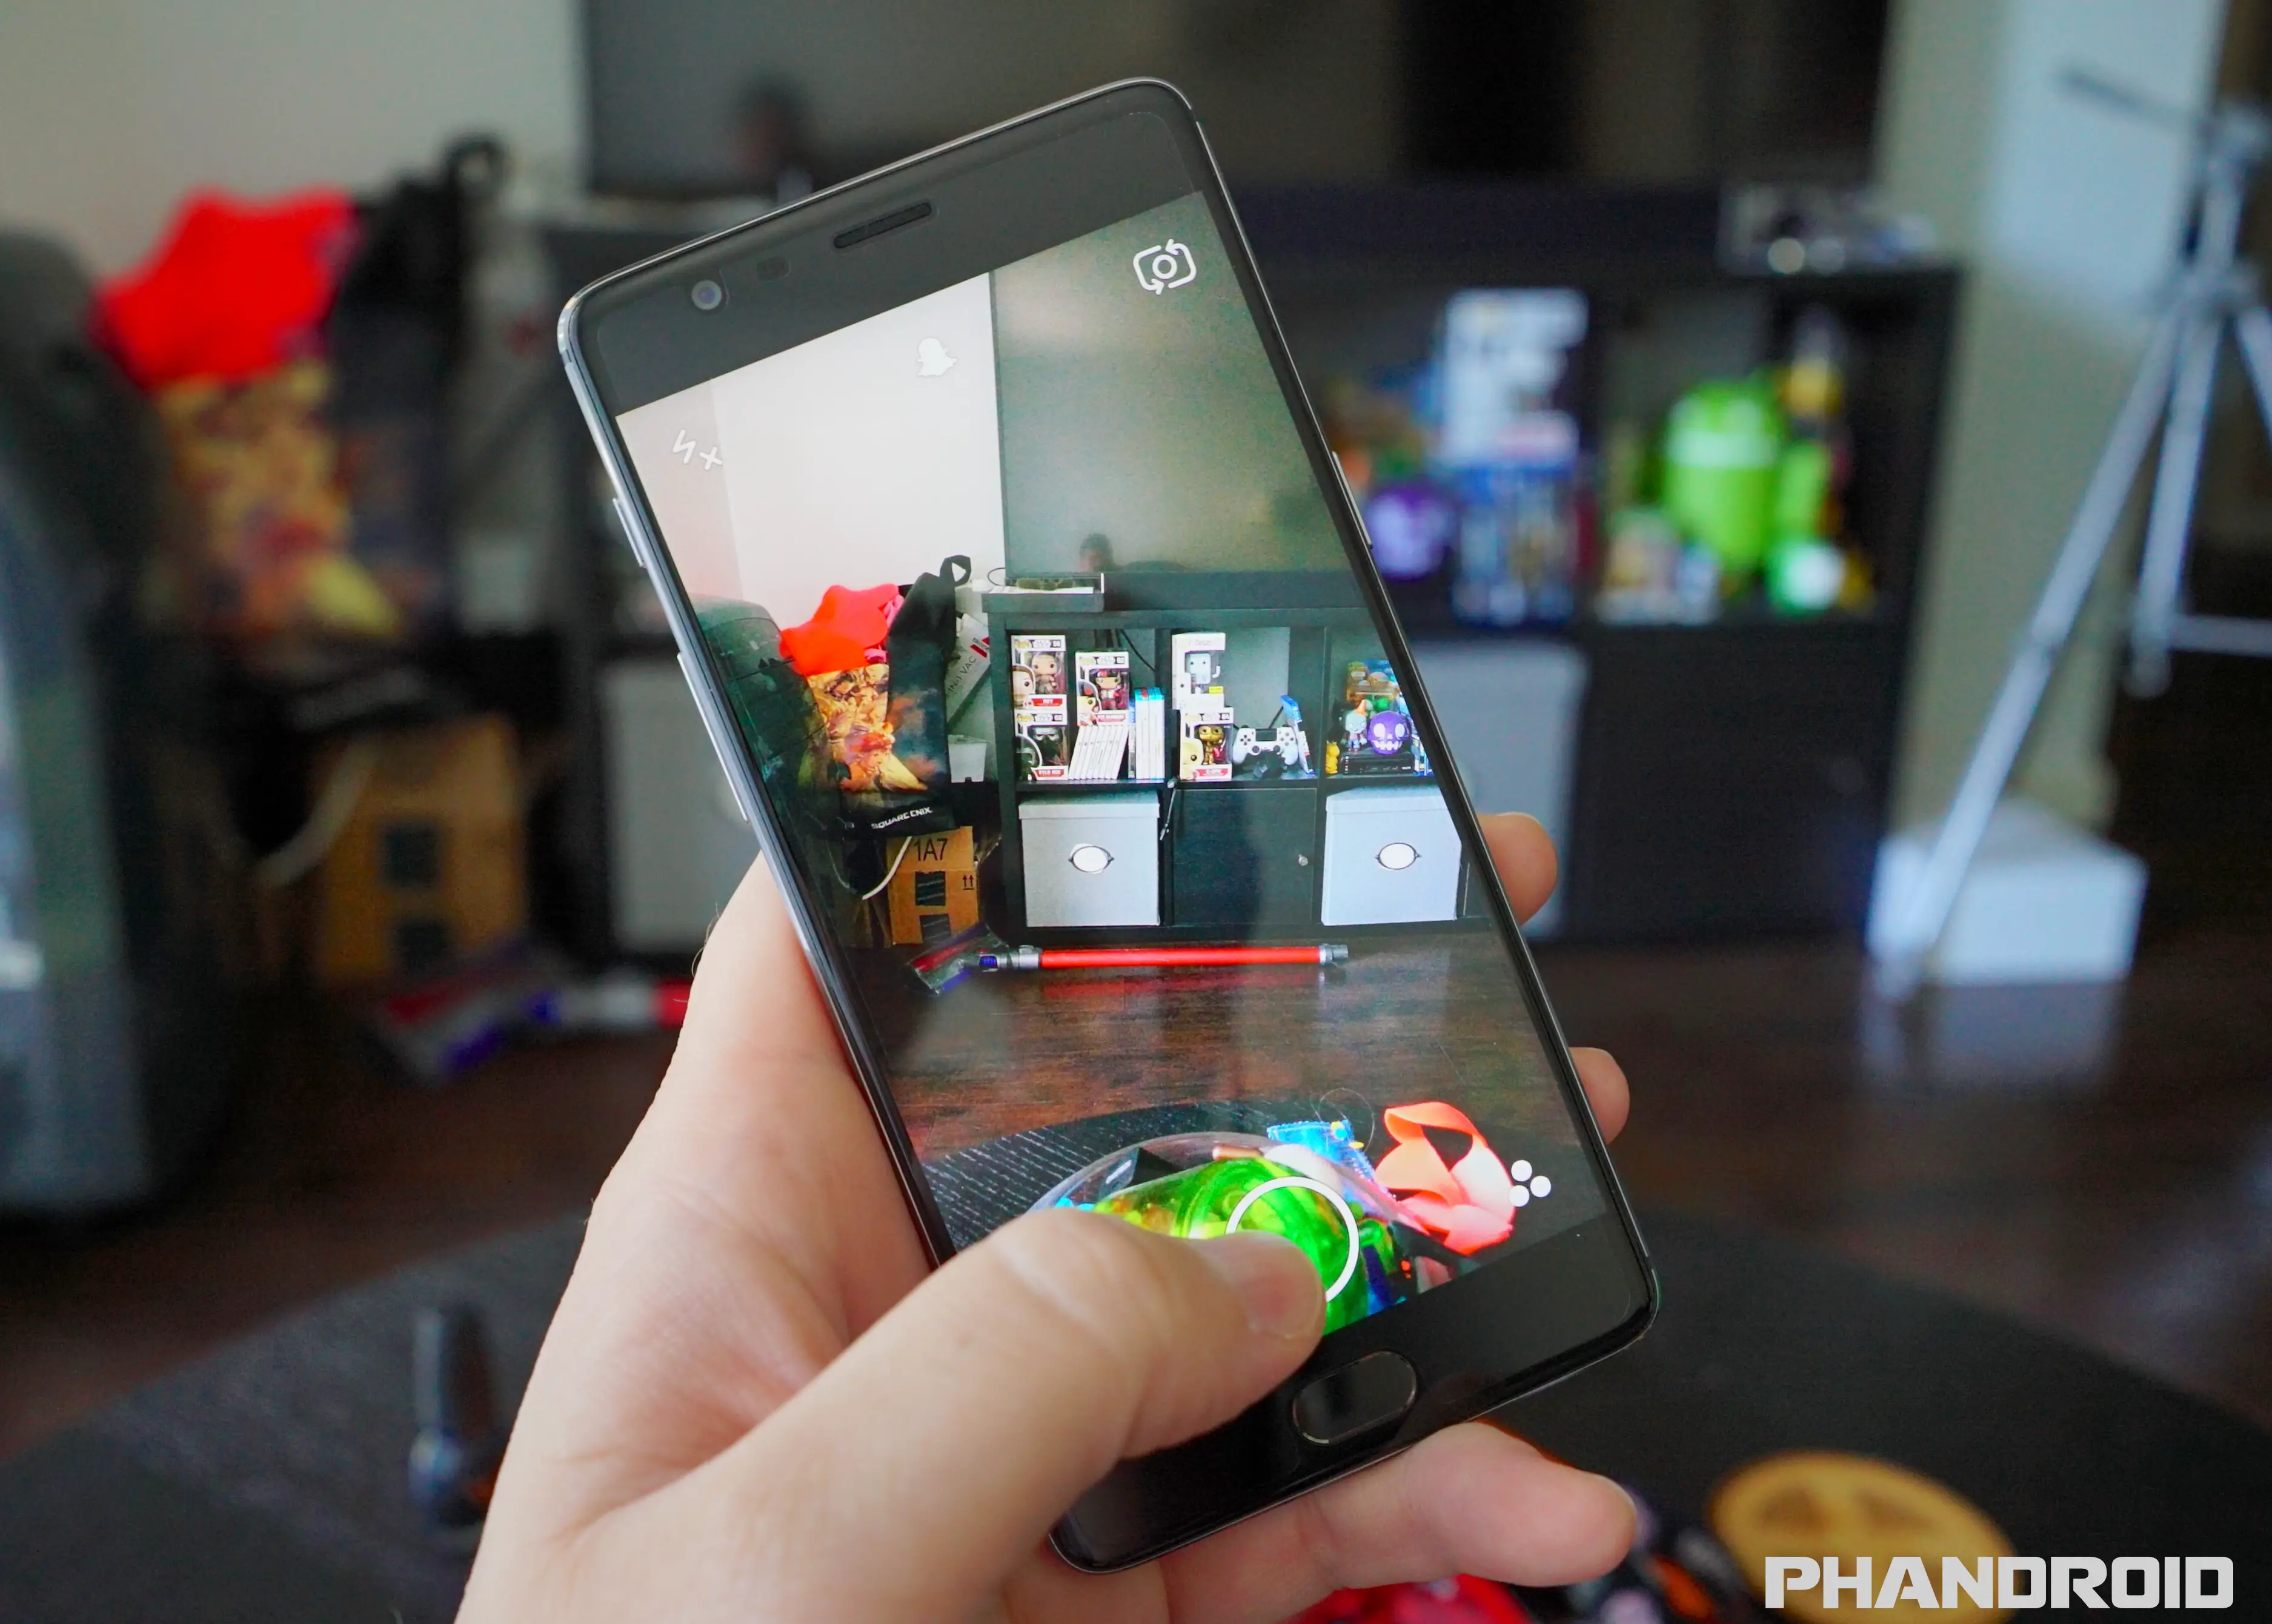
Whenever you open Snapchat, you’ll immediately be placed inside the camera viewfinder, so get familiar with it. Since you cannot upload photos or videos from your camera roll, you’ll have to rely on using the Snapchat camera each and every time you want to share something in the app. It sounds odd, but this helps keep Snaps fresh, candid, and more “live” then competing services.

From the camera screen there are 5 main areas you can navigate to: Chats (left), Profile/settings (up), Memories (down), Stories (right) Discover (right again). Before we get into those, let’s talk about taking your very first “Snap.”

Like most other camera apps, you’ll want to find the big circle centered at the bottom of the screen. That’s your shutter button. You can either tap on it to take a photo, or continue holding the button to begin recording a video. You can stop recording any time by letting go of the button, or continue holding until you’ve reached the 15 second limit.
Switching between the rear and front facing (selfie) cameras on your phone is done by clicking the icon in the upper right corner, or by double tapping the middle of the screen.
In the upper left, you’ll find the button for flash. When using the rear camera, it works as usual (activating the LED flash on your phone), but when using the front facing camera, your screen will briefly turn white to illuminate yourself in dark environments.
When using the rear camera on your phone, you can pinch to zoom. It’s blurry, but you can get creative with it while shooting video (you can also slide up/down on the shutter button while taking video to zoom).
In the bottom left and right corners you’ll find shortcuts to the Chats and Stories (you can also swipe to get there). Sometimes they’ll have number icons on them notifying you of new Snaps on either page.
At the top center of the camera screen there’s a ghost icon. Either tap it (or swipe down) and you’ll be taken to your profile screen. It’s there you’ll be able to check on notifications for people who have recently added you, add new friends, view your full friends list, see which of your contacts are on Snapchat, view trophies, and access the app’s settings. But more on that later…
Using 3D masks (Lenses) and Face Swap
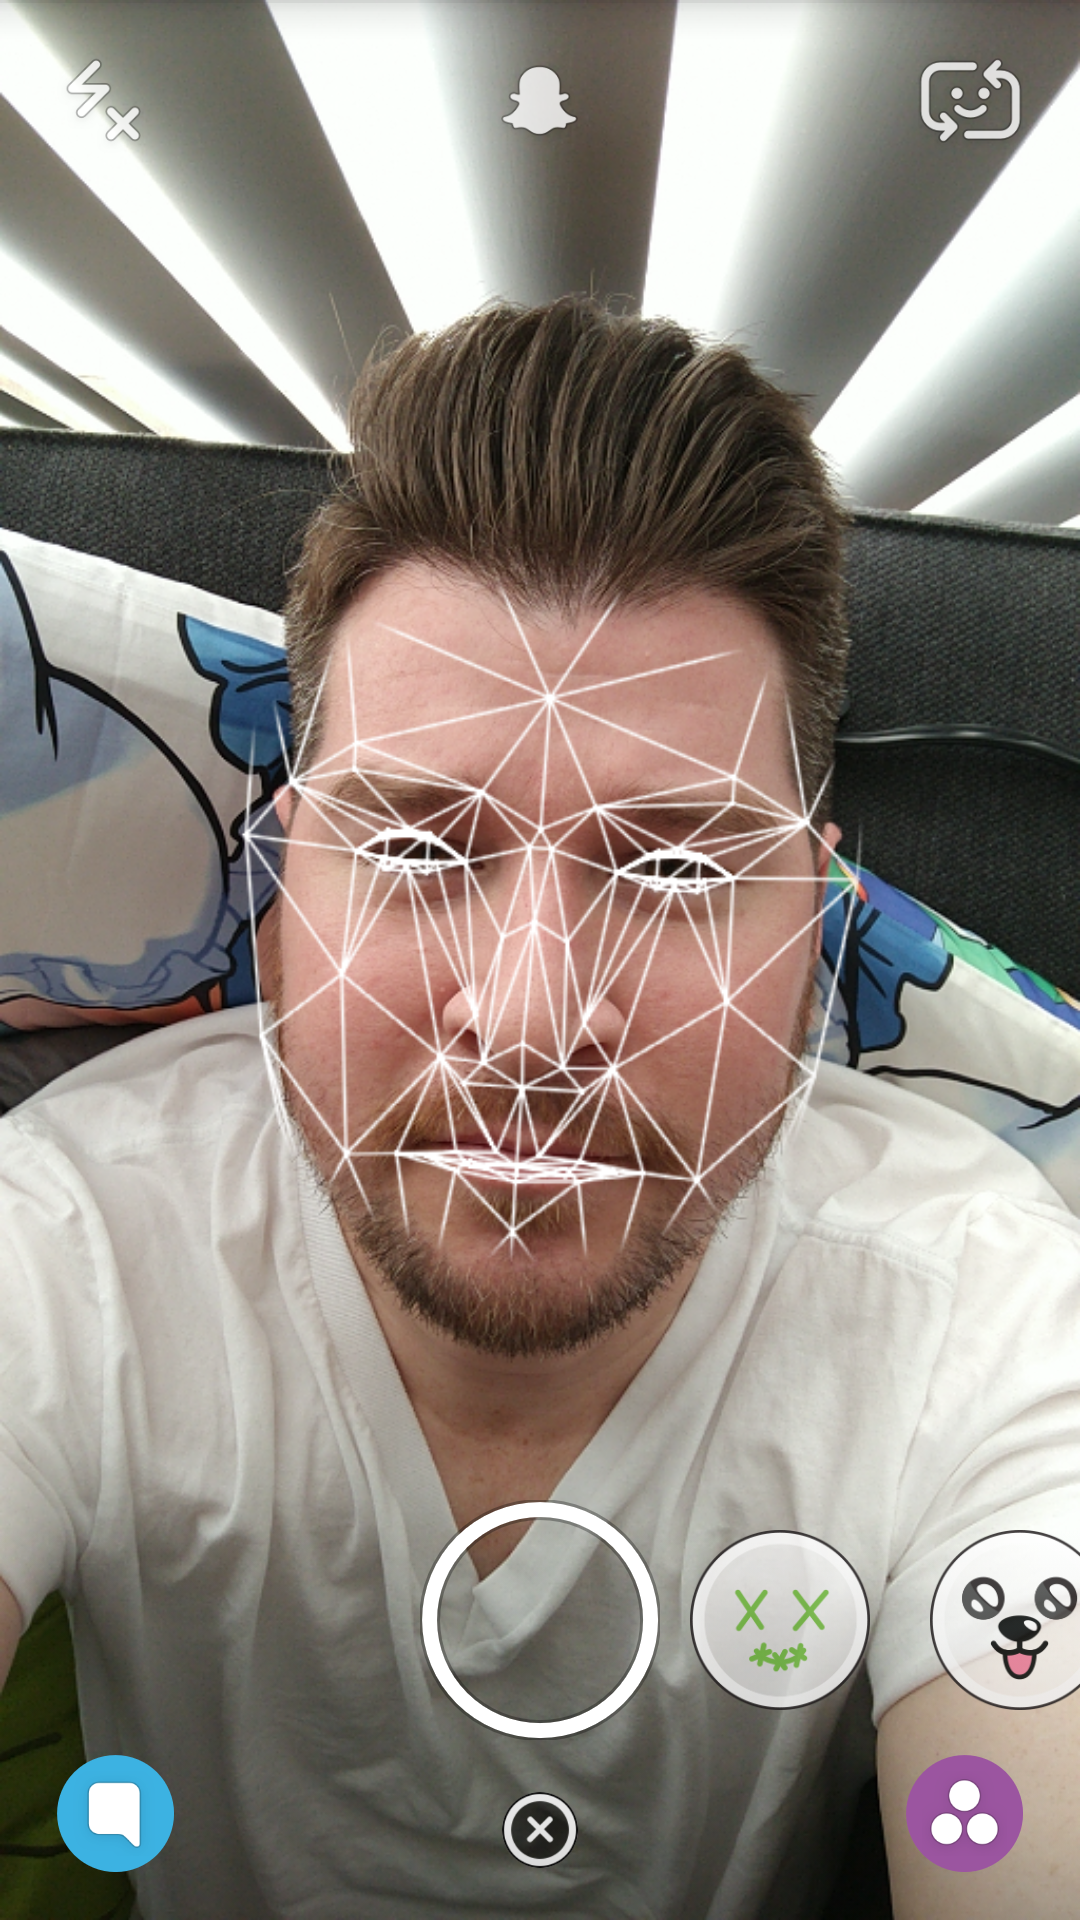
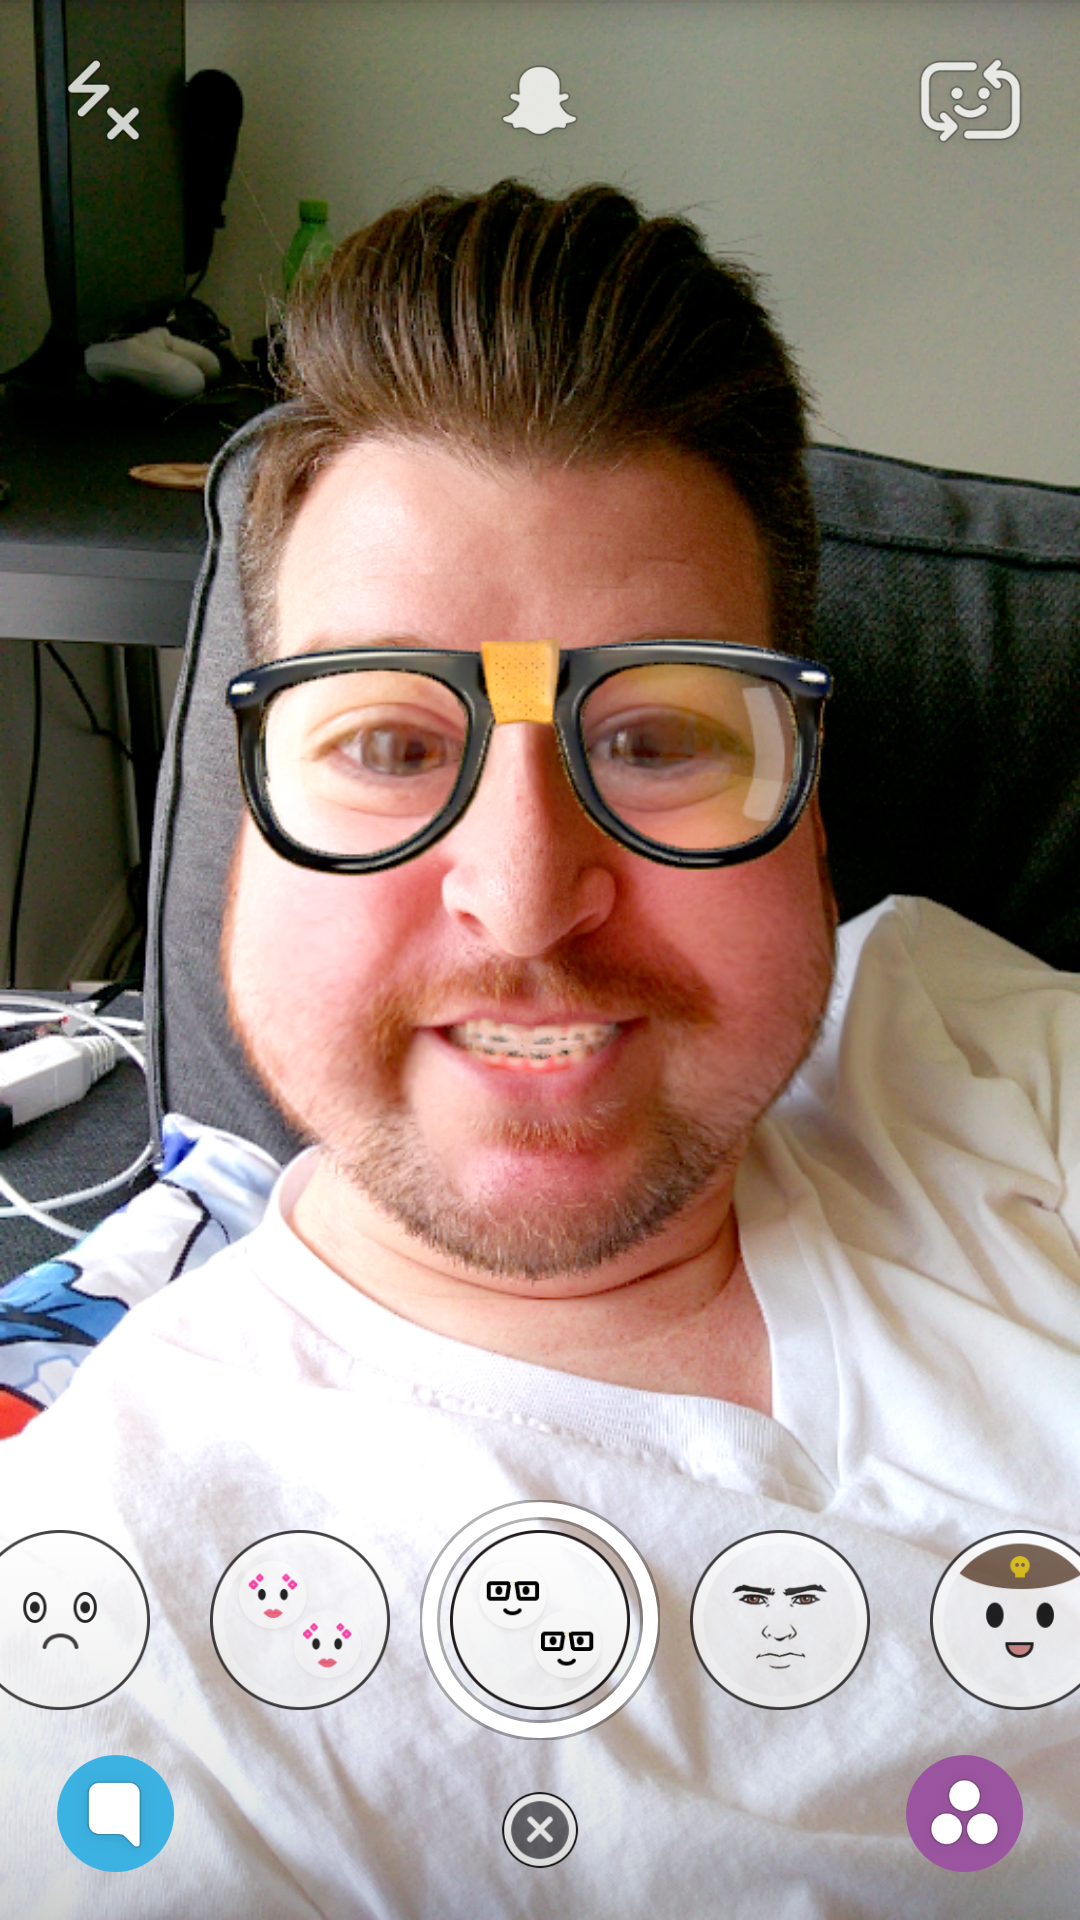


Taking plain photos and videos is fine, but if you really want to take your selfie game to the next level, Snapchat’s Lenses are where the real fun is at. These are specially made 3D masks that scan and superimpose a variety of special effects over your face. This can be anything from puppy dog ears, a cowboy hat w/ shooting guns, twinkling eyes, or even rainbow vomit. These are pretty straight forward, with some requiring facial gestures (like opening your mouth or raising your eyebrows) to activate the animation.
Because Lenses are animated and track your face, they’re often best used in videos, but still photos work fine too. For best results, use Lenses in a well-lit environment with plenty of light hitting your face (not behind you). Here’s how to activate them:
- Long press on your face while in selfie mode to activate 3D Lenses
- Swipe through the available Lenses (these are updated every so often)
- Tap the Lens button to take a photo, or long press to record video
Face Swap Lenses
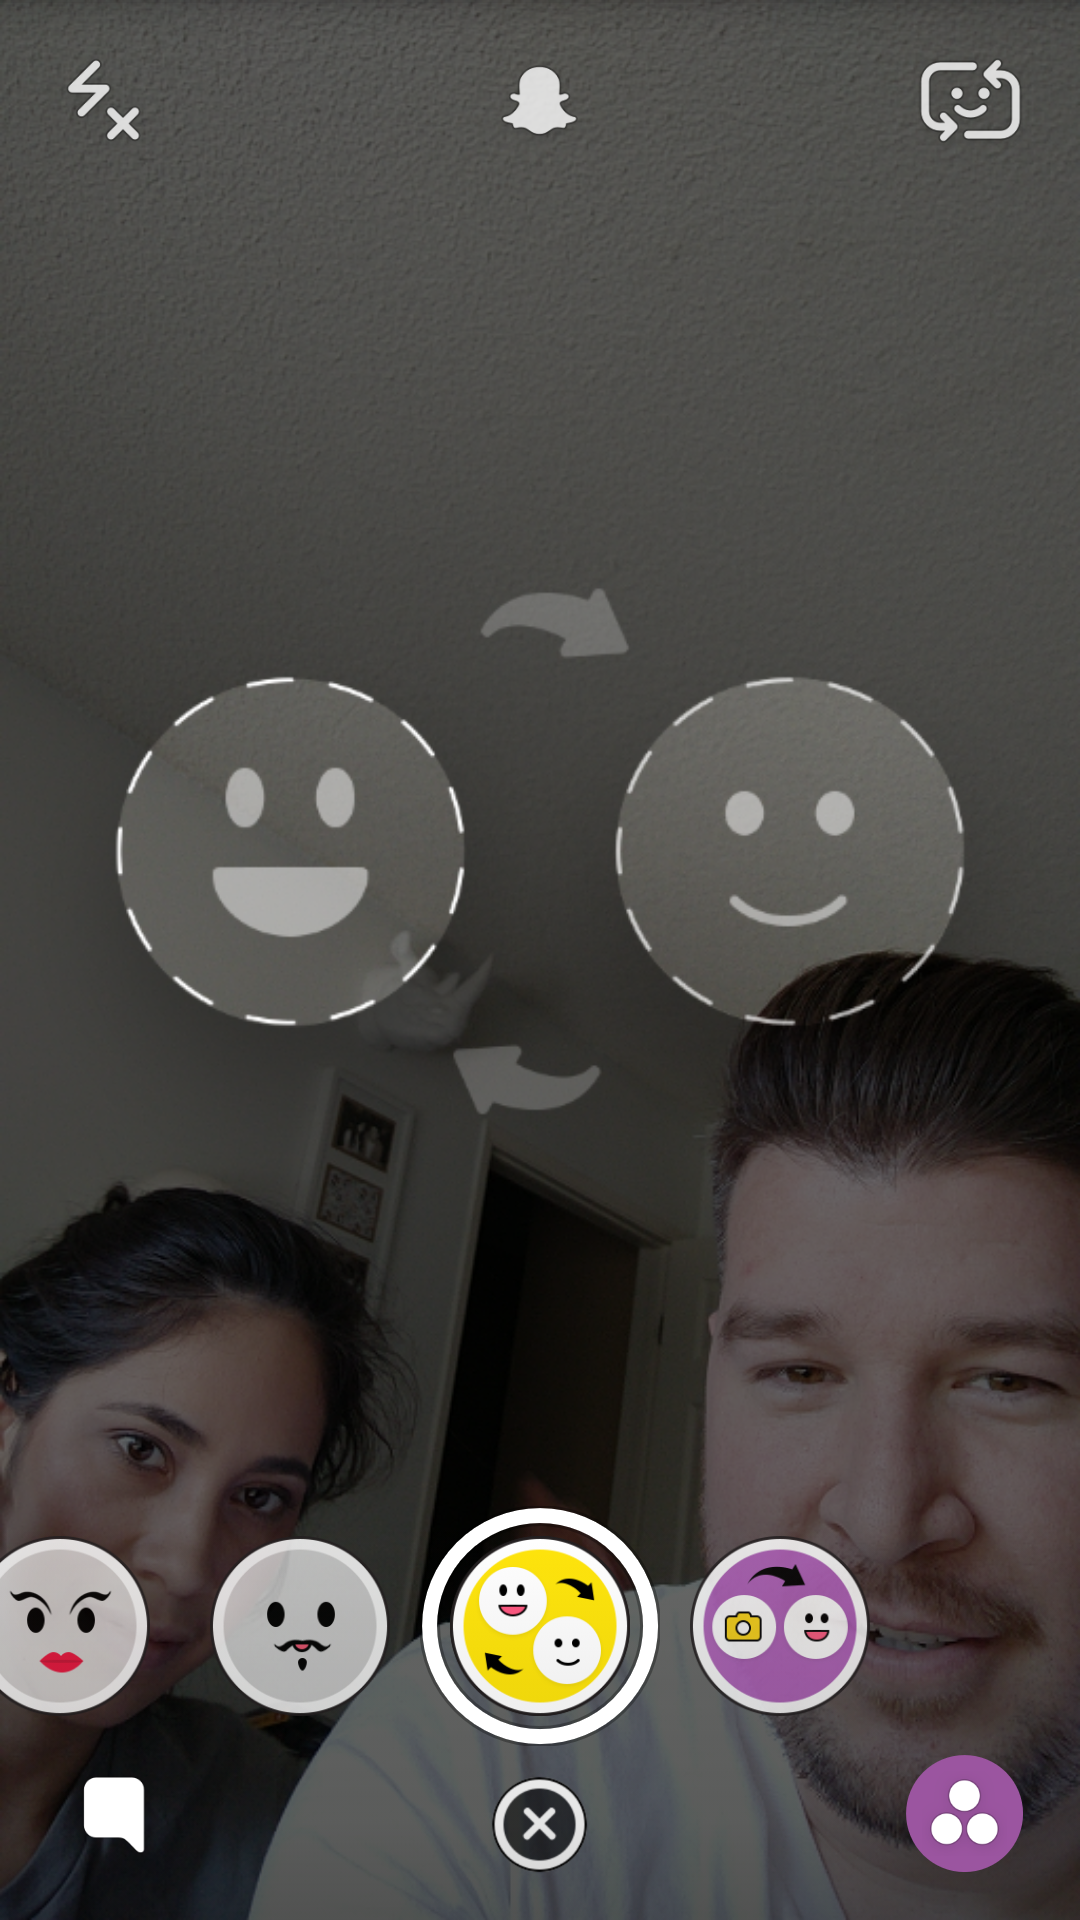
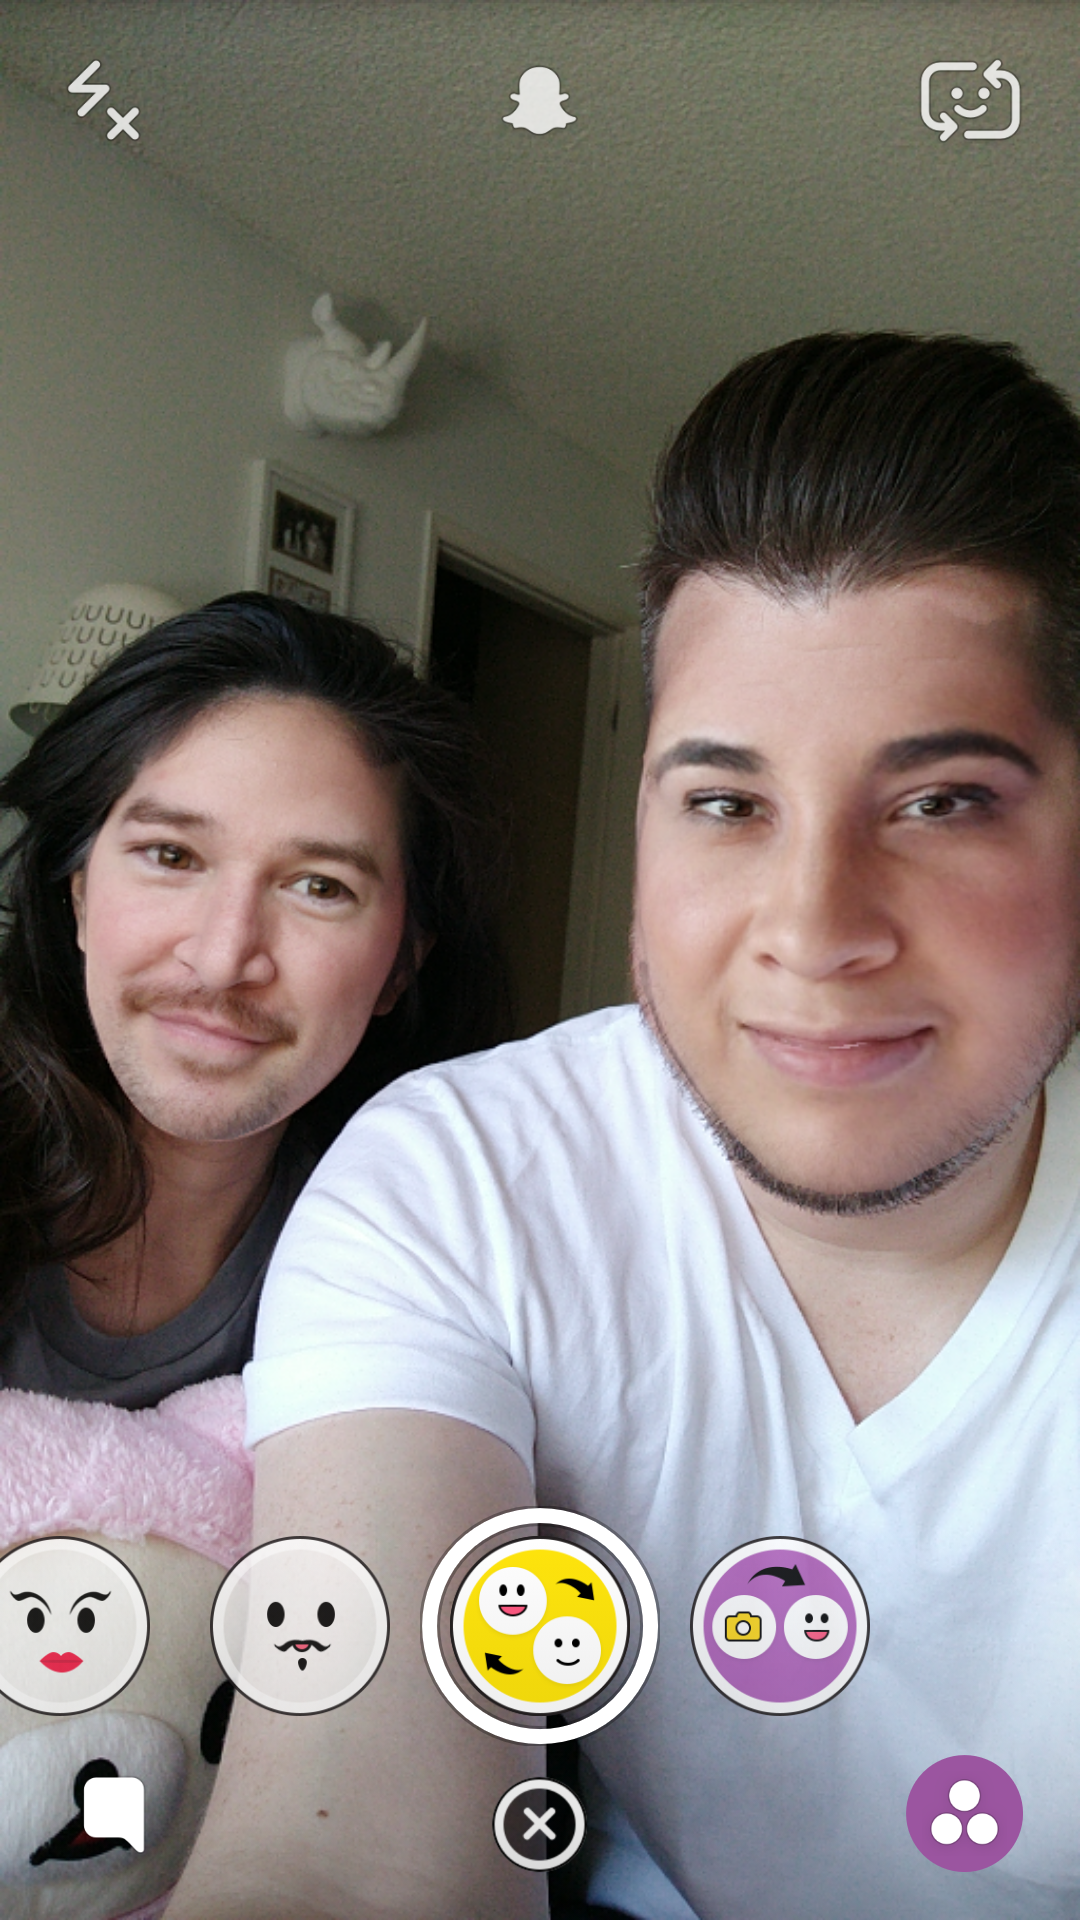
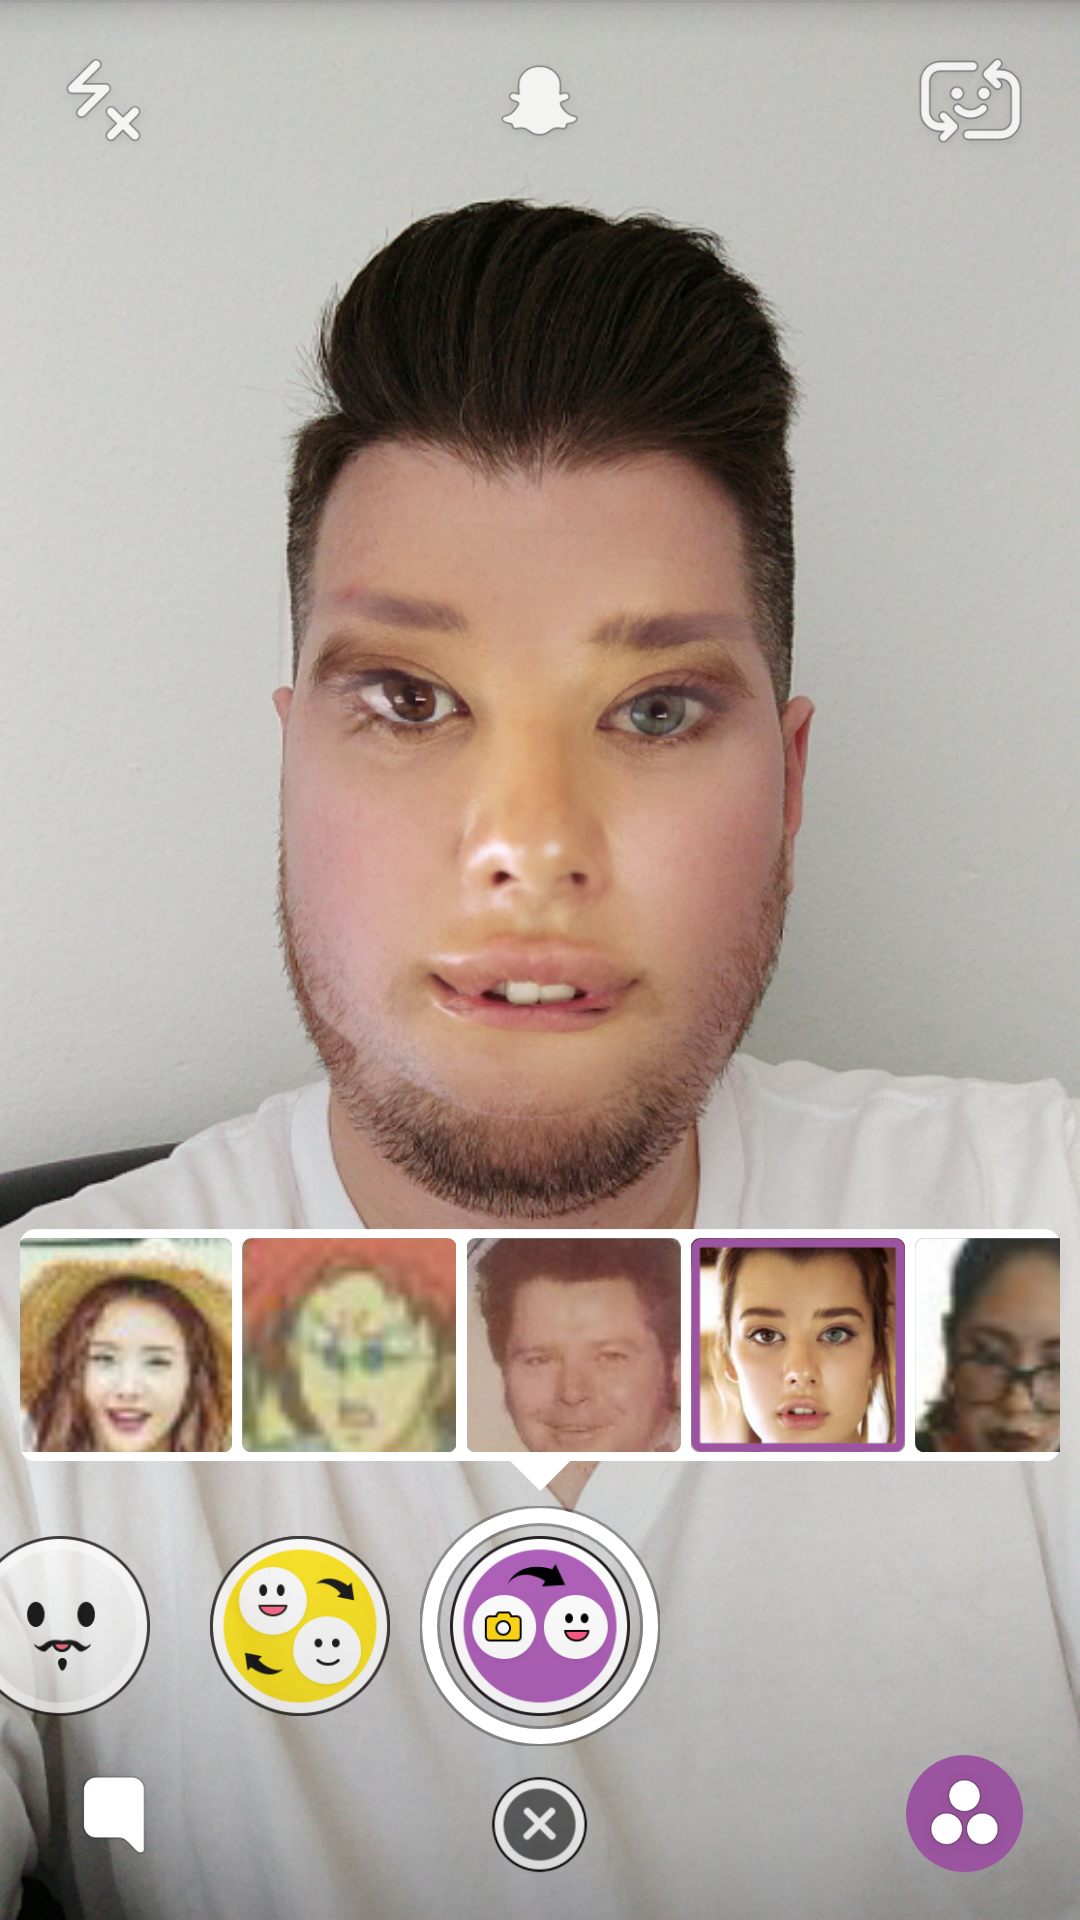
As the name suggests, the Face Swap Lens allows you to digitally swap your face with someone else. There are 2 Lenses to choose from: one that allows you to either swap your face with someone physically near you (both people will need to be in the frame), or the other that allows you to face swap with a photo recently saved to your camera roll. You can access these the same as any other Lens:
- Long press on your face while in selfie mode to activate 3D Lenses
- Scroll down to the last 2 Lenses
- Tap the Lens button to take a photo, or long press to record a video
Adding Filters, text, emoji, and stickers
Now that you’ve taken a Snap — whether with or without a 3D Lens — you can further customize it by adding filters, text, location-based banners, or emoji. This isn’t something you have to do, you can always just take a photo and post it without adding anything extra to it. But with so many tools available to customize photos and video, it’d be a shame to not explore some of them. Let’s take a look at all the different weapons in your arsenal.
Filters, Geofilters, Data Filters

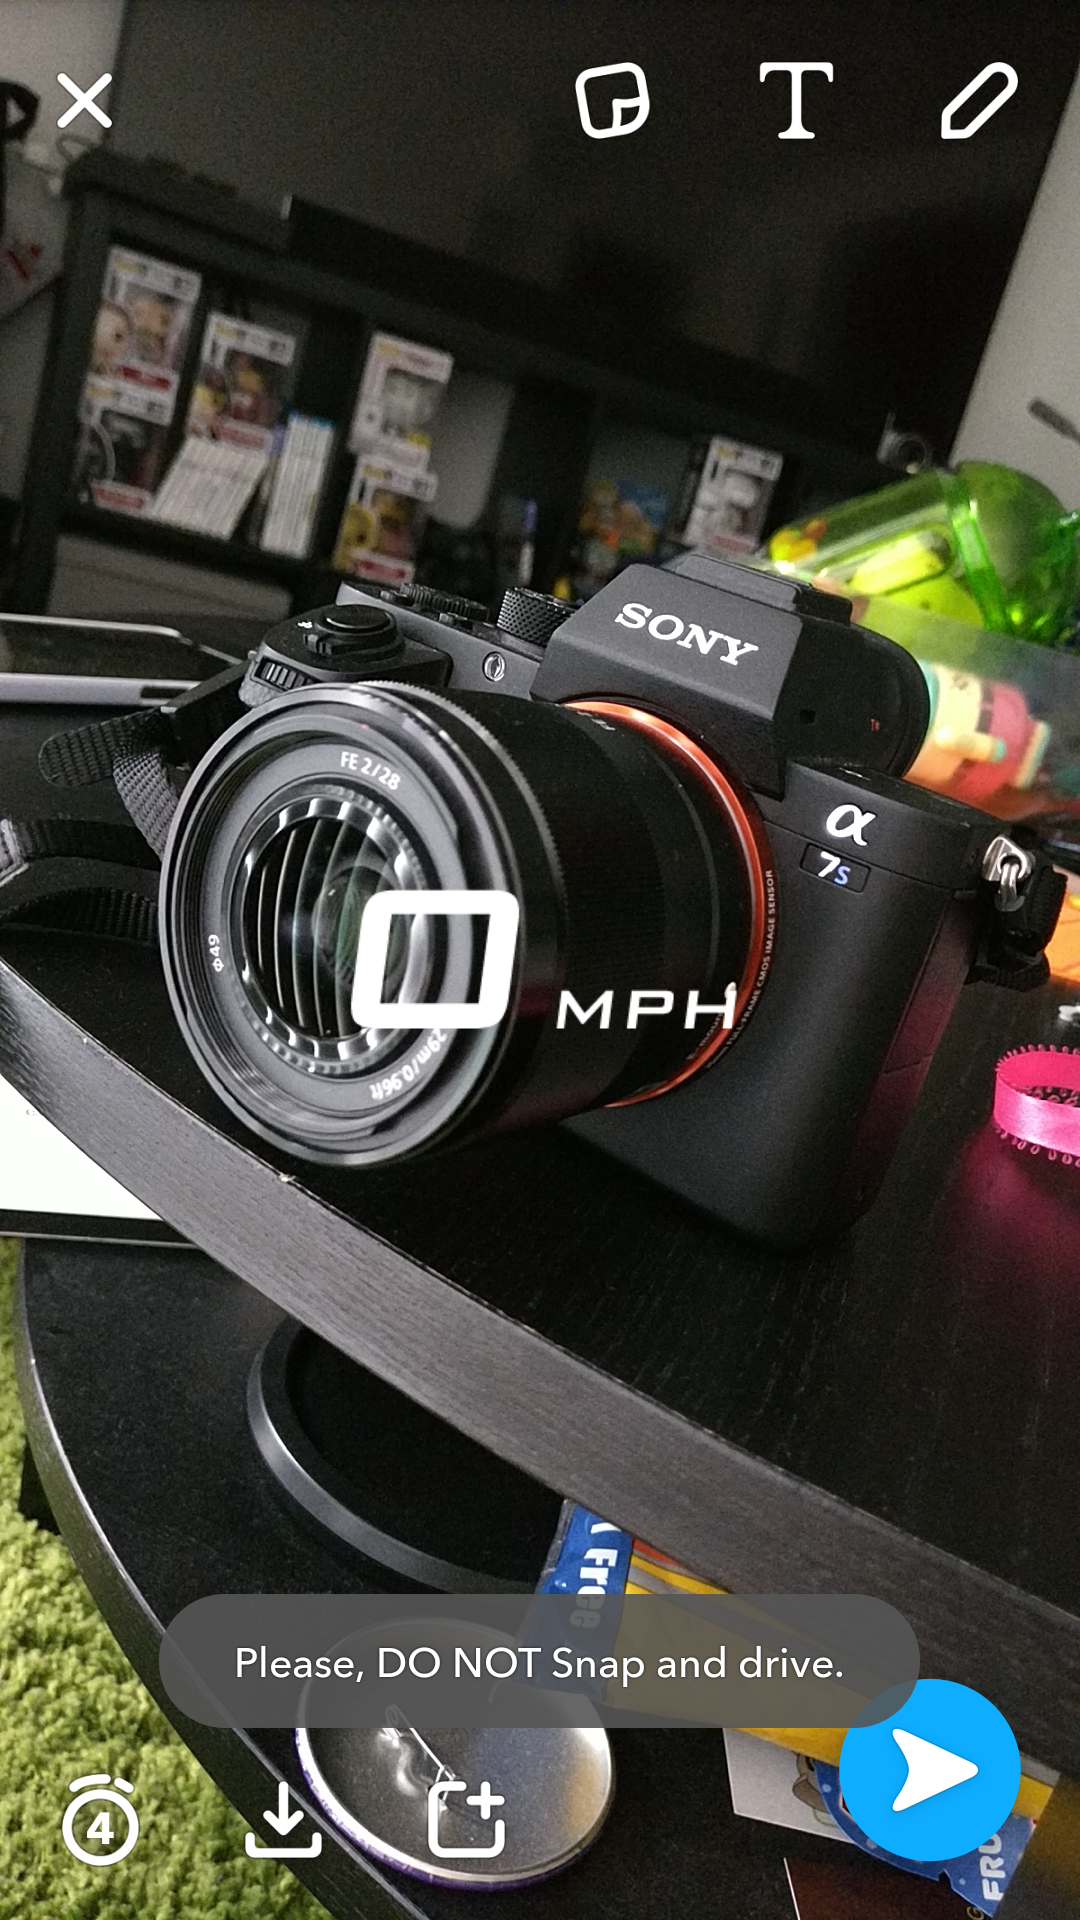

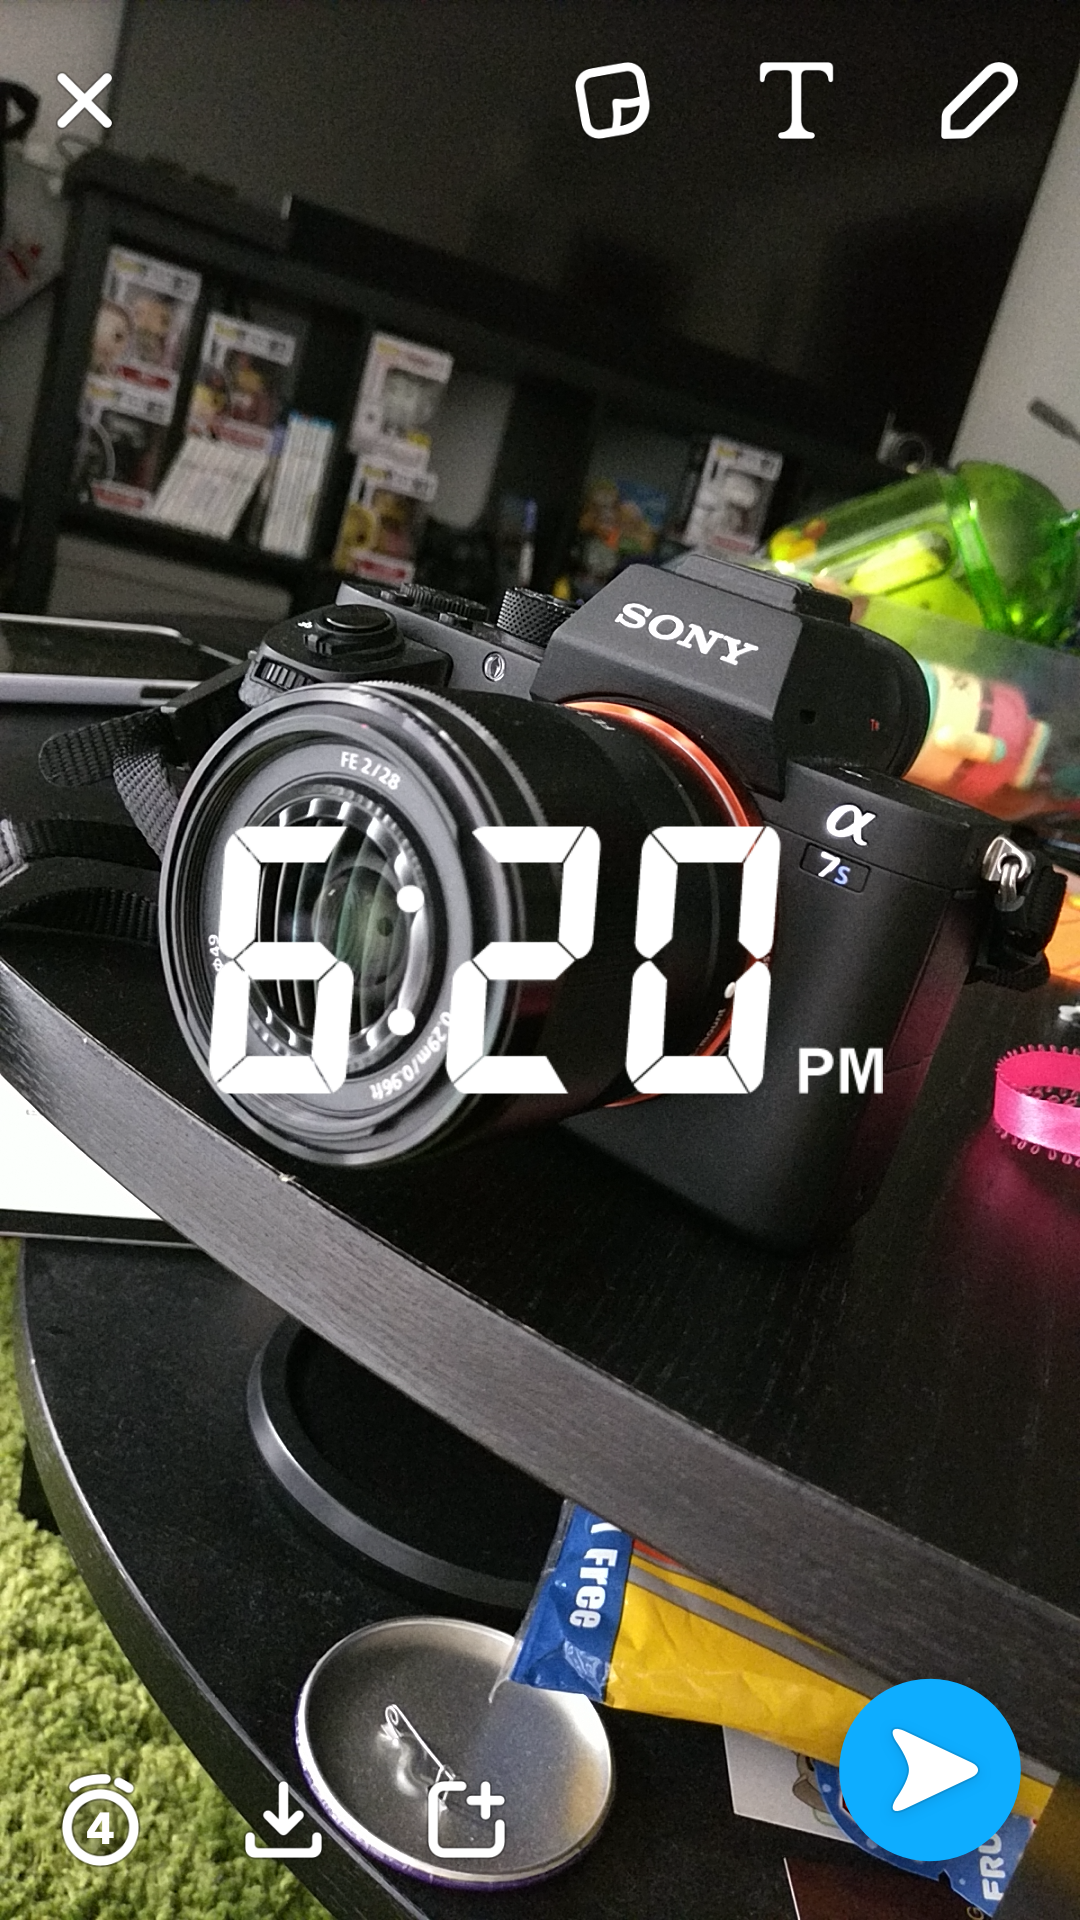
Once you’ve taken a photo or video, you can add filters simply by swiping the screen left. There’s only about 4 retro colored filters to give your photos an stylized look, but if you continue to swipe you’ll find overlays for your speed (don’t Snap and drive), current temperature (provided by The Weather Channel), and time. All of these can be tapped to change their units of measurement, with the time switching between different date formats.
Snapchat also has secret Data Filters. These only appears under certain circumstances, like when your phone’s battery is above 90% or below 10%. If that’s the case, you’ll see a special filter showing your battery level in the form of a sticker.
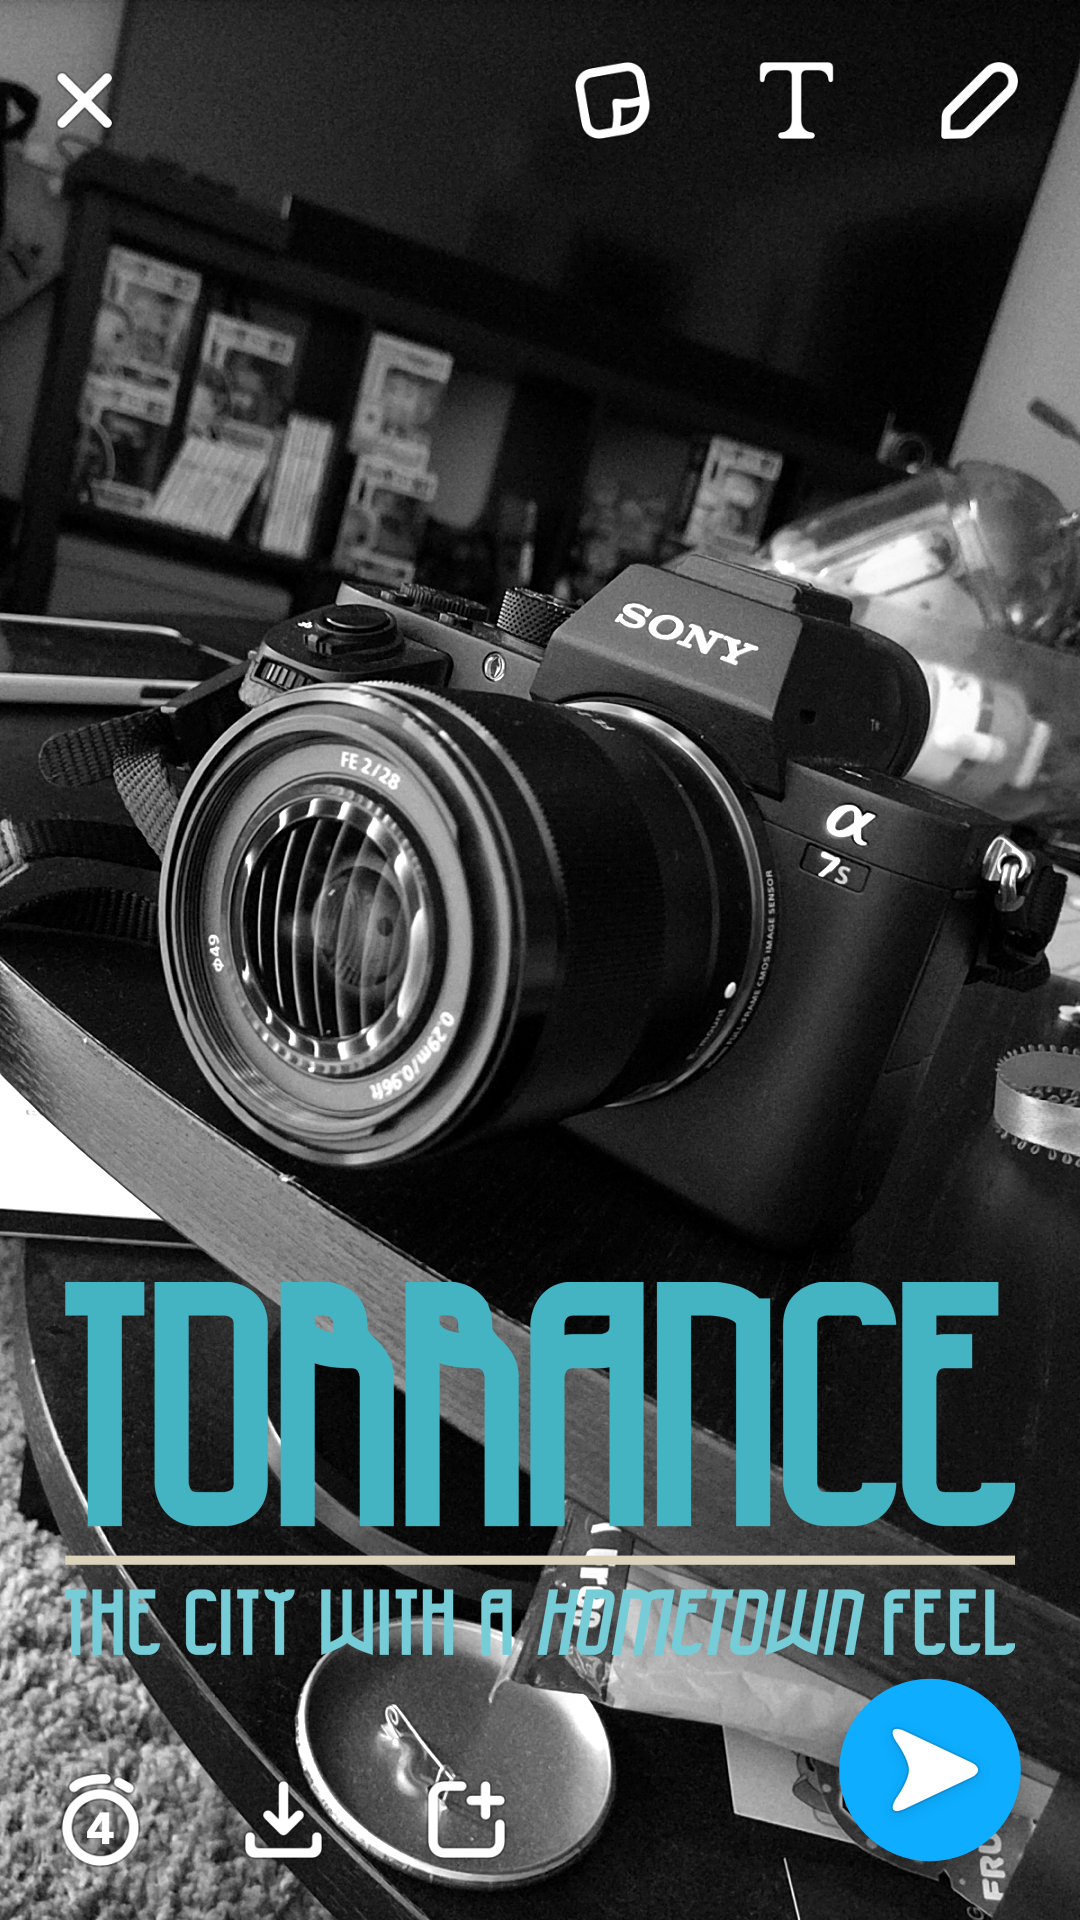
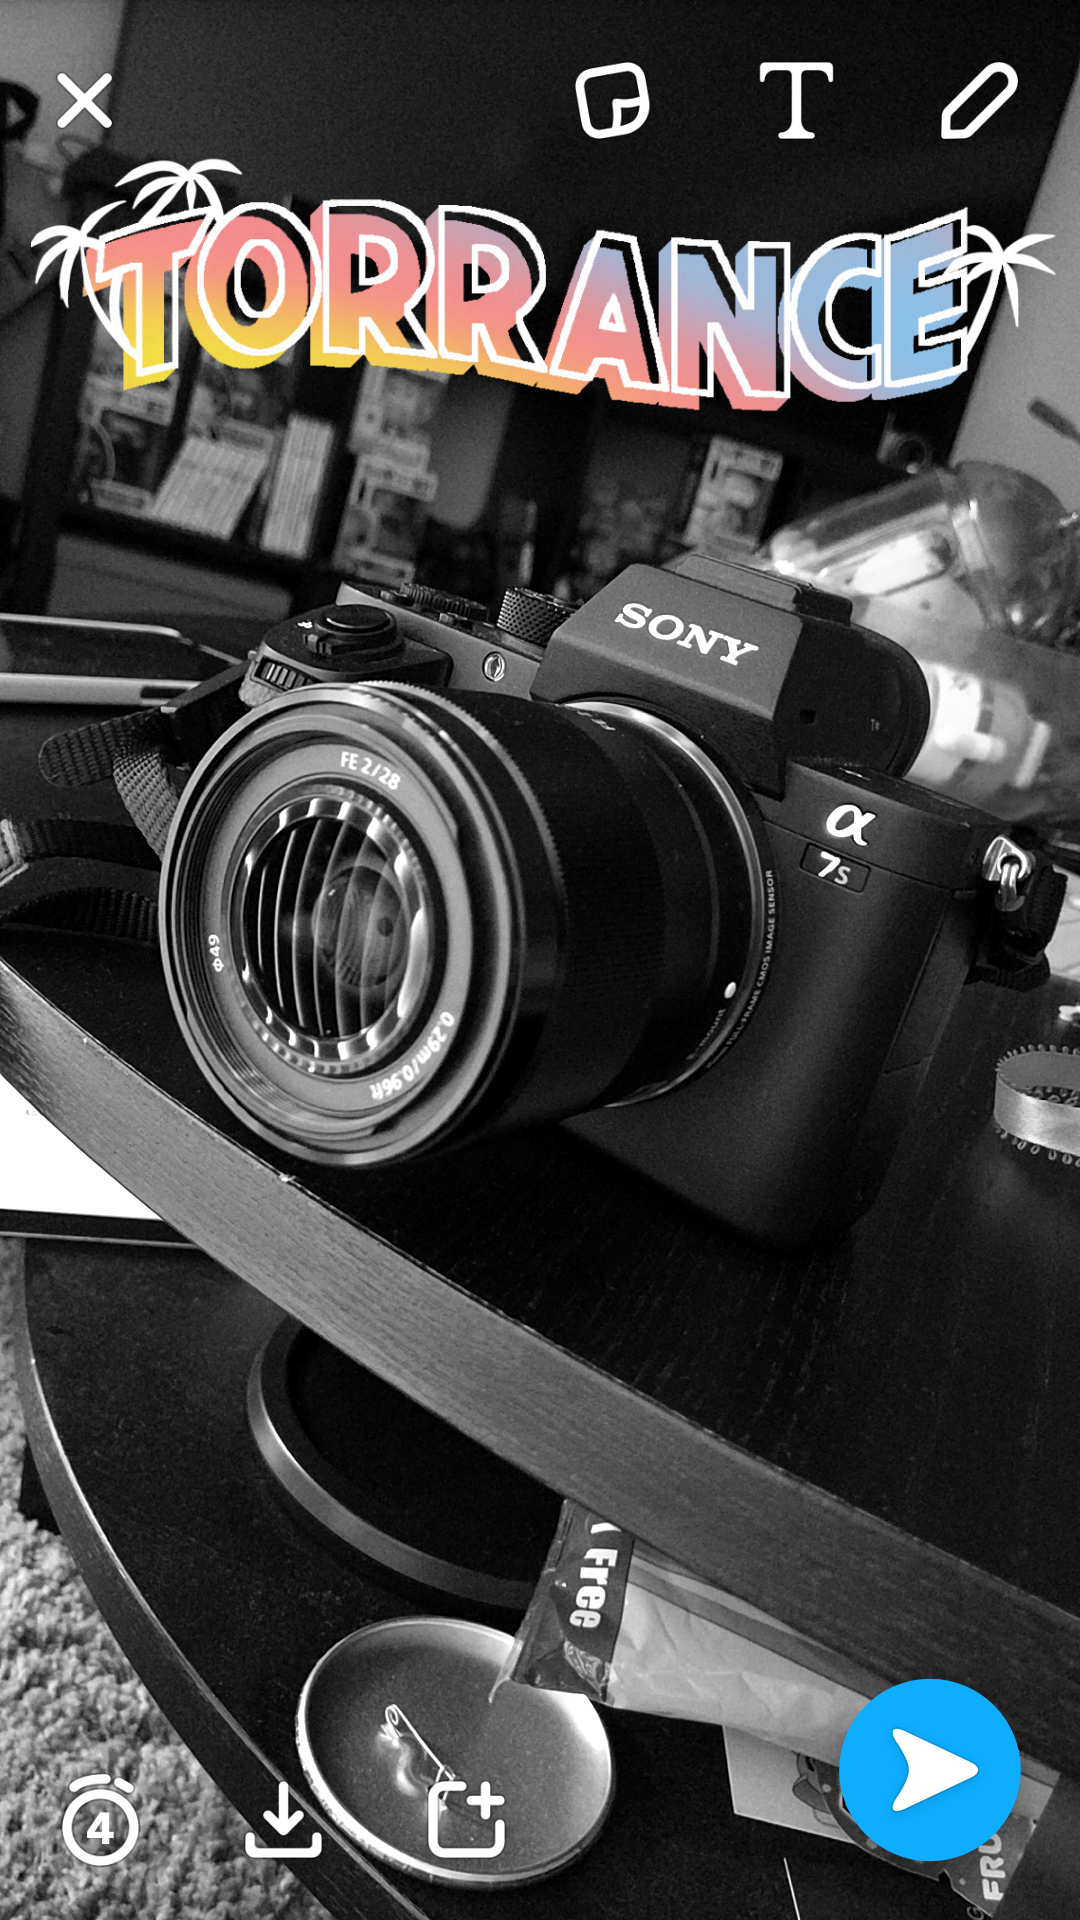
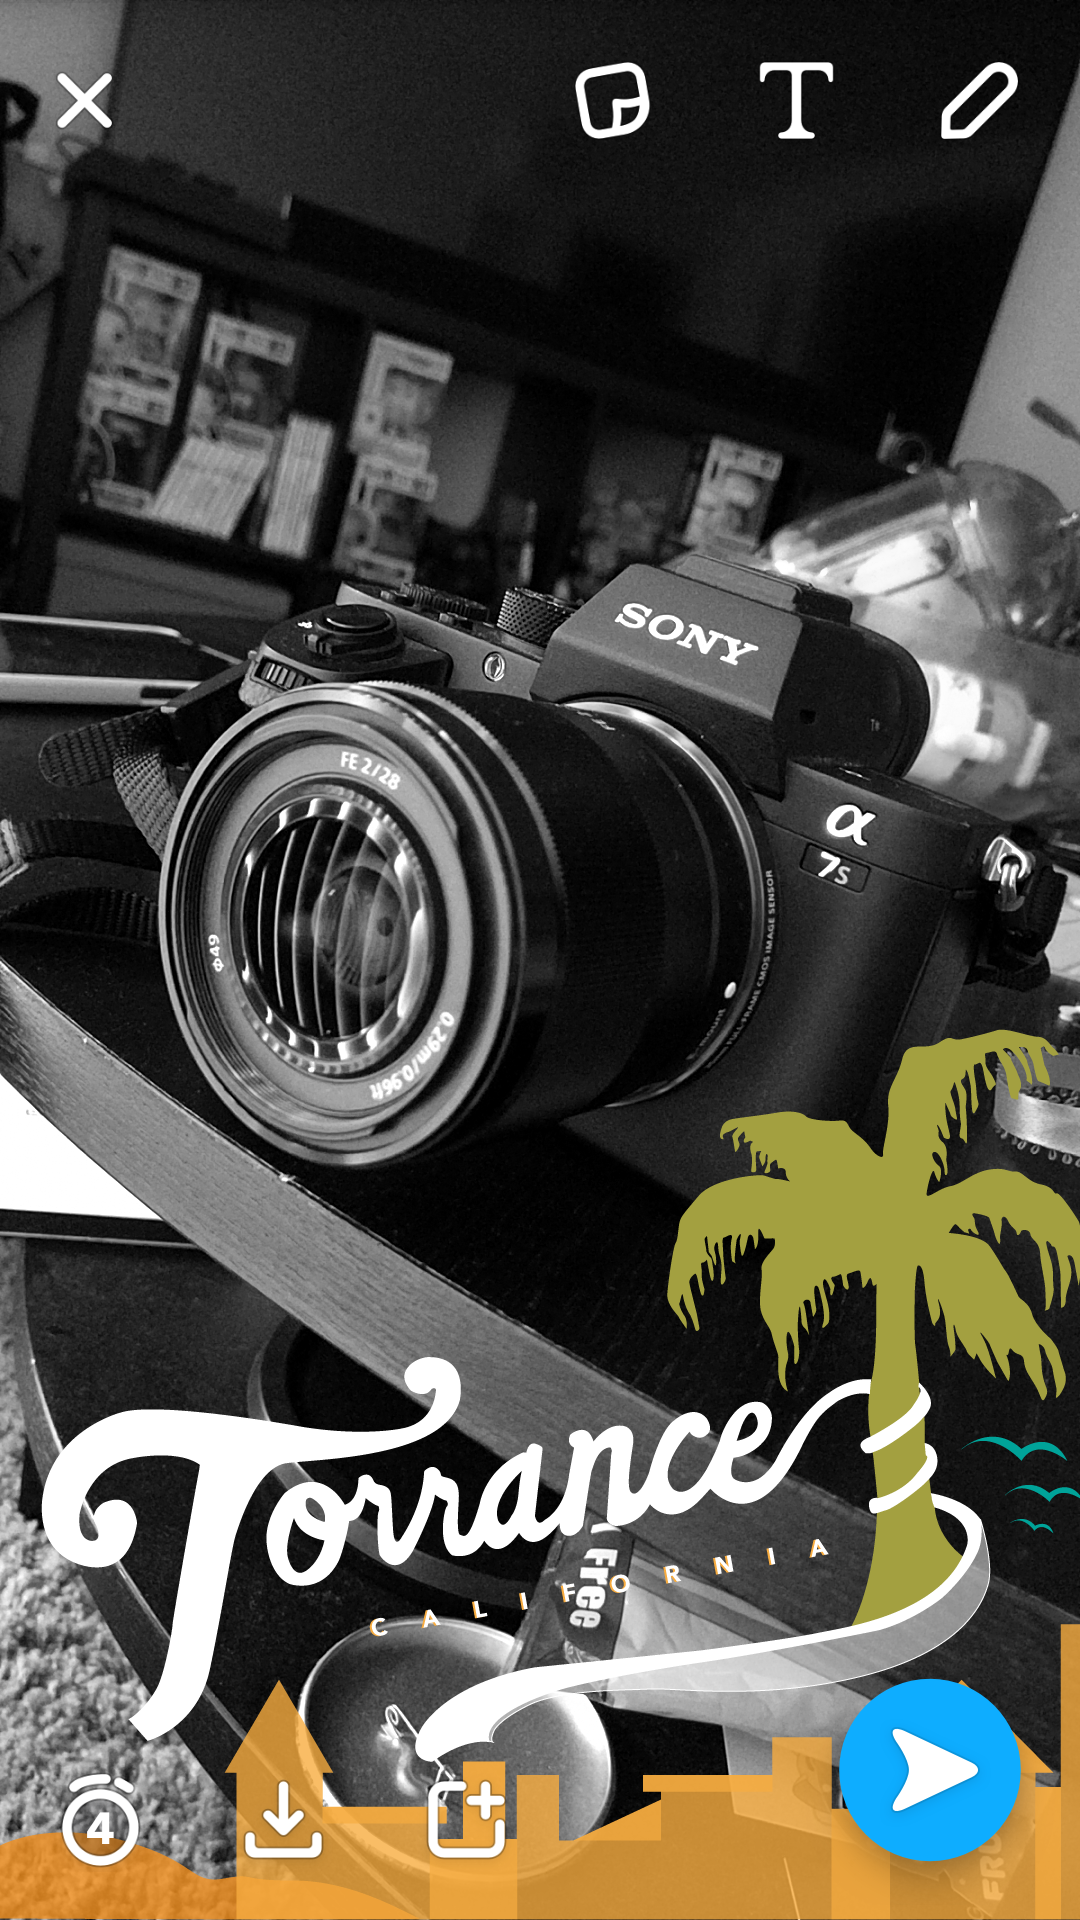
In some cases, you can continue swiping past the time filter where you’ll run into Geofilters. These are special location-based banners that can be placed over your photos and vary from location to location. So, whenever you’re traveling or find yourself out and about, take a moment to see what (if any) new Geofilters are available to you.
If for whatever reason you don’t want Snapchat knowing your general location or device information, you can turn off filters by going into the settings > Manage > Filters.
Protip: The retro color filters can be stacked with speed, temp, time, and Geofilters. Do this by holding on the desired color filter with 1 finger, then continuing to swipe with another finger to add another filter on top.
Video effects: Slow-mo, fast forward, and rewind

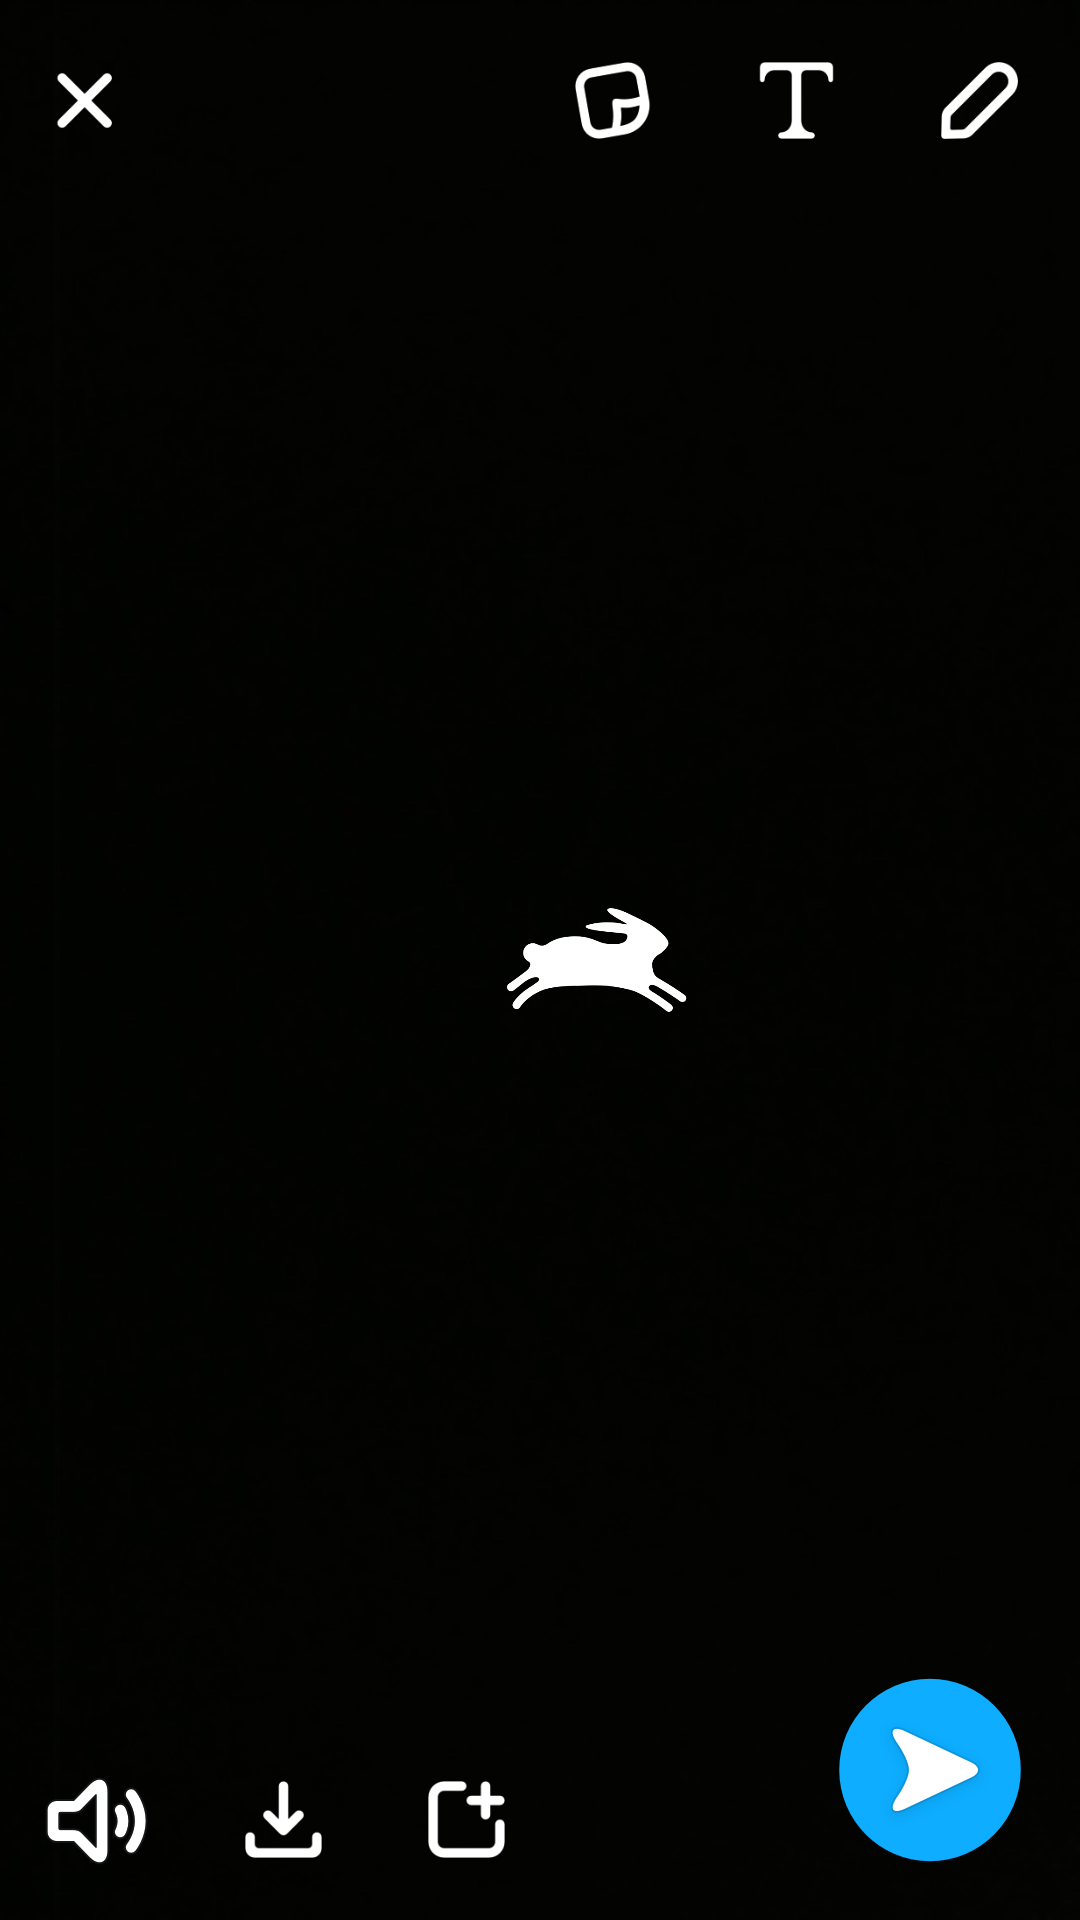
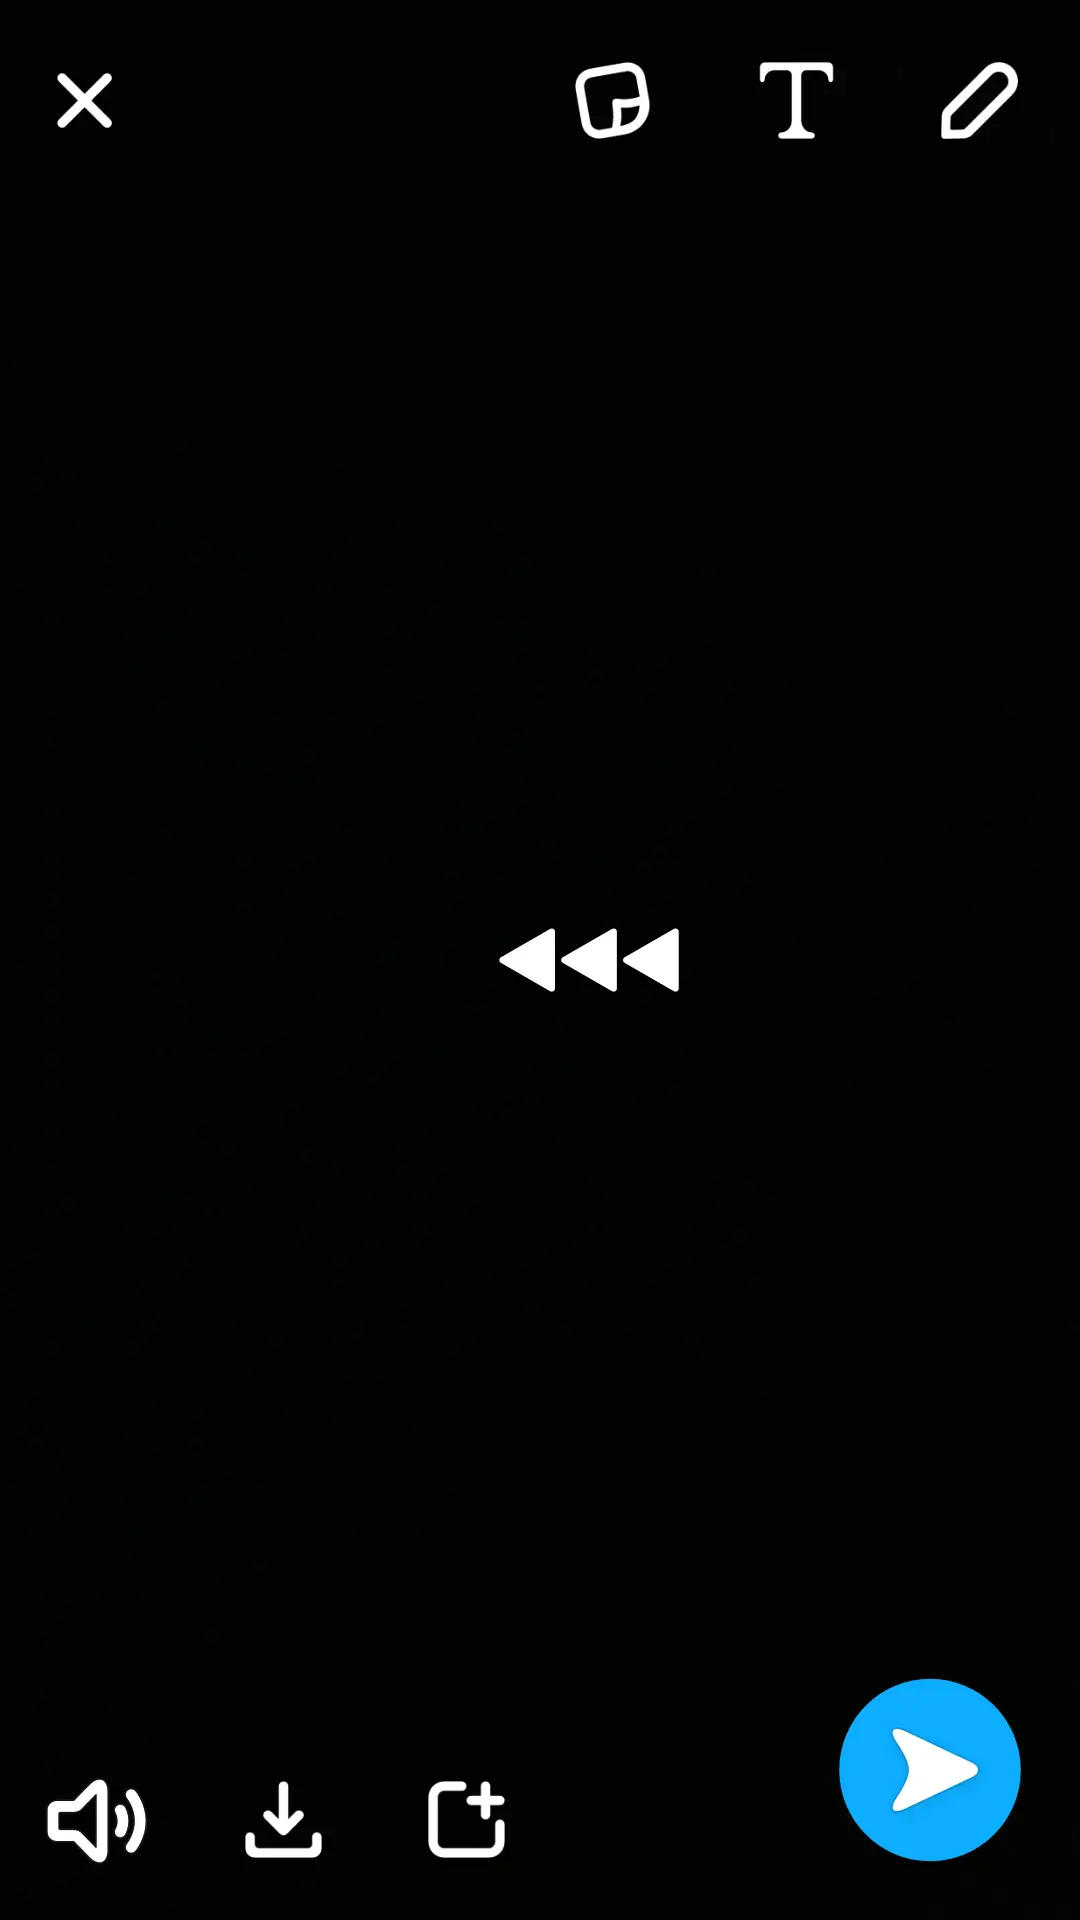
When recording video, Snapchat provides a few additional “filters” to take your videography skills to the next level. Simply swipe past all the color and Data Filters to find 3 new options unique to video: slow-mo, fast forward, and rewind. These new filters are represented by a snail, rabbit, and arrow left icons, and the best part? They can also be stacked with color, data, and Geofilters by holding on the desire video filter with one finger, and swiping with another.
Just keep in mind that not all video features are supported on all devices (it’s pretty buggy on our Galaxy S7) and stacking can make the app even more unstable on older or under-powered Android devices.
Adding Text to your Snaps
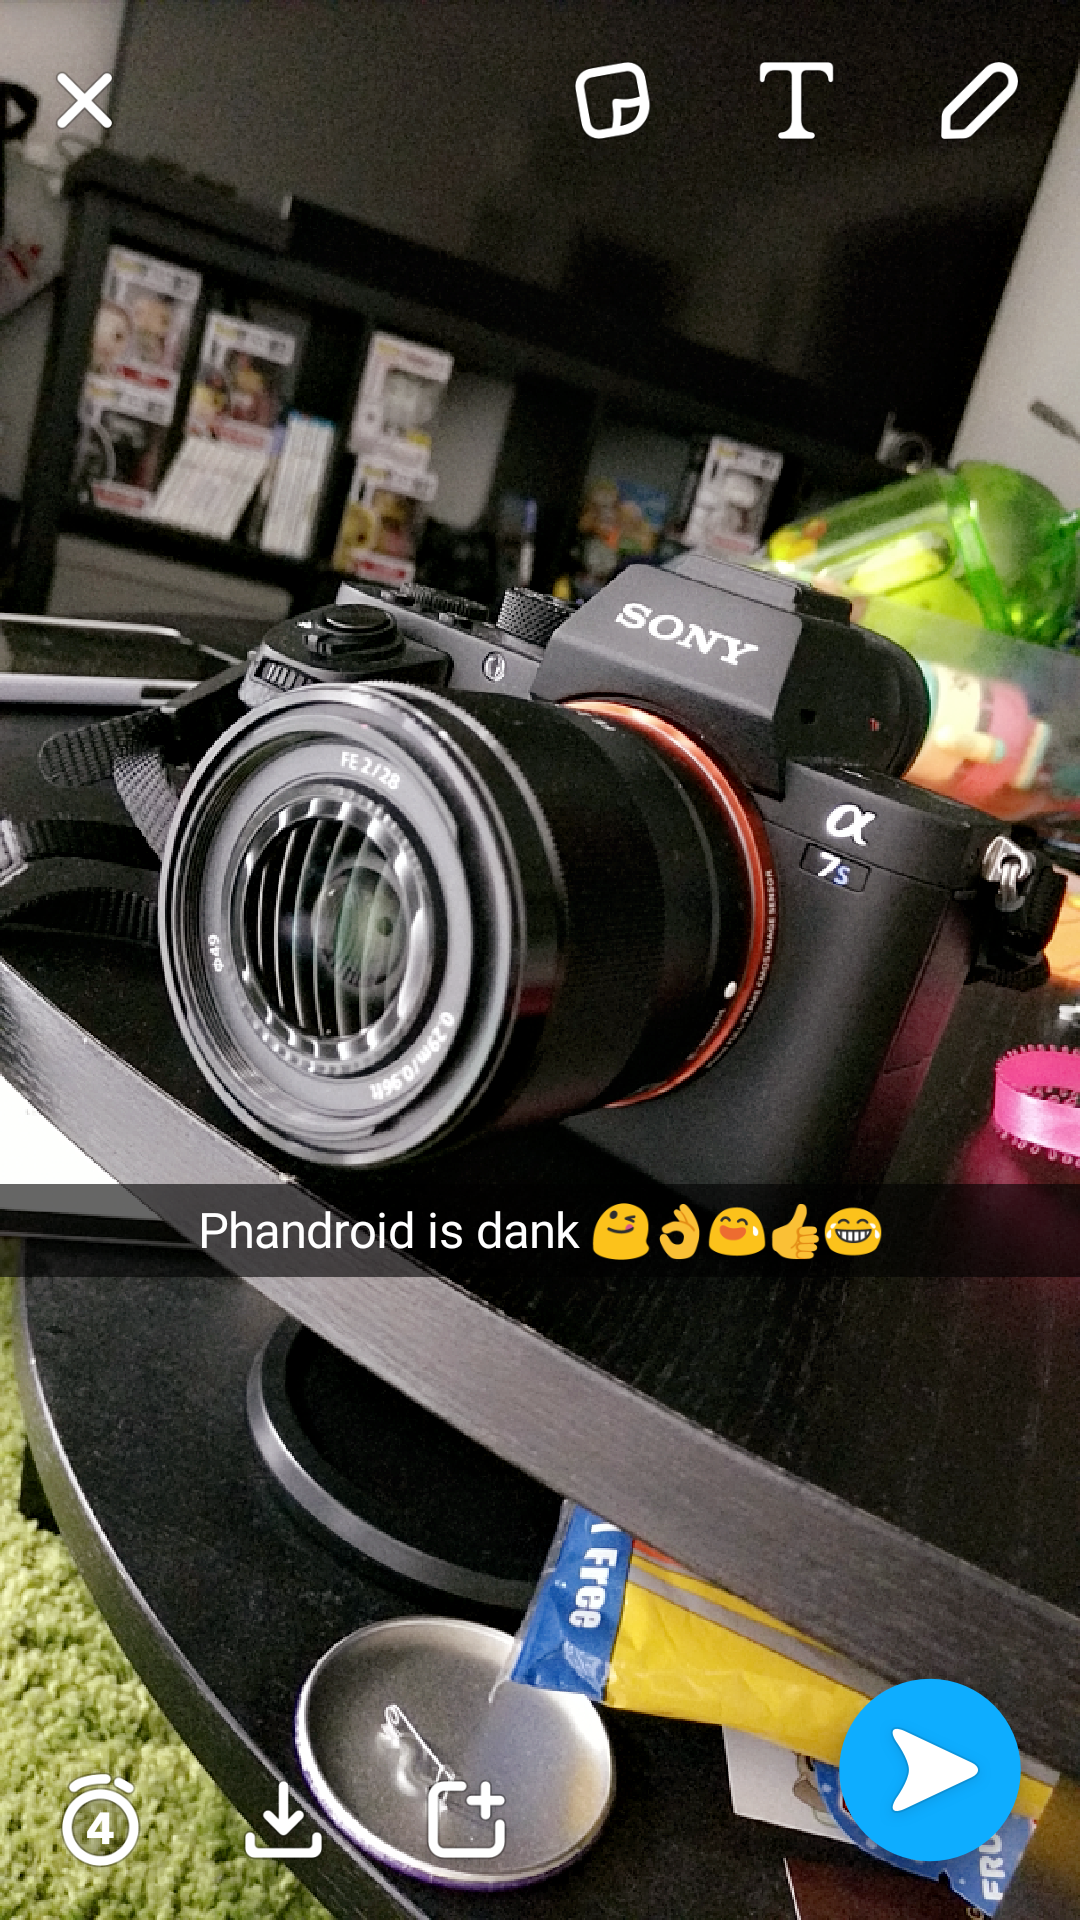

After you’ve taken a photo or video, you can add text to your Snap by tapping the “T” icon at the top (or somewhere in the middle of your Snap) to pull up the text bar and keyboard. Type whatever you like (yes, you can even include emoji) then tap outside the box and slide the black bar for optimal placement.
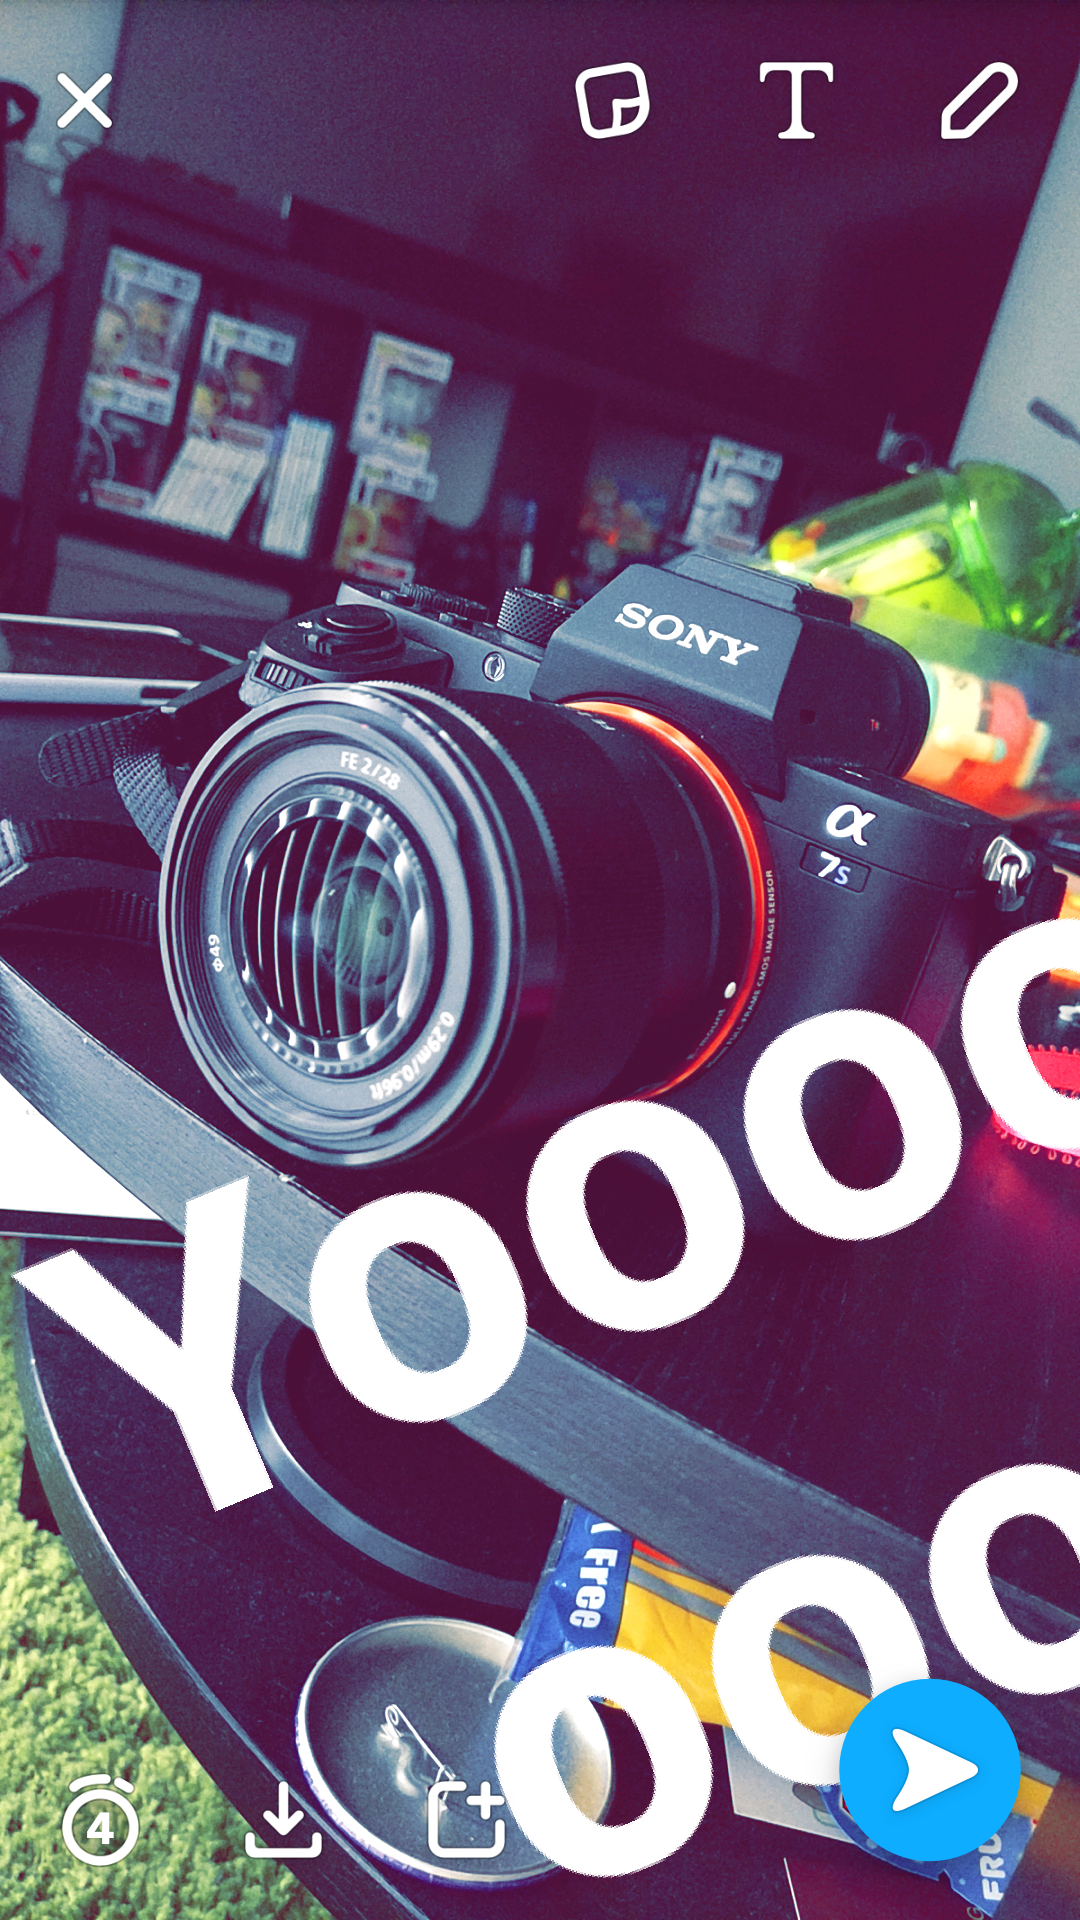
Tapping the T icon will drop the black bar and enlarge the text, aligning to either the left or centering it in the middle. It doesn’t really matter where it’s aligned, because you can always drag the enlarged text around, placing it wherever you like.
You can enlarge/rotate the text further by holding on the text with 1 finger, then pinching out with the other or making a twisting motion with both fingers to rotate.
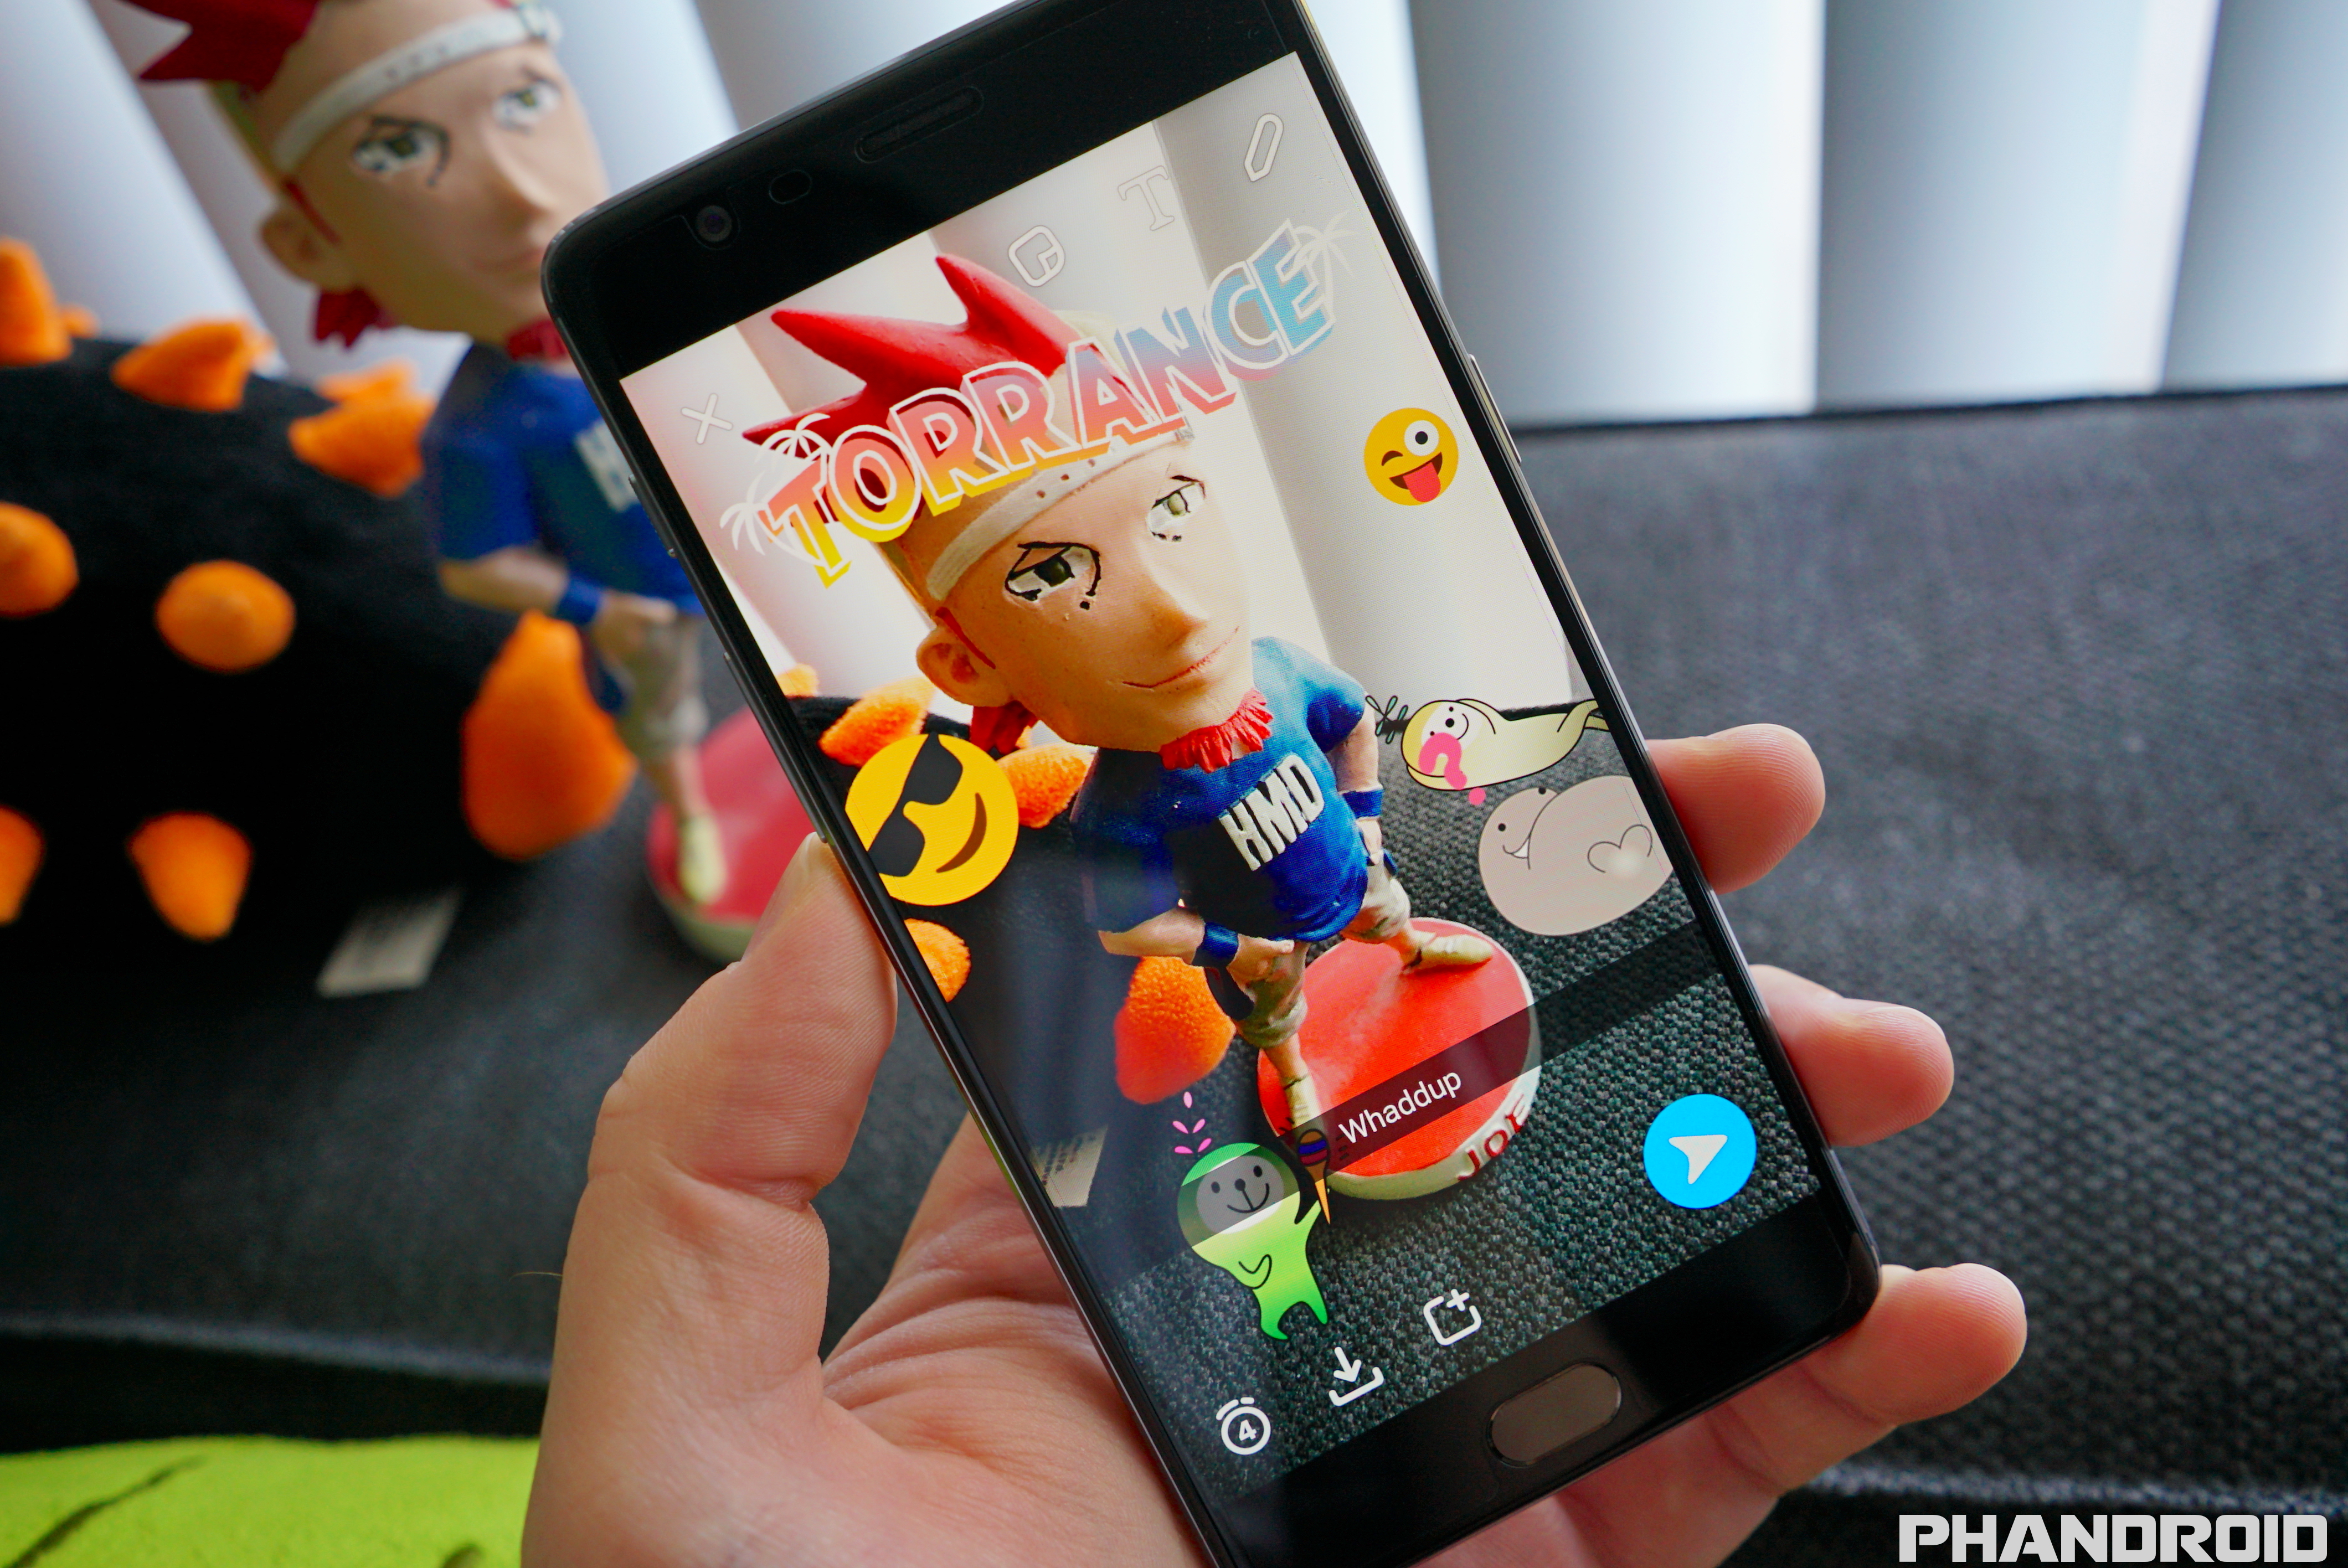
Adding Stickers and emoji
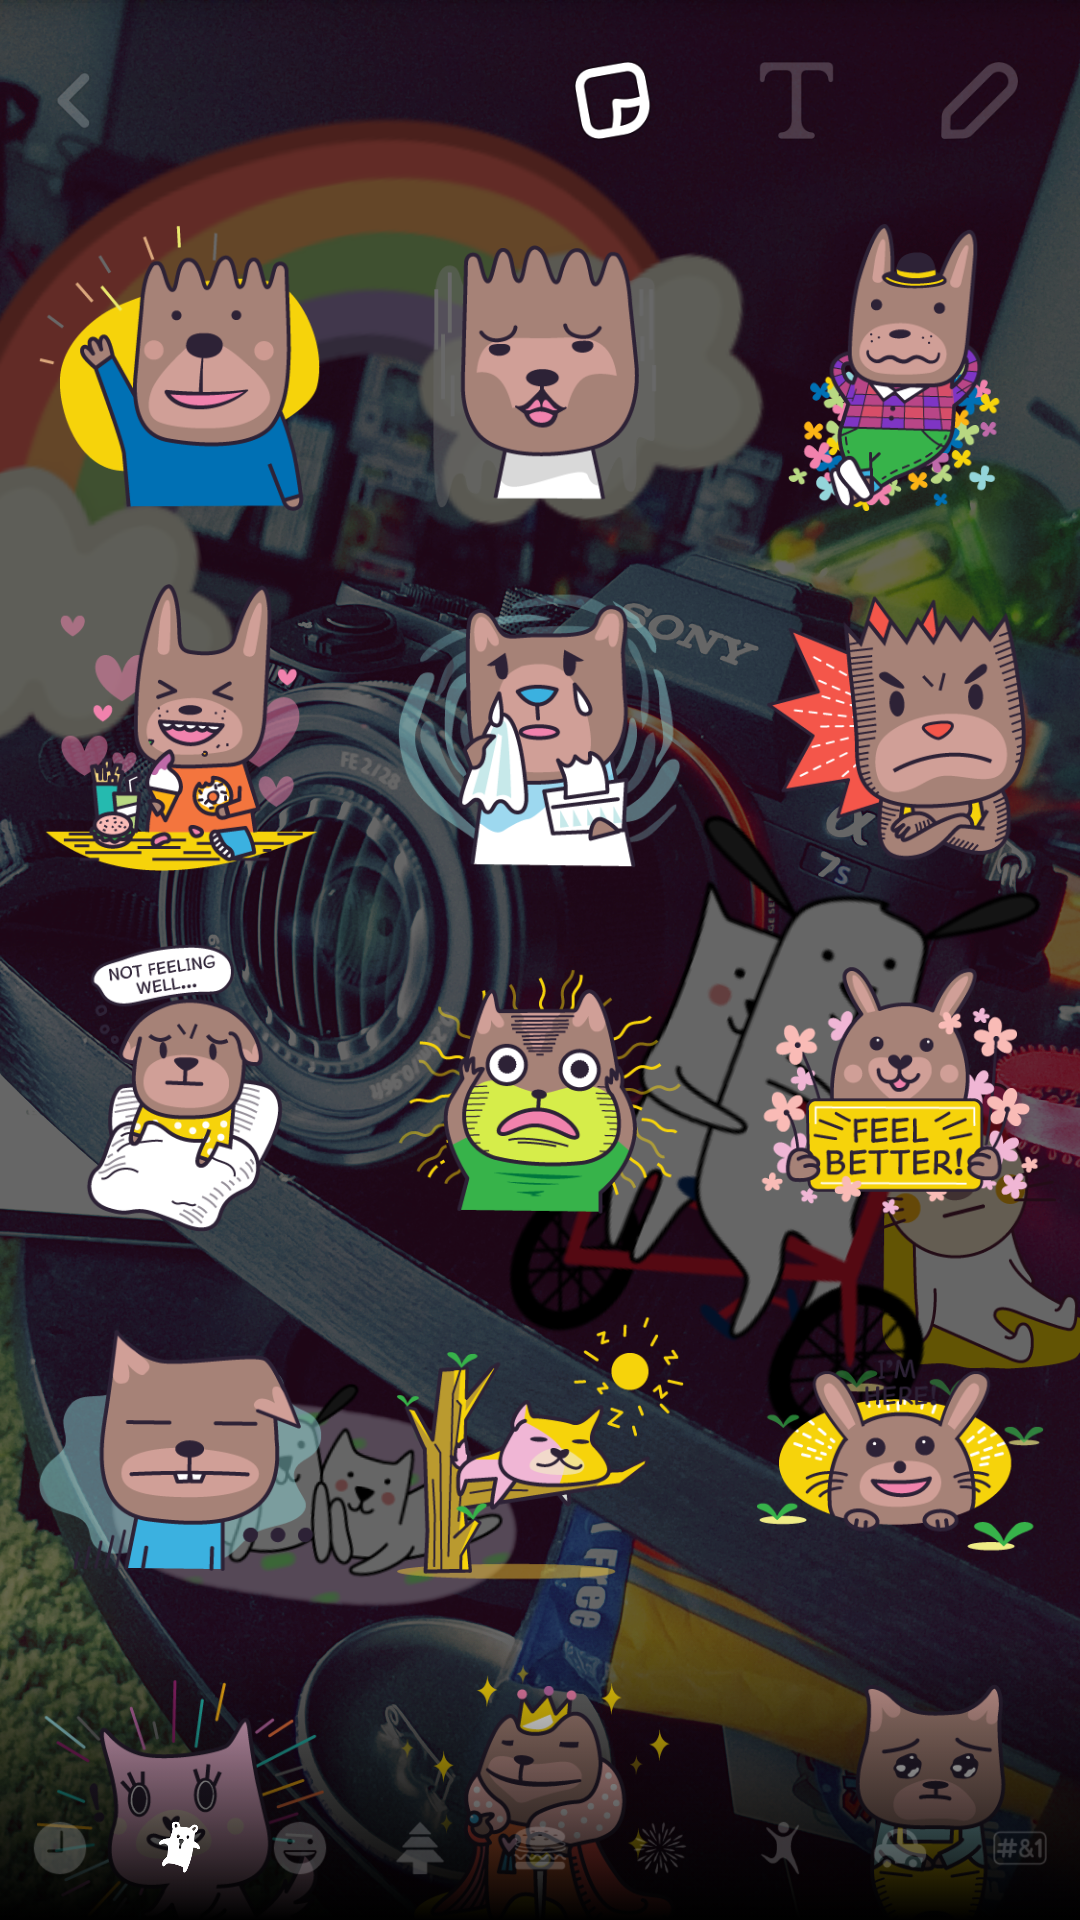
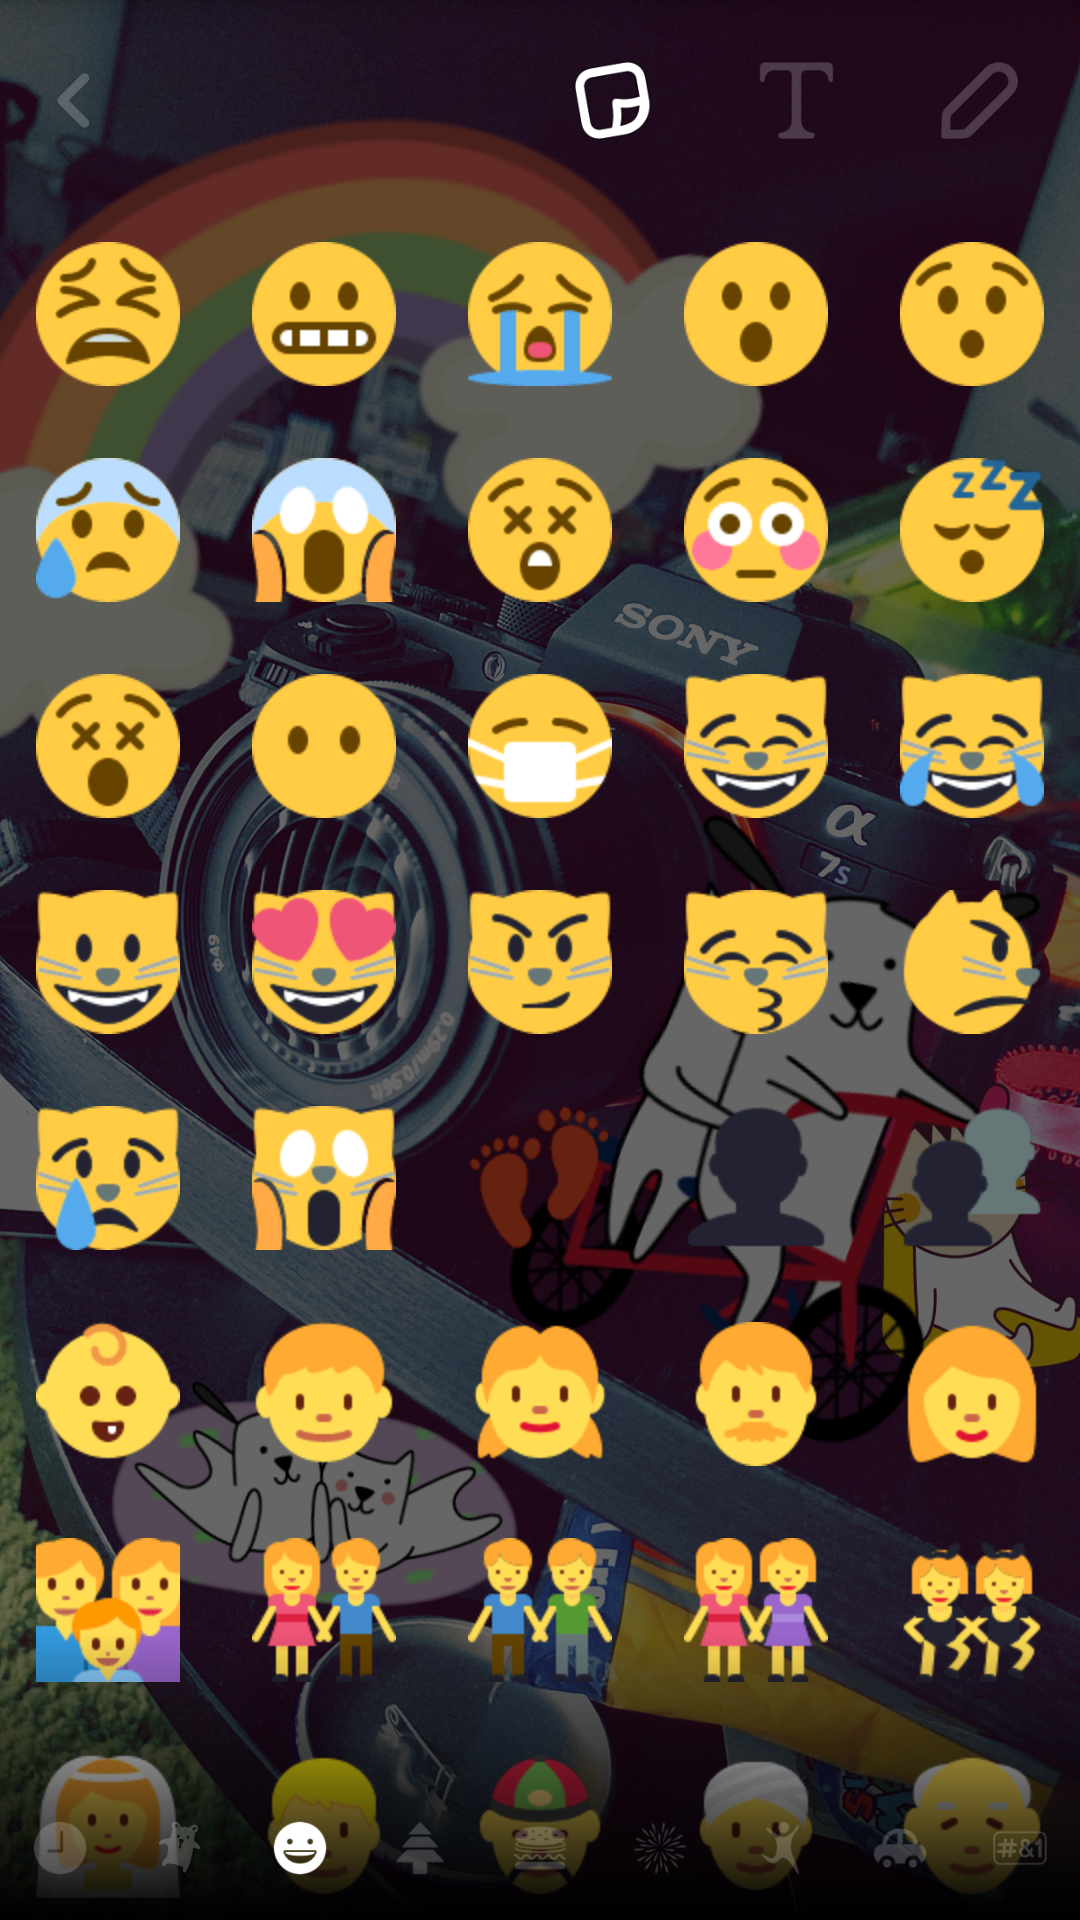
It’s true that a picture is worth a thousand words, but nothing delivers the tone of your Snaps quite like emoji or stickers. While you can always add emoji using the text editor (then pinching out to enlarge/rotate them), they wont be nearly as clean or high-res as the ones featured inside Snapchat’s Sticker menu. Here’s how you add them:
- Click the sticker button (it looks a piece of paper with the edge folded down).
- Scroll up/done or side-to-side and tap on desired sticker or emoji.
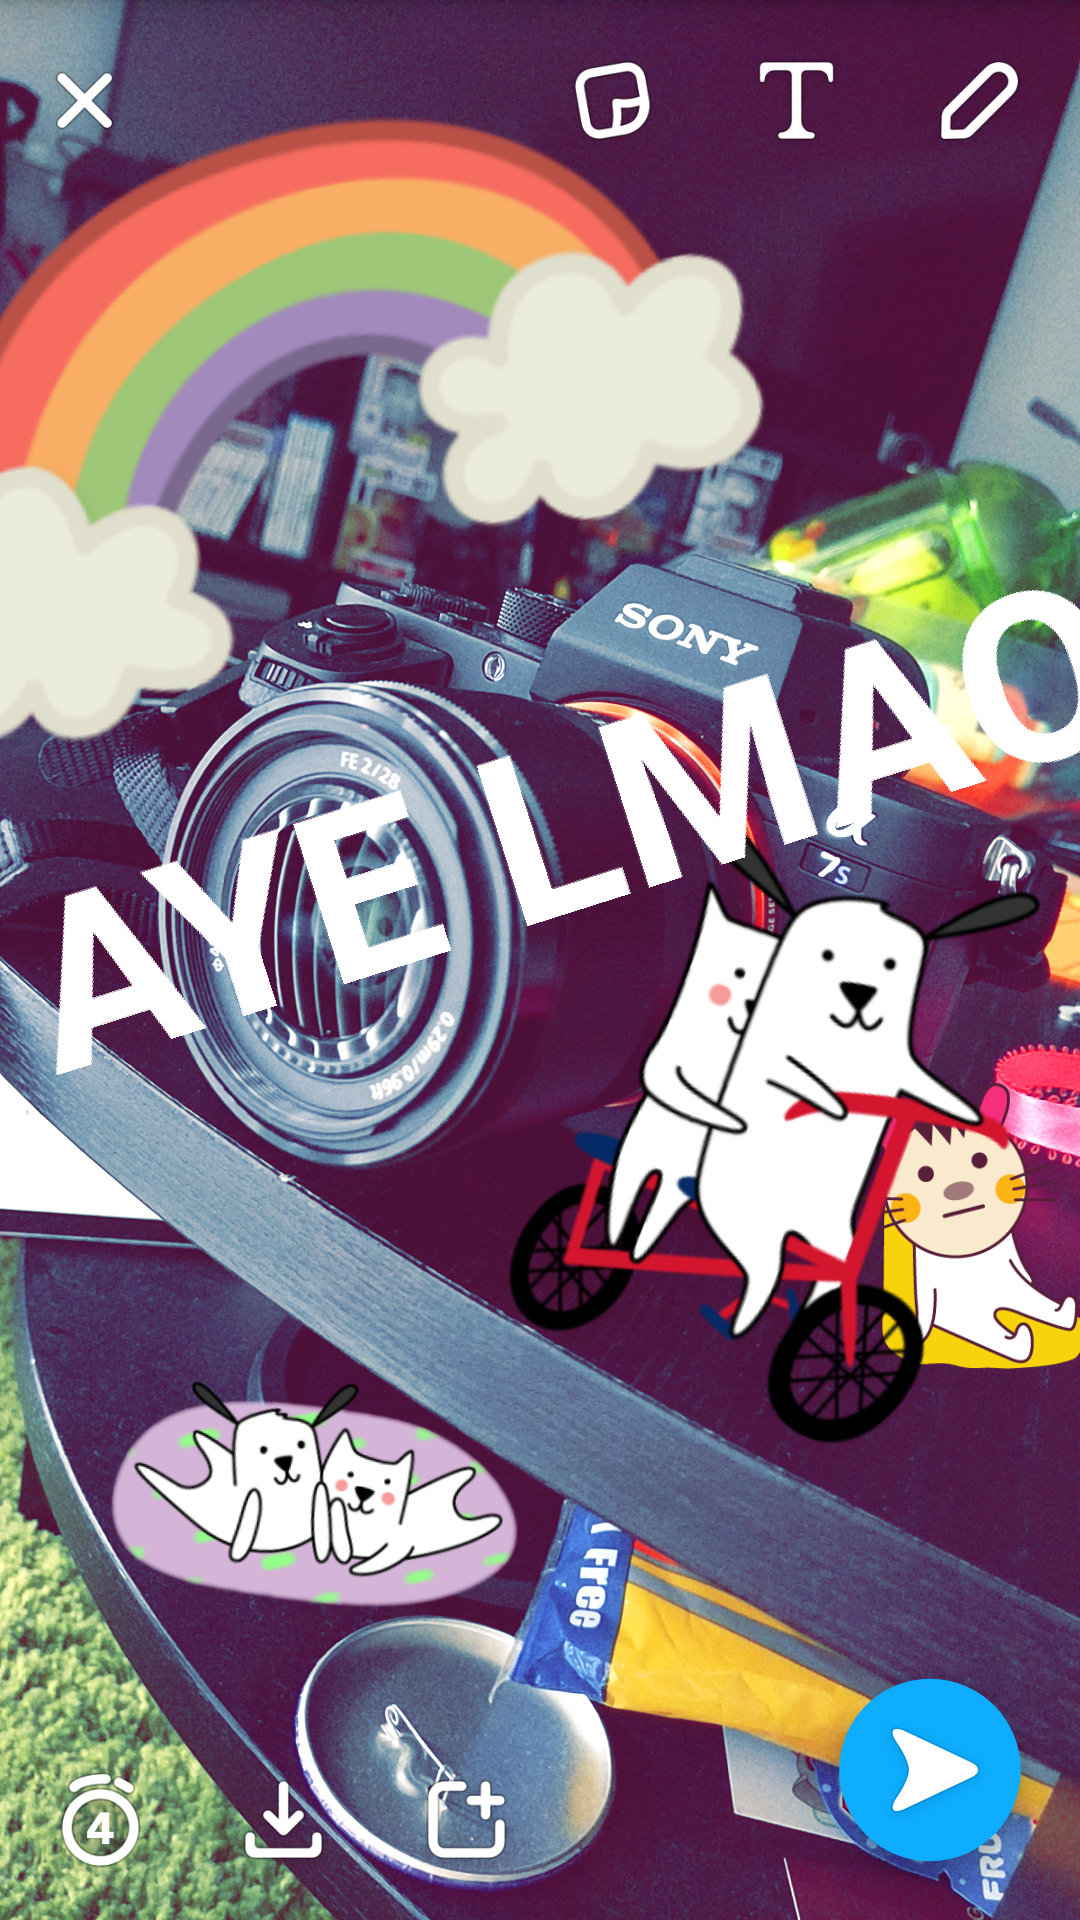
- Drag emoji/sticker around to desired location.
- While dragging use another finger to enlarge or rotate the sticker.
- Repeat the process to add more emoji/stickers to your photo.
While taking video, stickers have the ability to “stick” to faces, objects, or just about anything in your video. You can always place them down on a video the old fashioned way (just like a photo), but when pinned, the emoji will then follow the object around, tracking its movement no matter how much your camera moves about. It’s pretty nifty and something you have to try out. Here’s how to do it:
- Record a video (press and hold on the shutter button)
- Open the emoji sticker menu
- Tap on desired emoji
- Press and hold on the emoji to freeze the video
- Drag and drop the emoji on the desired object in your video to pin it
- Watch as the emoji follows the subject around
Set the expiration time
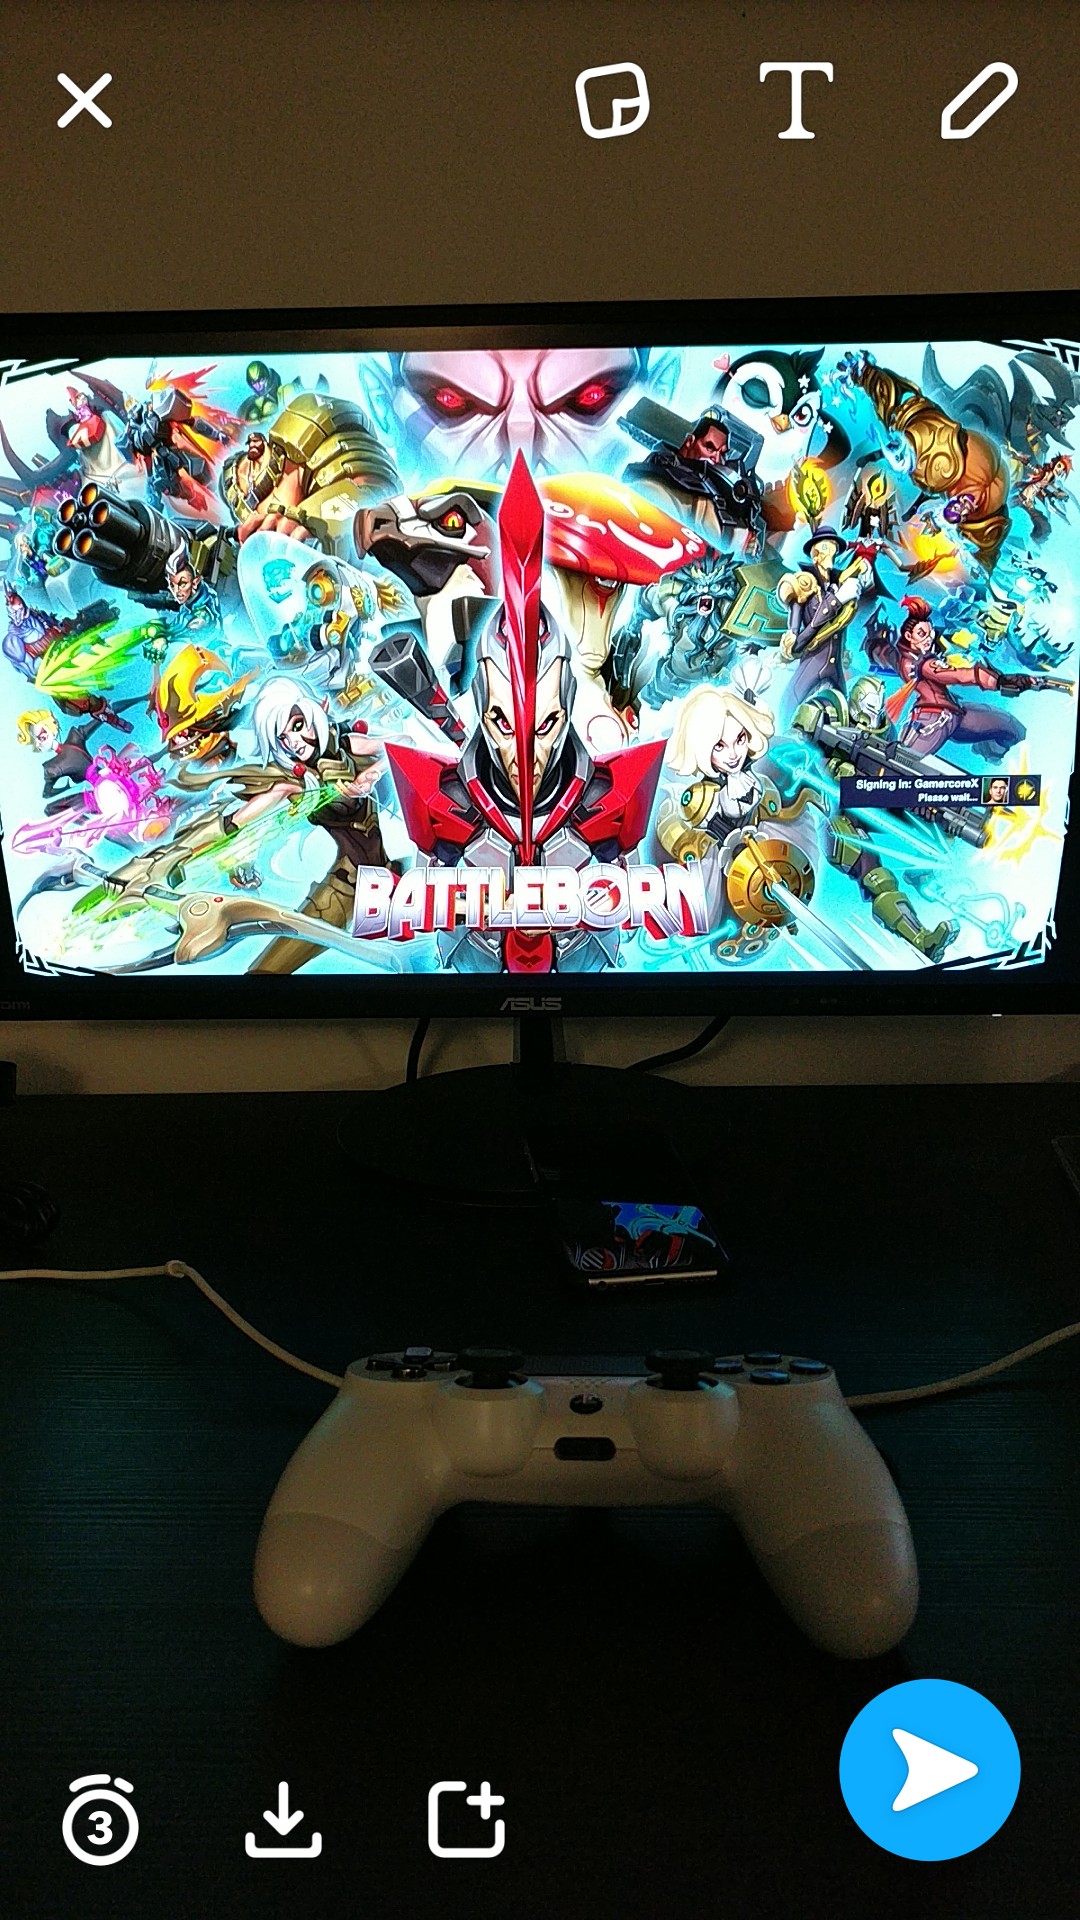
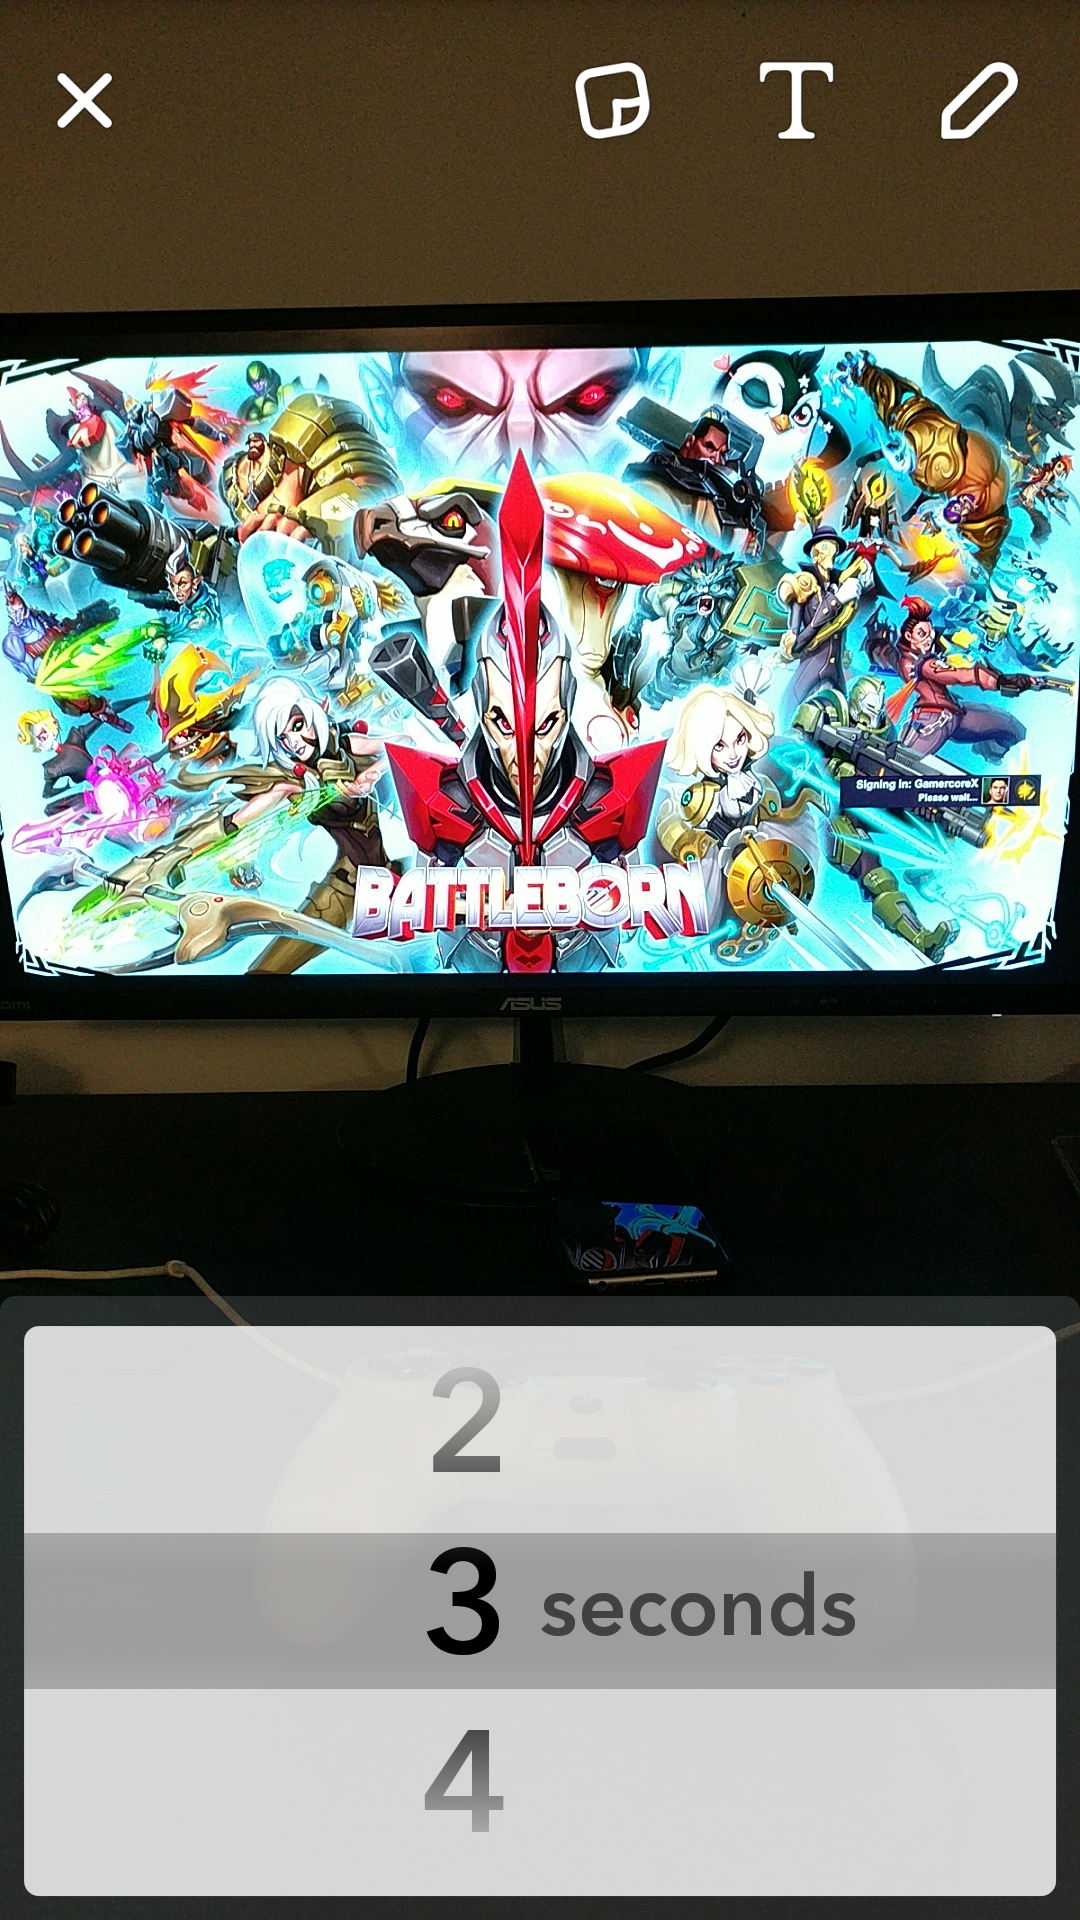
Before you share your Snaps with others, you’ll want to set the length of time they can be viewed before they self-destruct. This can be anywhere between 1 to 10 seconds, but the length of time is entirely up to you (3 is the default, but still a little too short for our tastes).
Snaps sent directly to someone will disappear forever once the person views it and time runs out, although they can only be replayed once directly after viewing. Snaps posted to My Story, however, can be replayed over and over again.
To change the length of time a Snap can be viewed, just click the numbered timer icon in the bottom left corner and choose whatever amount of time you’d like. That’s it.
Protip: Even when sharing a Snap with someone and setting a short viewing time, the person on the receiving end could always take a screenshot or a photo of your Snap using a separate camera. In other words: use caution when sharing Snaps with others.
Previous:
Next:
