
Looking to get the most out of your OnePlus 5? Well, you’ve come to the right place! We already told you about the first 13 things every OnePlus 5 owner should do but now it’s time to dive a little deeper.
With over 30+ tips and tricks, we’ve uncovered the very best features the OnePlus 5 has to offer. If you’re looking to graduate from novice to expert, our tips will have you mastering the OnePlus 5 in no time flat. Take a look!
Don’t forget to check out The 13 First Things Every OnePlus 5 Owner Should Do
Take a screenshot
Taking a screenshot on the OnePlus 5 and sharing it to other apps or contacts is easy. Like most Android devices these days, all you have to do is press and hold the volume down and power button until you see the screenshot animation.
After that, you’ll be temporarily presented with a few options to edit your freshly taken screenshot: share, edit, or scrolling capture, or delete. It’s all pretty self explanatory, with editing giving you the ability to tweak the color/exposure of your screenshot, apply filters, crop/rotate/mirror/straighten, or add watermarks text, or location information — it’s all there.
Fine tune the color balance of your display

Hidden in the Settings app is the ability to tweak the color temperature of the OnePlus 5’s display. By default, the OnePlus 5 display features a more blue-ish tint. Depending on your personal preference, you may want to warm things up a bit. Here’s where you’ll find the setting:
- Open the Settings app
- Select Display
- Tap on Screen calibration
- Choose a preset, or adjust the Custom color slider to desired tint
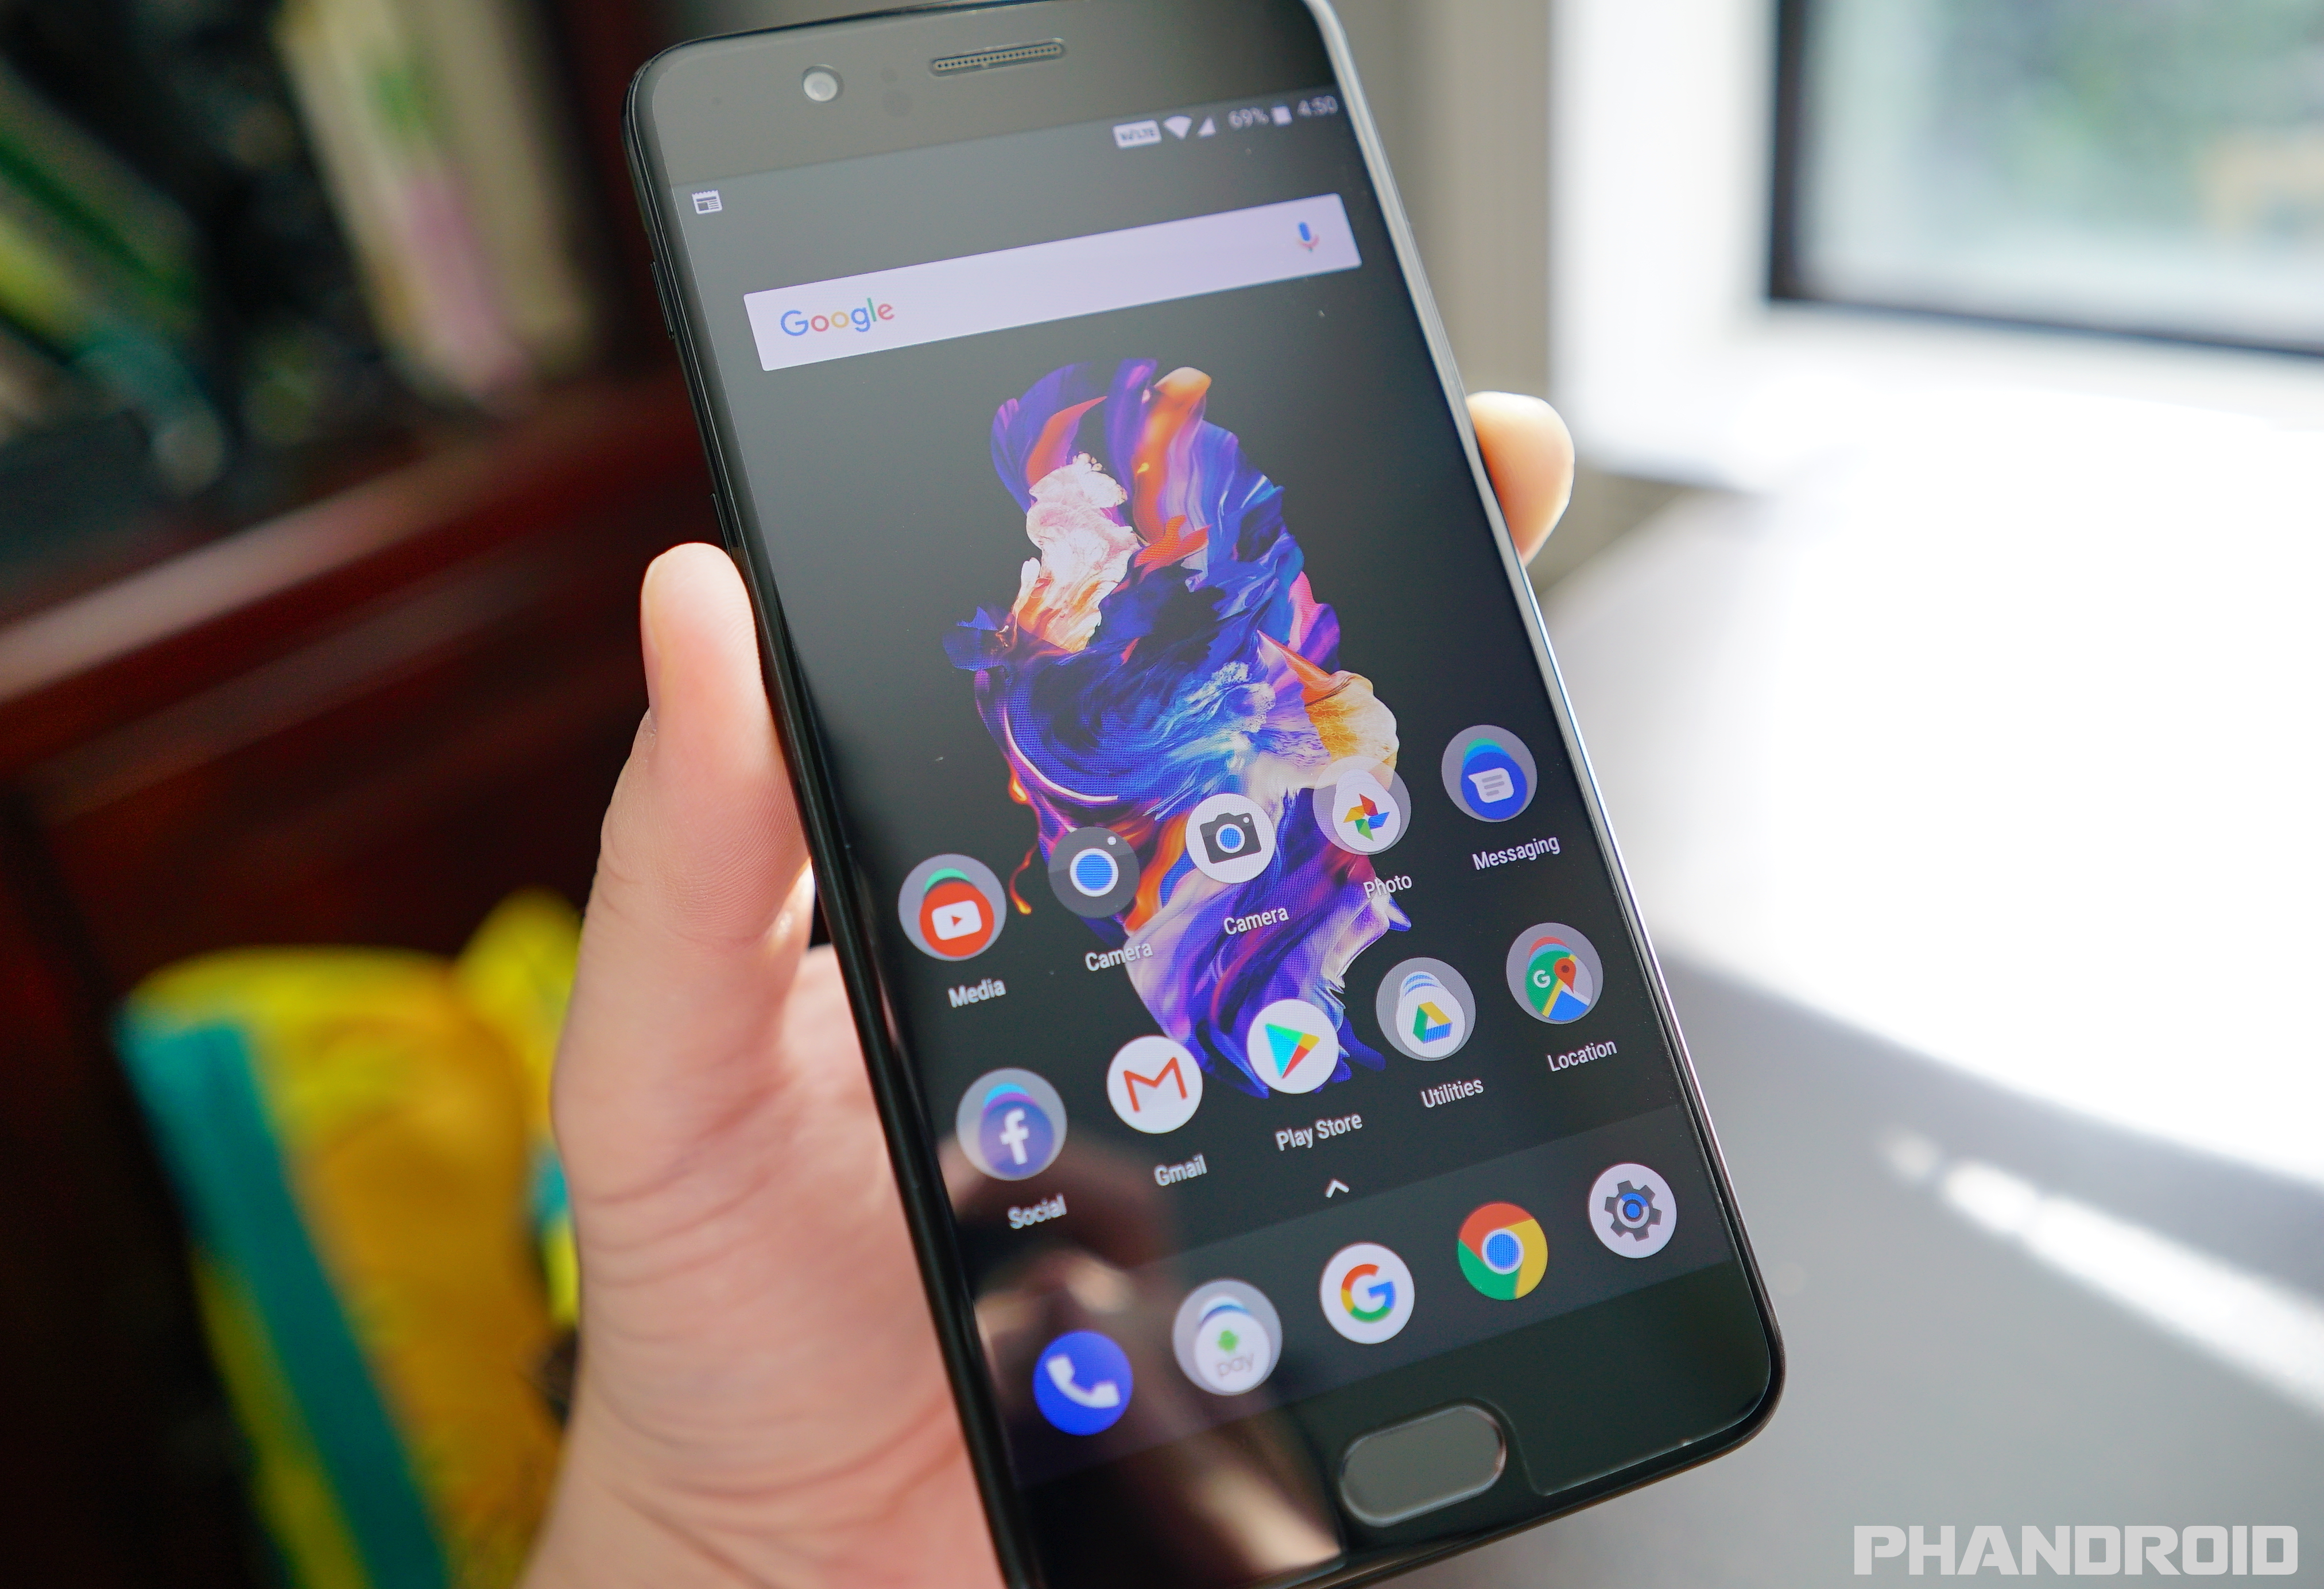
Use hidden gestures on your home screen
The OnePlus Launcher is the default home screen app you’ll find on the OnePlus 5. Unlike most stock launchers, it’s actually packed with useful features. My favorite is the built-in gesture that allows you to quickly access the notification panel by swiping down anywhere on the home screen.
The gesture can be turned off if you feel like it’s getting in the way, just long press a blank area of the home screen, select Settings and turn off Swipe down using the toggle switch.
Take advantage of OnePlus Shelf or get rid of it completely
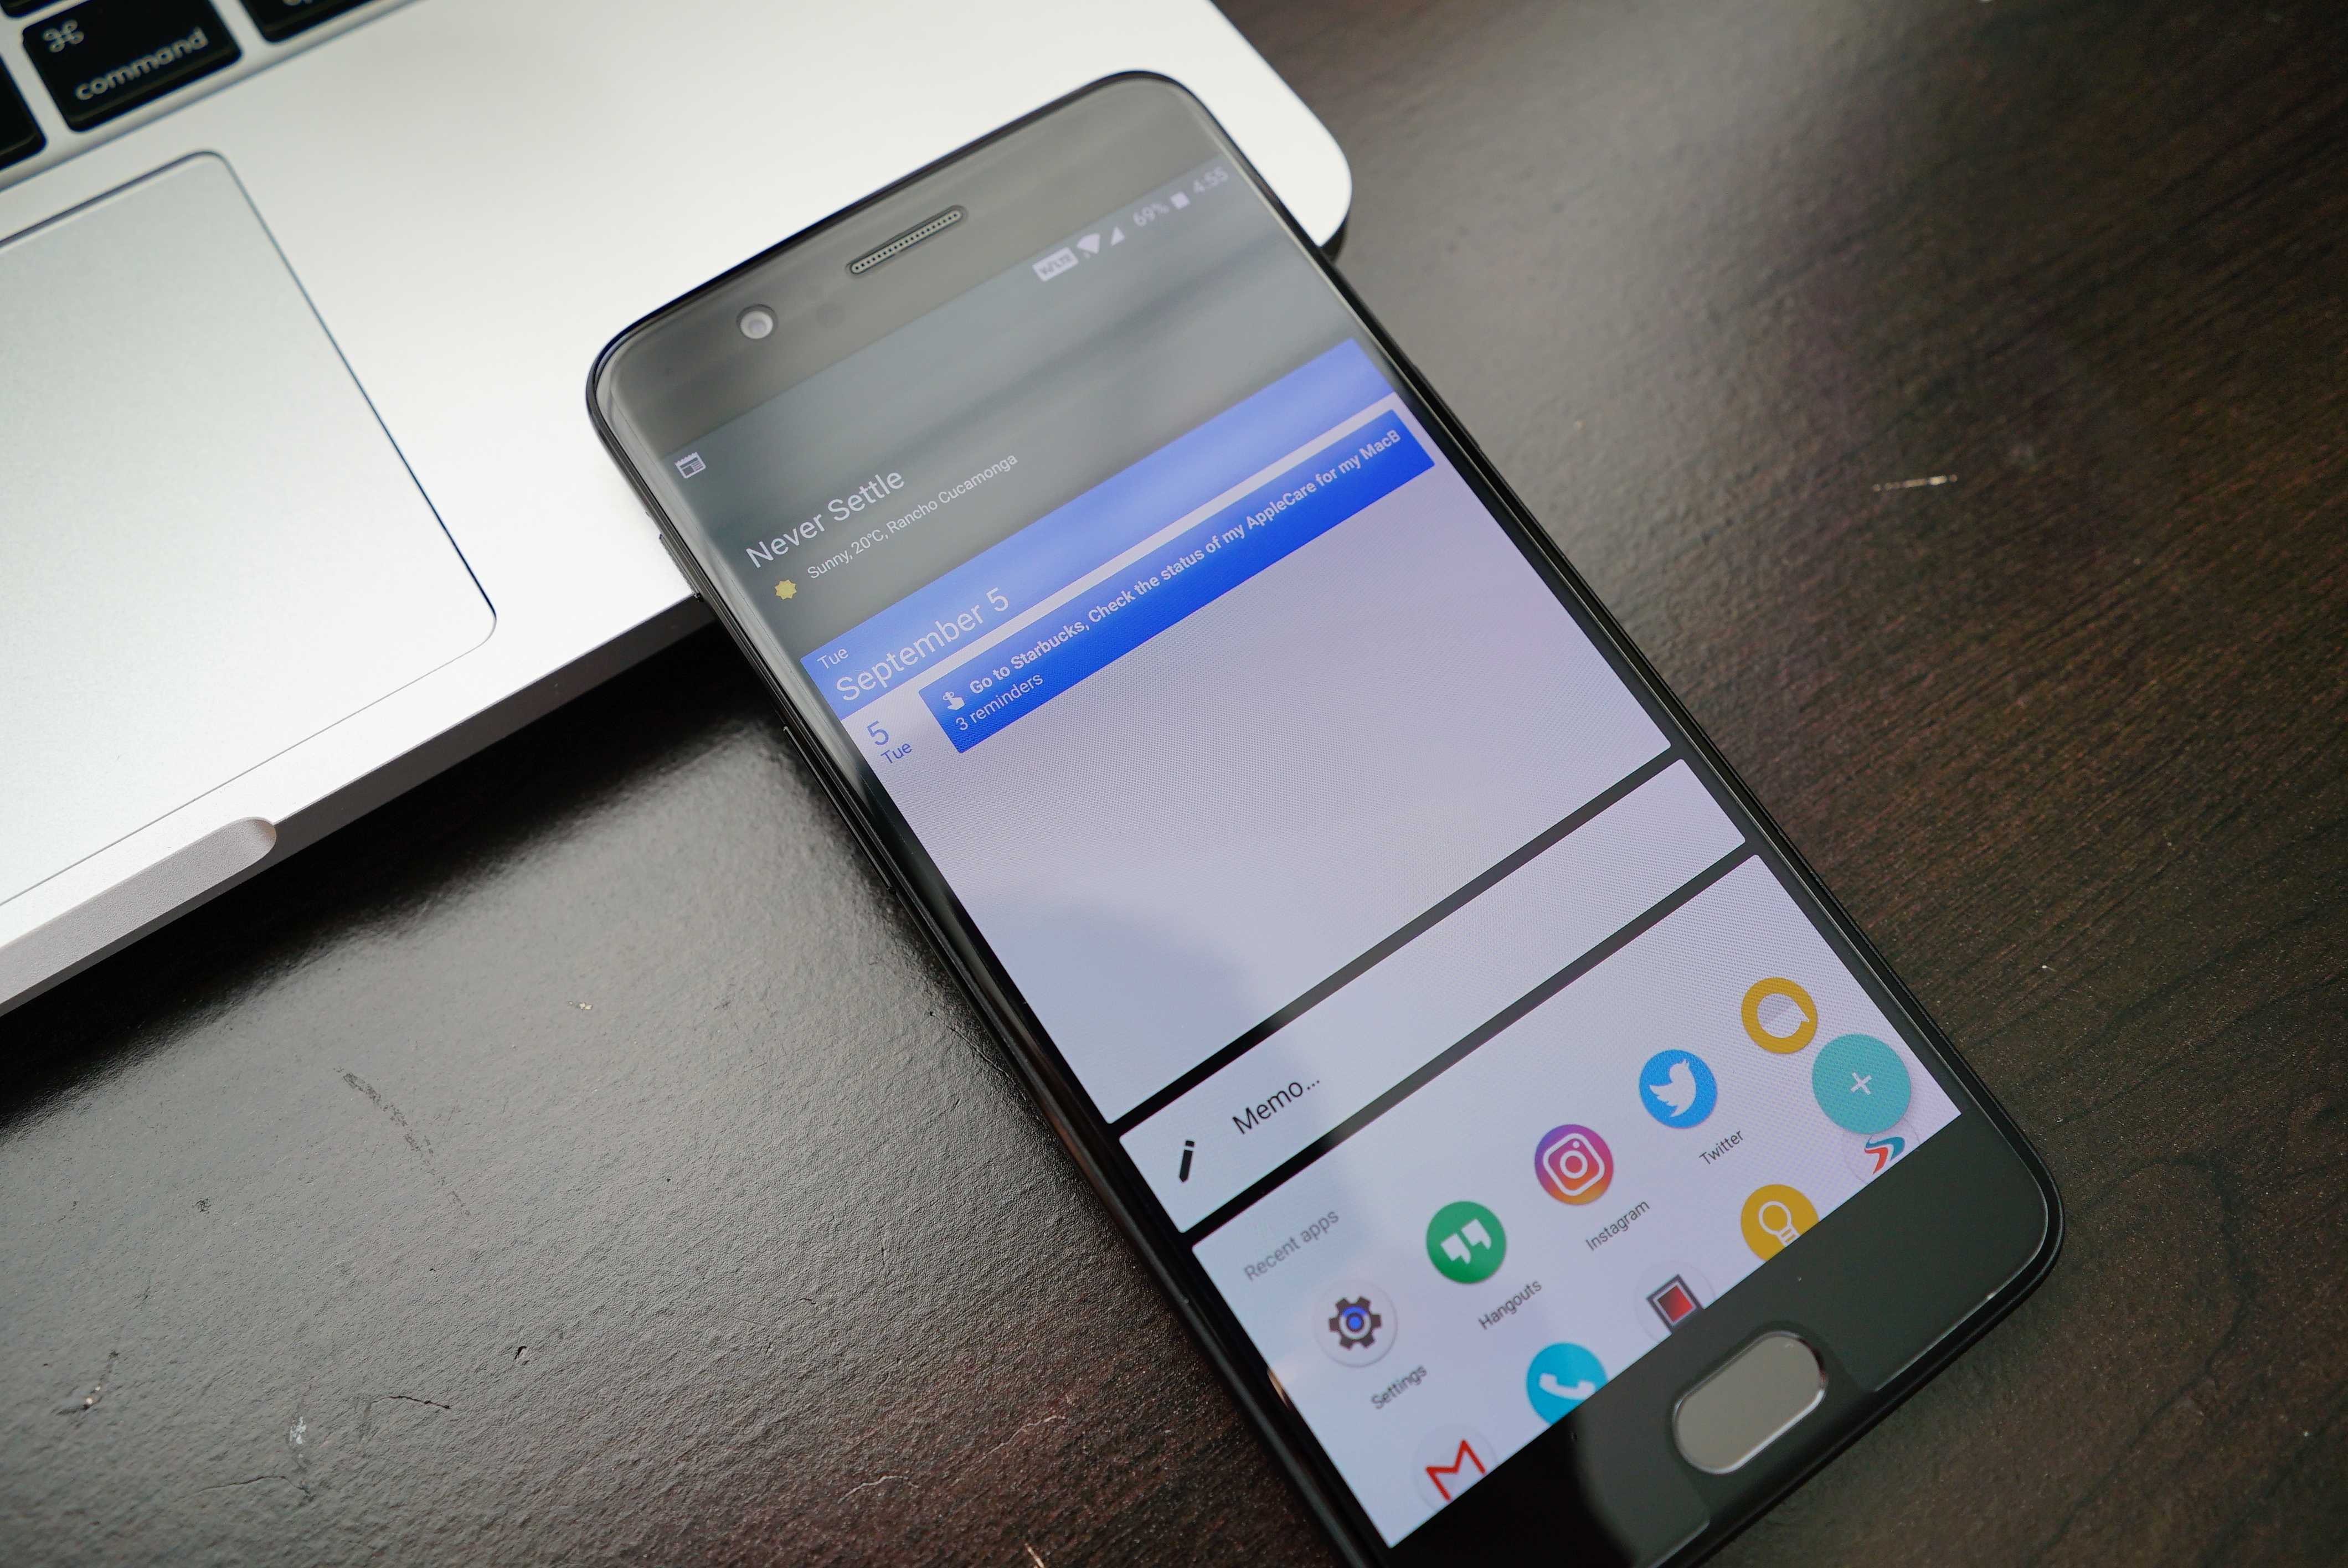
By default, the OnePlus 5 uses the OnePlus Launcher, a custom home screen with one really big feature: a special home screen called Shelf. It’s located directly left of the main home screen and shows you all kinds of information from the weather, recently opened apps, and even allows you to jot down a quick memo or reminder.
Shelf can also display various app widgets, making it the perfect place to store multiple widgets without taking up room on your main home screen. Here’s how you do it:
- Swipe the right to open Shelf
- Tap the “+” button to add a widget
- Tap on the widget to add to Shelf
- Long press on widget and let go to resize
- Long press and swipe to the right to remove widget
Should you decide Shelf isn’t for you, no worries. You can always turn off Shelf by following these steps:
- Long press on blank area of your home screen
- Tap on Settings
- Turn off Shelf by using the toggle switch
- Press the home button to go back home
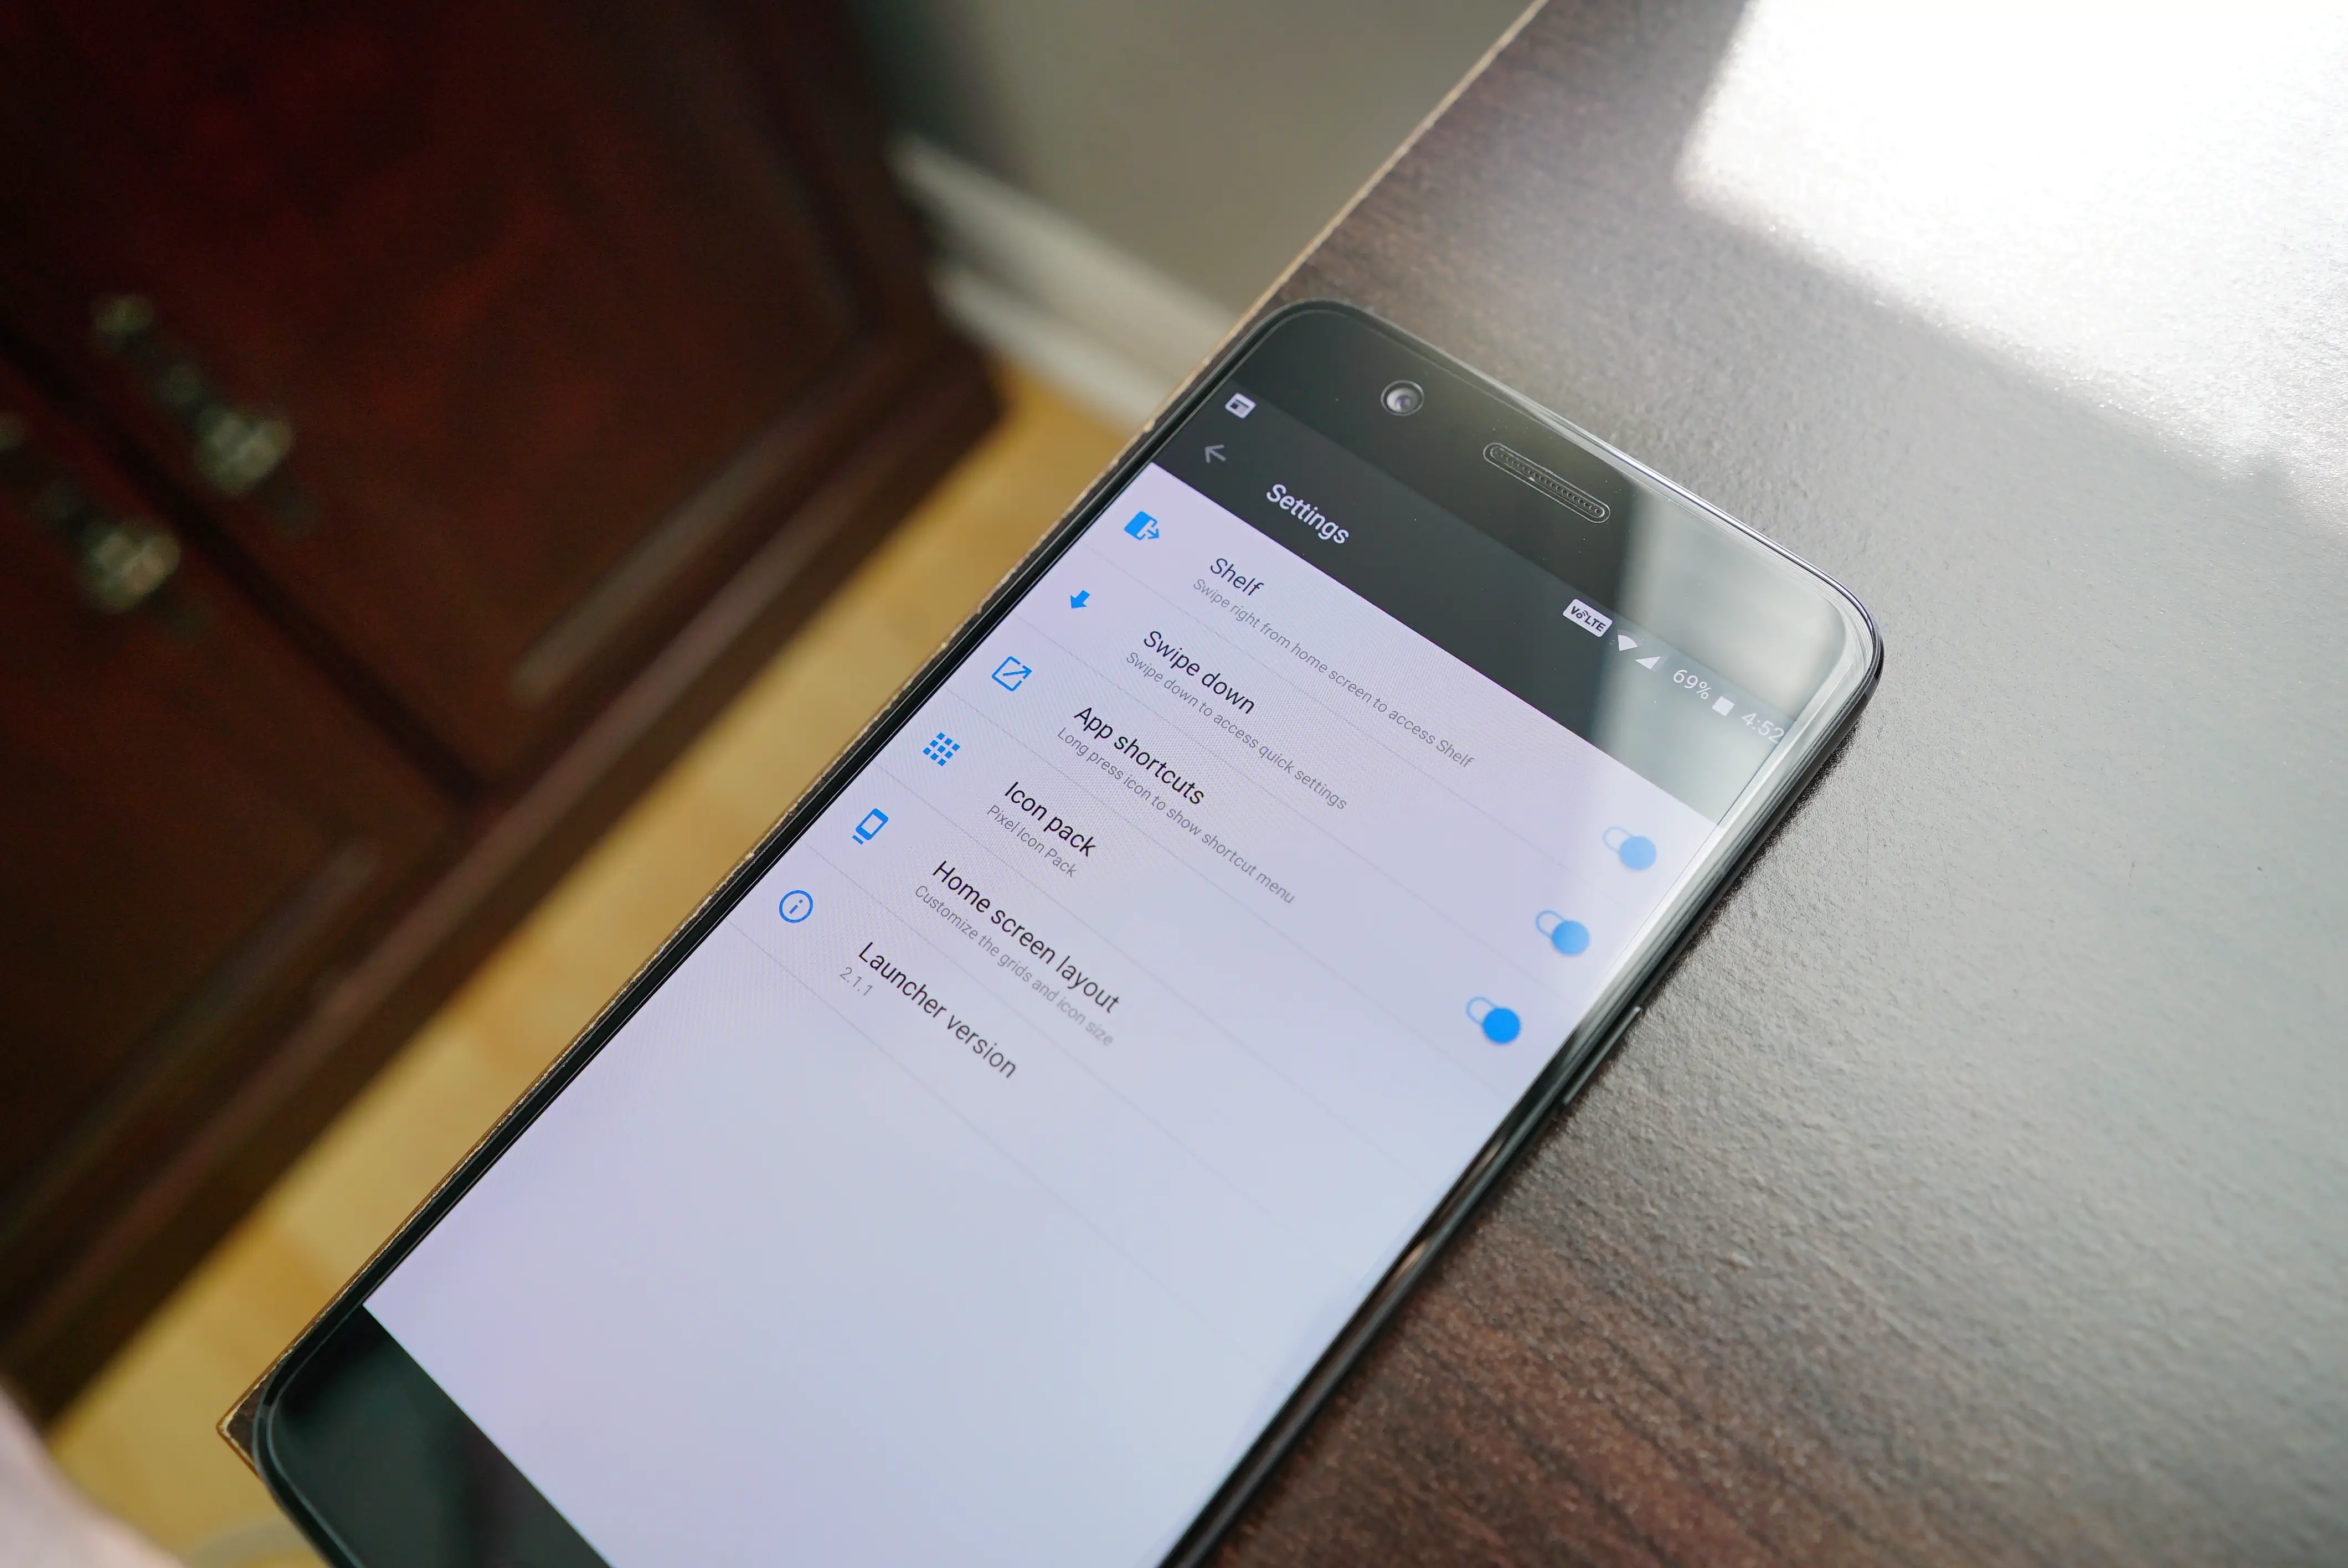
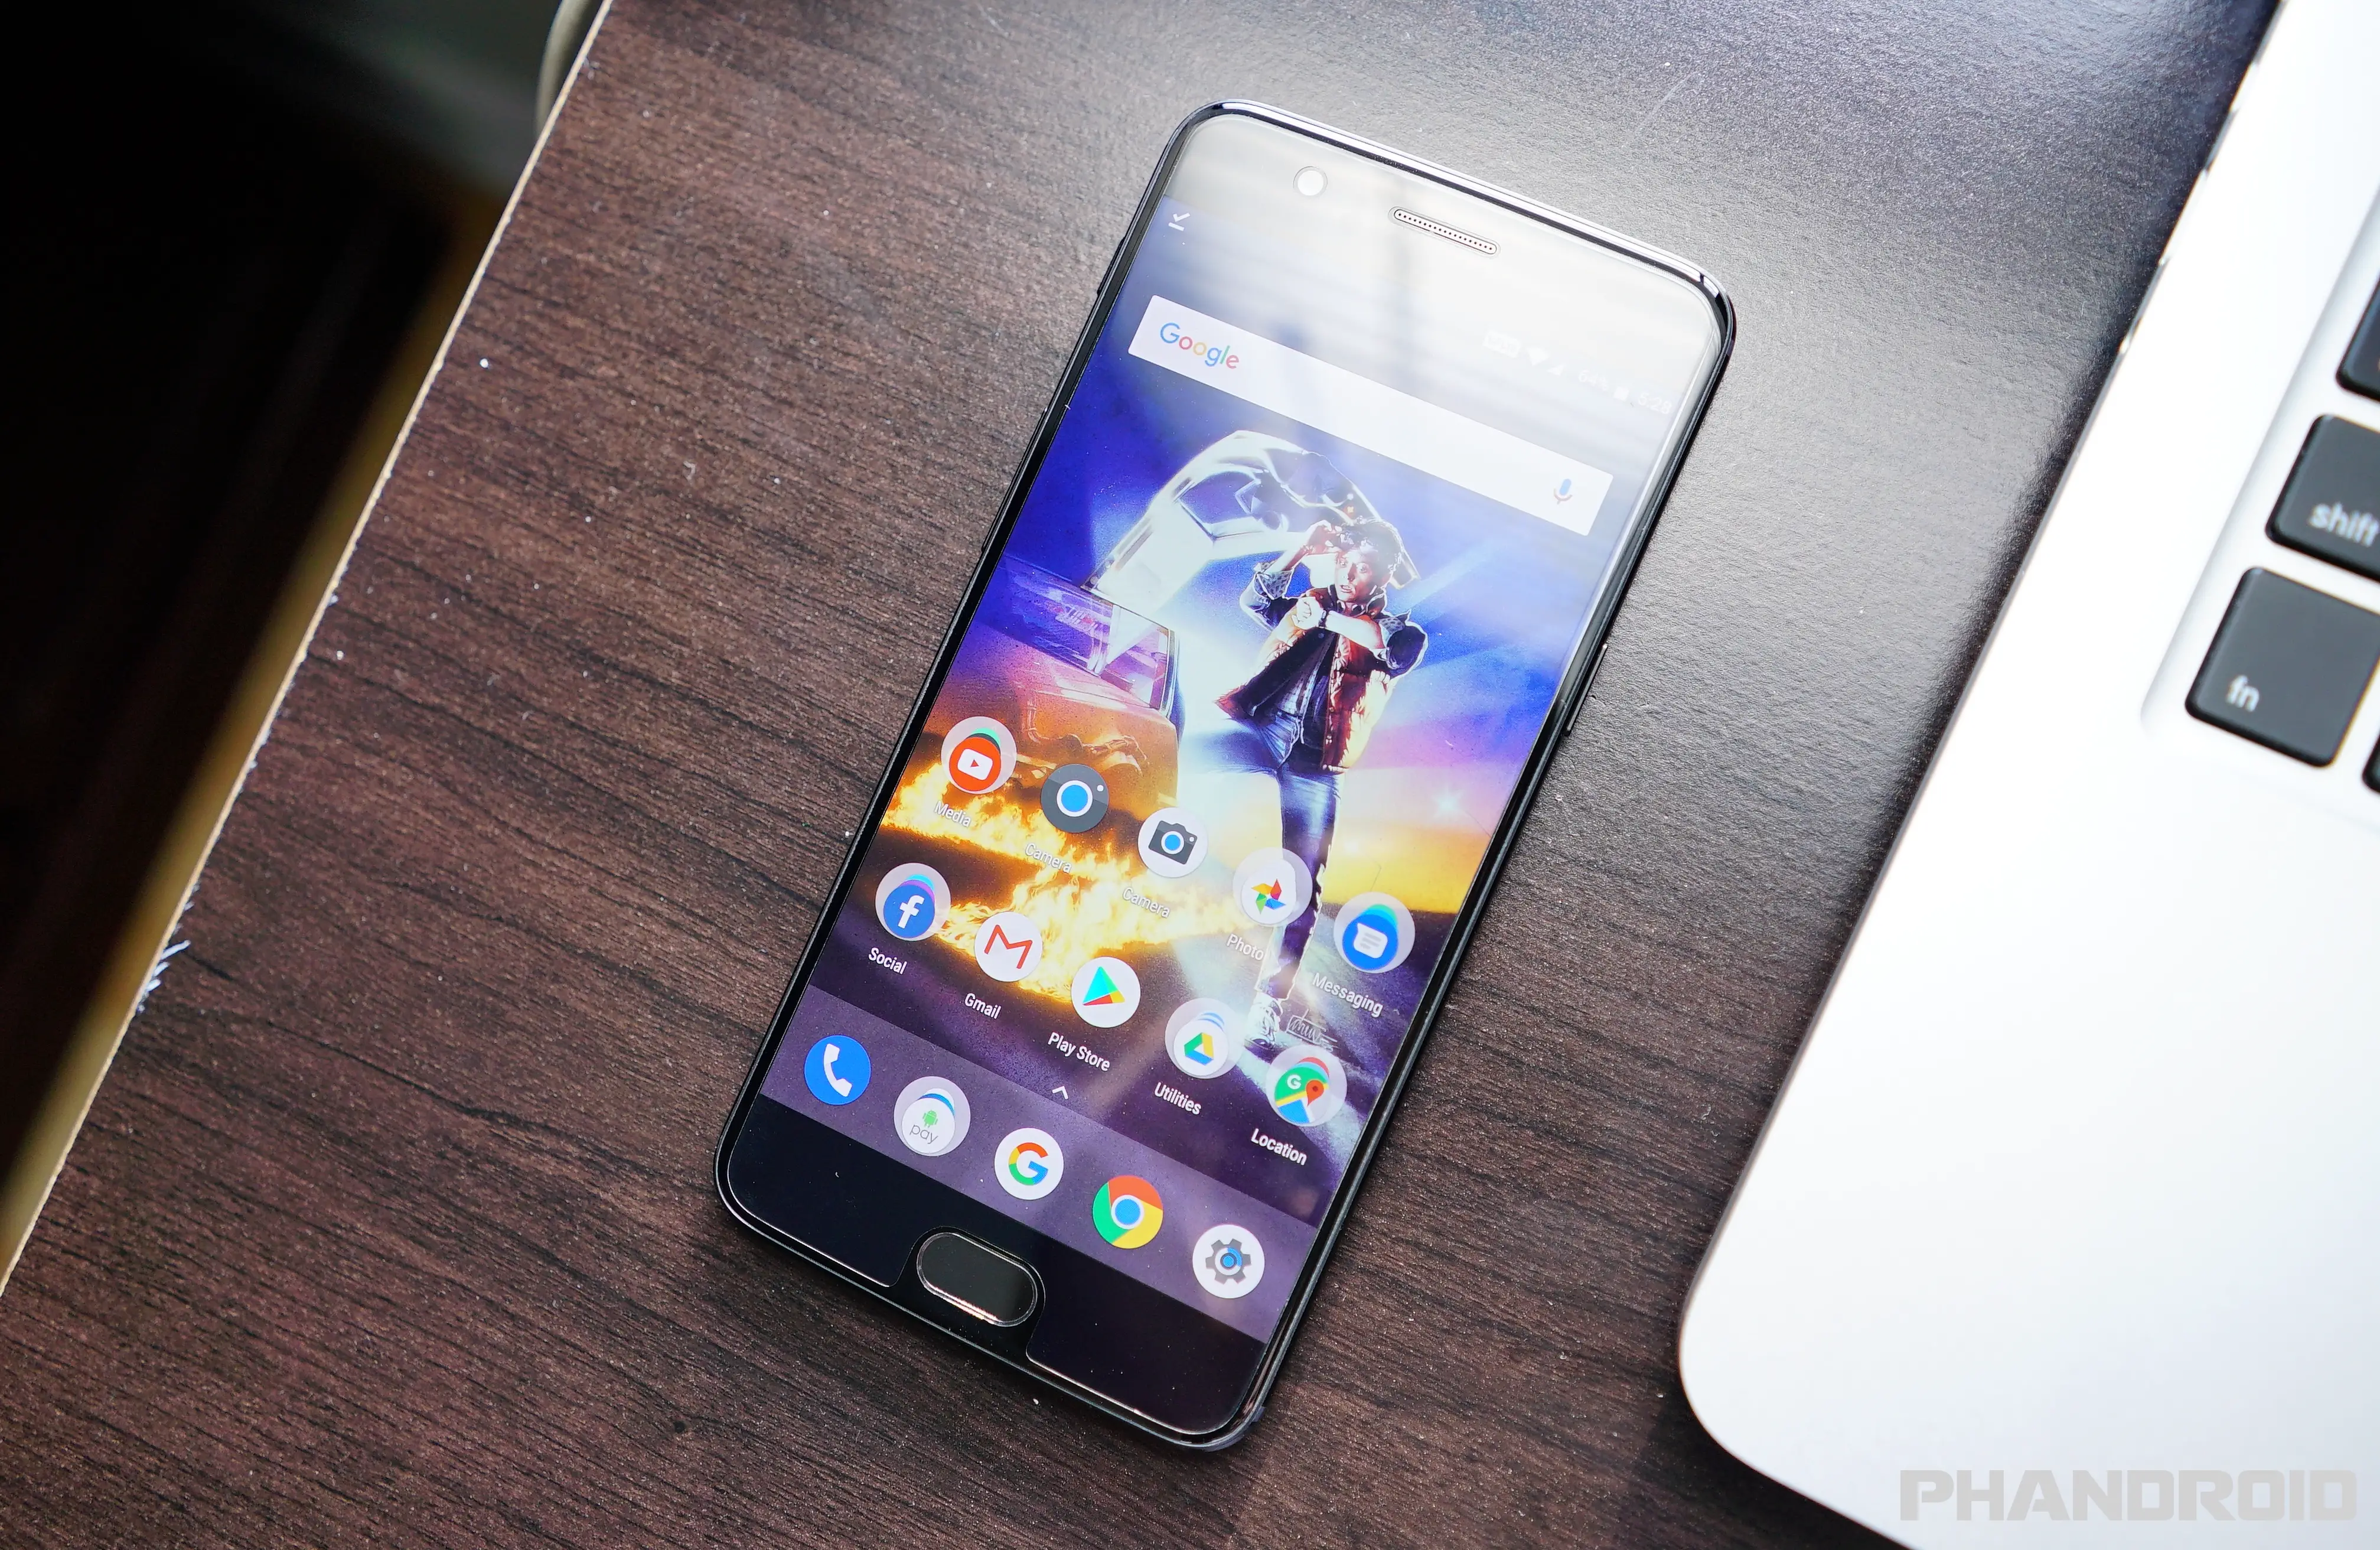
Customize your home screen with app icon packs
![]()
Changing your phone’s wallpaper is a great way to customize it, but if you want to take things a step further, changing your app icons as well is a great way to theme your device. Luckily, the stock OnePlus Launcher supports icon packs, so all you have to do is find them in the Google Play Store.
While most of the good ones are typically in the $1 to $2 range, there are plenty of free versions. Once you’ve downloaded one (or a few) that you like, here’s how you can apply them:
- Search “icons” or “icon pack” on Google Play (you’ll find a handful of them here)
- Install them like any other app
- Once installed, long press on a blank area of the home screen
- Tap on Settings
- Tap on Icon pack
- Swipe left/right to cycle through available icon packs at the bottom
- Tap on an icon pack to preview it
- Tap back or the home button to apply
Use Smart Lock to keep your phone unlocked in places you trust

The OnePlus 5 has a fast and secure fingerprint scanner but what’s the point of keeping your phone locked down when you’re resting at home with the family? Or maybe you only want your phone locked when you’re away from it? In either case, Android’s Smart Lock allows you to keep your device unlocked while in trusted situations like these. Here’s how you can set it up:
- Open the Settings app
- Scroll down and select Security & fingerprint
- Tap on Smart Lock (enter password/PIN/pattern)
From there you’ll find a few options:
- On-body detection – Keep your device unlocked while it’s on you (phone locks once it’s been set down)
- Trusted devices – Add device to keep this one unlocked when it’s nearby (speaker, car, smartwatch) via Bluetooth
- Trusted face – phone will automatically unlock when it recognizes your face after turning the screen on
Use Gestures to quickly launch apps from the lockscreen
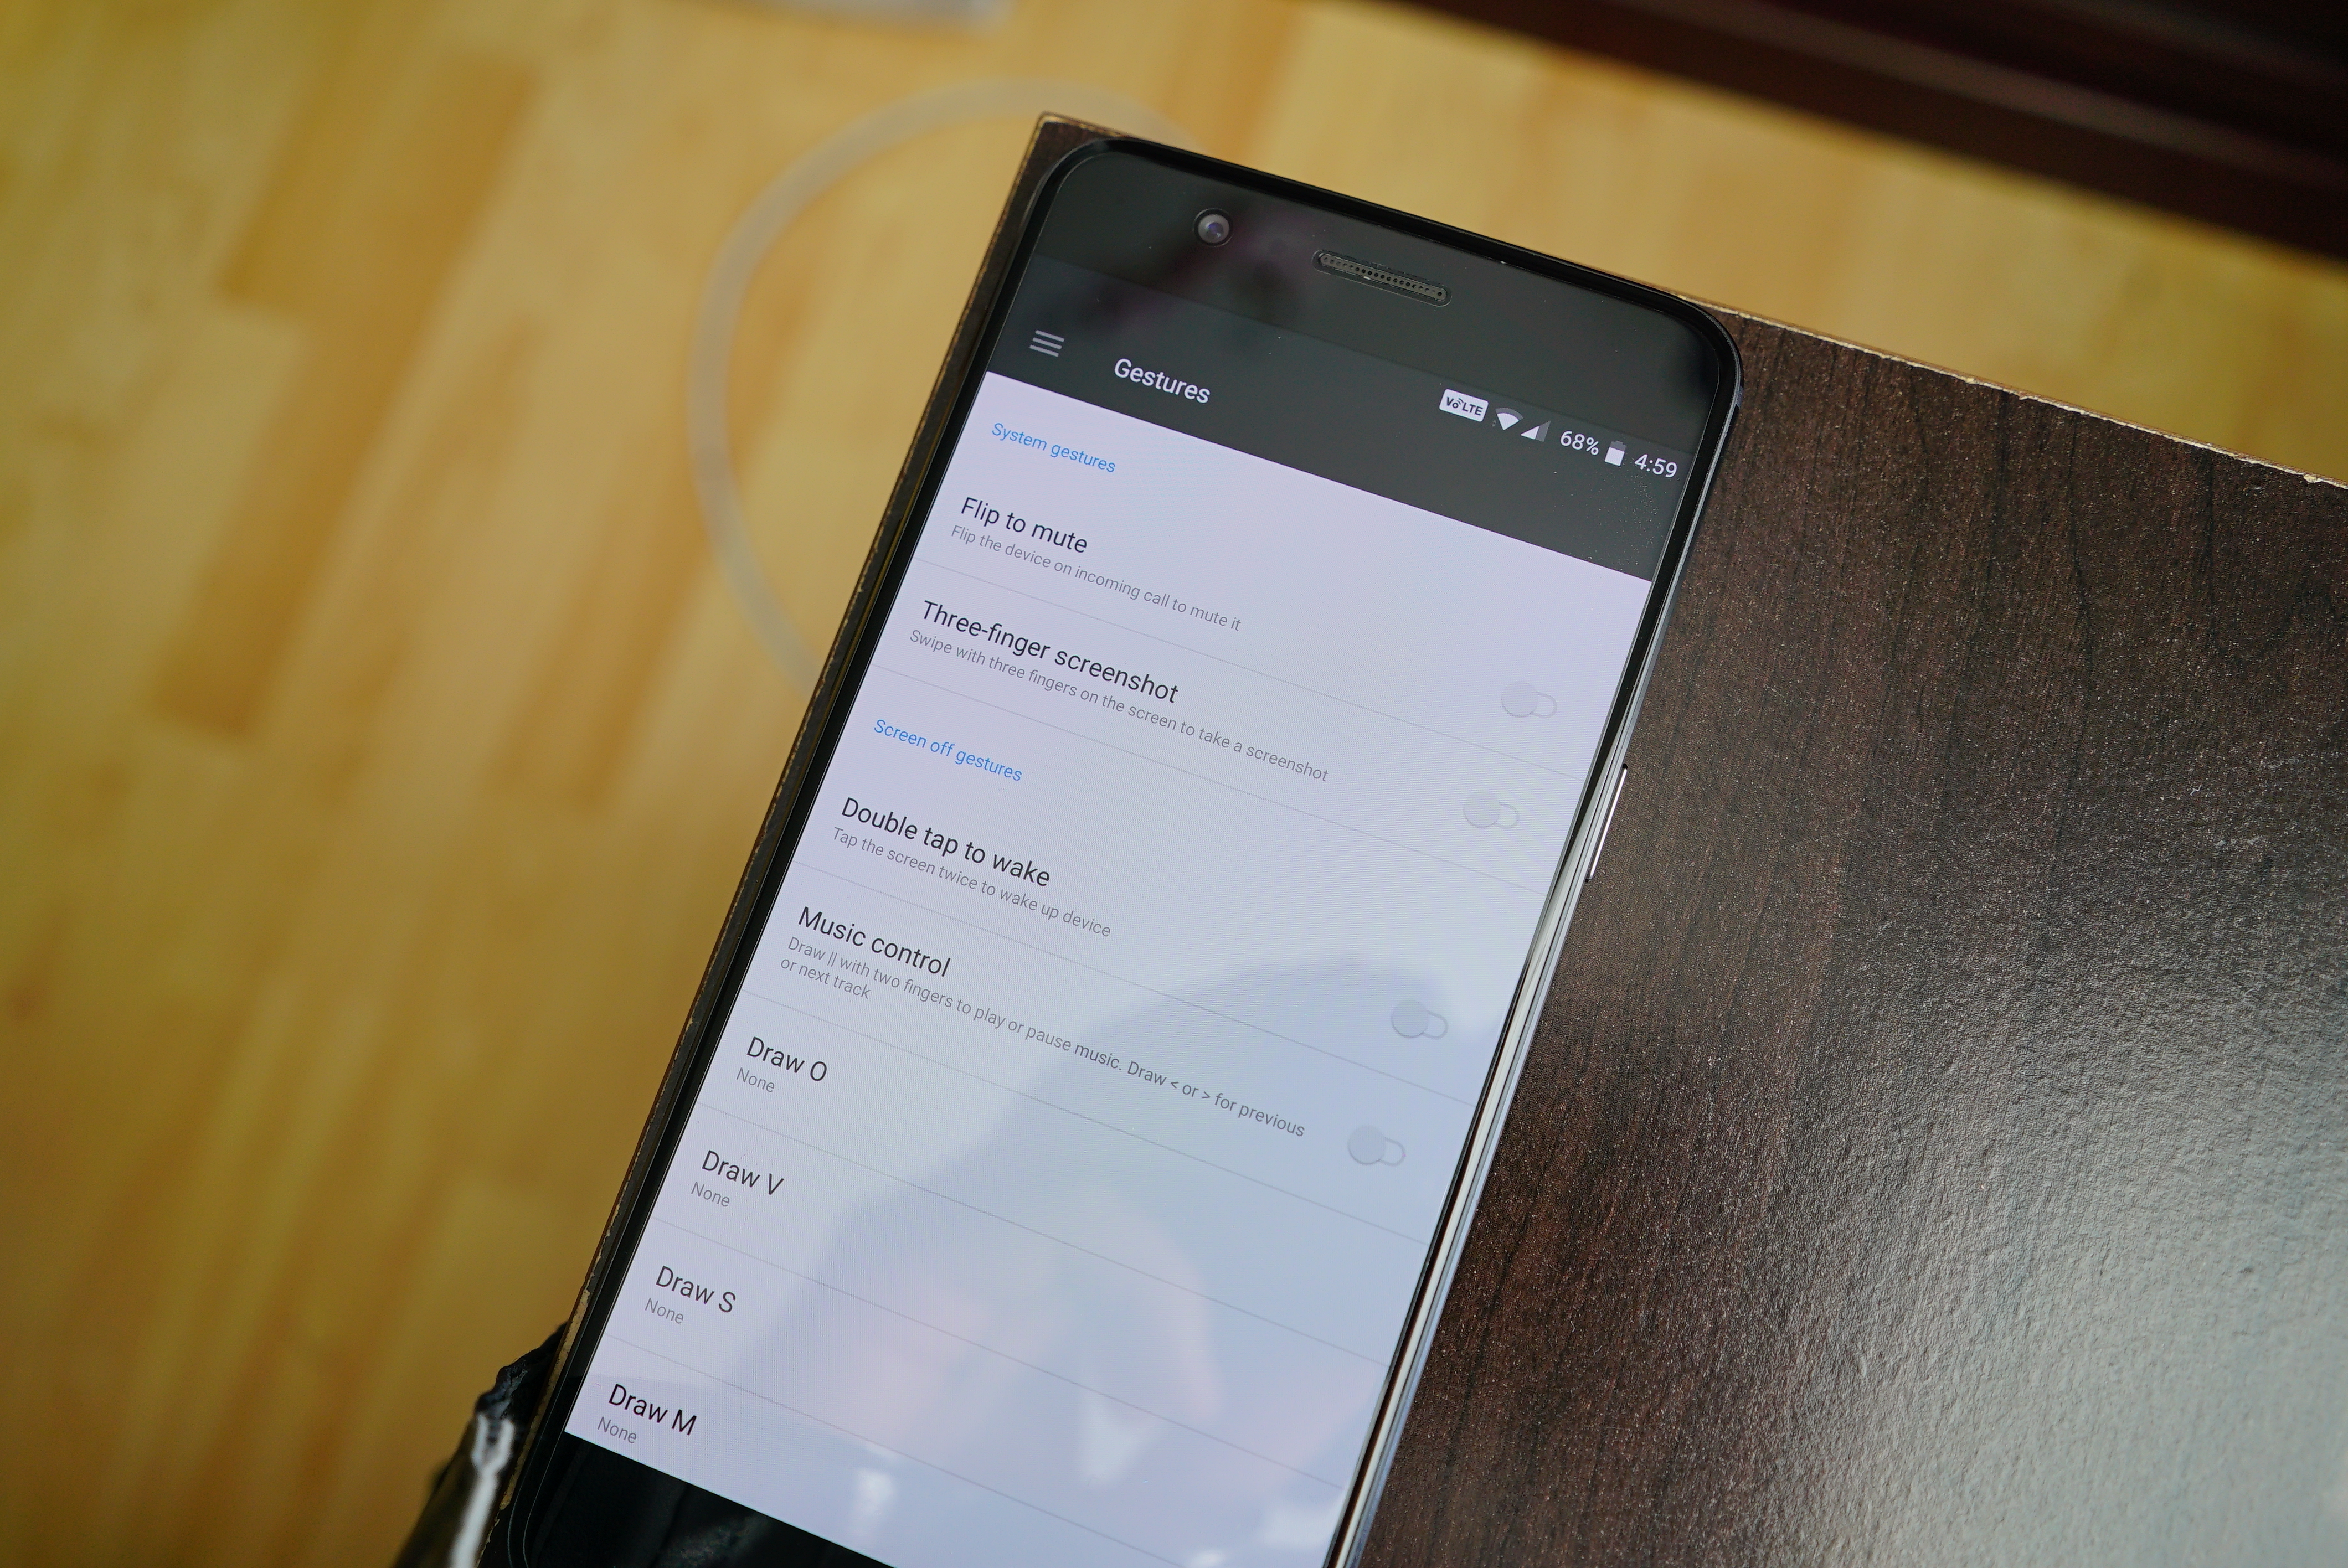
Unlocking your phone just to launch an app or skip to the next track of your music player takes time. There’s a better way. Gestures on the OnePlus 5 allow you to perform actions without even turning on the display. Everything from double tapping the display to wake your phone, opening the camera or flashlight by drawing a letter on the display, even basic music controls can all be performed without having to wake the phone. Here’s where you’ll find the setting for each:
- Open the Settings app
- Select Gestures
- Enable specific gestures by ticking their check box
Once enabled, perform the gesture on your phone to quickly launch the specific app or function. Doesn’t get much easier than that.
View notifications just by picking up your phone
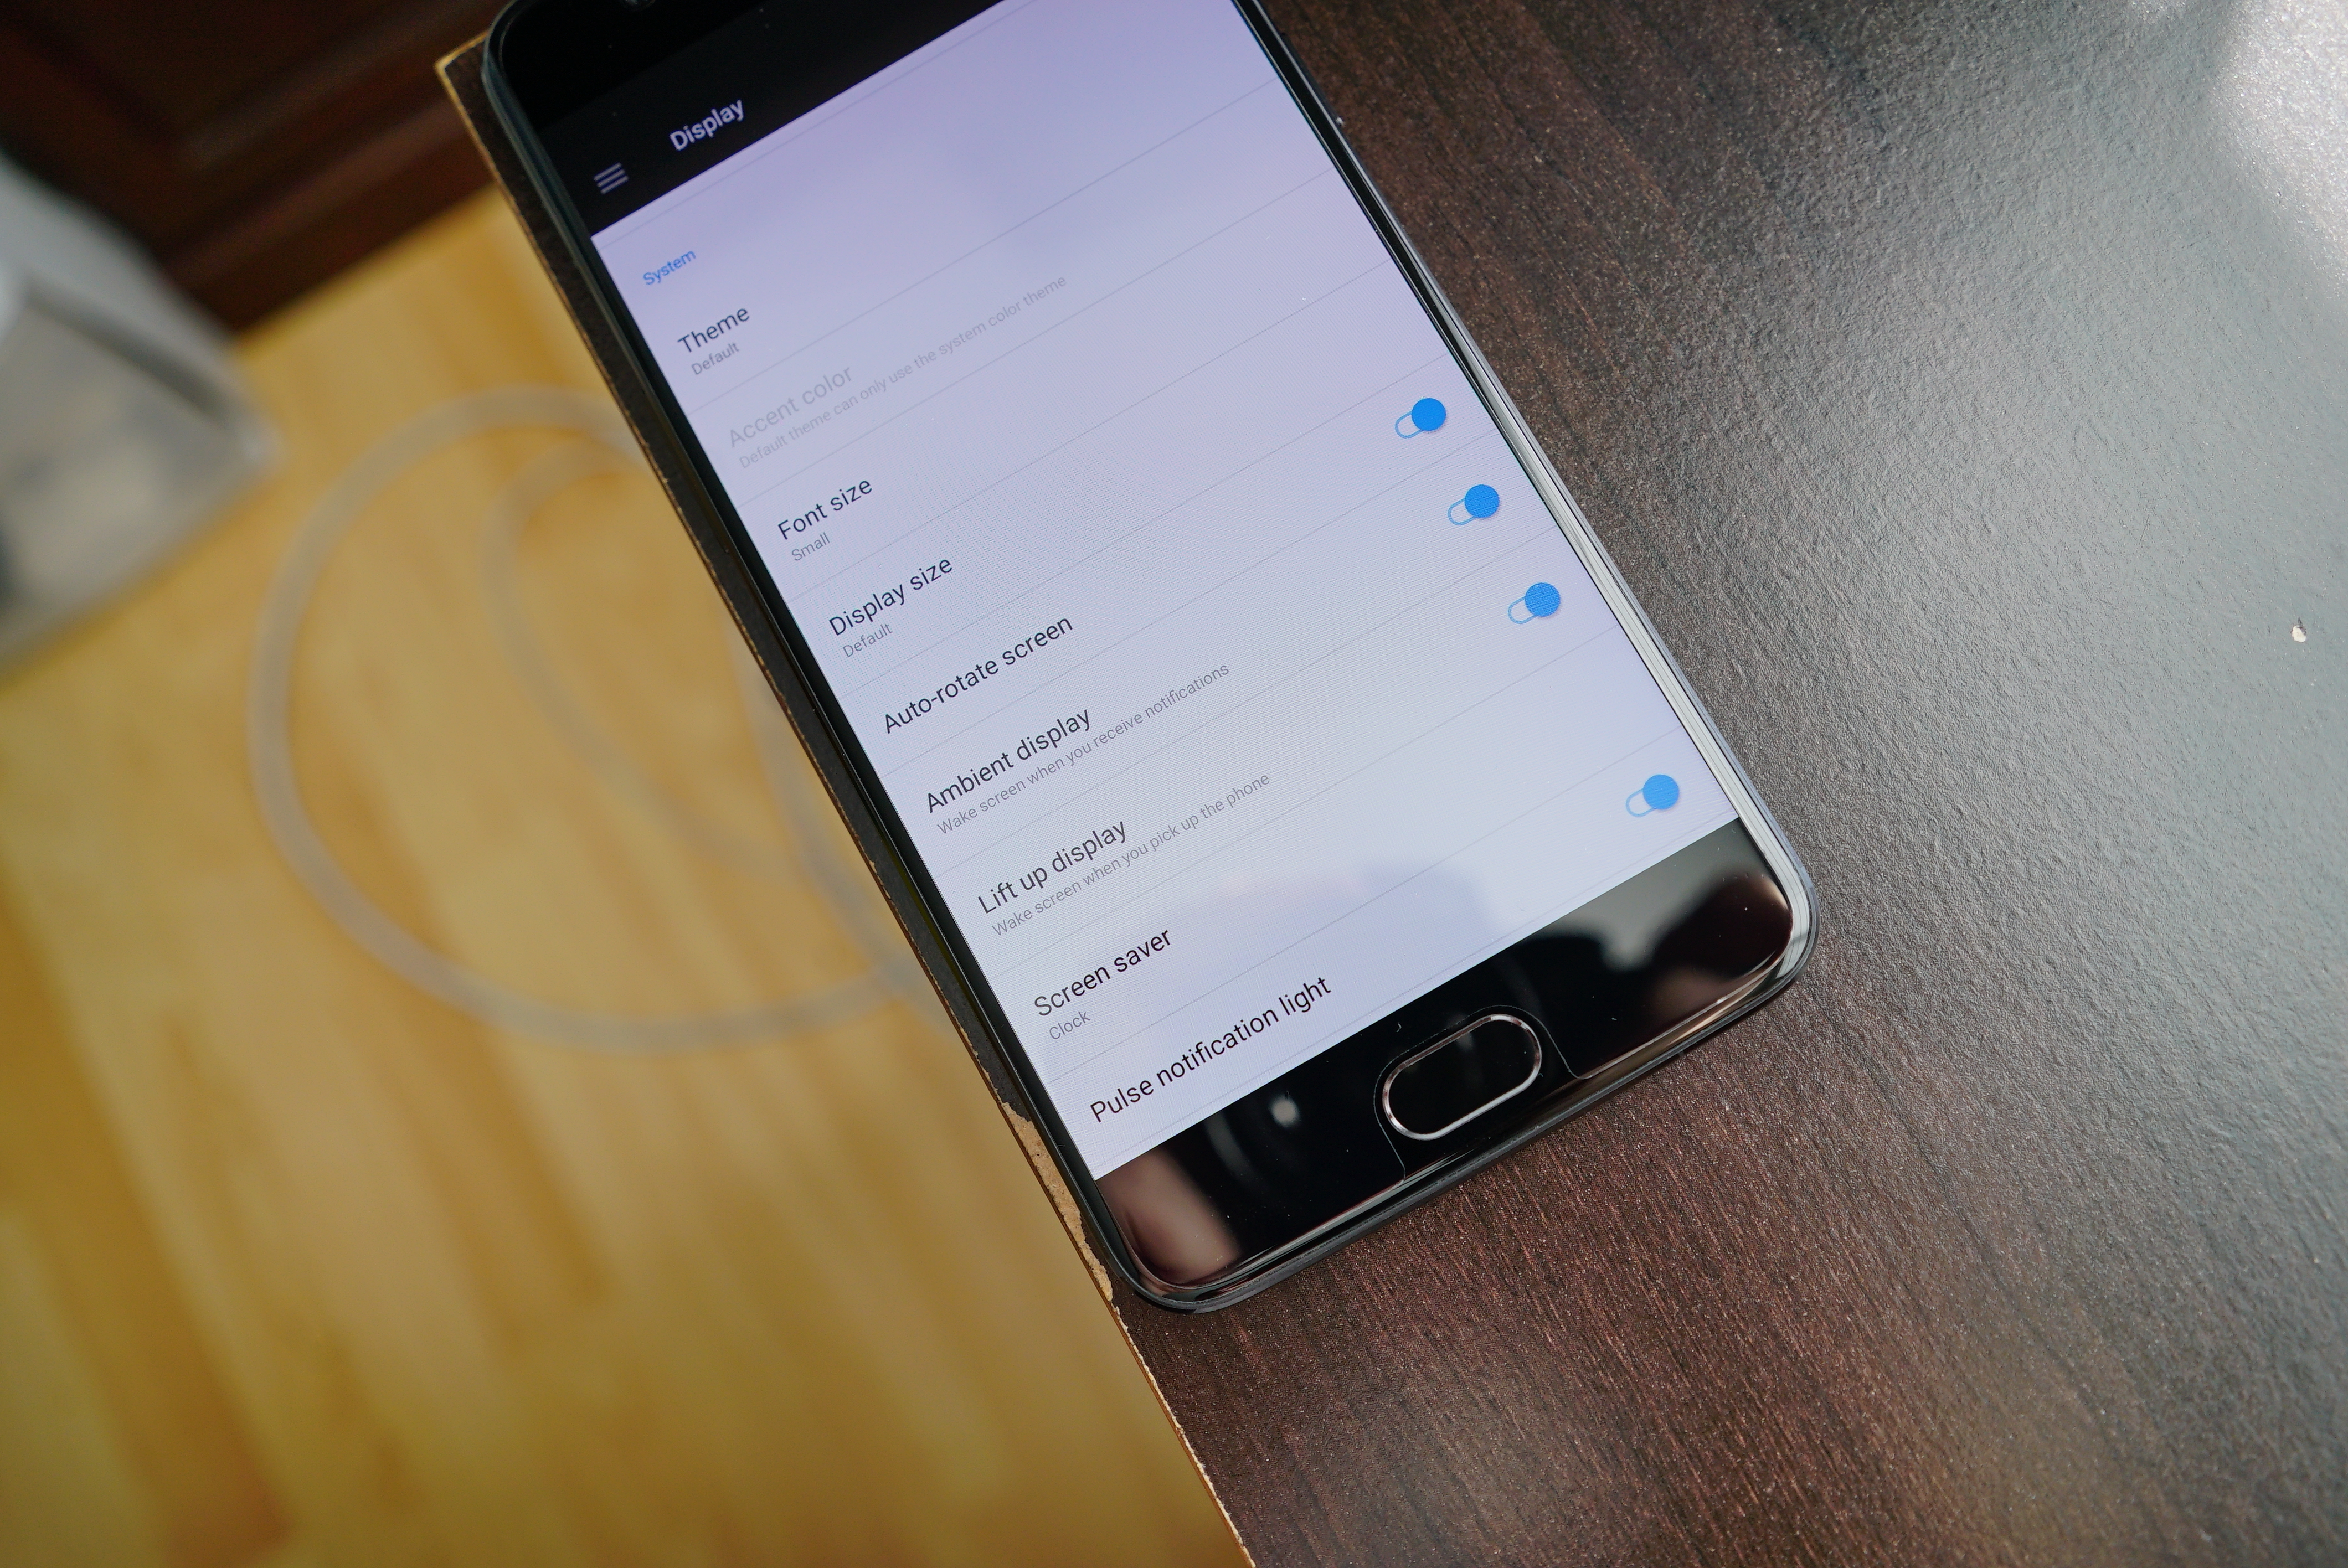
Ambient display is one of the more handy features introduced in Android Lollipop. The feature makes it so the display turns on briefly whenever you receive a notification, allowing you to quickly see if it’s something that needs addressing.
Because the screen wakes in black and white mode, it conserves less battery than waking your phone and swiping down the notification tray. It’s perfect when your phone is propped up at your desk for hands-free viewing of your notifications.
If you’d rather have your display turn on whenever you pick up the phone (without having to press the power button), that’s an option too. Here’s where you’ll find both of the settings in order to activate them:
- Open the Settings app
- Go into the Display settings
- Turn on Ambient display
- Turn on Lift up display
Customize the colors of your notification LED light
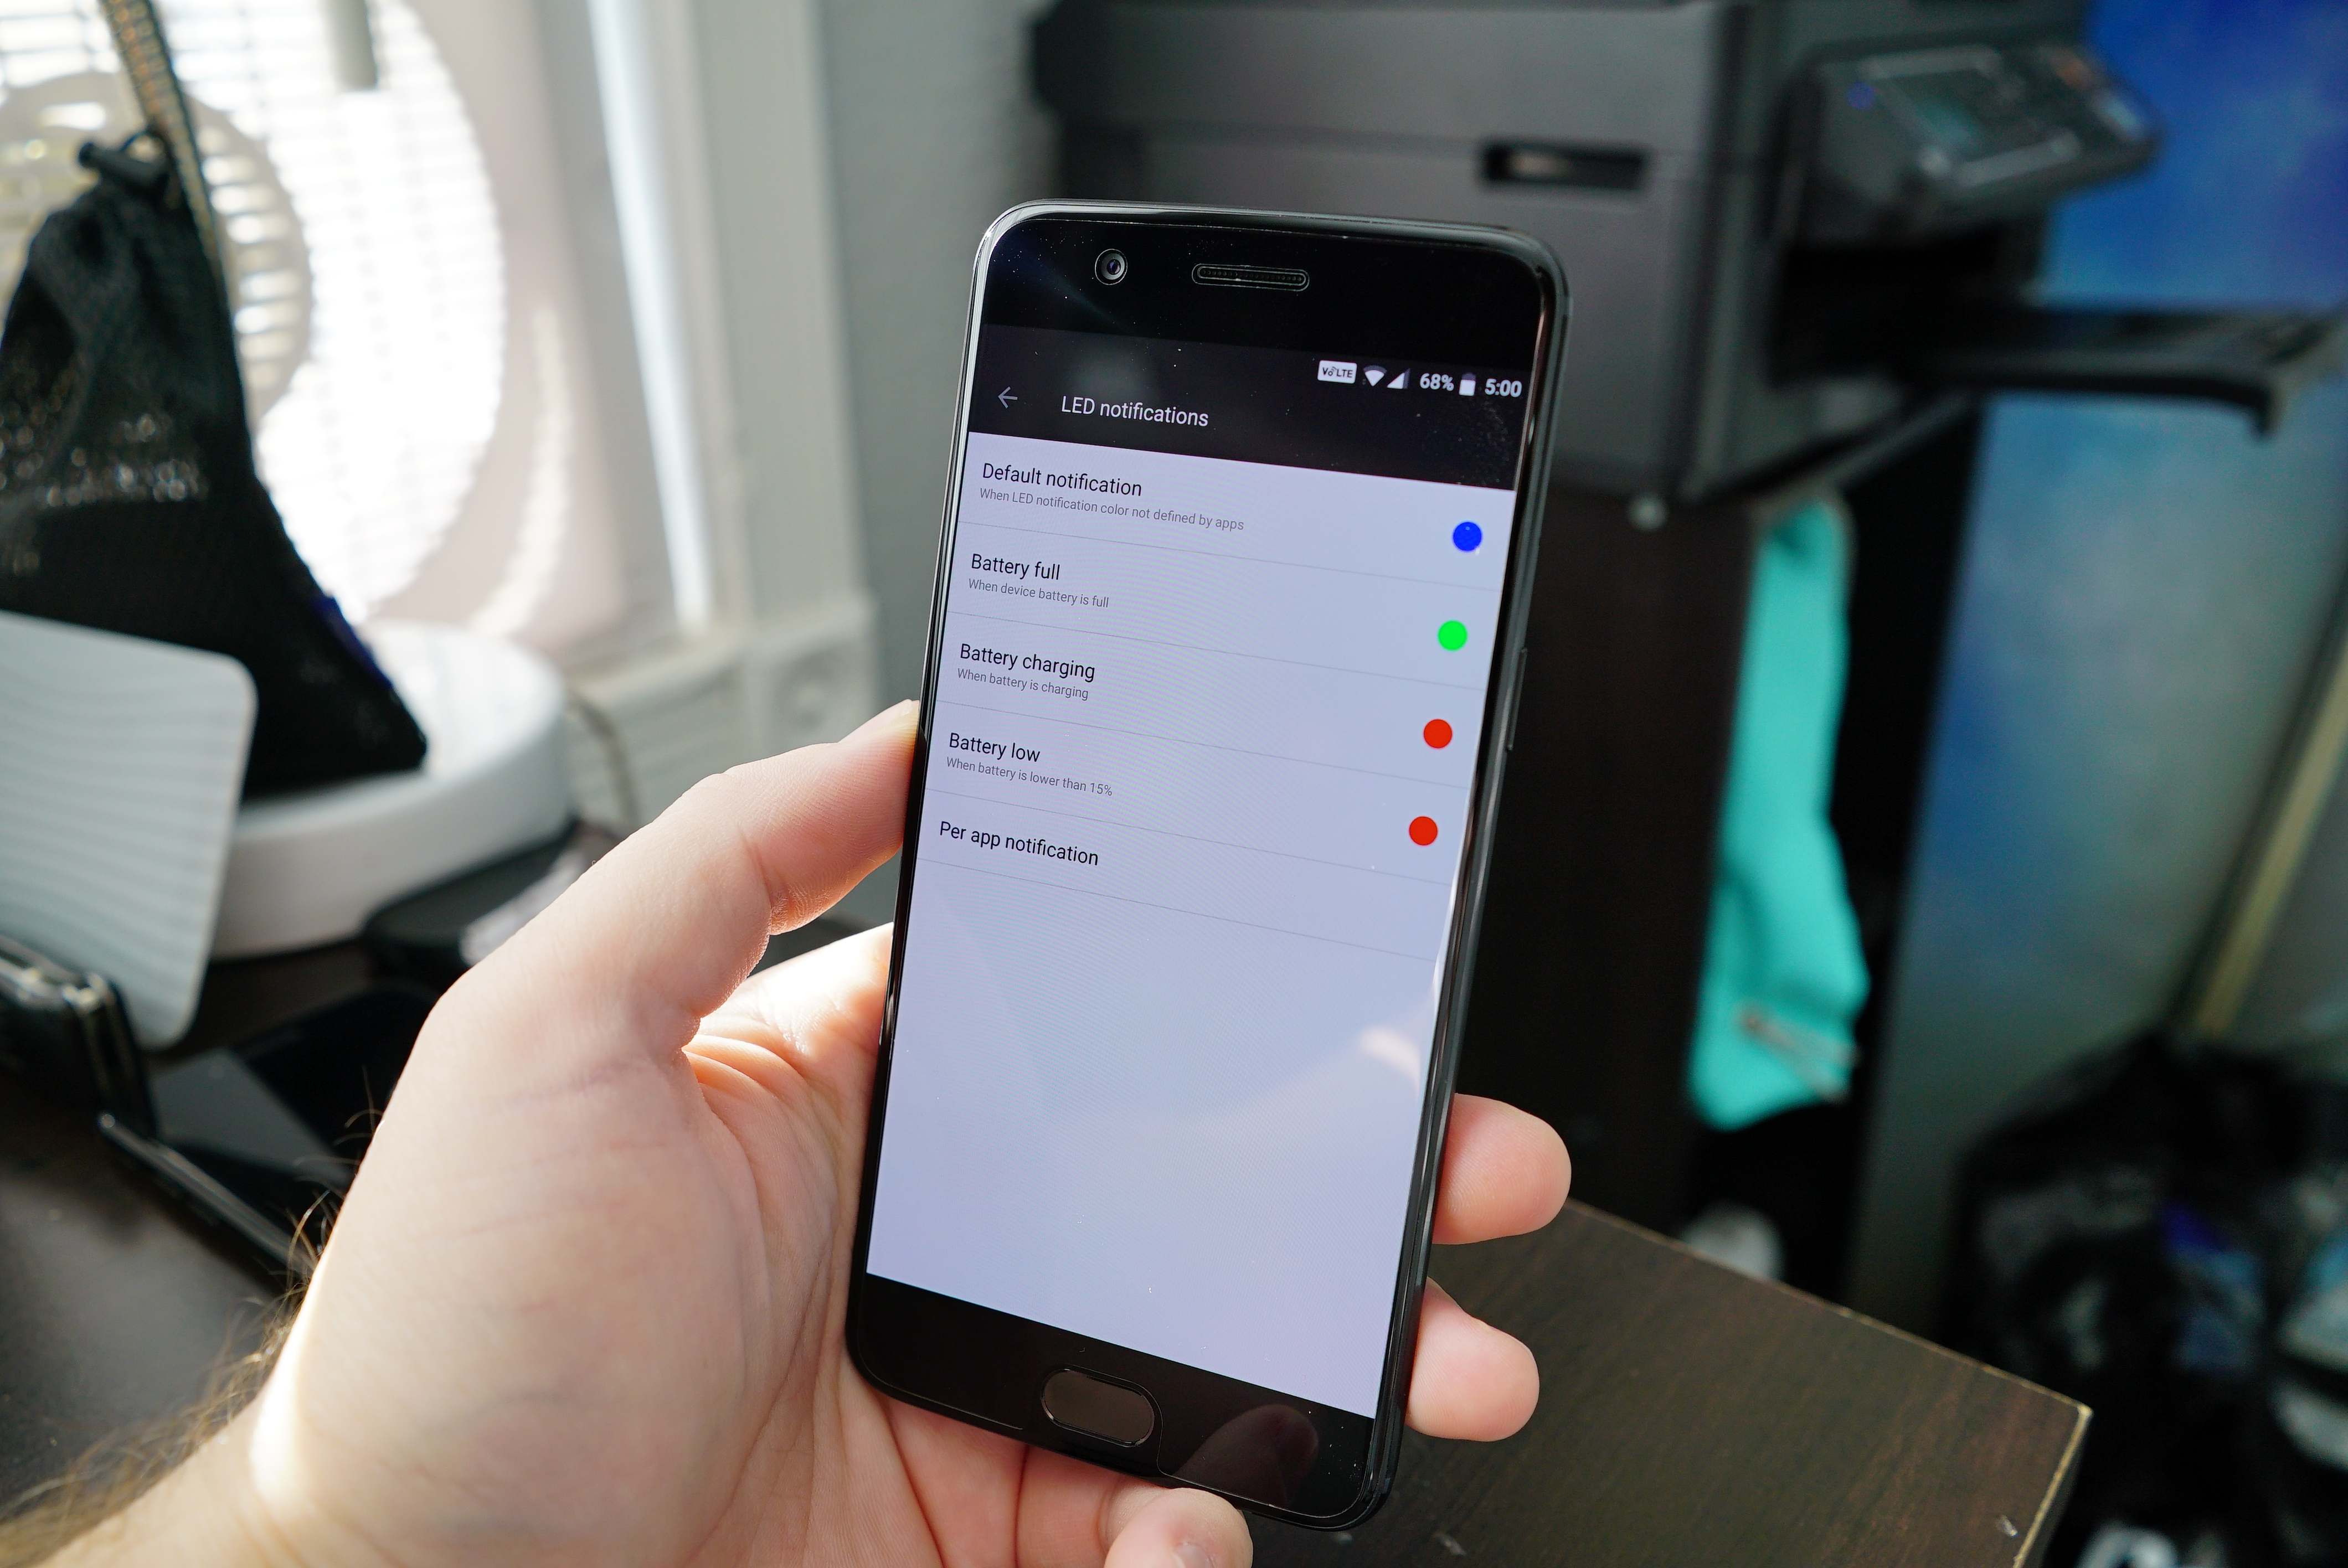
Because not everyone stares at their phone all day, the LED notification on the light on the OnePlus 5 is a great way to see when you have a notification waiting for you. The light can even be customized so you can pick and choose which colors it displays when you have a notification, the phone is charging, or even when the battery is low. Here’s where you’ll find the setting:
- Open the Settings app
- Scroll down and select Display
- Tap on LED notifications
From there, you can choose between 8 colors for the following options:
- Default notification
- Battery full
- Battery charging
- Battery low
- Per app notification (turn off LED for specific apps)
Unlock hidden Developer options to speed up the UI
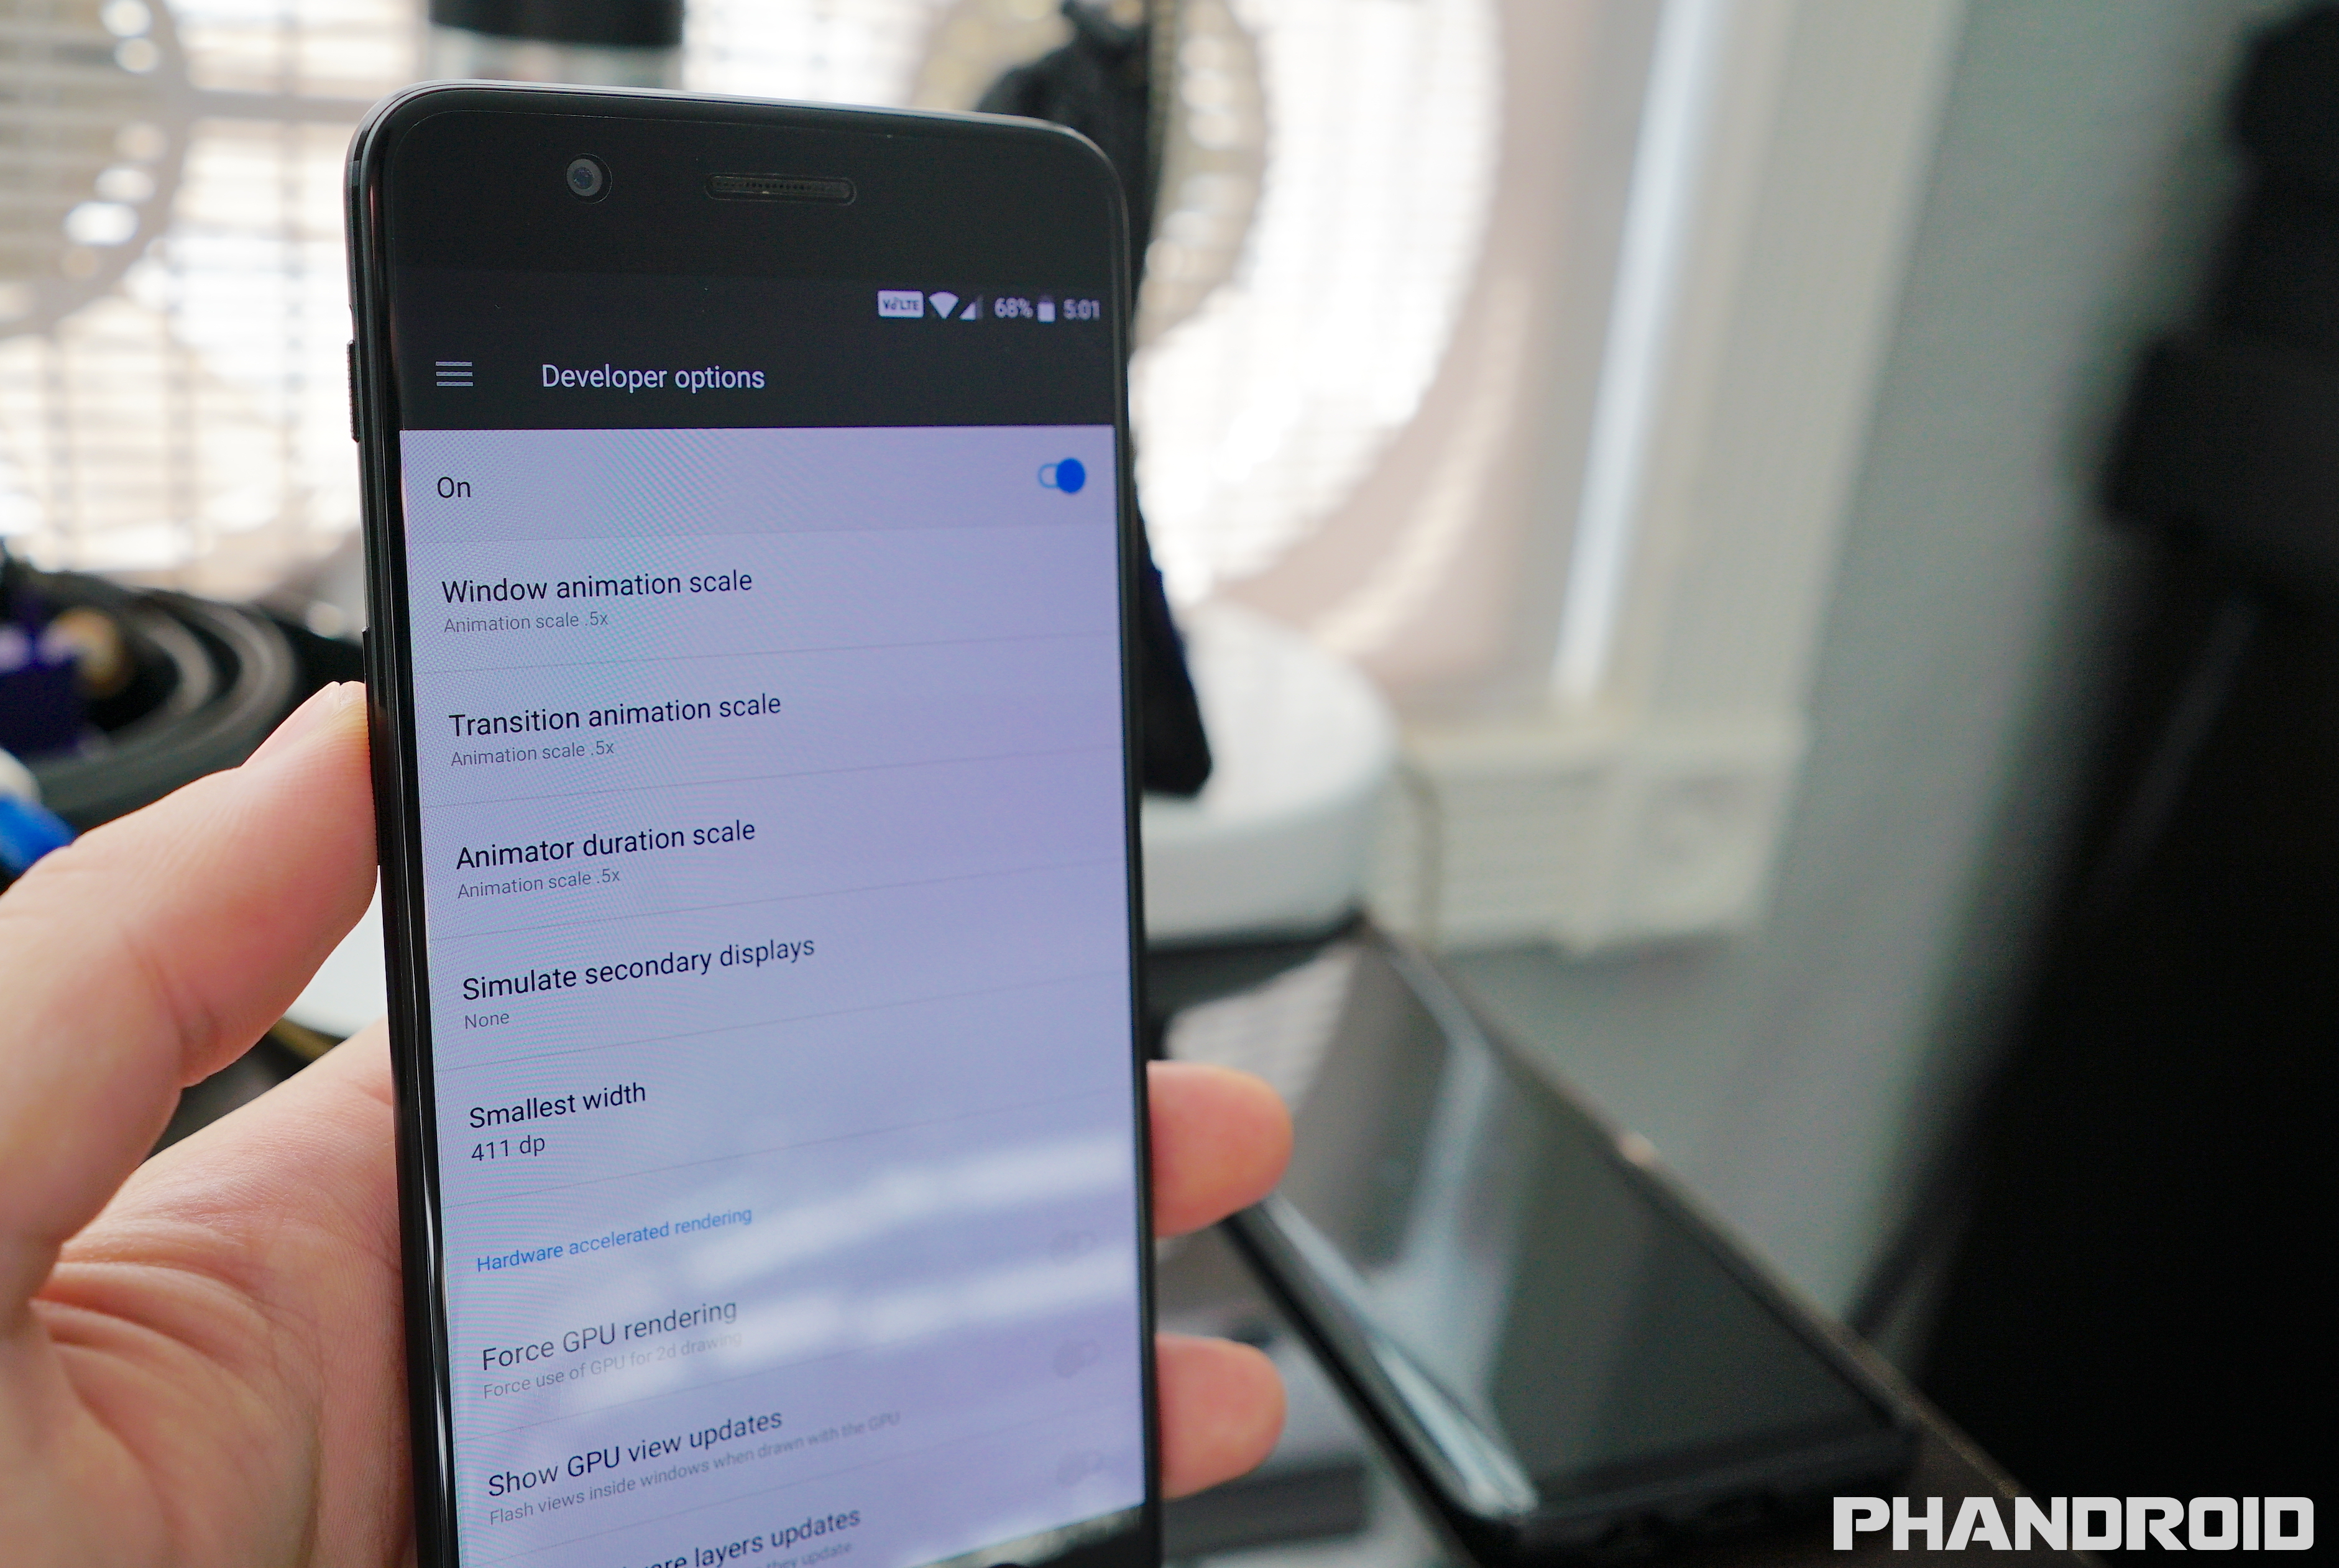
Easily the best thing the OnePlus 5 has going for it is its insanely fast performance. To kick things up another notch and make the UI feel even more snappy, you can actually increase the speed of the transition animations from inside the Settings app. It’s not available by default, so you’ll first need to enable the hidden Developer options by following these steps:
- Open the Settings app
- Scroll down and select About phone
- Scroll down and tap Build Number 7 times
- “You are now a developer” message will appear
- Press back and you’ll see a new setting: Developer options
Then…
- Open Developer options
- Scroll down select Window animation scale and choose .5x
- Select Transition animation scale and choose .5x
- Select Animator duration scale and choose .5x
Once you’re all done, go back to the home screen and turn off the display using the power button. Wake your phone to enjoy a speedier, more kicky fast UI. Keep in mind that the setting is persistent, so you don’t have to redo anything after a reboot or system update.
Show the battery percentage in the status bar
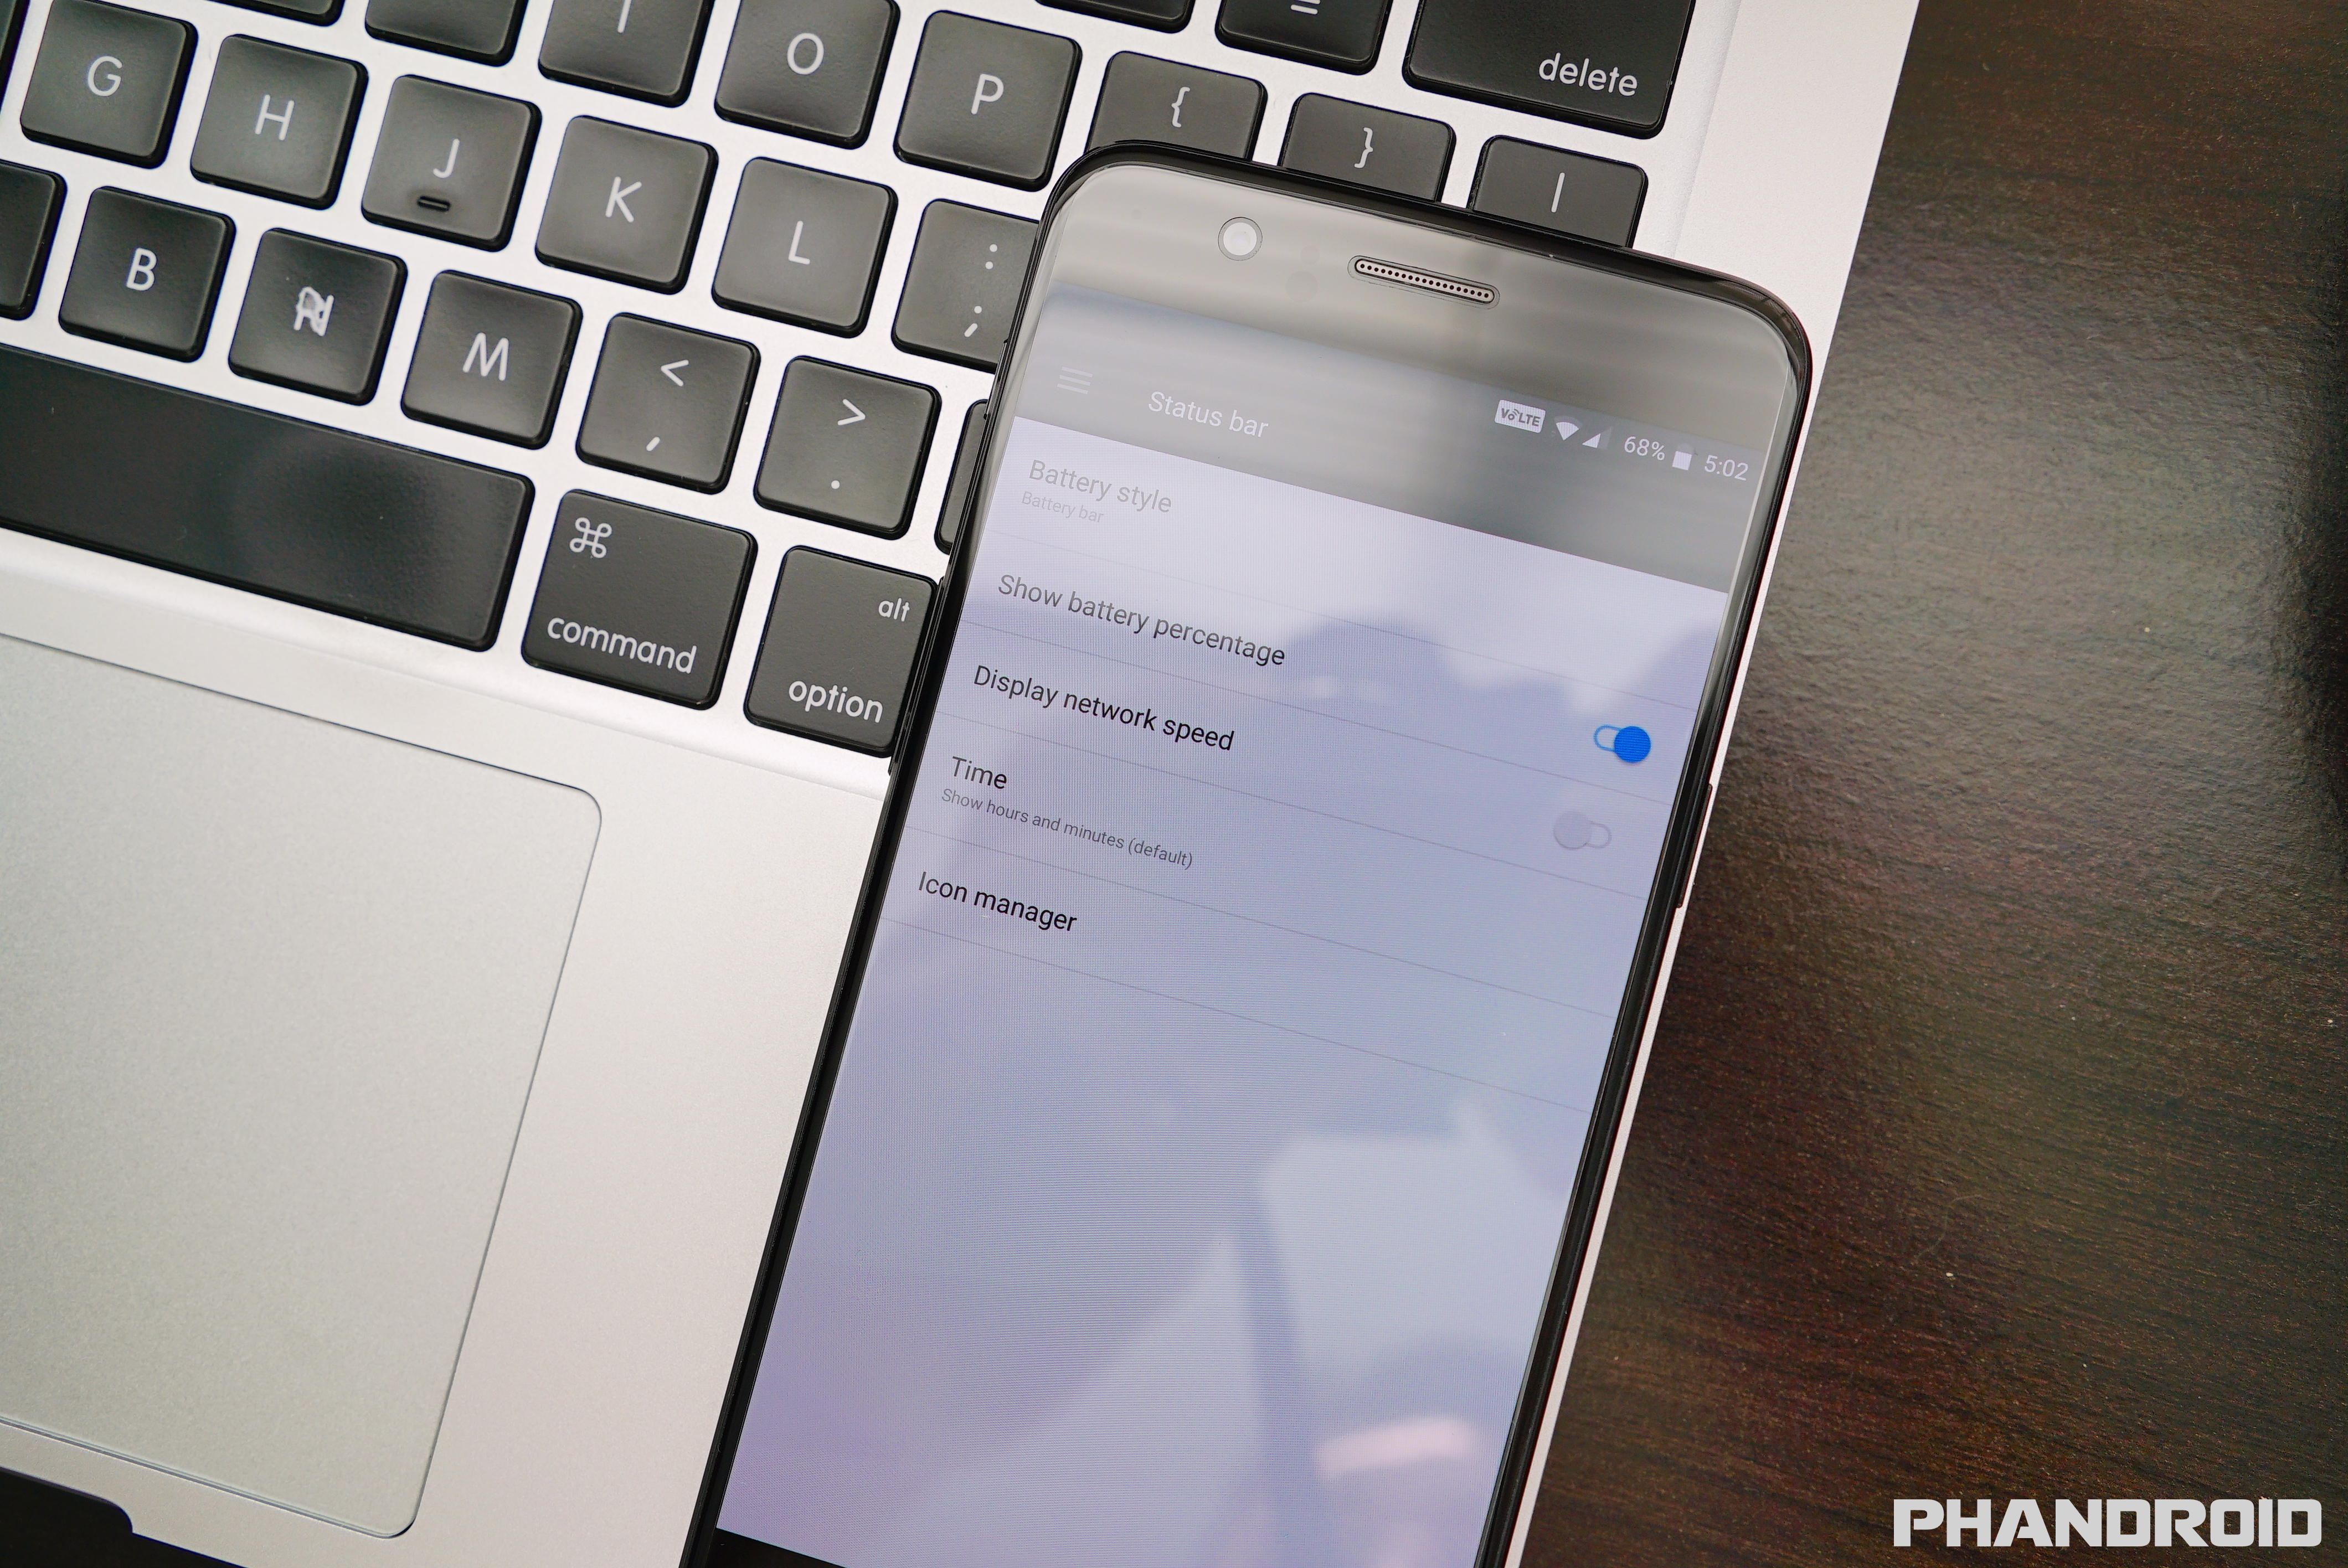
Although the battery icon in the status bar is a great visual indicator of how much juice you have remaining, sometimes you want some cold hard numbers. You can turn on a battery percentage that appears right next to the battery icon and helpful for seeing exactly how much life you have at a glace.
- Open the Settings app
- Select Status bar
- Enable Show battery percentage (turn on)
Re-arrange or hide your Quick Settings toggles
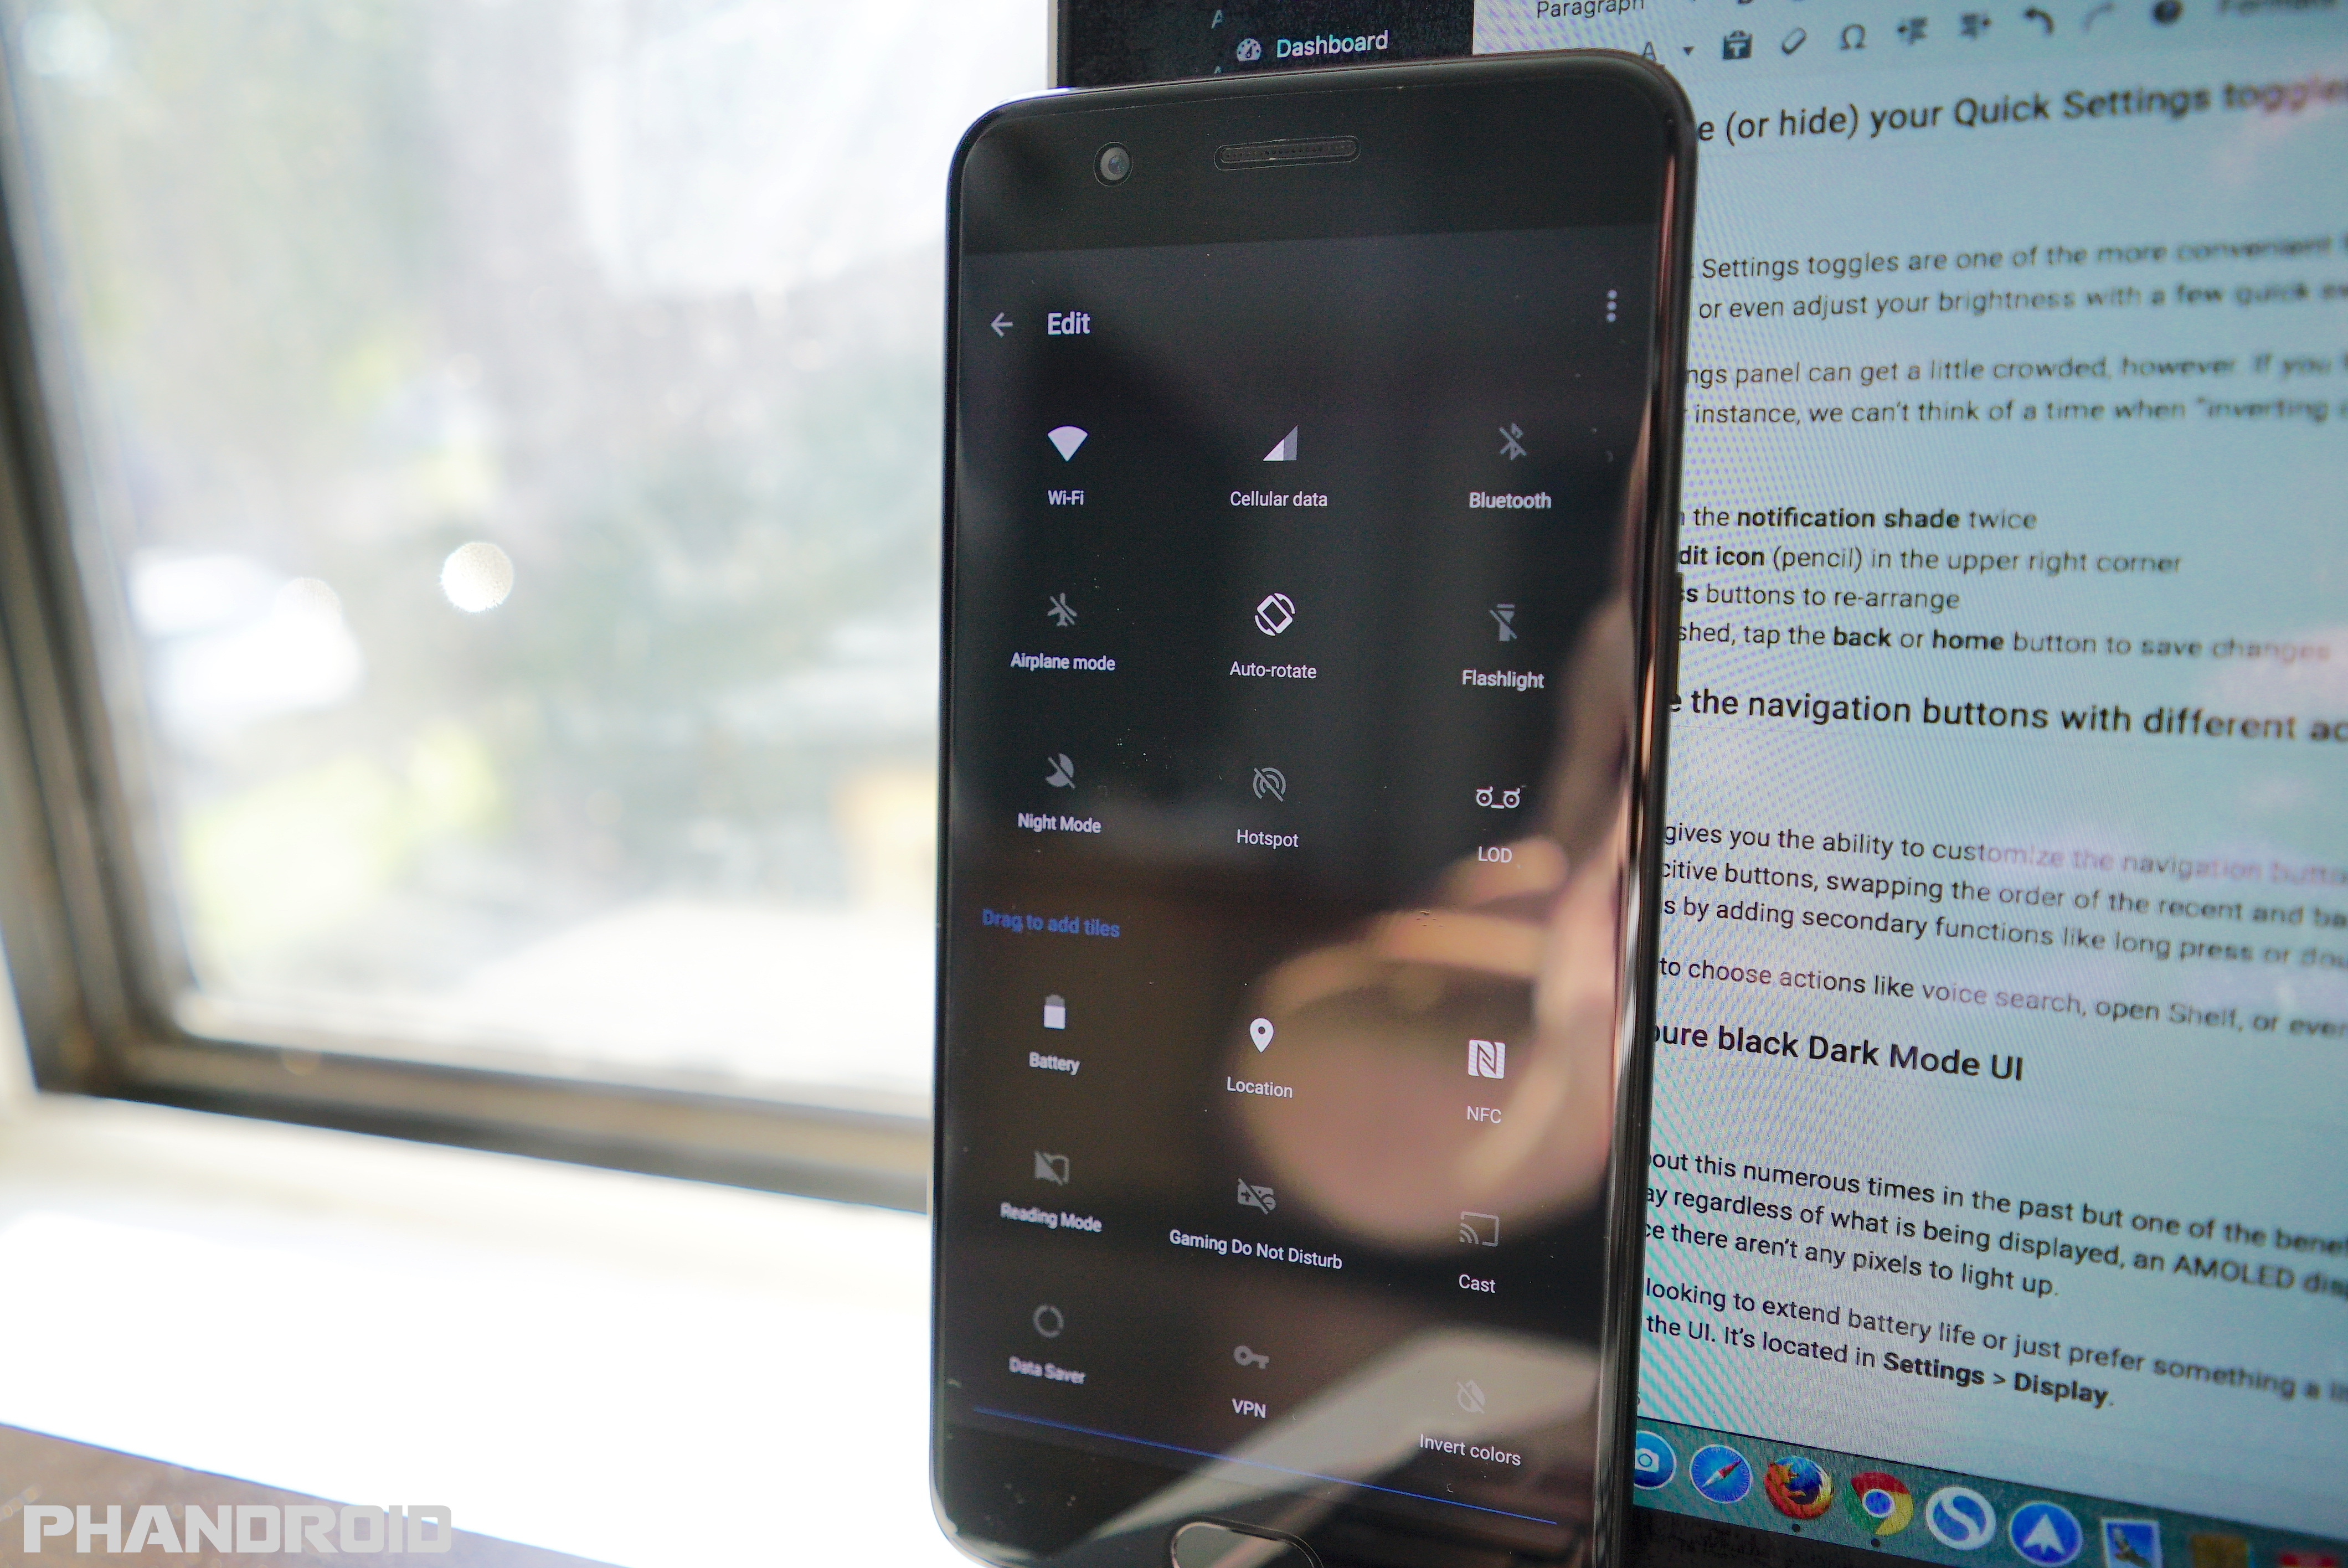
Android’s Quick Settings toggles are one of the more convenient features that were introduced back in Lollipop. Having quick access to basic functions like WiFi, Bluetooth, GPS, or even adjust your brightness with a few quick swipes is incredibly convenient.
The Quick Settings panel can get a little crowded, however. If you feel like thinning things out a bit, you can always re-arrange — or remove — some of the buttons to suit your tastes. For instance, we can’t think of a time when “inverting colors” would get any use from us, so we removed it from being displayed in Quick Settings. Here’s how:
- Pull down the notification shade twice
- Tap the edit icon (pencil) in the upper right corner
- Long press buttons to re-arrange
- When finished, tap the back or home button to save changes
Customize the navigation buttons with secondary actions
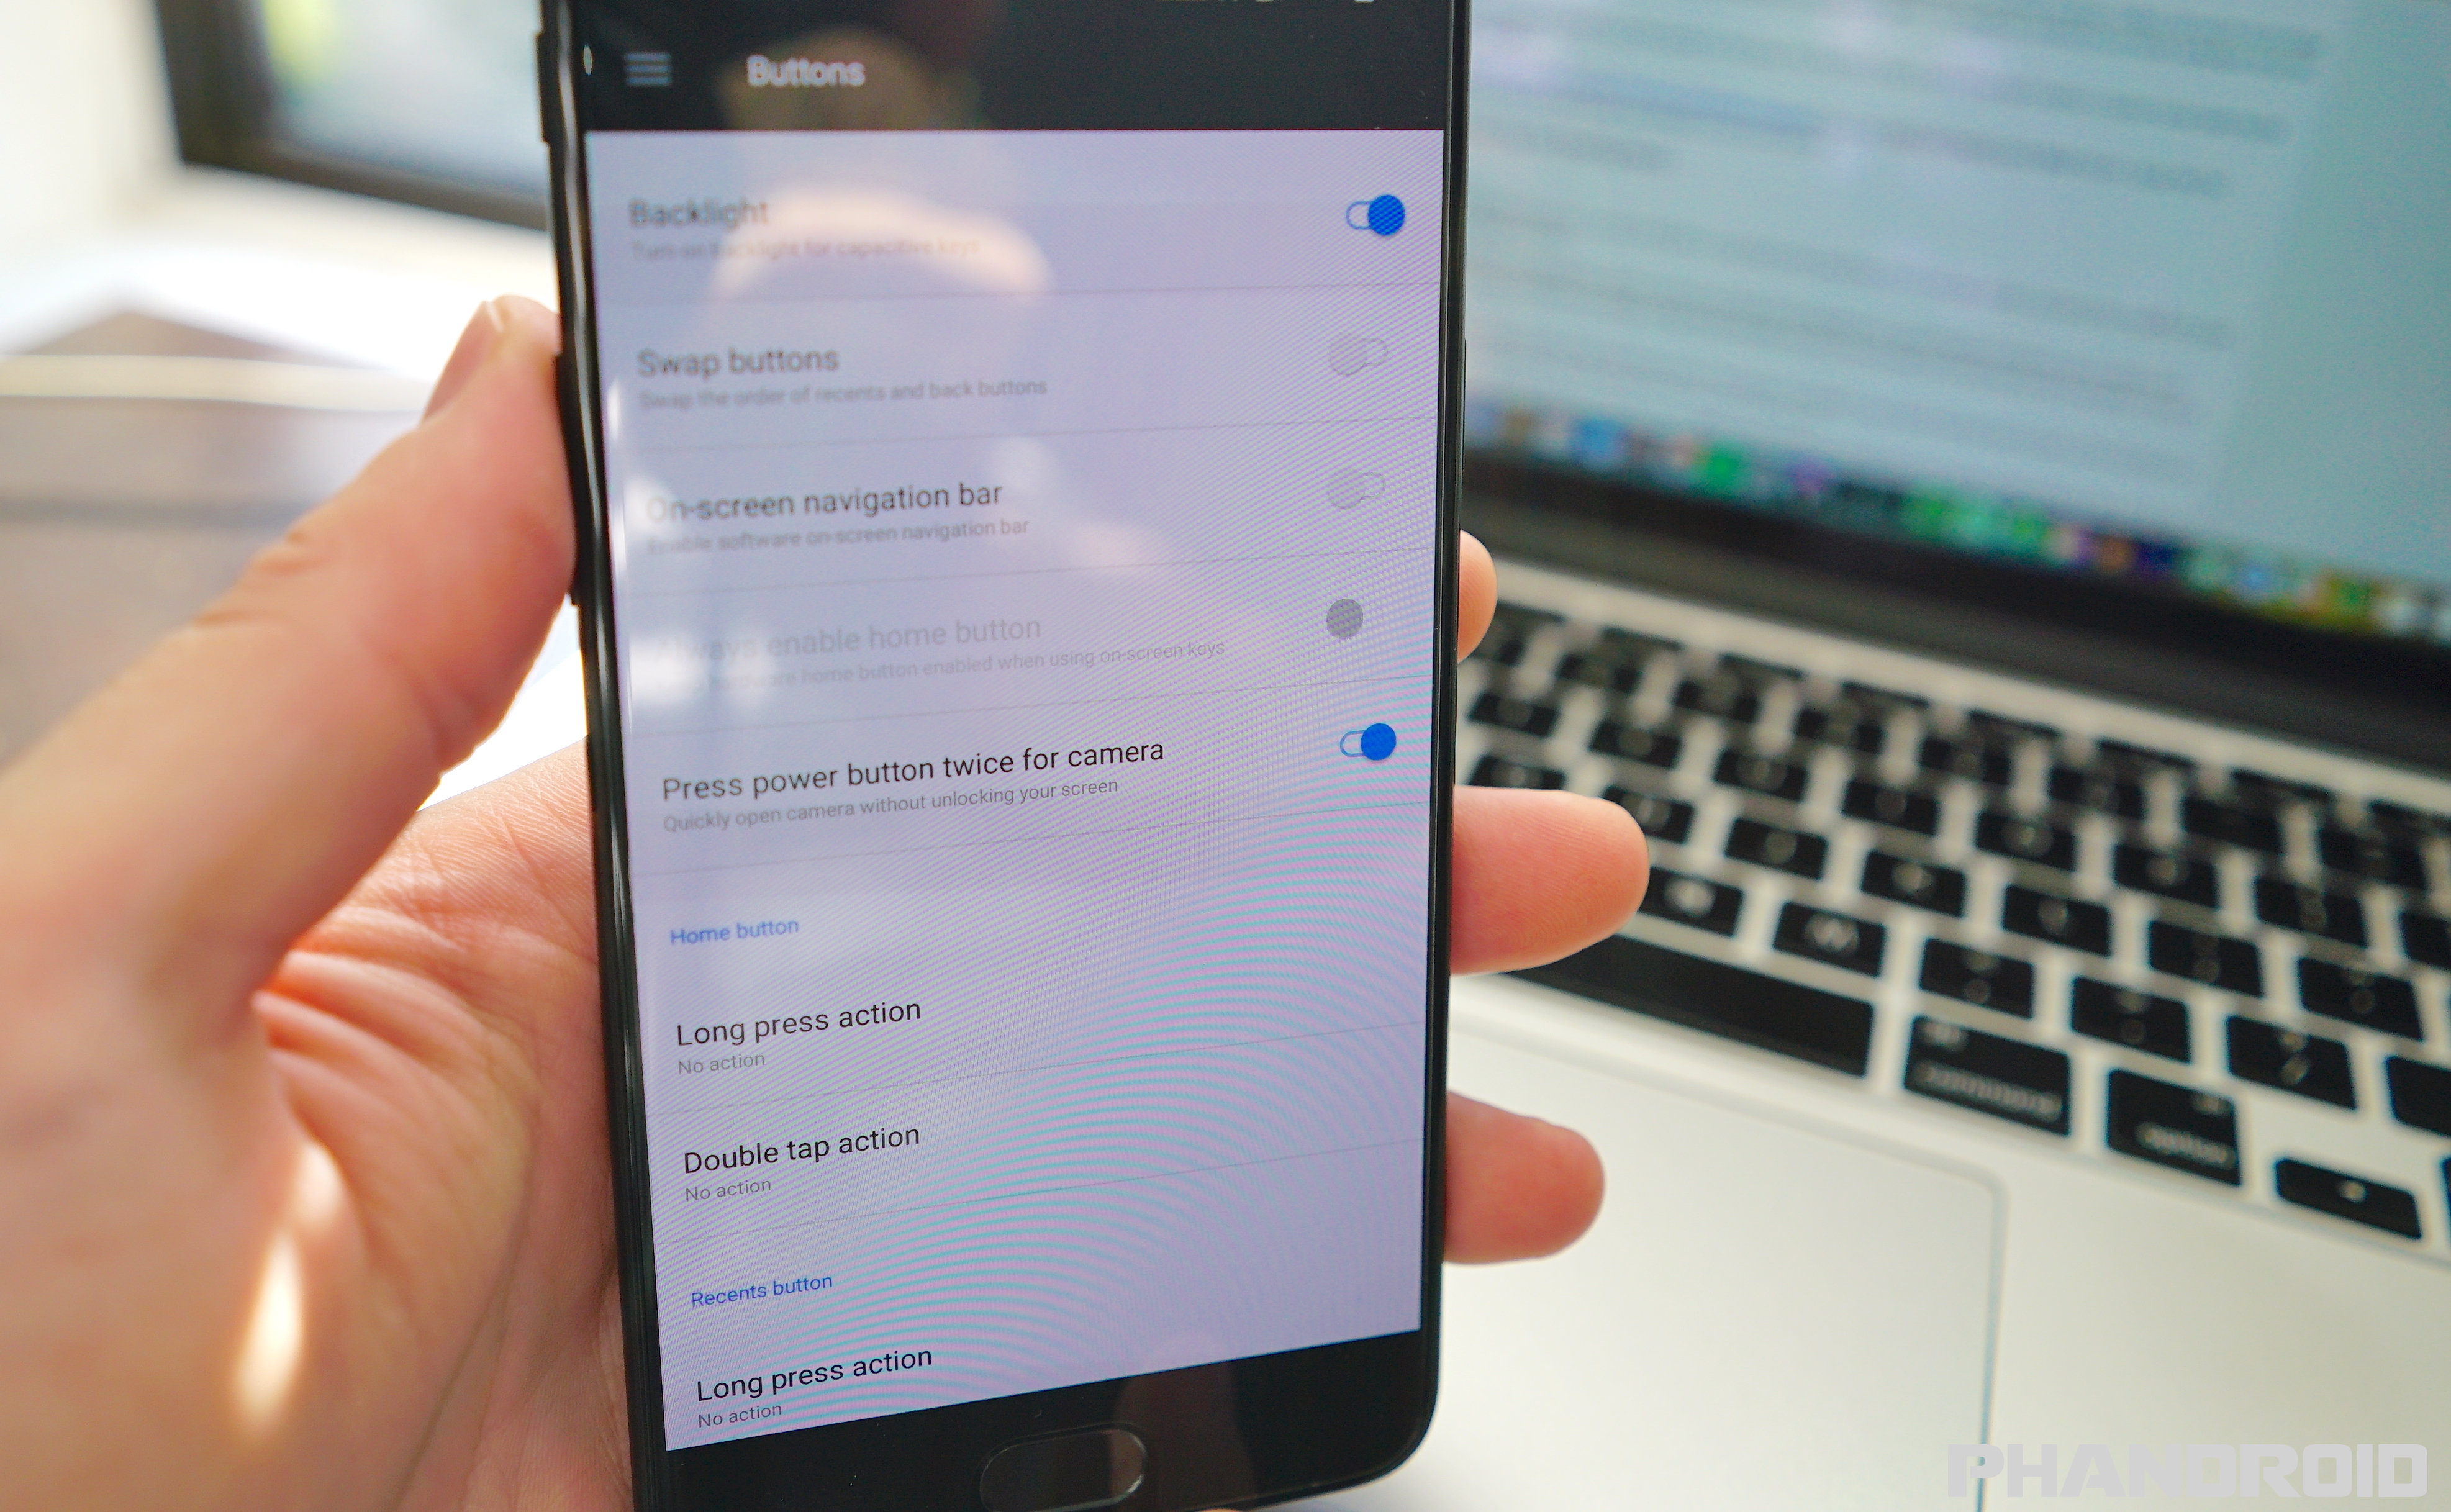
The OnePlus 5 gives you the ability to customize the navigation buttons on the device. Located inside Settings > Buttons you’ll find the option to choose between on-screen or capacitive buttons, swapping the order of the recent and back buttons (like how it is on Samsung devices), or even changing the behavior of the back/home/recents buttons by adding secondary functions like long press or double tap actions for each.
With the ability to choose actions like voice search, open Shelf, or even turn the screen off, you can really have some fun with it and make your OnePlus 5 work for you.
Enable a pure black Dark Mode UI
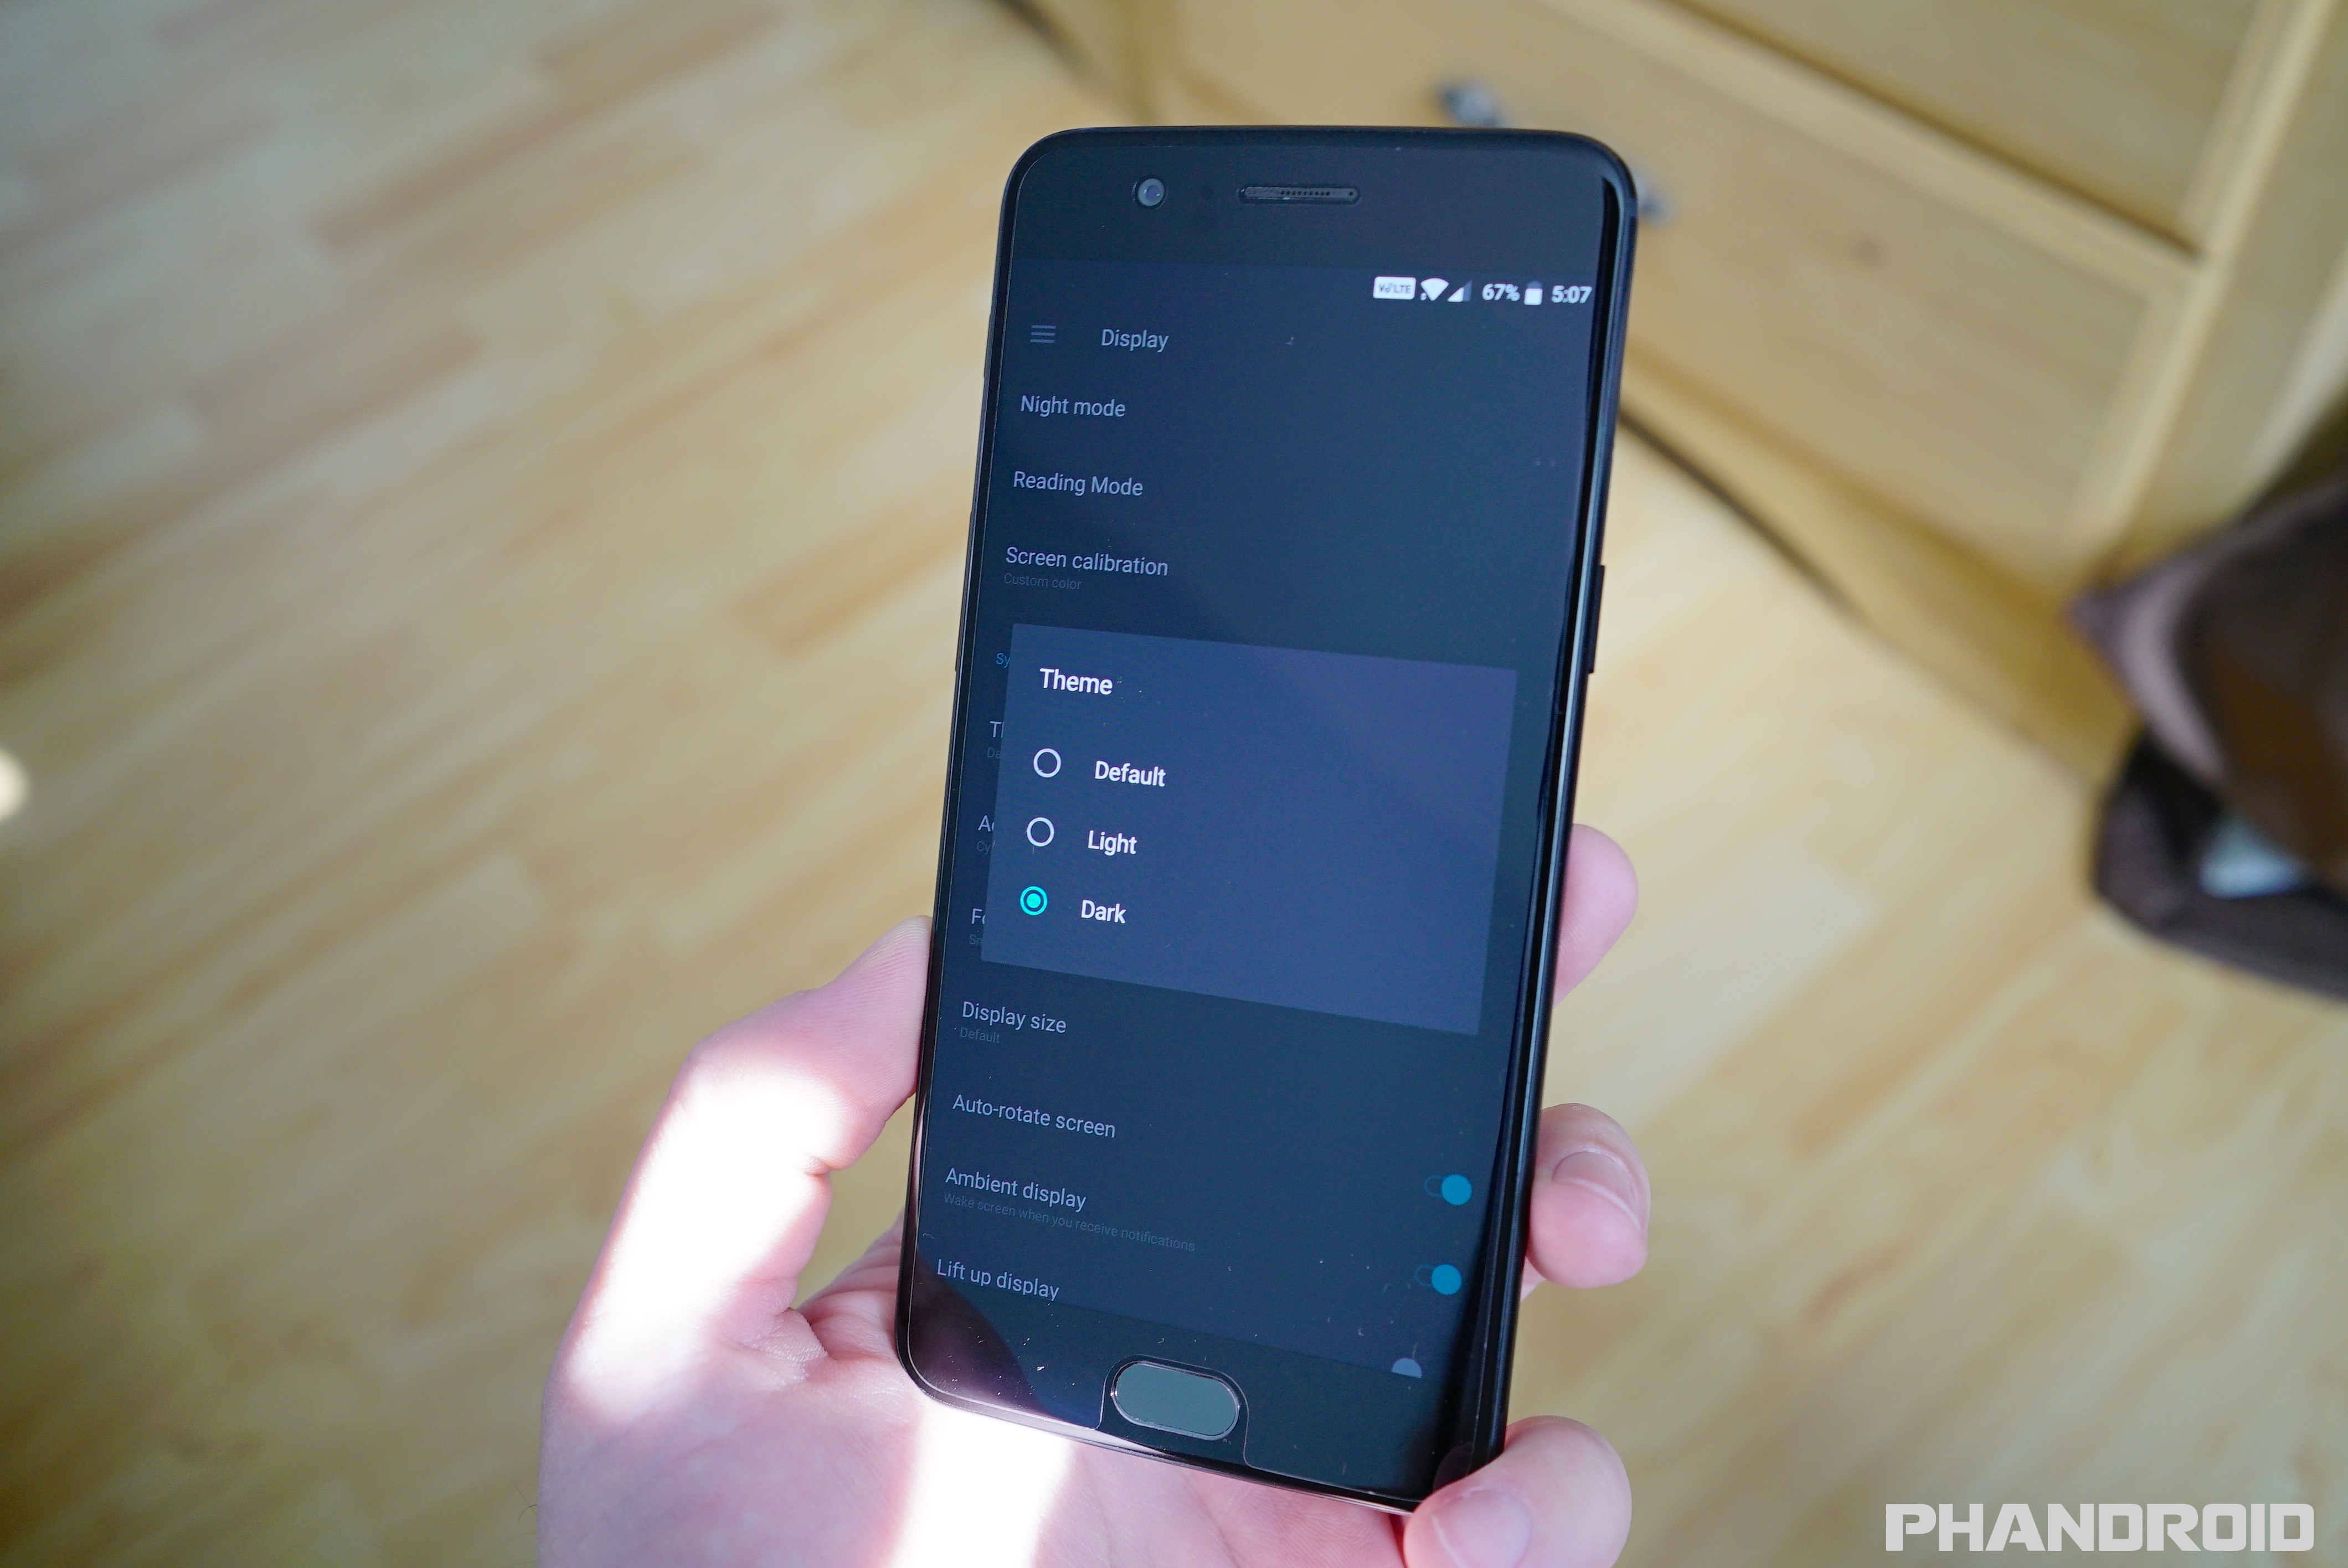
We’ve talked about this numerous times in the past but one of the benefits an AMOLED display offers over traditional LCD is power savings. Unlike LCD which illuminates the entire display regardless of what is being displayed, an AMOLED display only illuminates the pixels that need it. For instance, viewing a pure black wallpaper requires little power since there aren’t any pixels to light up.
Whether you’re looking to extend battery life or just prefer something a little easier on the eyes, the OnePlus 5 has a Dark Mode that enables a system-wide dark theme across most of the UI. It’s located in Settings > Display.
Unlike “Night Modes” we’ve seen in the past (like the Android N version that was eventually scrapped), this is an AMOLED-friendly pure black theme. Apps like the Settings or Files applications will be darkened, including the app drawer and folders on the home screen.
Use Night Mode for less eye strain during evening hours
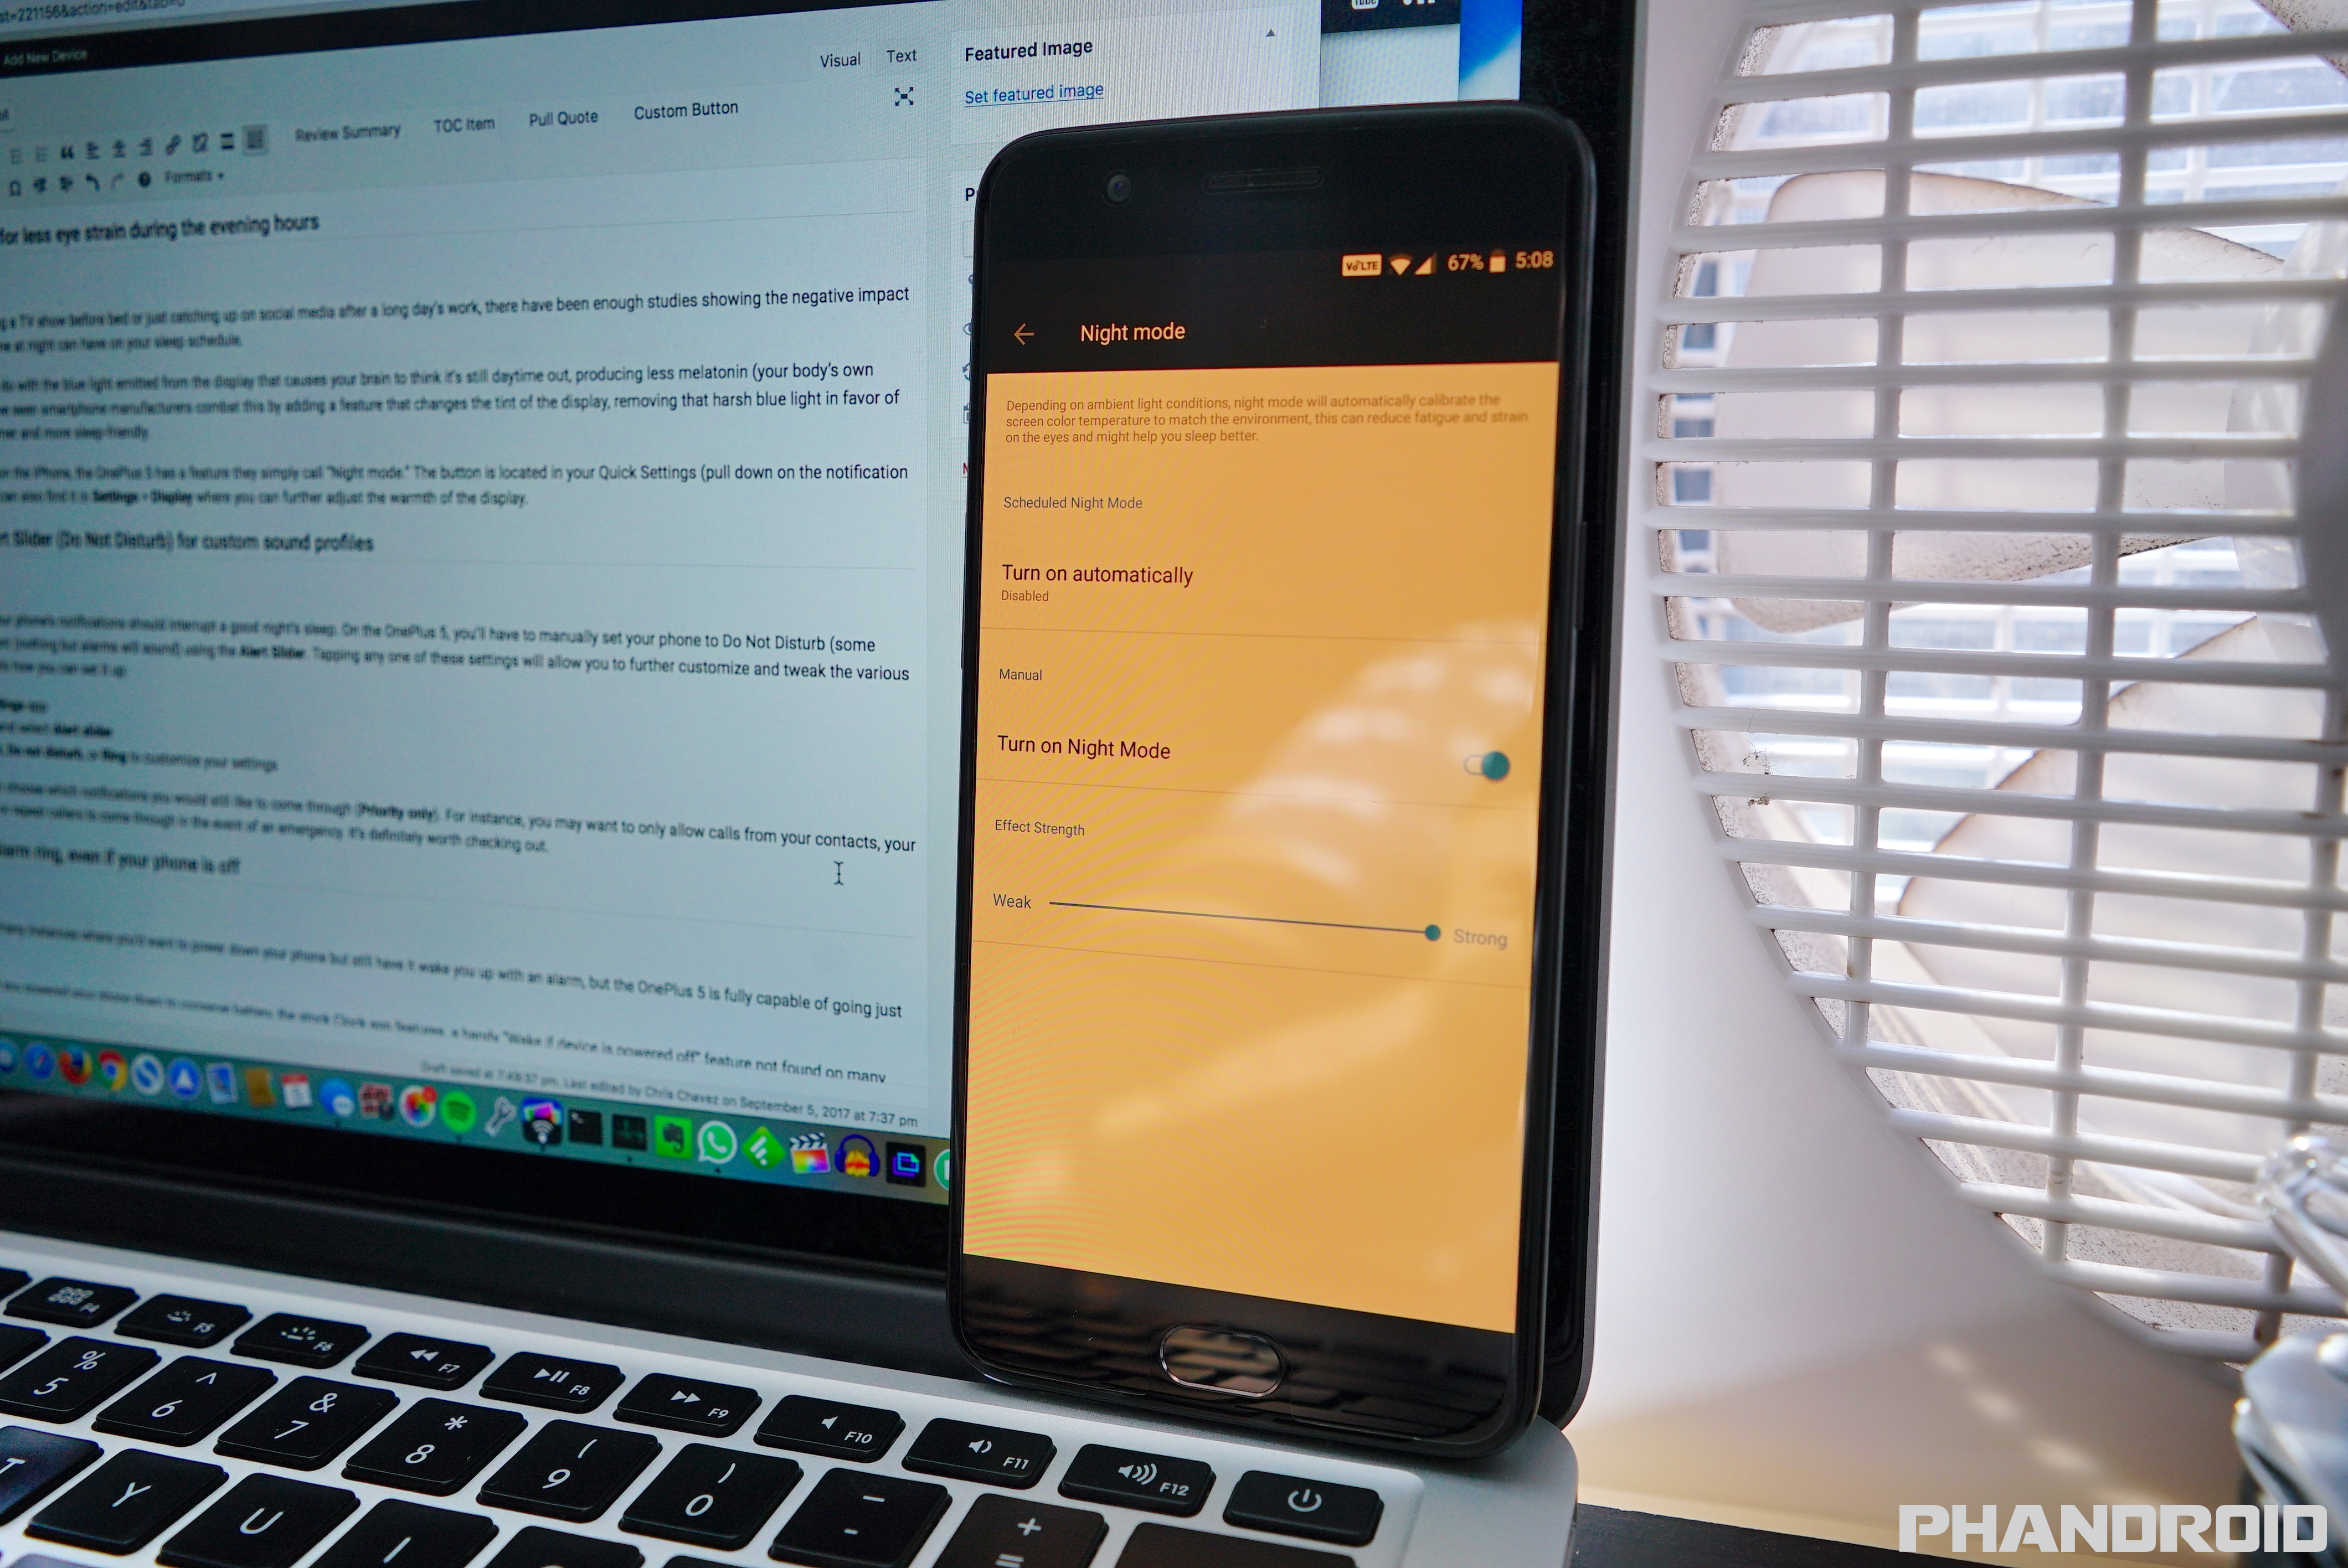
Whether you’re watching a TV show before bed or just catching up on social media after a long day’s work, there have been enough studies showing the negative impact viewing your smartphone at night can have on your sleep schedule.
This has something to do with the blue light emitted from the display that causes your brain to think it’s still daytime out, producing less melatonin (your body’s own natural sleep aid). We’ve seen smartphone manufacturers combat this by adding a feature that changes the tint of the display, removing that harsh blue light in favor of something a little warmer and more sleep-friendly.
Similar to Night Shift on the iPhone, the OnePlus 5 has a feature they simply call “Night mode.” The button is located in your Quick Settings (pull down on the notification shade twice) but you can also find it in Settings > Display where you can further adjust the warmth of the display.
Tweak the Alert Slider (Do Not Disturb) for custom sound profiles
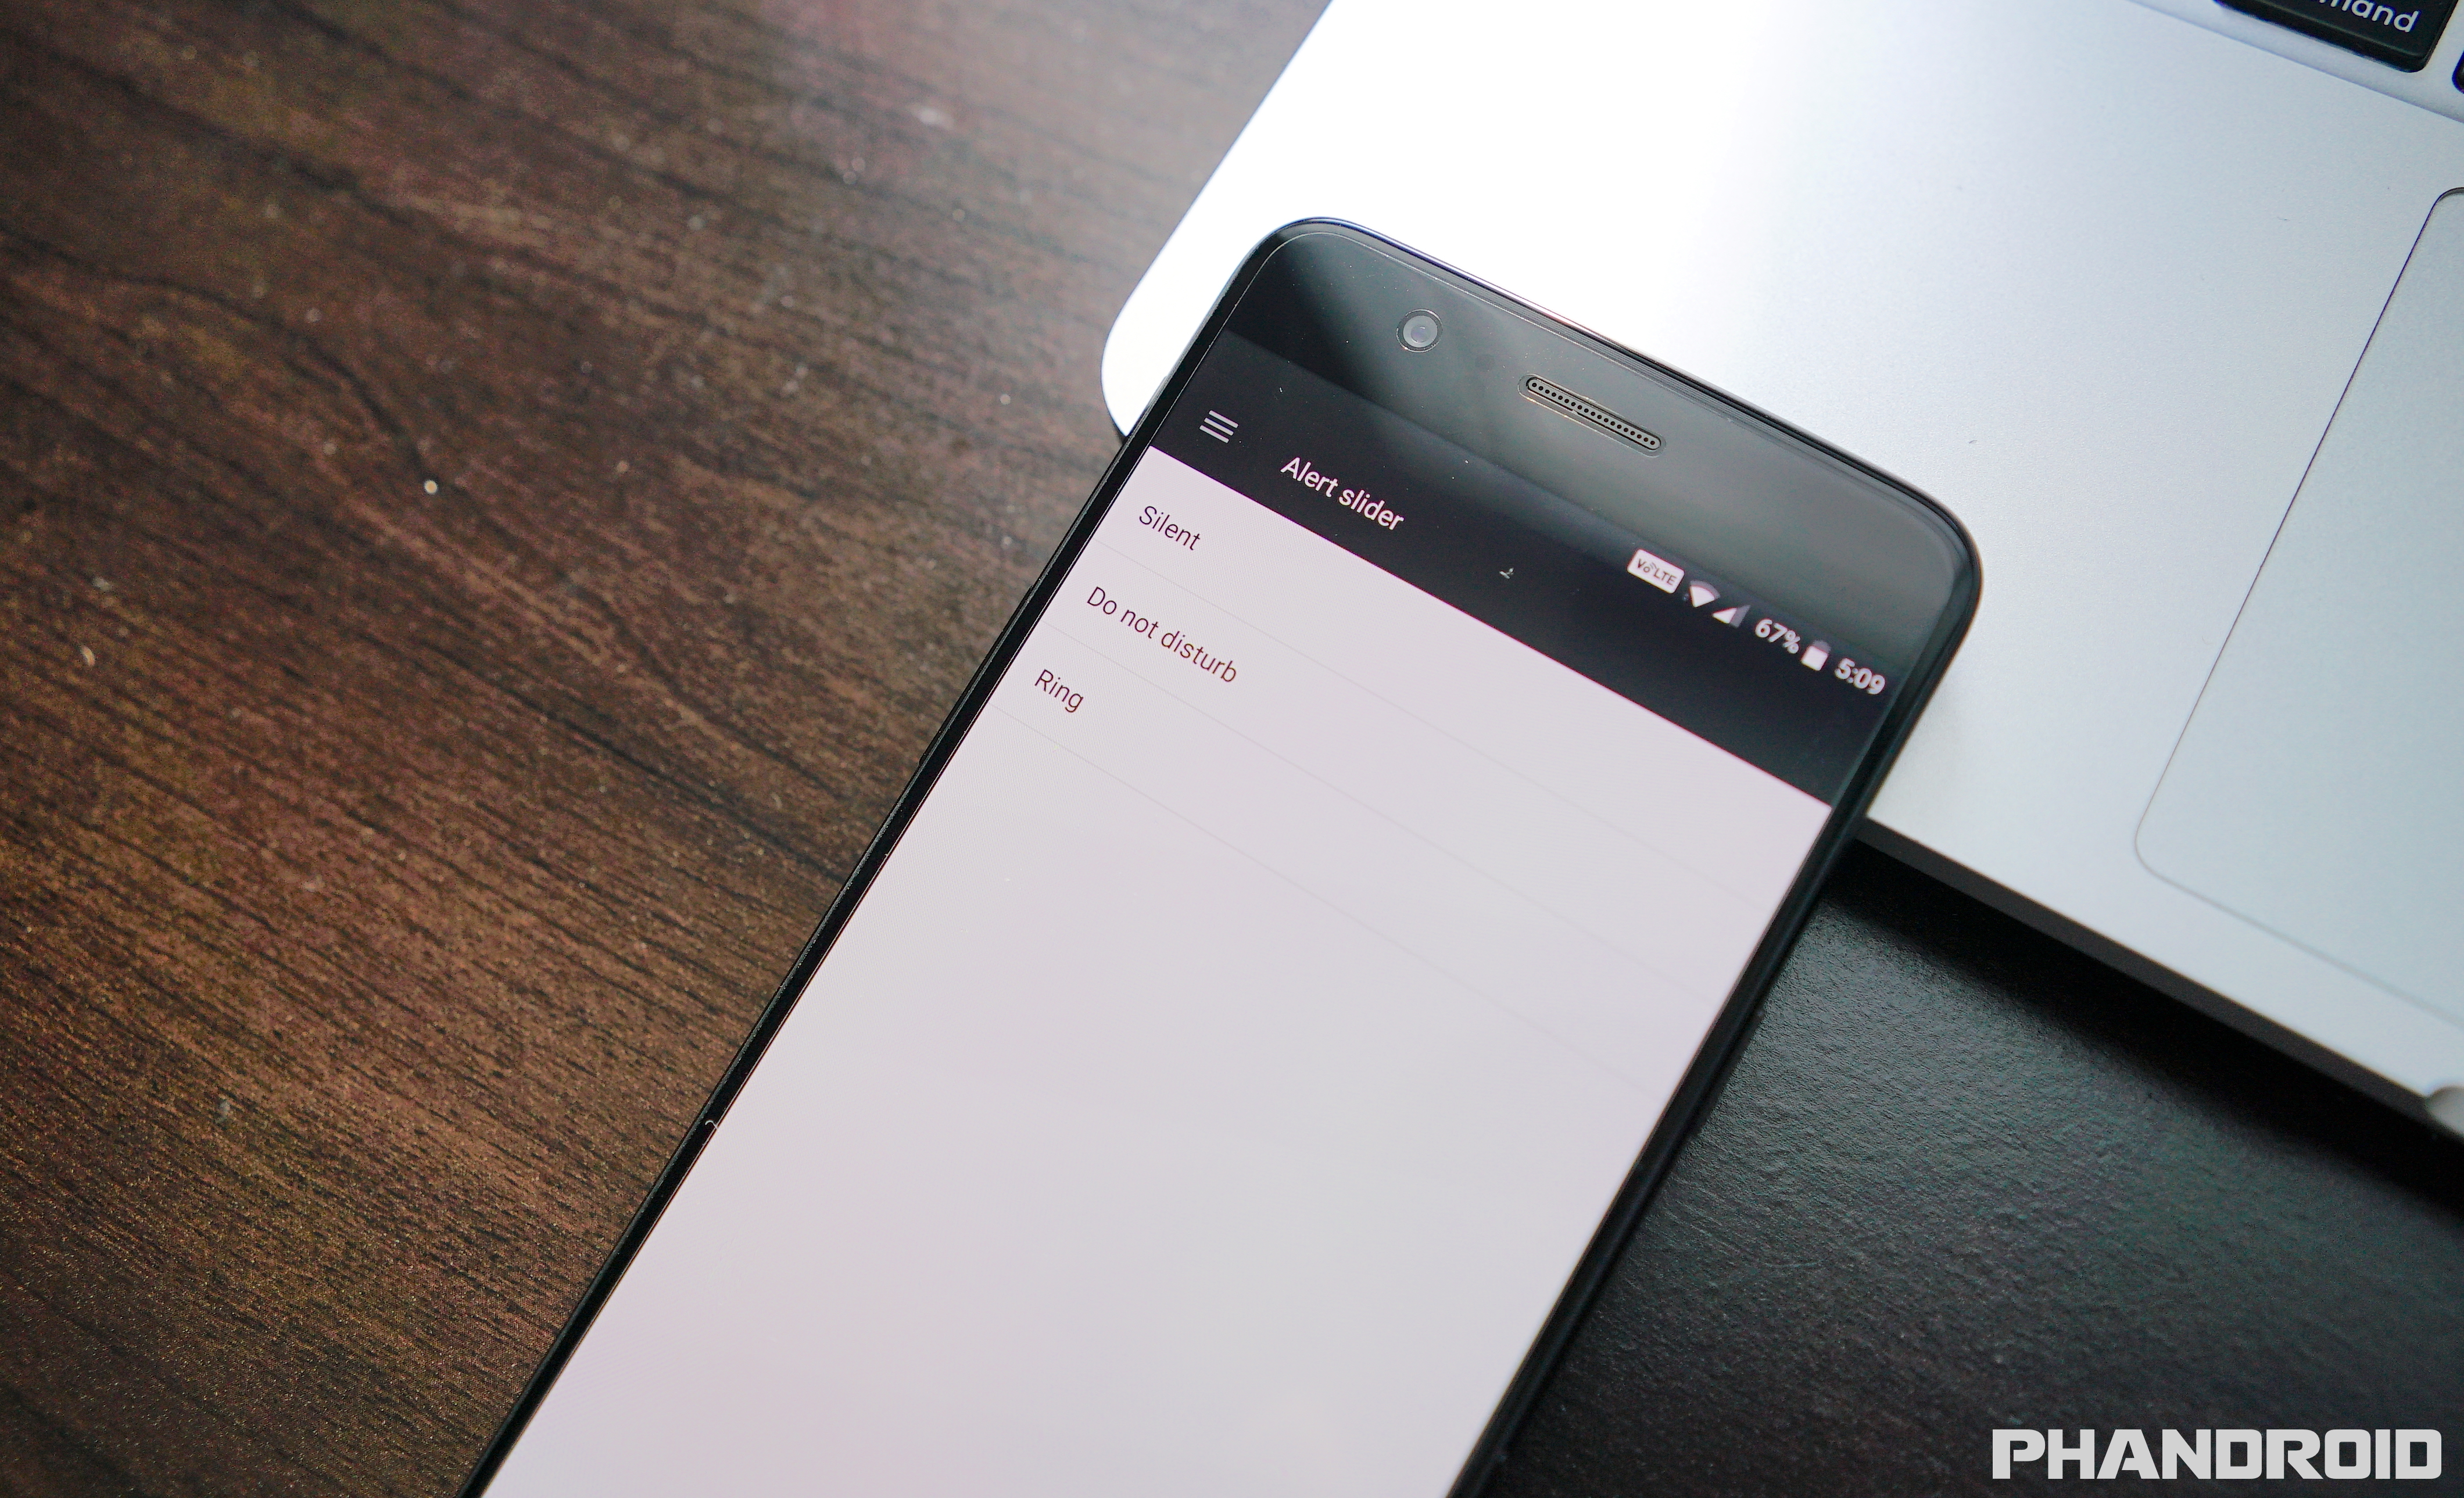
There’s no reason your phone’s notifications should interrupt a good night’s sleep. On the OnePlus 5, you’ll have to manually set your phone to Do Not Disturb (some notifications) or Silent (nothing but alarms will sound) using the Alert Slider. Tapping any one of these settings will allow you to further customize and tweak the various sound profiles. Here’s how you can set it up:
- Open the Settings app
- Scroll down and select Alert slider
- Tap on Silent, Do not disturb, or Ring to customize your settings
From here, you can choose which notifications you would still like to come through (Priority only). For instance, you may want to only allow calls from your contacts, your favorite contacts, or repeat callers to come through in the event of an emergency. It’s definitely worth checking out.
Have your alarm ring, even if your phone is off
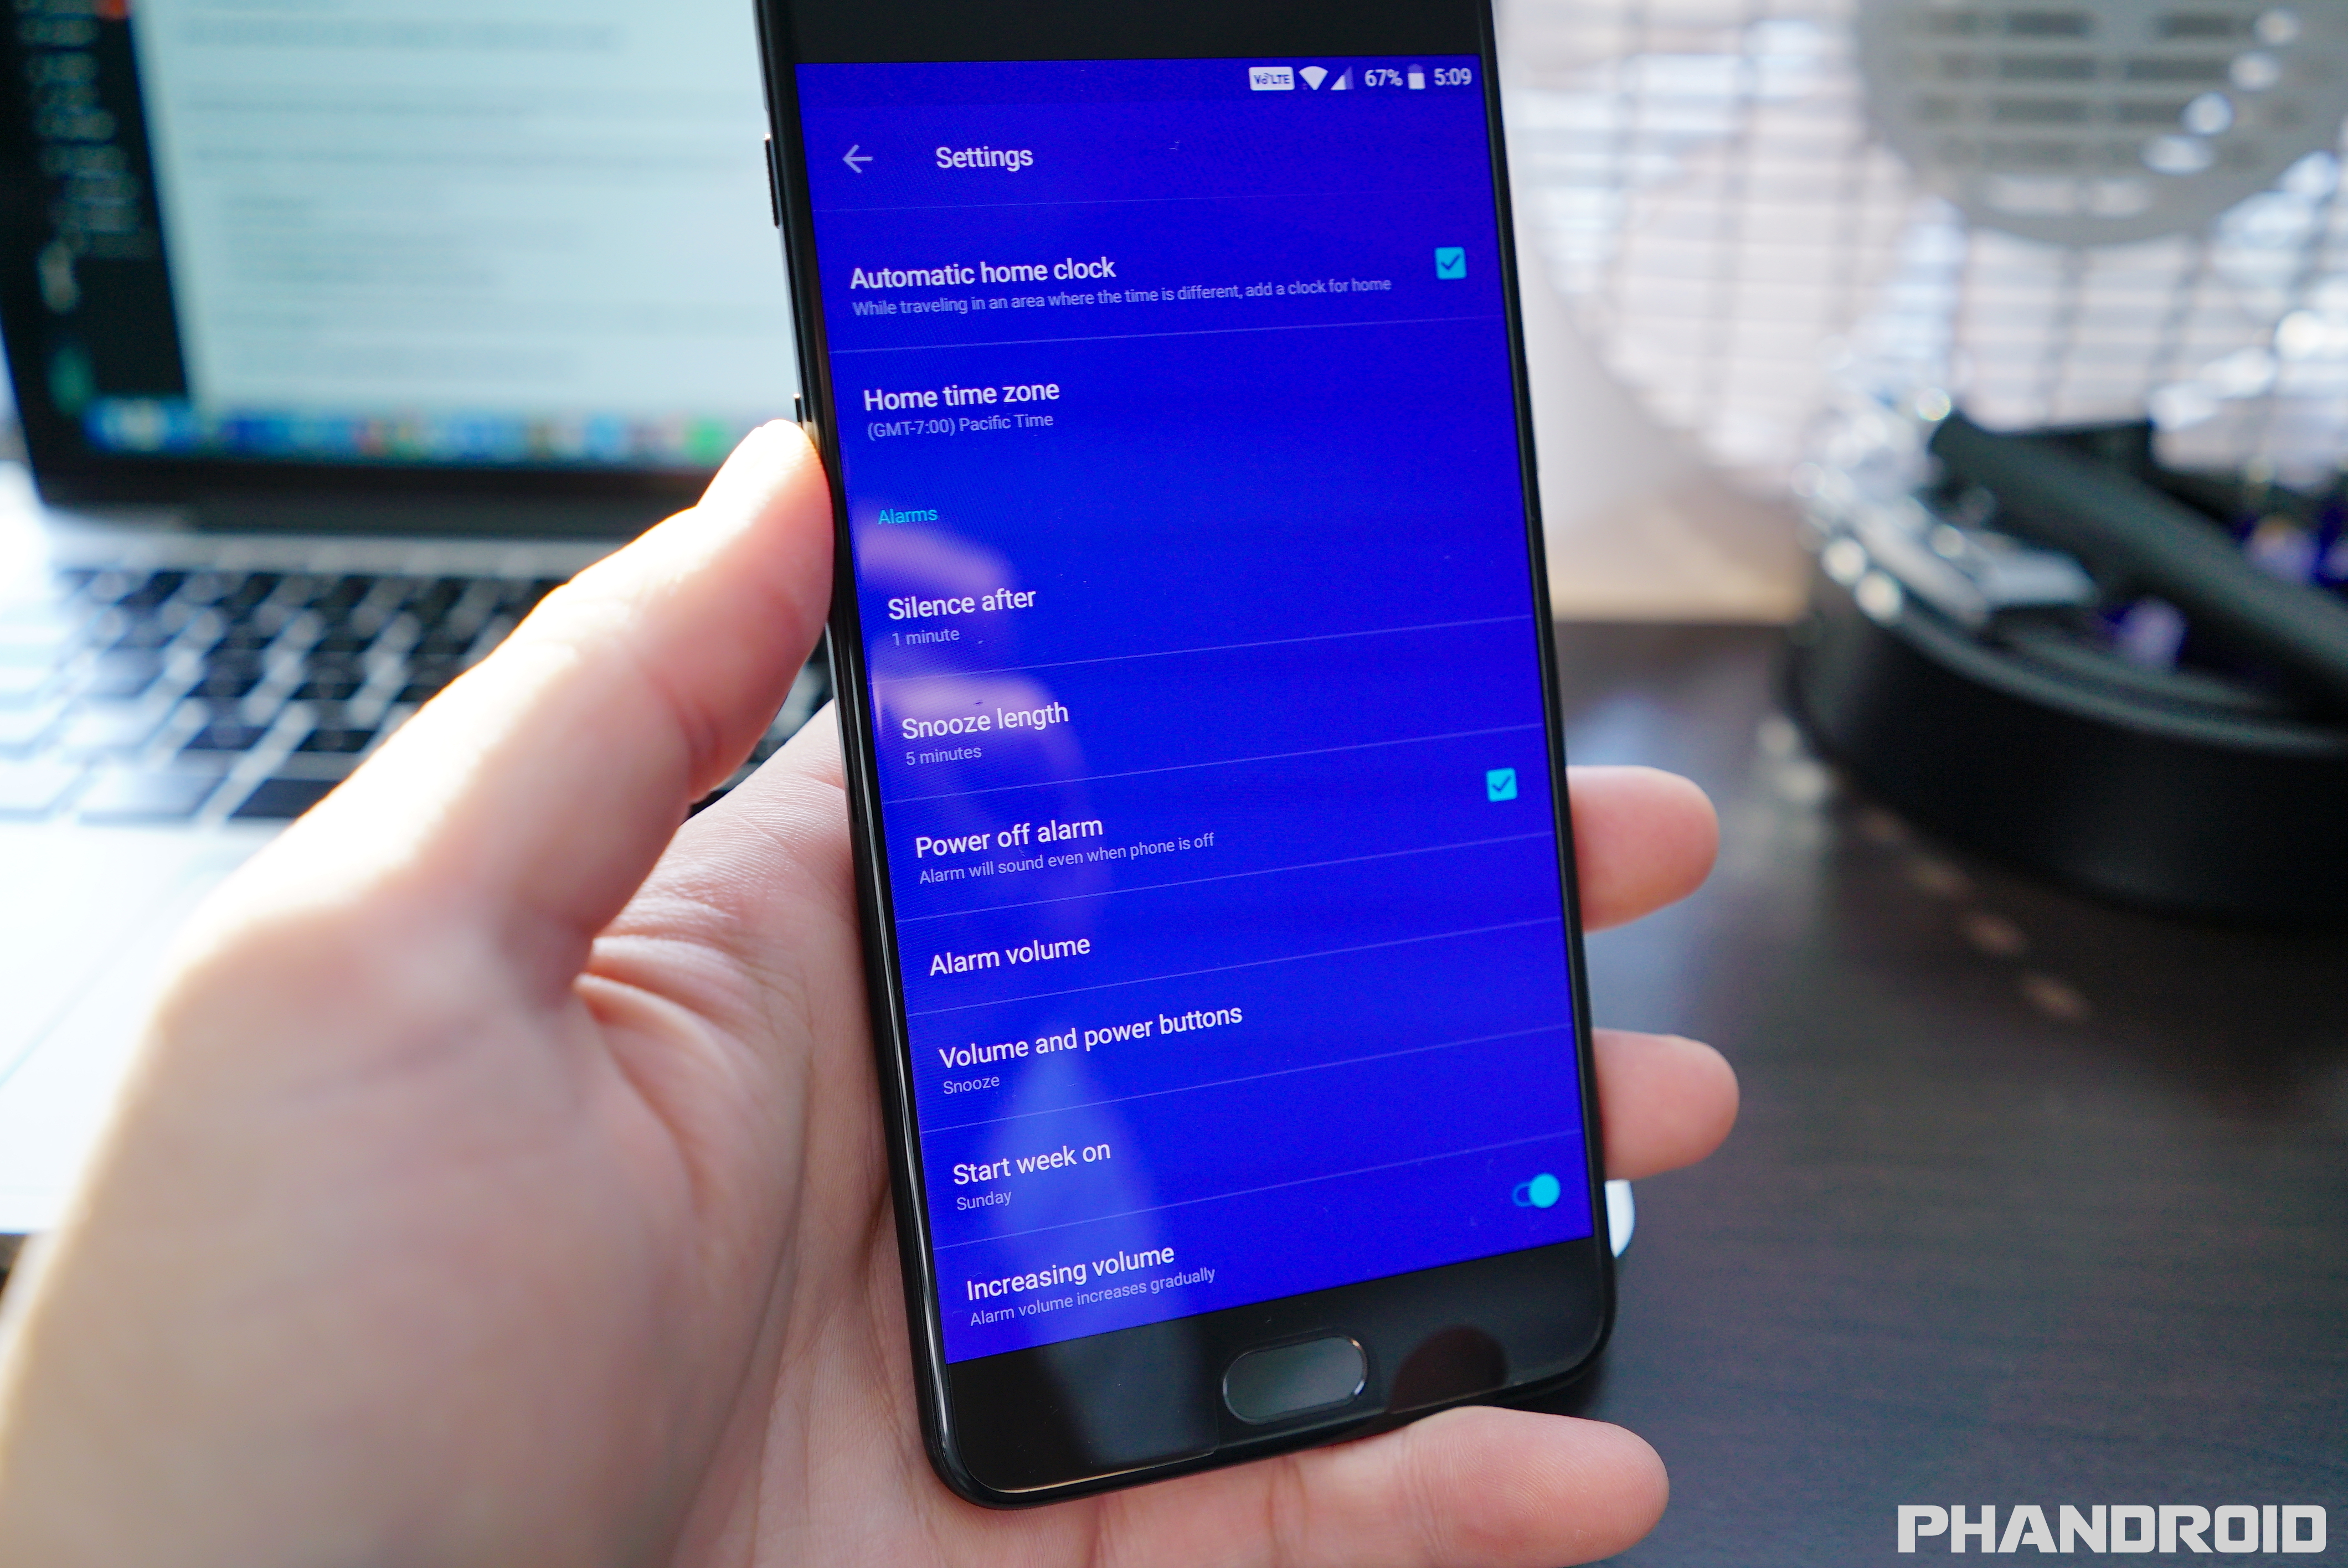
There aren’t too many instances where you’d want to power down your phone but still have it wake you up with an alarm, but the OnePlus 5 is fully capable of going just that.
In the event that you powered your phone down to conserve battery, the stock Clock app features a handy “Wake if device is powered off” feature not found on many other devices. You can find it by doing the following:
- Open the Clock app
- Tap on the 3-dot menu in the upper right corner
- Tap Settings
- Turn Power off alarm on/off
Use a pure black lock screen wallpaper to save battery
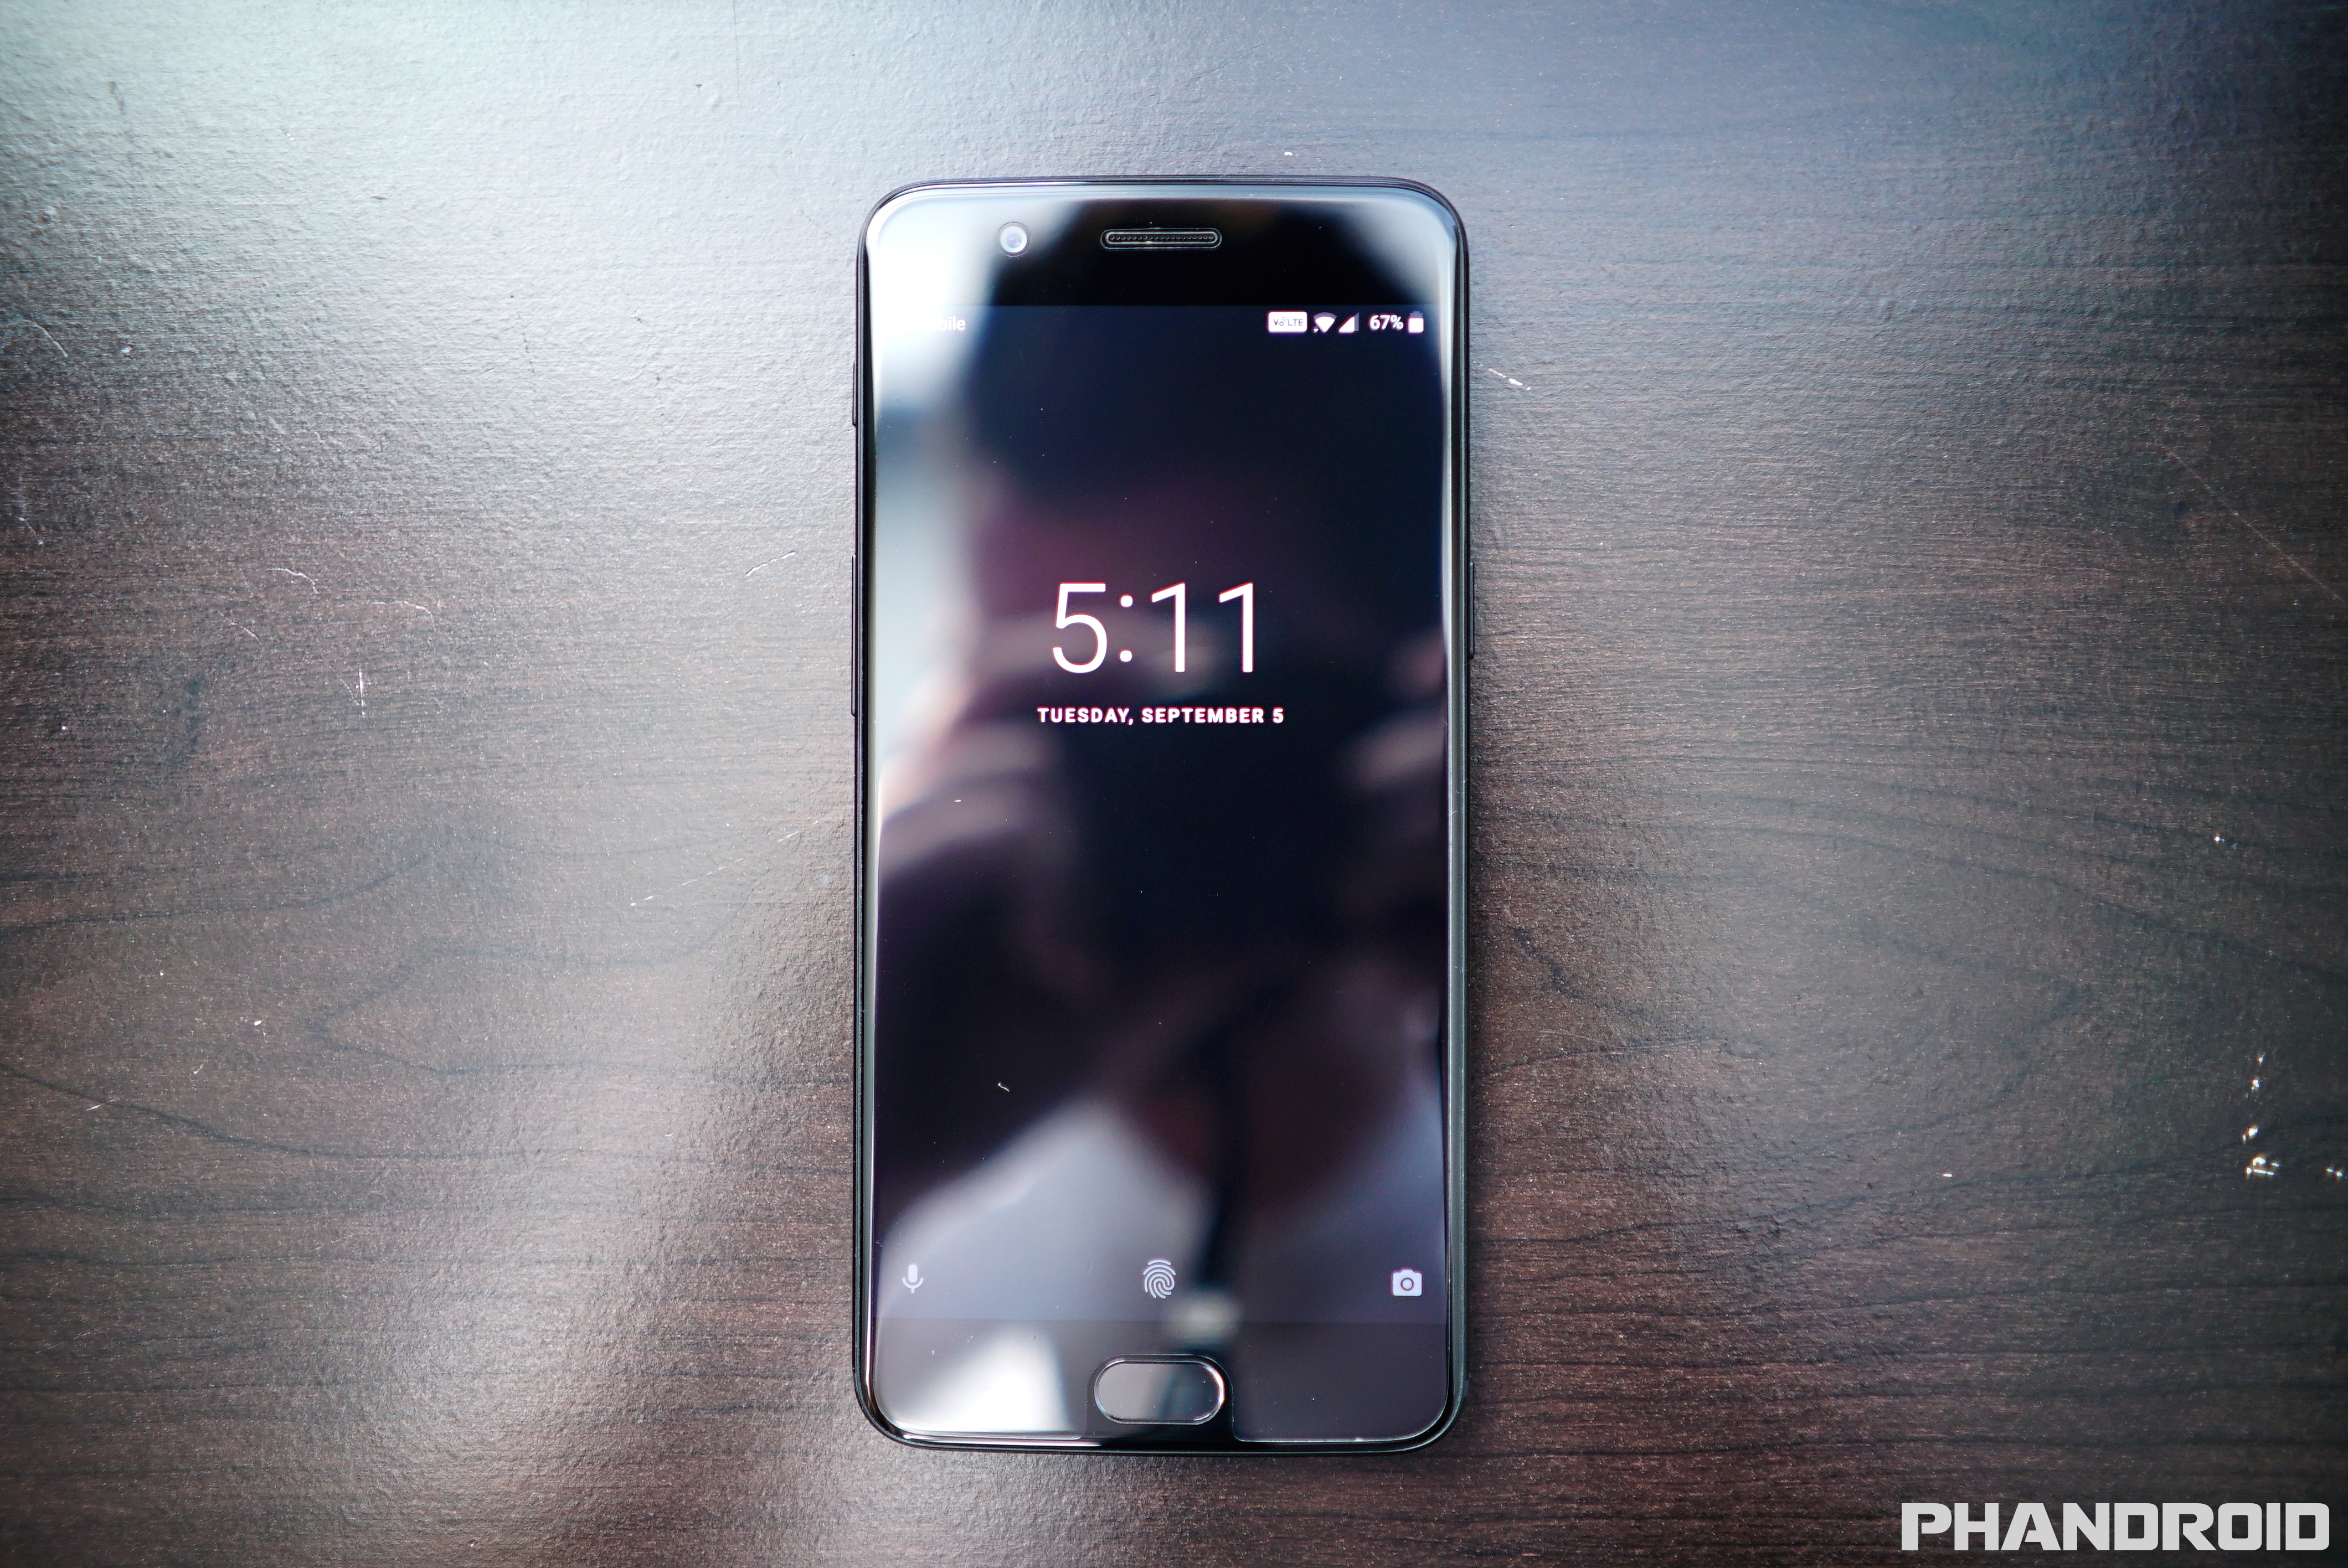
Something we recommend for any smartphone equipped with an AMOLED display is using a solid black wallpaper for the lock screen. Since you’re frequently checking your phone’s lock screen to check for notifications, it quickly adds up.
Using a black lock screen wallpaper helps conserve power because AMOLED doesn’t require any power to light up black colors on the display. Less power means less battery drainage — and that’s a good thing. Here’s how you change the lock screen wallpaper on the OnePlus 5.
- Long press a blank area of the home screen
- Select Wallpapers
- Swipe over to the Lock screen option (left of the home screen preview)
- Select My photos from the wallpapers selector
- Choose the black wallpaper you saved to your device
- Press Set Wallpaper located in the upper right corner
Note: If you’re using a 3rd party home screen replacement app, you’ll need to go into Settings > Default Launcher > and select OnePlus Launcher in order to change the lock screen wallpaper.
Shoot like a pro using different camera shooting modes
Every time you get a new smartphone you’ll need to reacquainted with the camera software. Like most other devices, the OnePlus 5 offers a variety of camera settings, shooting modes, and features you can take advantage of to achieve the perfect photo — no matter the occasion.
When you open the app, you’ll find the timer delay, HDR/HQ modes, crop aspect ratio, and flash located at the very top. HDR increases the dynamic range of your photo (lightens shadows, darkens bright areas of a photo), but takes a few milliseconds longer from when capturing the photo, so it’s not ideal for capturing moving subjects, just still landscape shots.
On the bottom, you’ll find a front facing camera button to the left of the shutter button. Swiping right on the viewfinder will switch to video mode, while swiping left will take you to the portrait mode.
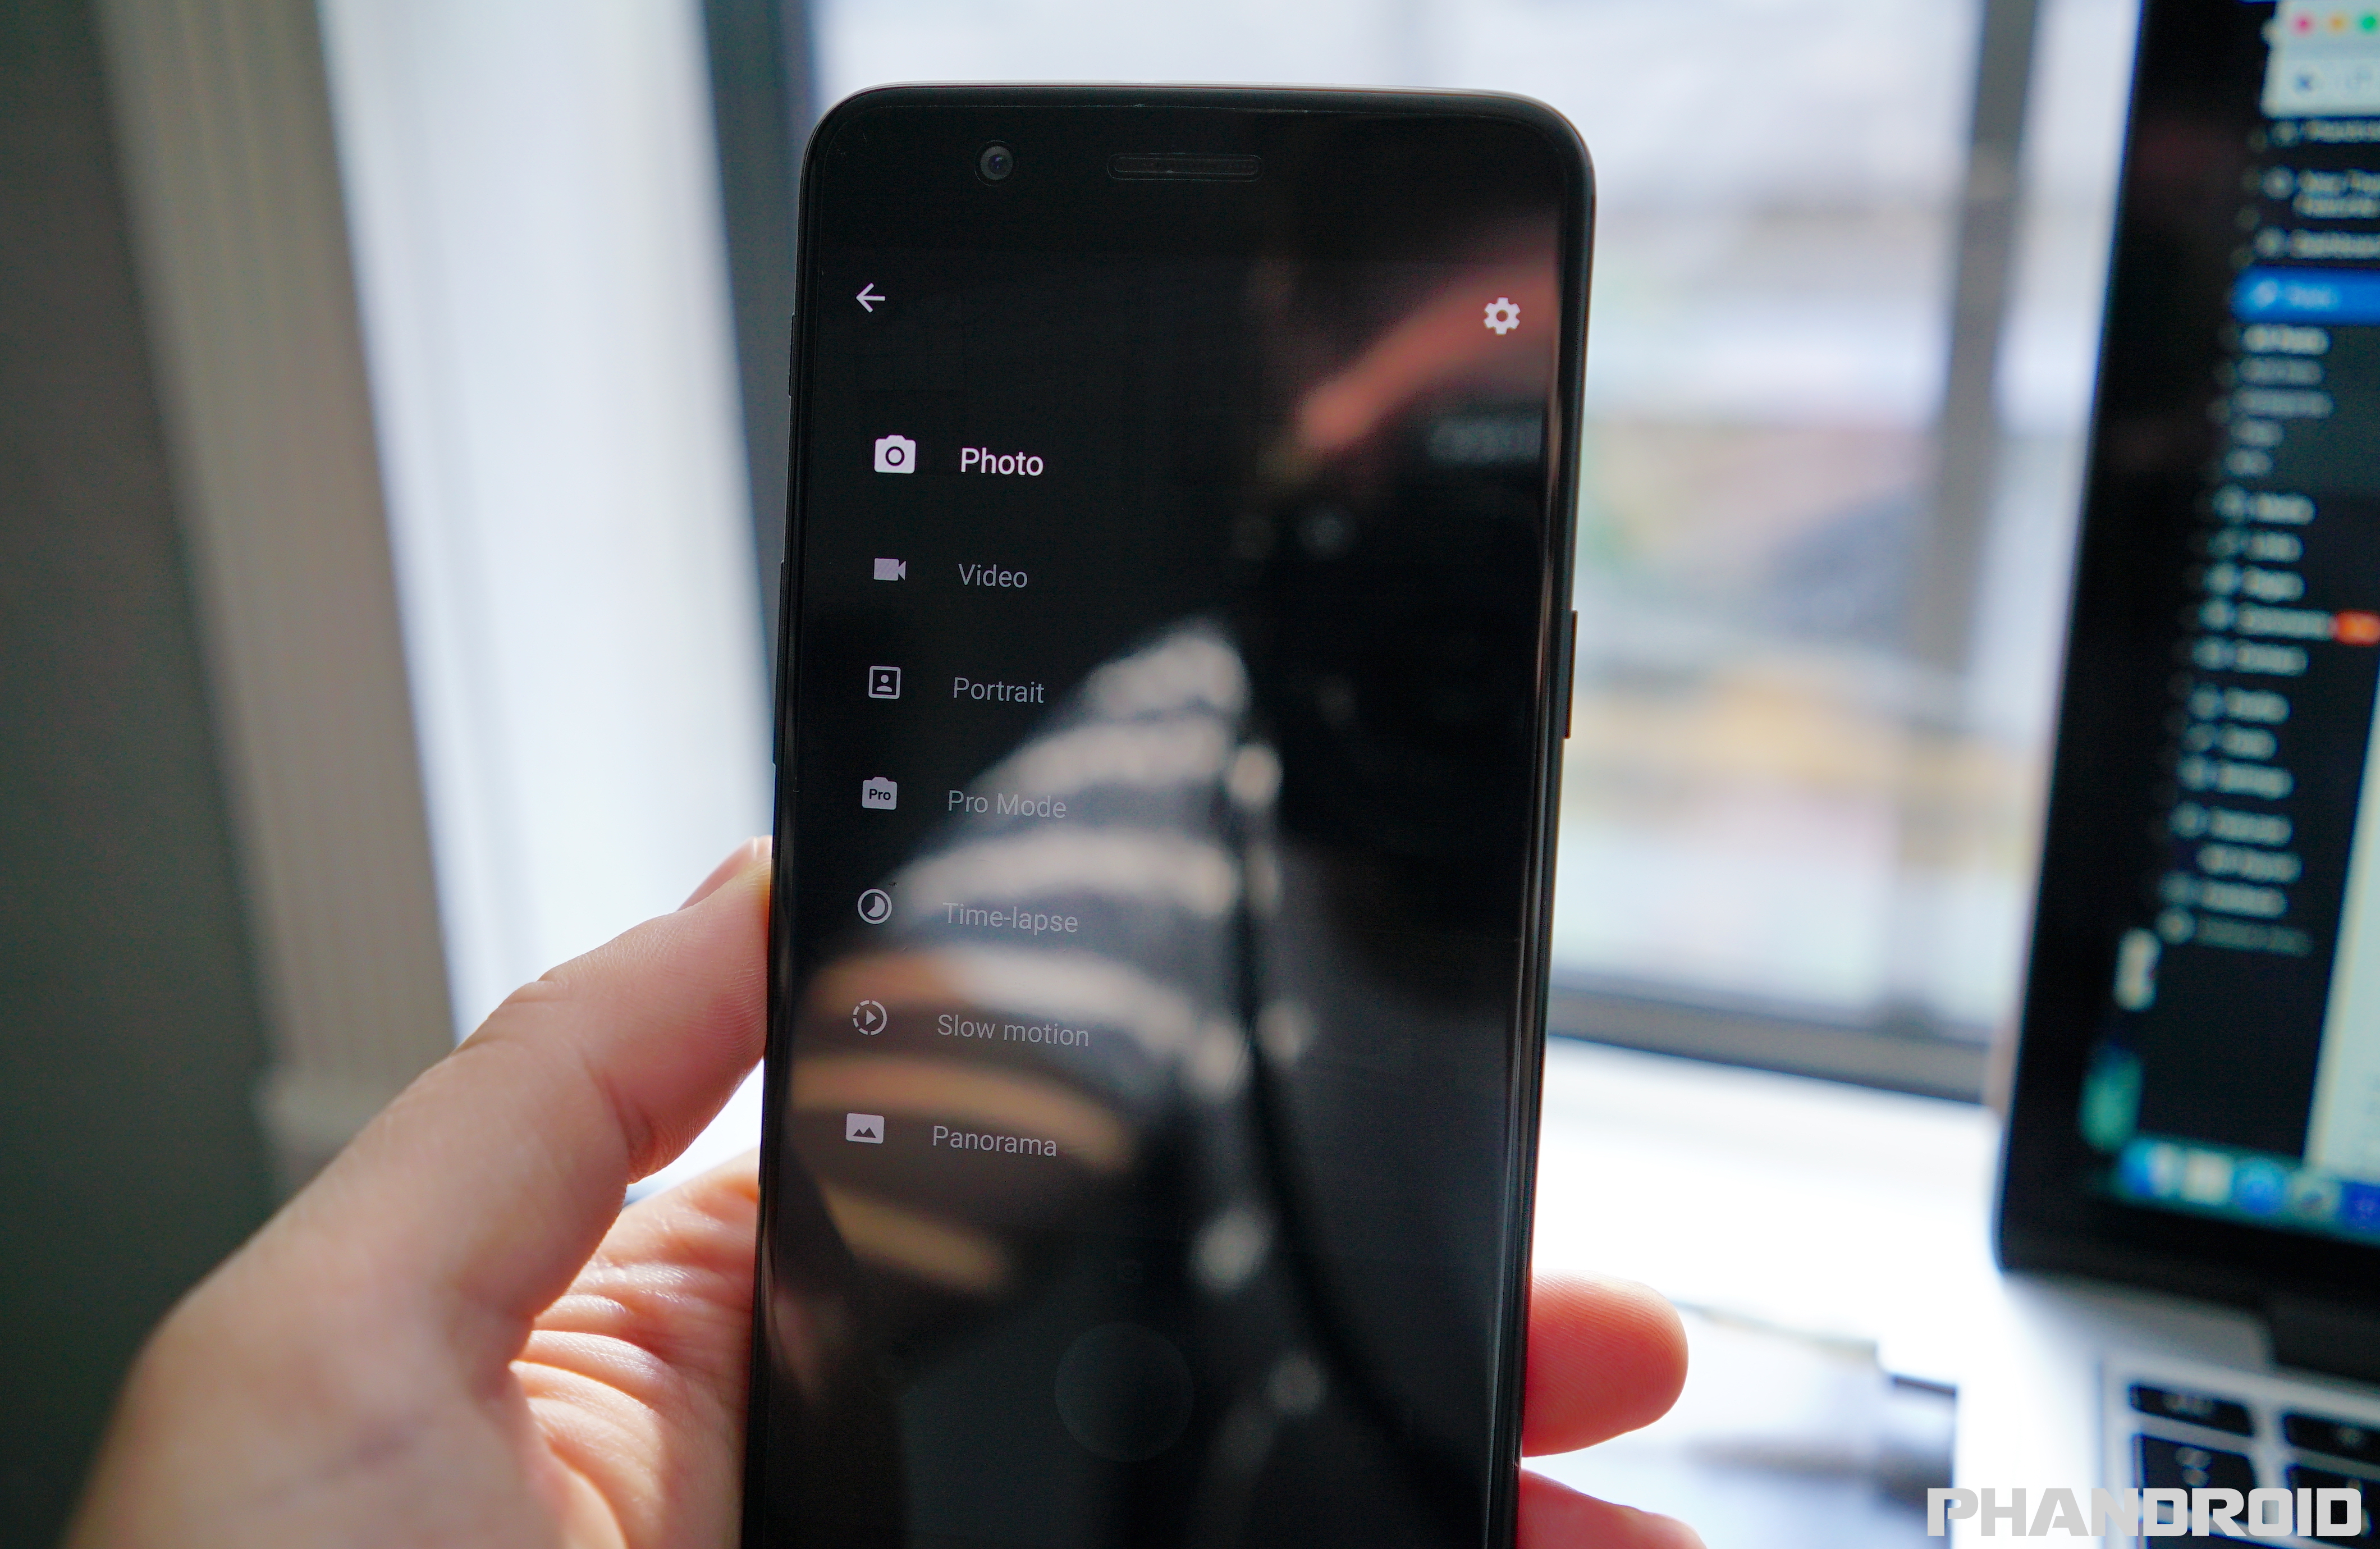
The menu button in the upper left is where you’ll find all the available shooting modes Here’s a brief description of each:
- Photo – Your standard auto shooting mode which chooses the best settings for the job.
- Video – This is your video recording mode. Tapping on the settings button will pull options for shooting in 720p, 1080p, or even 4K.
- Portrait — This uses the secondary 2X camera to create a shallow depth of field on your subject
- Pro Mode – This mode allows you to manually adjust camera settings like shutter speed, white balance, ISO and focus.
- Time-lapse – Shooting a time lapse video will allow you to record a long length of time and play it back in short video form. A timer shows you how long the video will be when you play it back.
- Slow motion – As the name suggests, you can record slow motion video at 120fps in 720p resolution. A timer shows you how long the video will be when you play it back.
- Panorama – Takes multiple photos and automatically stitches them together to form a single long panorama photo.
Switching the the front facing camera (icon located in the lower right corner), you’ll find 2 new features available to you: beauty mode and smile shutter. The beauty mode simply smooths out wrinkles on your face and has slider to adjust the intensity. When activated, the smile shutter (the face icon in the top right corner) will start a 3 second timer when it detects a smile.
Use Screen Pinning to lock guests to a specific app

Your smartphone is full of sensitive information. So what happens when someone needs to use your phone to make a phone call or look something up online? You can hand over your phone and stress out, or you rest easy by taking advantage of a core feature found inside Android. It’s called Screen Pinning and it allows you to lock users down to whichever app you choose. First, you’ll have to enable it:
- Open the Settings app
- Select Security & fingerprint
- Scroll down and select Screen pinning
- Turn it On by tapping on the toggle switch
- Also turn on Ask for unlock pattern before unpinning
Once it’s been enabled, you’ll now be able to activate this feature whenever you need to by doing the following:
- Open the app you’d like to “pin”
- Use the Overview button to open Recent apps
- Pull the most recent all the way up
- At the bottom of the app preview, tap the pushpin icon in the bottom right corner
- “Screen is pinned” message will confirm the app has been locked
- To unpin the screen/app, touch and hold the back button until you’re taken back to the lock screen
Use Android Pay to buy things with your phone and store membership/loyalty cards
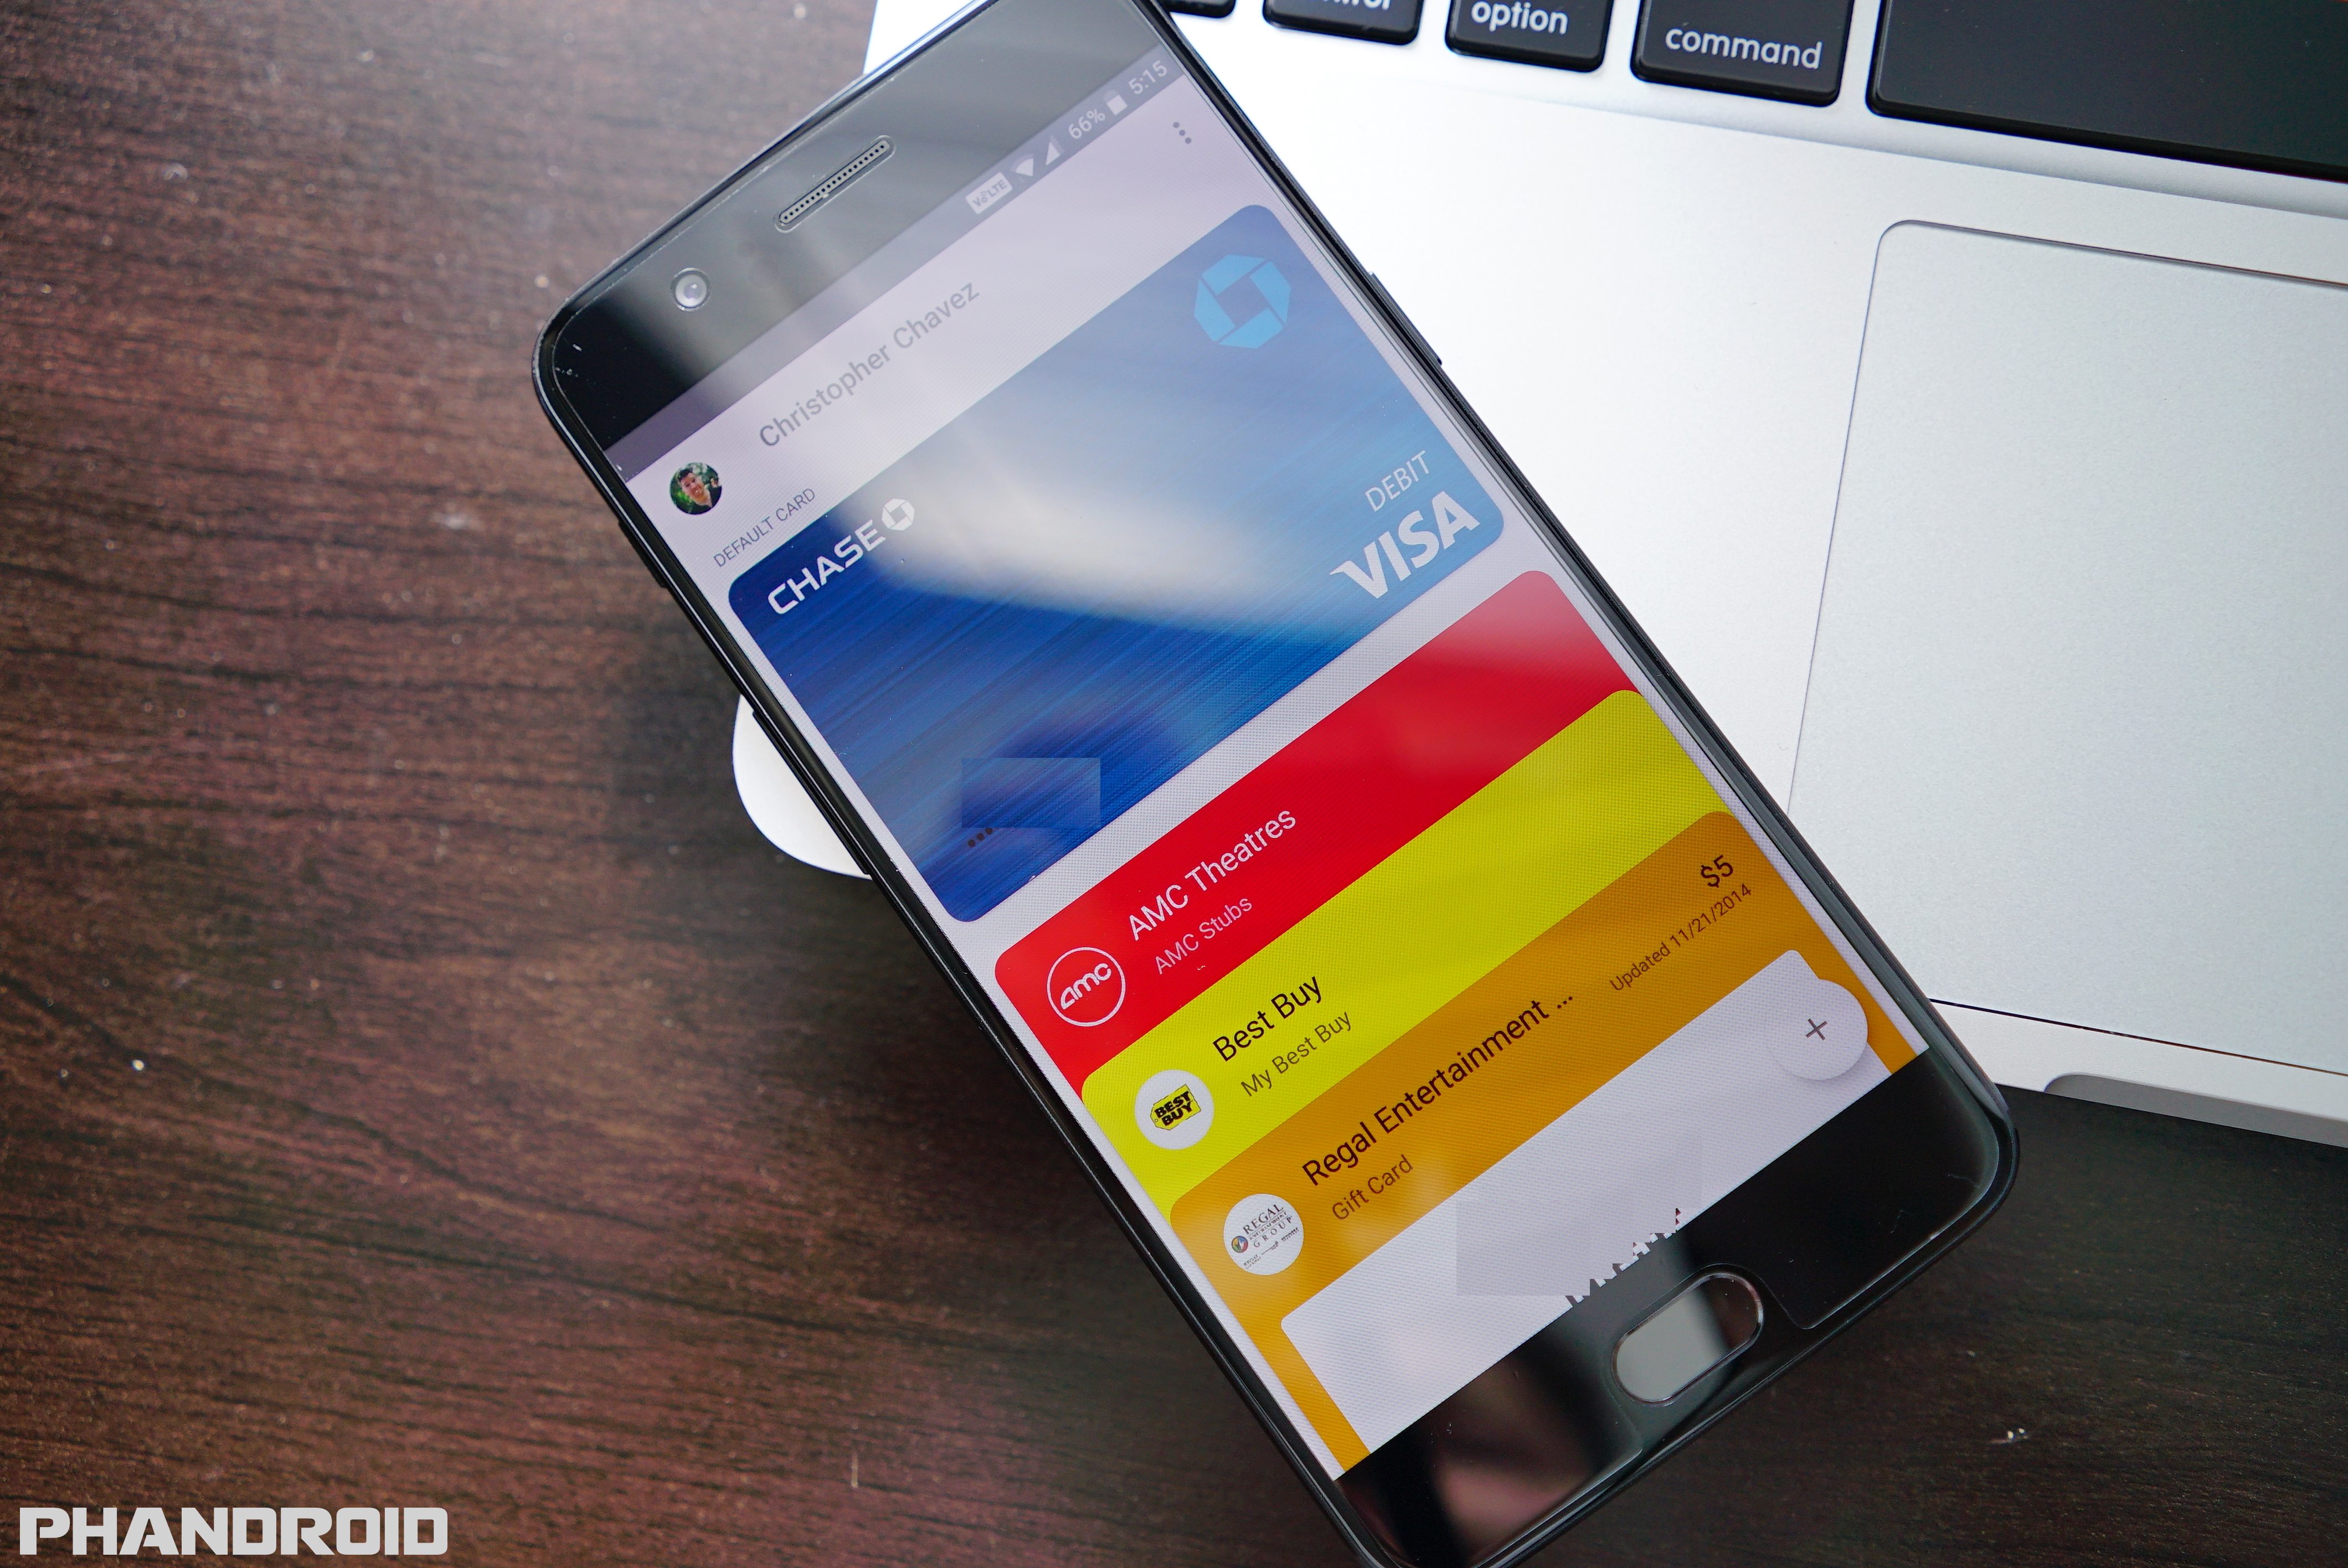
This means in addition to connecting with other devices, you can finally use the phone to make mobile payments using Android Pay. All you need to do is set it up and then you’ll be on your way to making purchases using nothing but your smartphone.
- Open the Android Pay app
- Touch the + sign in the bottom-right corner
- Touch Add a credit or debit card
- If you already have linked cards, choose one or touch Add another card
- Use the camera to capture your card info or enter it manually
- You can also use Android Pay to store all your loyalty and gift cards
From there, all you have to do is find a merchant/restaurant/vending machine that’s compatible with Android Pay, Apple Pay, or Tap to Pay — if you see any of those logos, you’ll be good. You can also find Android Pay supported banks here.
Read More: How to use Android Pay right now
Choose which apps and games can send you notifications
Not all notifications are created equal. Although most apps will send you a notification when someone messages you or something needs addressing, others use notifications as a way to pester and spam you with meaningless reminders and so forth. Games are some of the biggest offenders, sending you hourly/daily notifications reminding you to keep playing and keep their ad revenues high. Thankfully Android gives you full control of your app notifications.
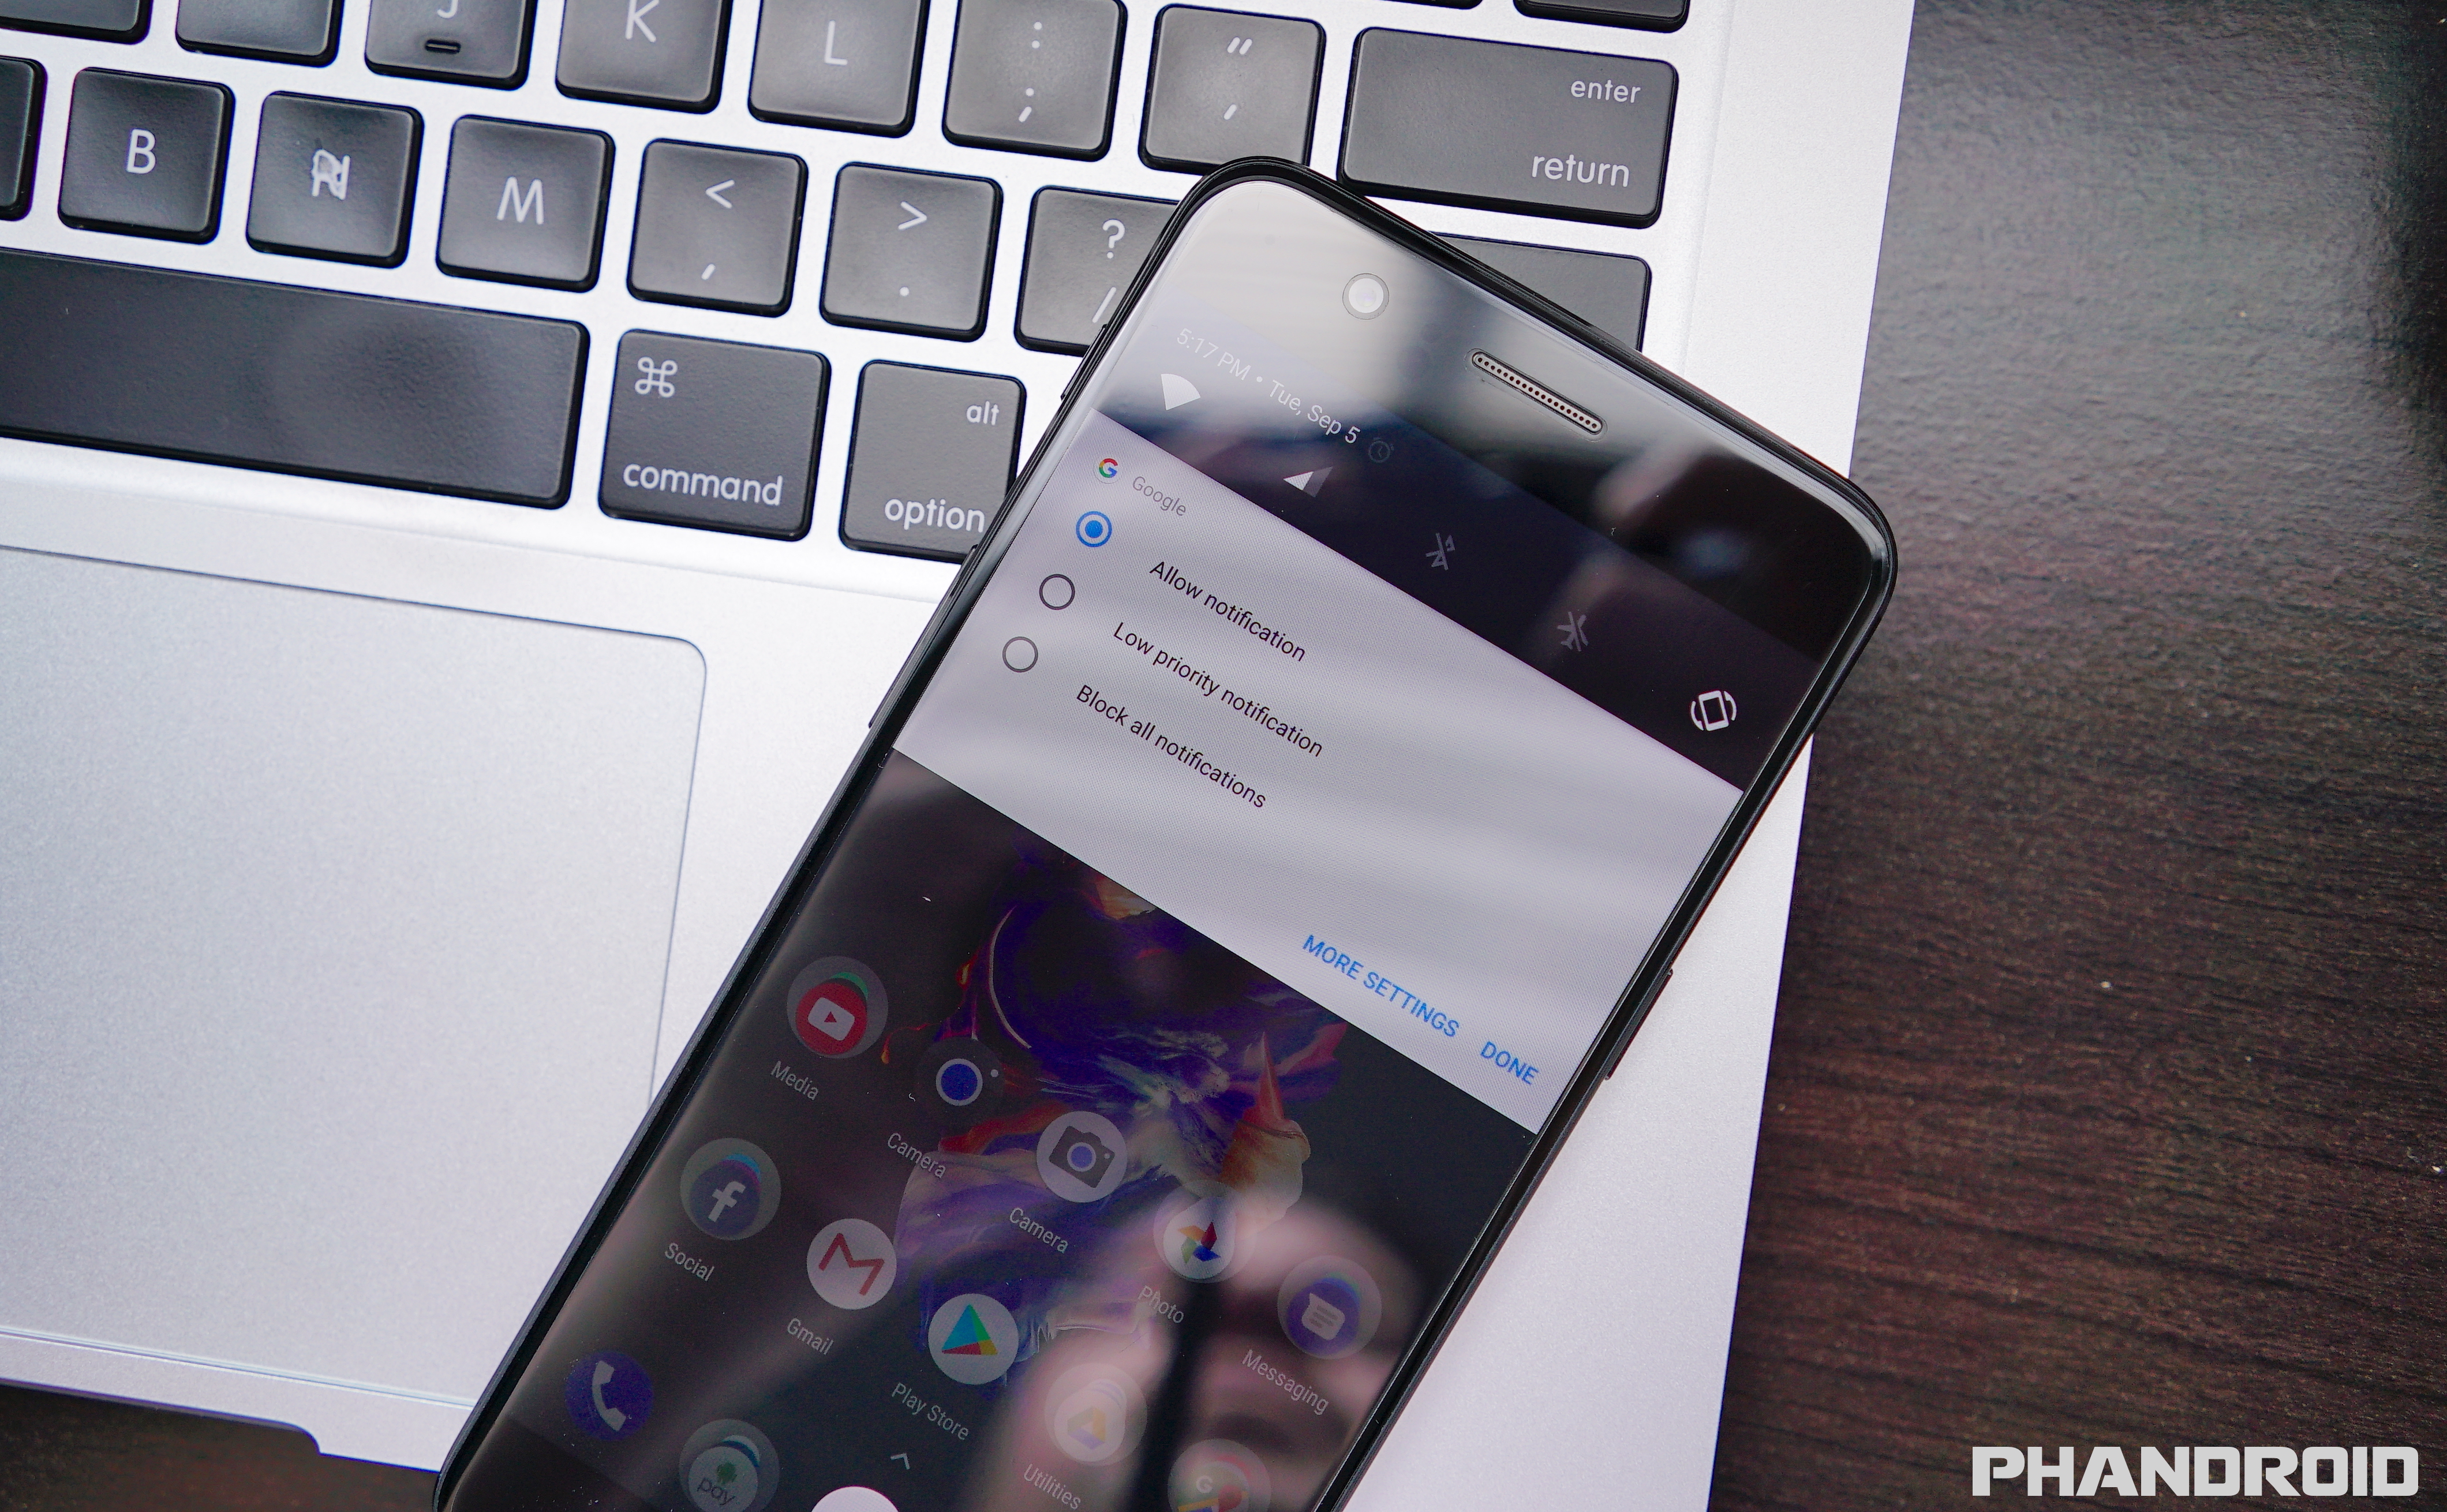
The quickest way to control an app’s notifications is when you actually receive said notification from the app. At that point, simply long press on the notification to see the name of the app that generated it and a few notification options:
- Allow notification – allows all types of notifications
- Low priority notification – Never make a sound or vibrate. Never peek and LED. Hide from lock screen and status bar. Notifications will be shown at the bottom of the notification center
- Block all notifications – Block all notifications from the app
If you swiped away the notification before you could long press it, don’t worry. You can always jump into Settings > Notifications > Select desired app > and you’ll see the above options with the addition of being able to hide notifications from that app on the lock screen.
Customize which apps and games can access on your phone using App Permissions
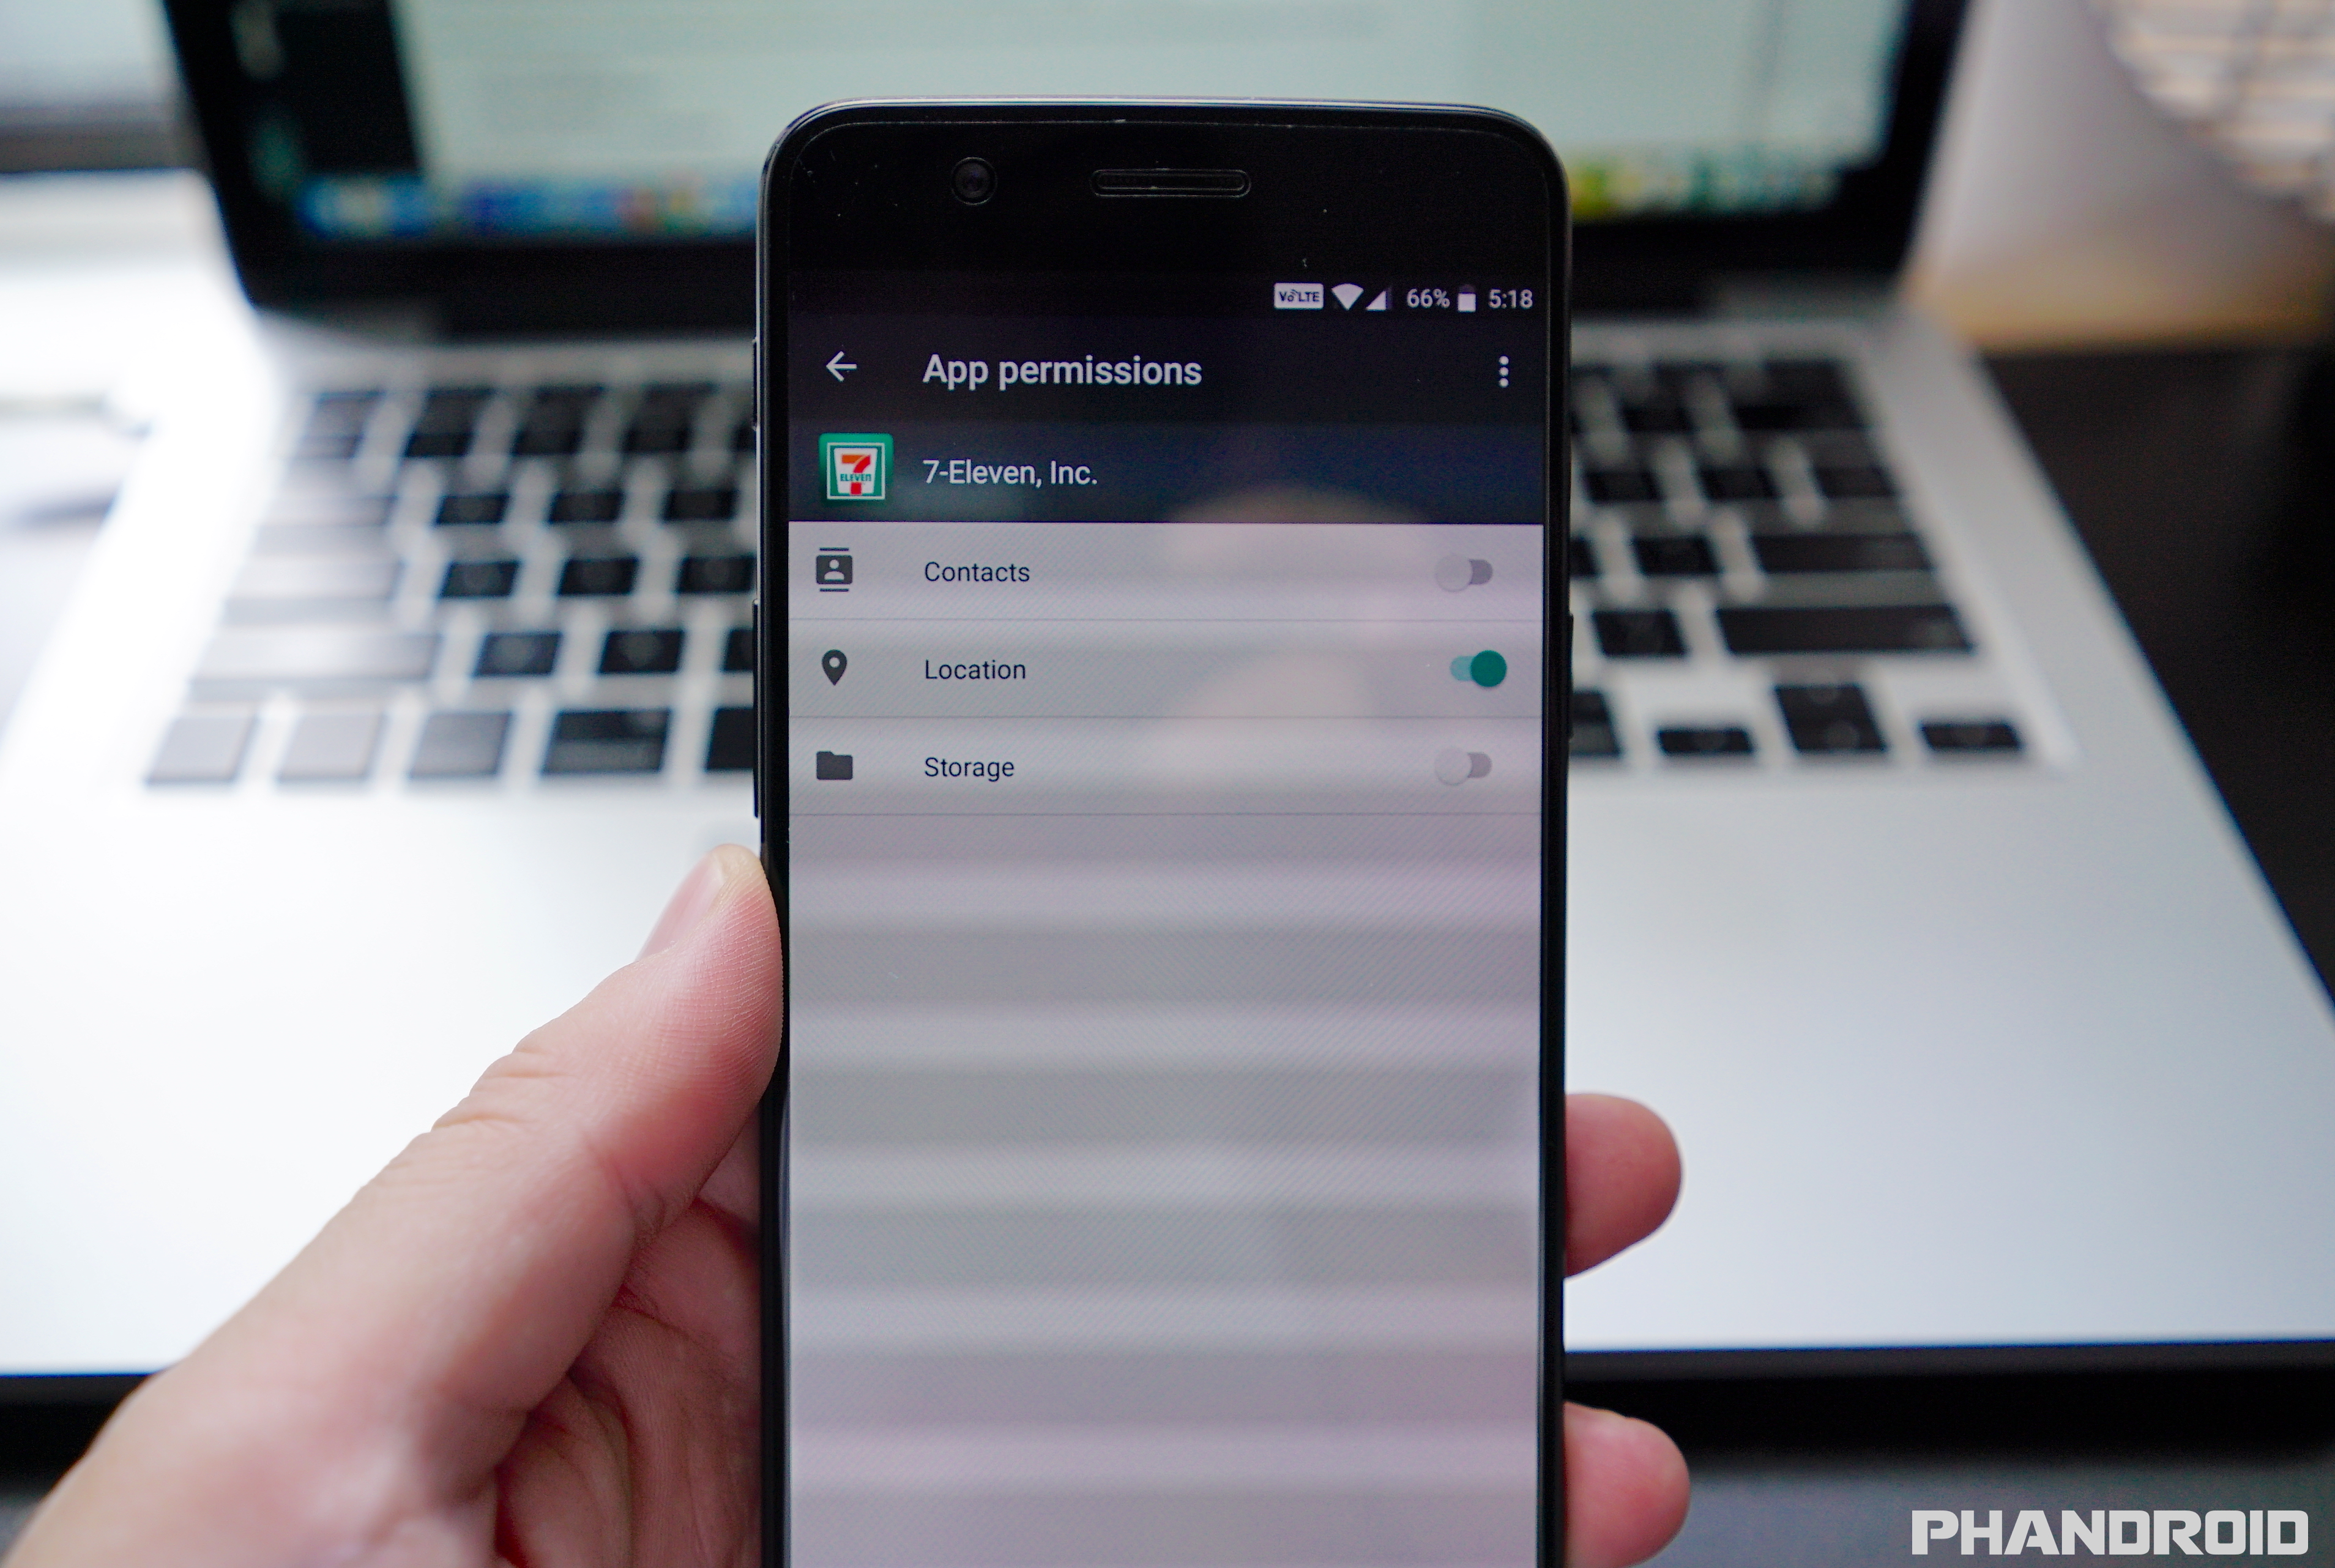
Although they can be annoying, app permissions in Marshmallow are a necessary evil. Apps now ask you, the user, the first time they need permission to access things like your photos, camera, contacts, location, or whatever else.
Whether you accidentally gave access to a permission you shouldn’t have, or you denied something that broke functionality of an app, you can find all the specific permissions of an app and enable or disable them back going into Settings > Apps > (tap on desired app > Permissions.
Keep apps from being frozen by Doze
Android 6.0 Marshmallow introduced a new feature called “Doze.” It basically puts your Android device into a super low-power, deep sleep state, one that completely freezes apps — and their notifications — when the phone hasn’t been wakened in awhile.
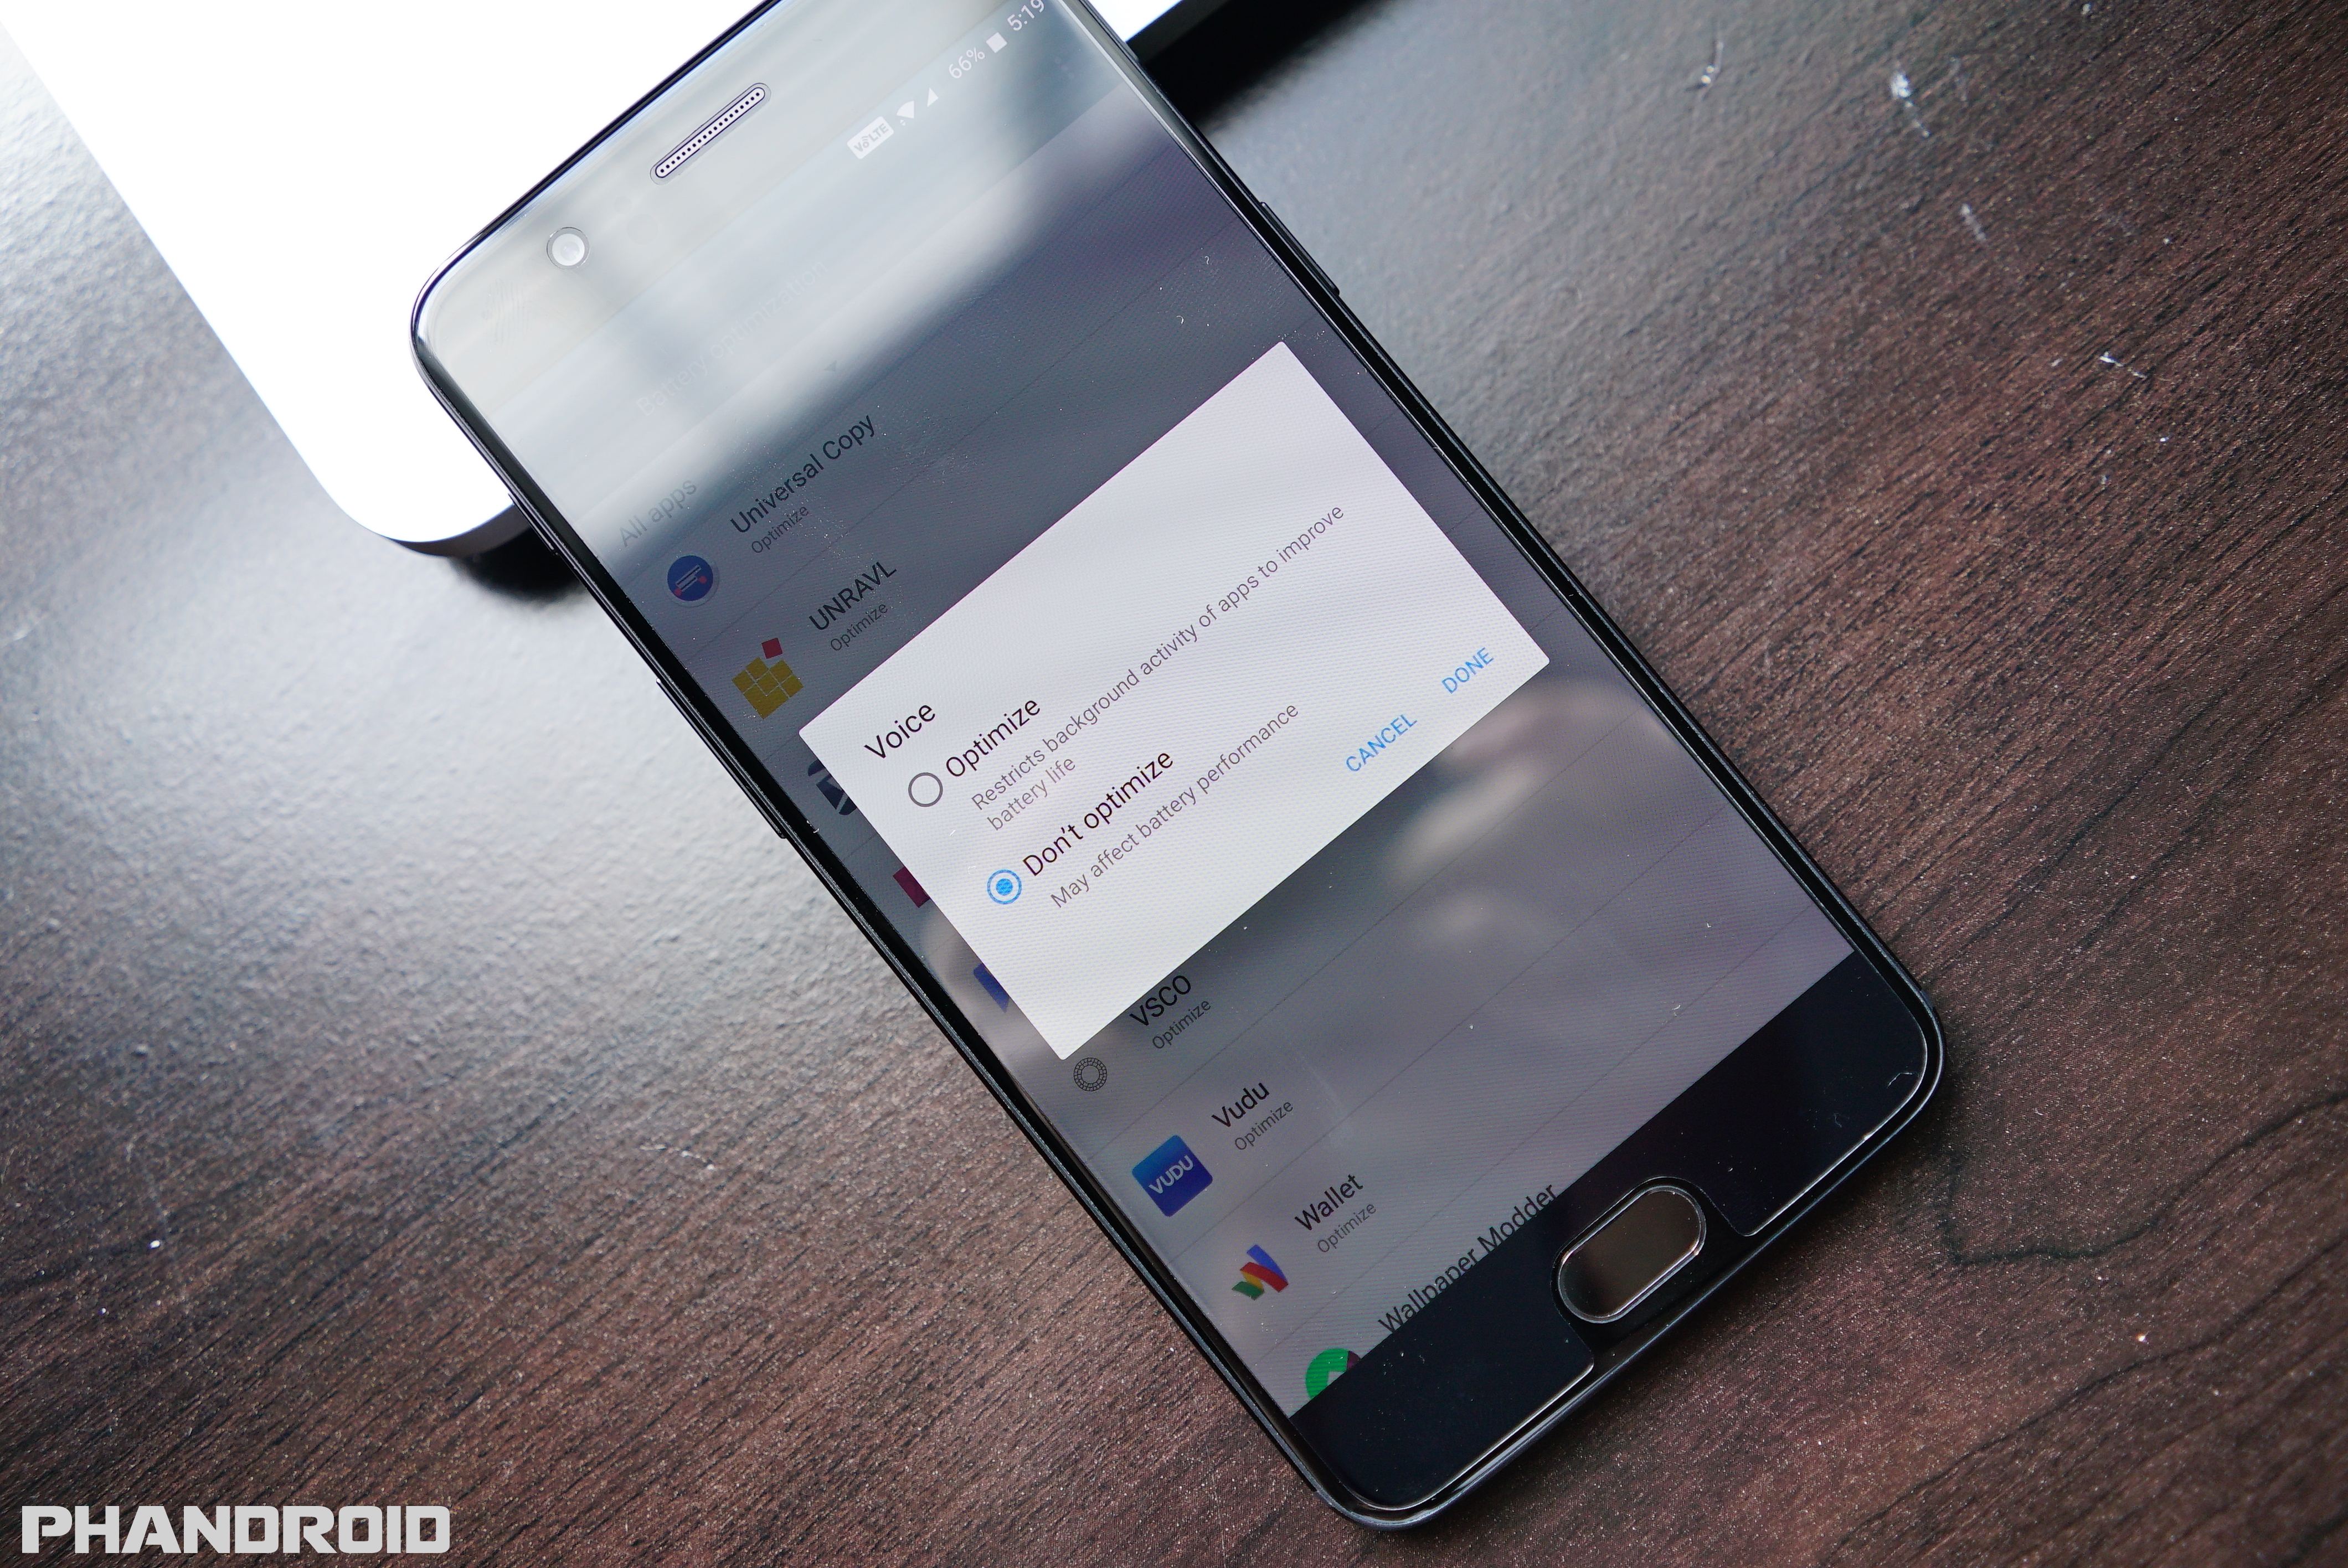
Although you wont find any reference to it in the Settings app — it’s in there, just sort of hidden. Android calls it “optimizing” and by default all apps with the exception of Google Play Services are included. If you noticed you’re receiving delayed messages from some of your favorite apps, or perhaps emails aren’t arriving in a timely manner, you can white list apps (exclude them from Doze optimization) by going into Settings > Battery > Battery optimization > Tap on desired app > Don’t optimize.
You’ll see a little warning that non-optimized apps “may affect battery performance” but that’s standard protocol for this kind of thing. Don’t get too crazy with it, but this should help keep those messages/notifications from your favorite apps coming through in real time.
Messed up something? Reset preferences for all apps
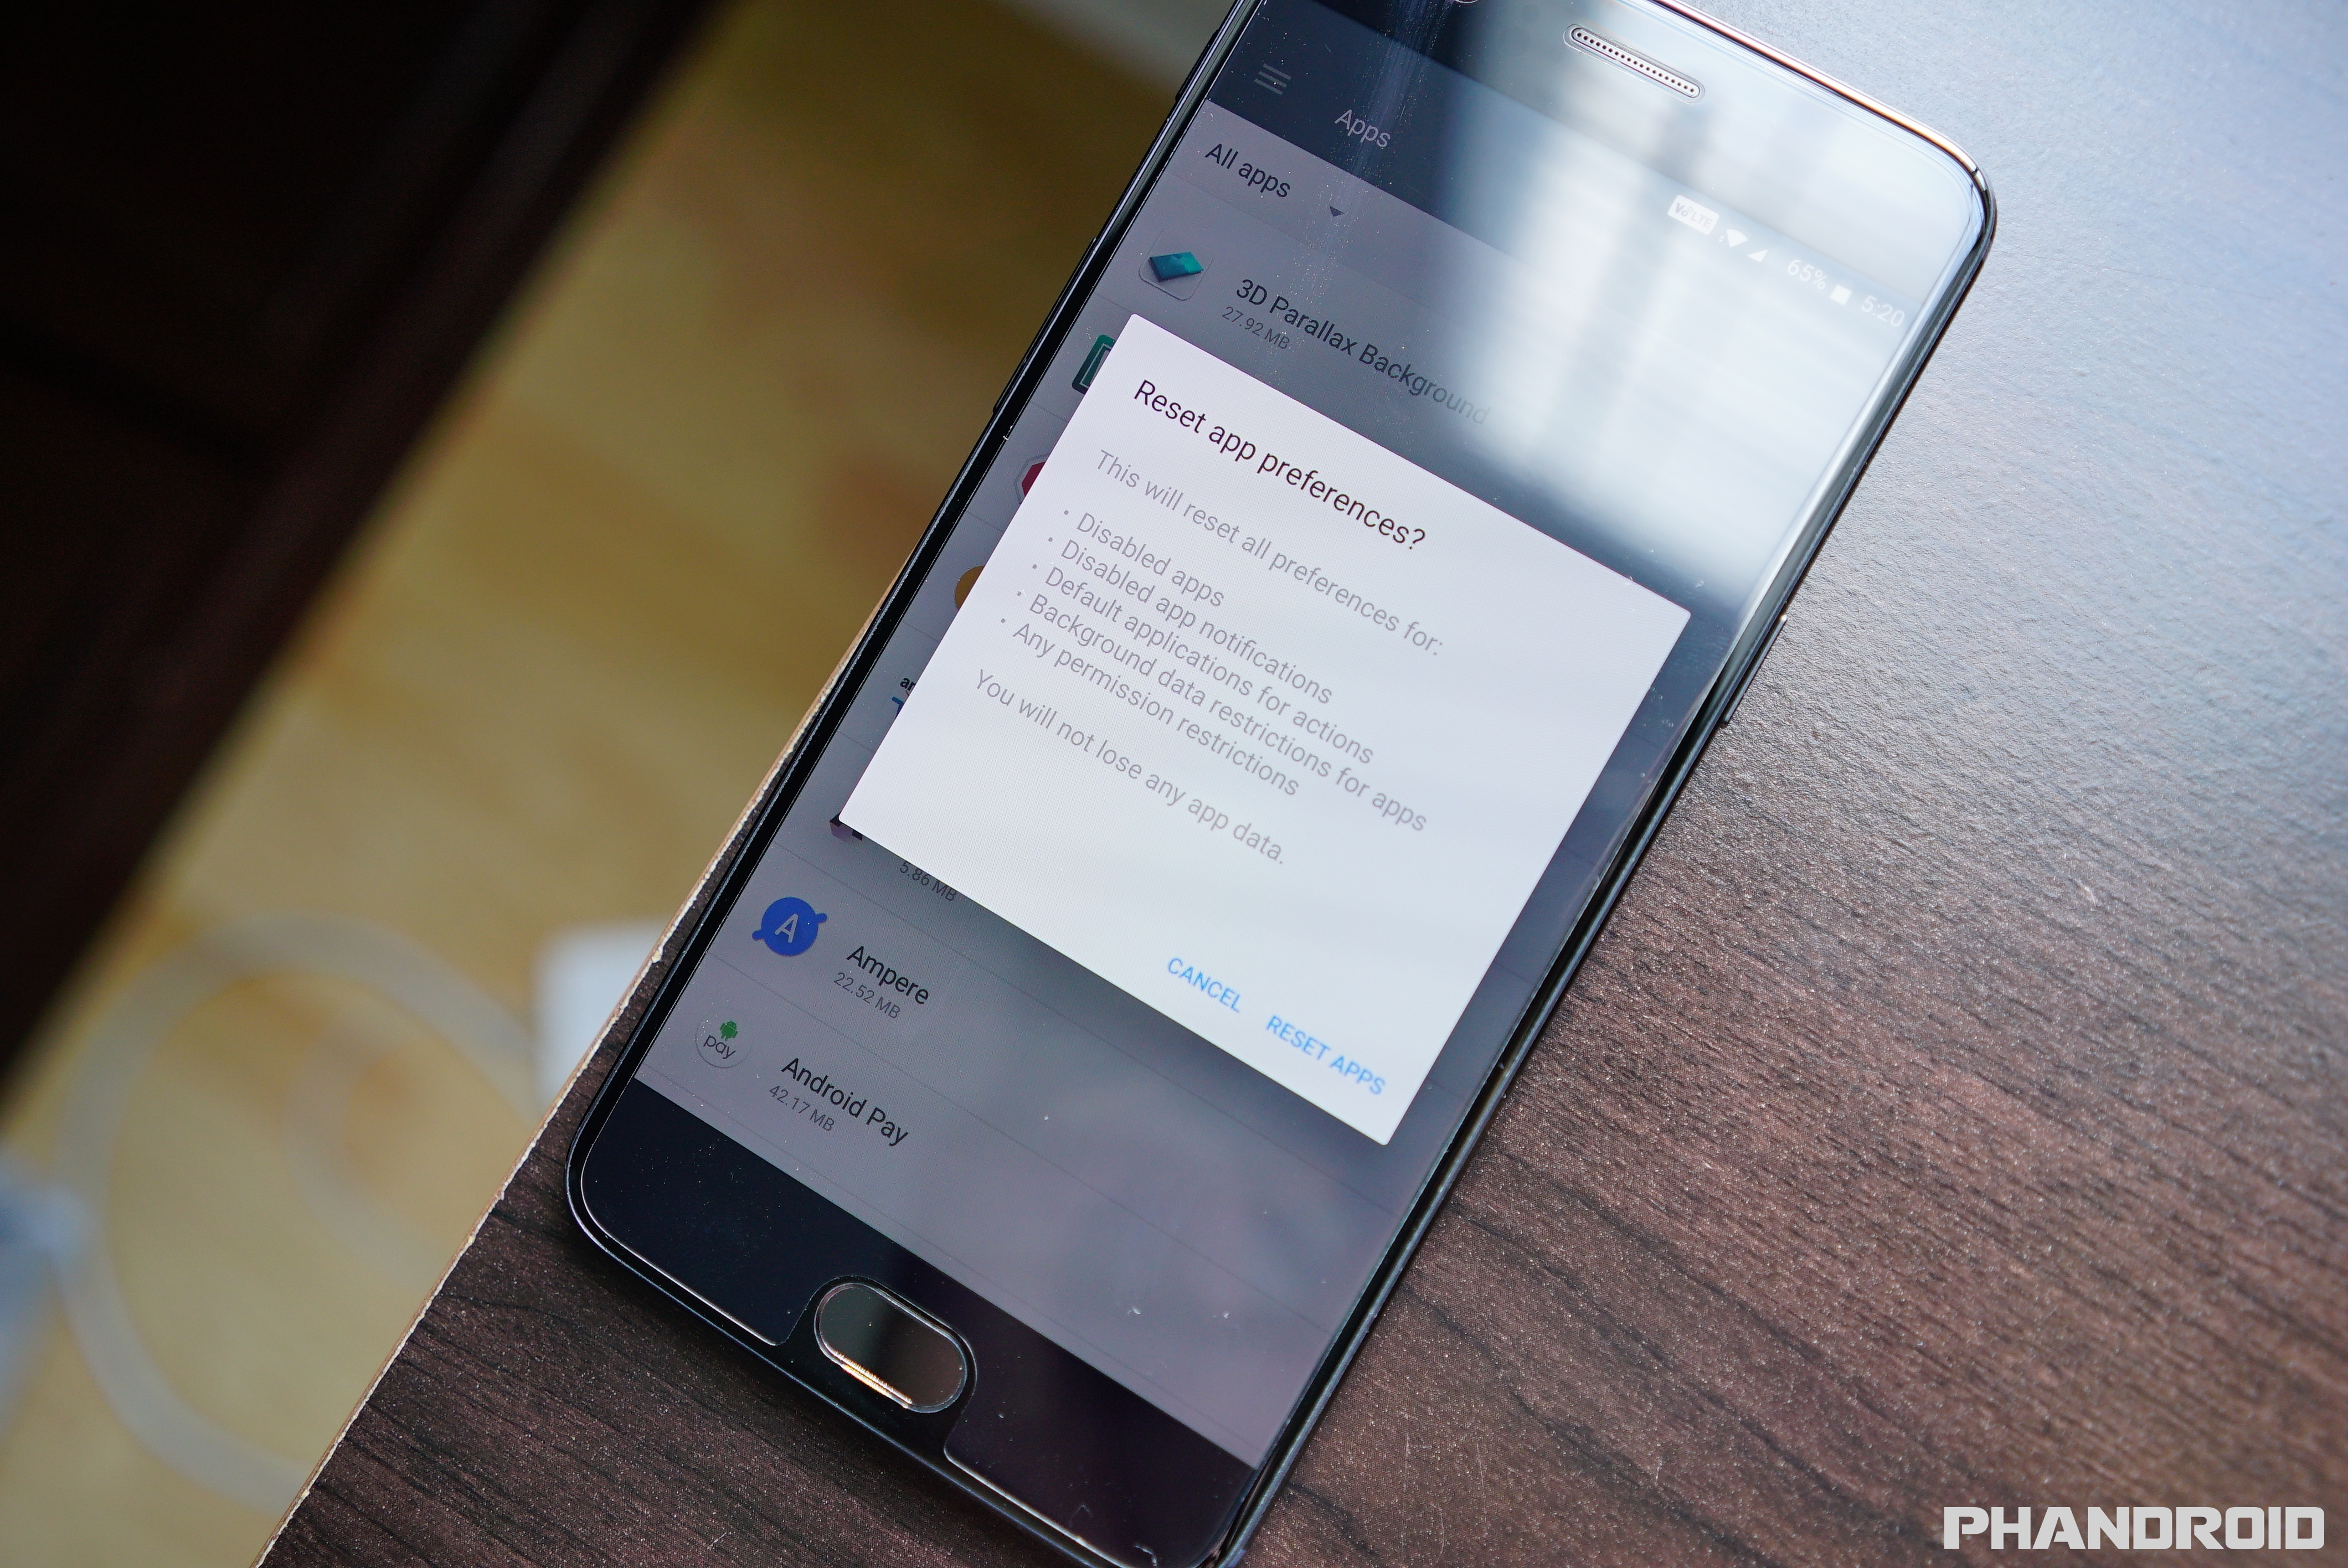
One of the better features in Android is being able to choose default apps for specific functions on the device. Whether it’s choosing your favorite browser, messaging app, or camera app, Android gives you the power to “complete action using” X app either just once, or always — it’s your call.
But what happens when you accidentally make an app the default action? Don’t worry, you can always reset your app preferences by going into the following:
- Open the Settings app
- Scroll down and select Apps
- Tap on the gear icon
- Select app from the list of Default apps
- Choose which app you want to open by default
You can also go thermonuclear and reset all app preferences (including disabled apps, notifications, default apps, background restrictions, and permission restrictions) by going into: Settings > Apps > 3-dot menu > Reset app preferences > Reset apps.
Play Android Nougat’s hidden cat game
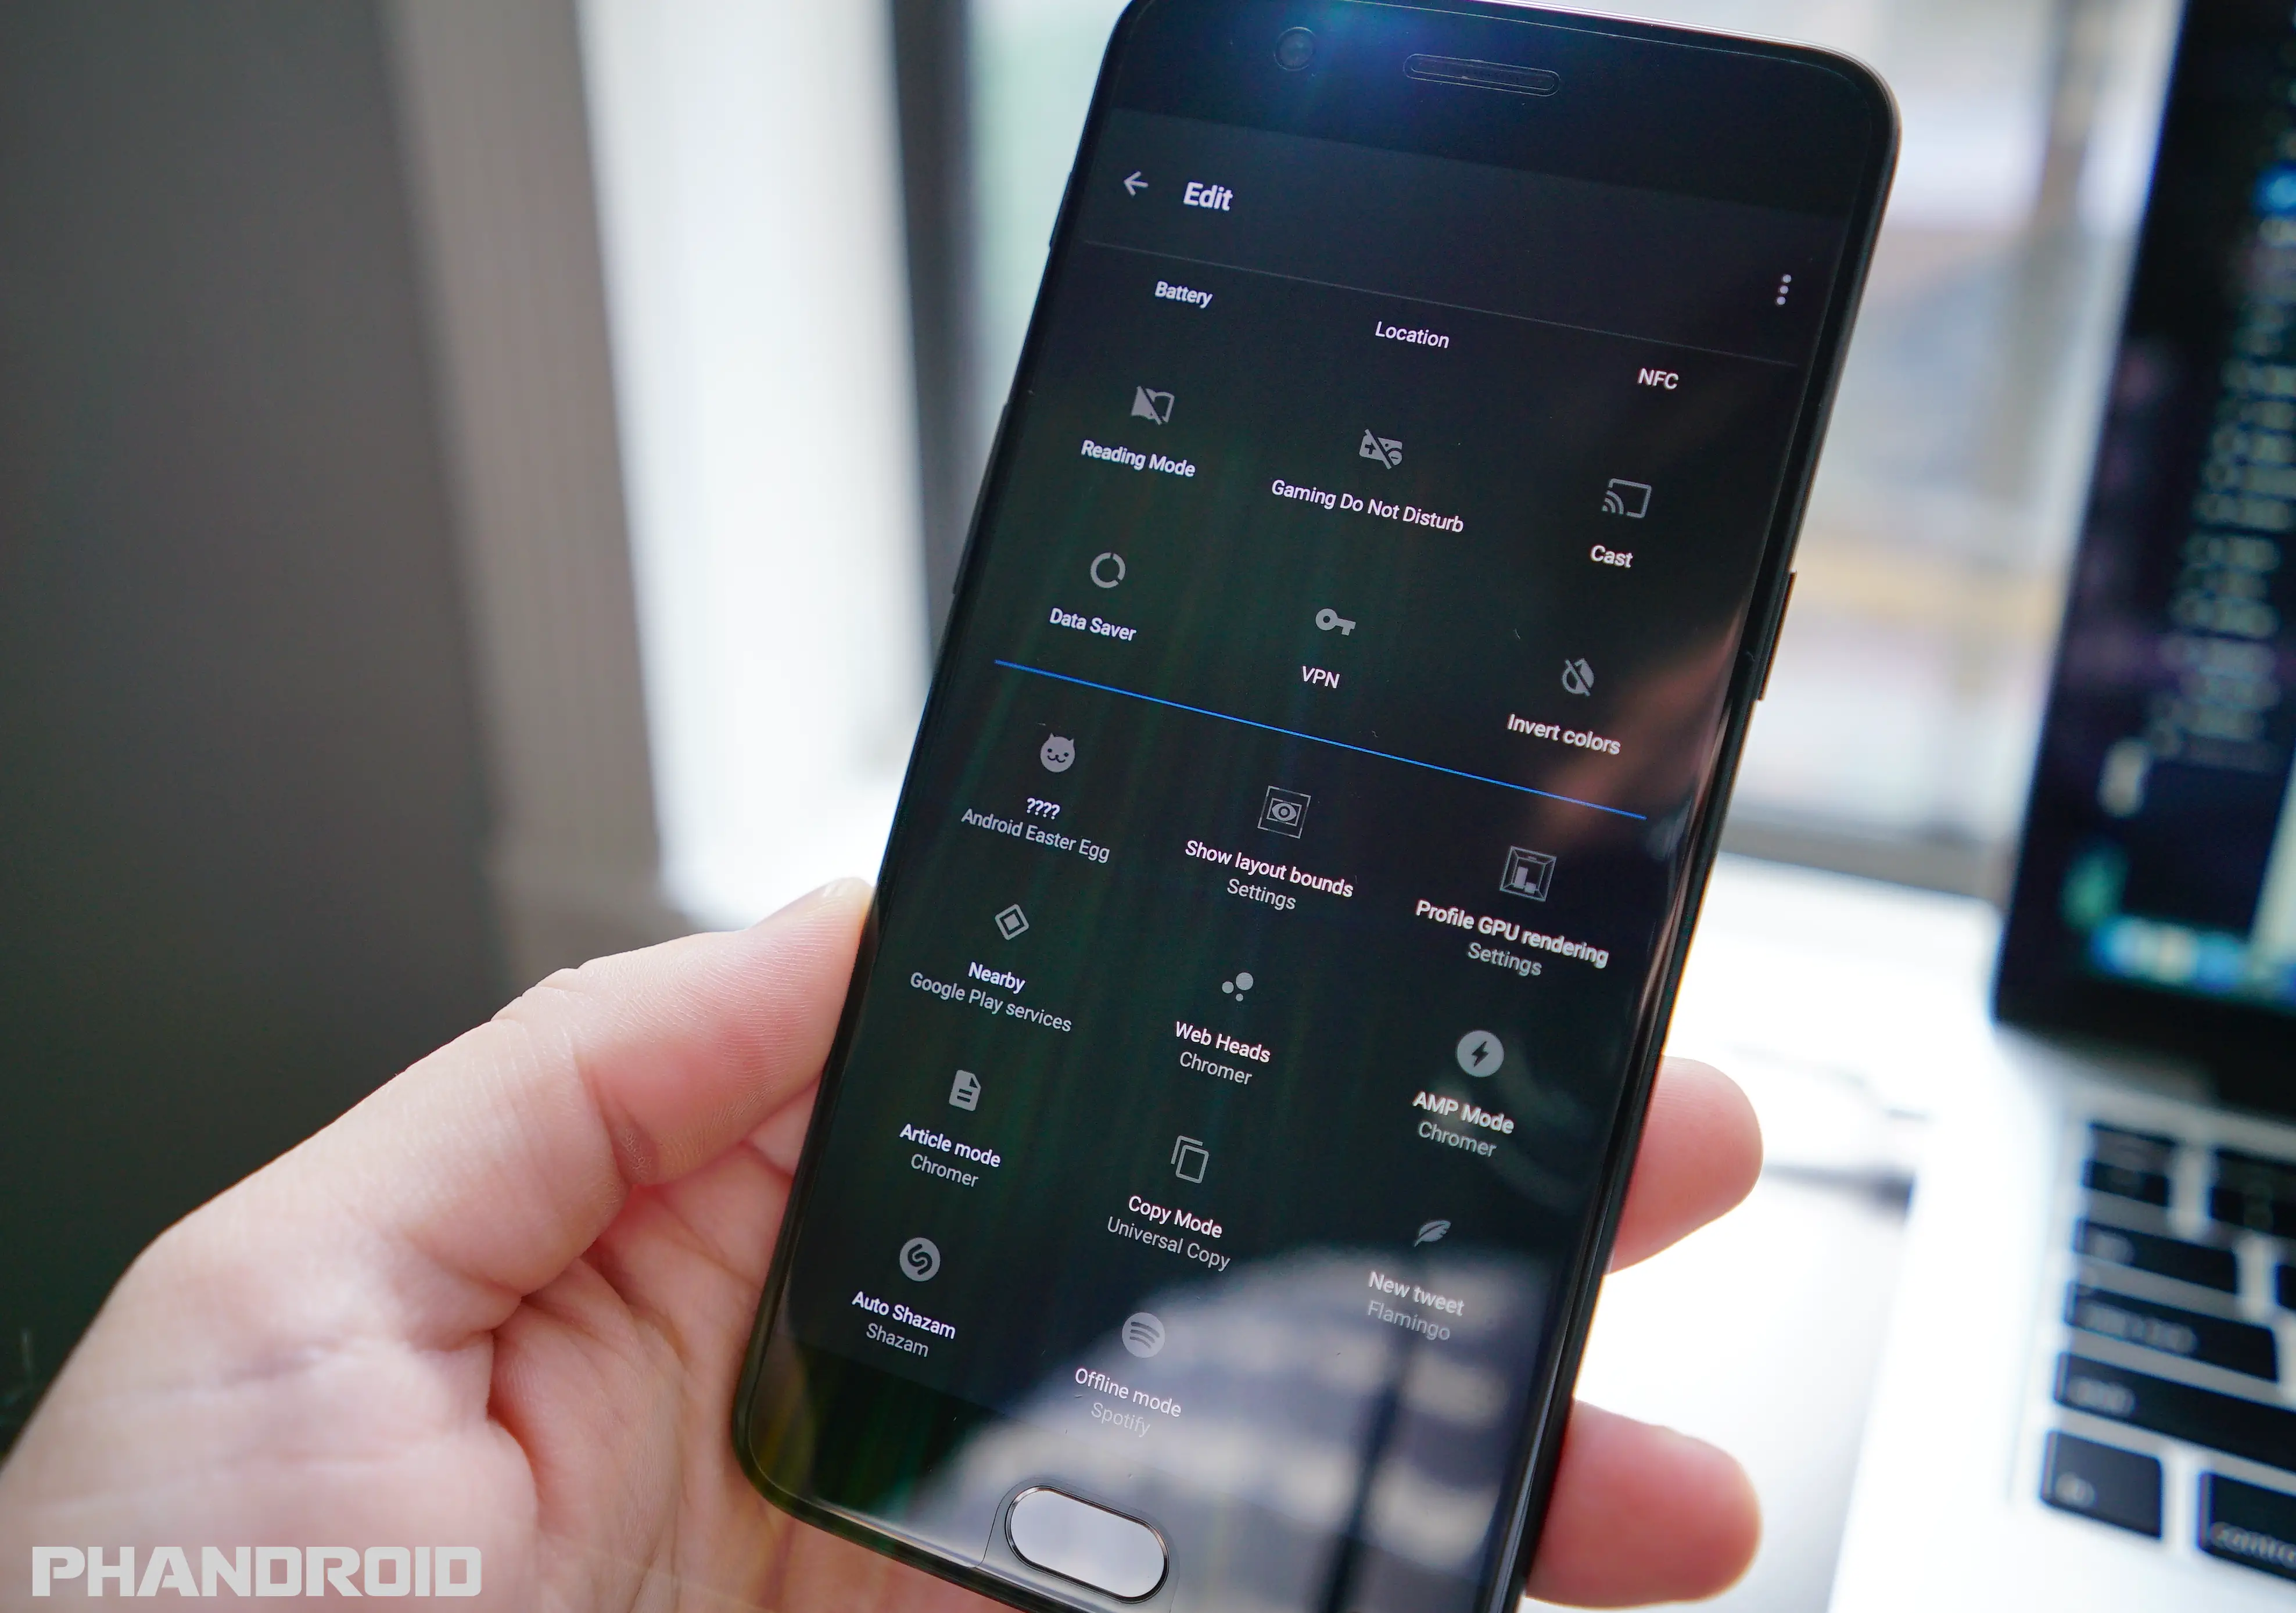
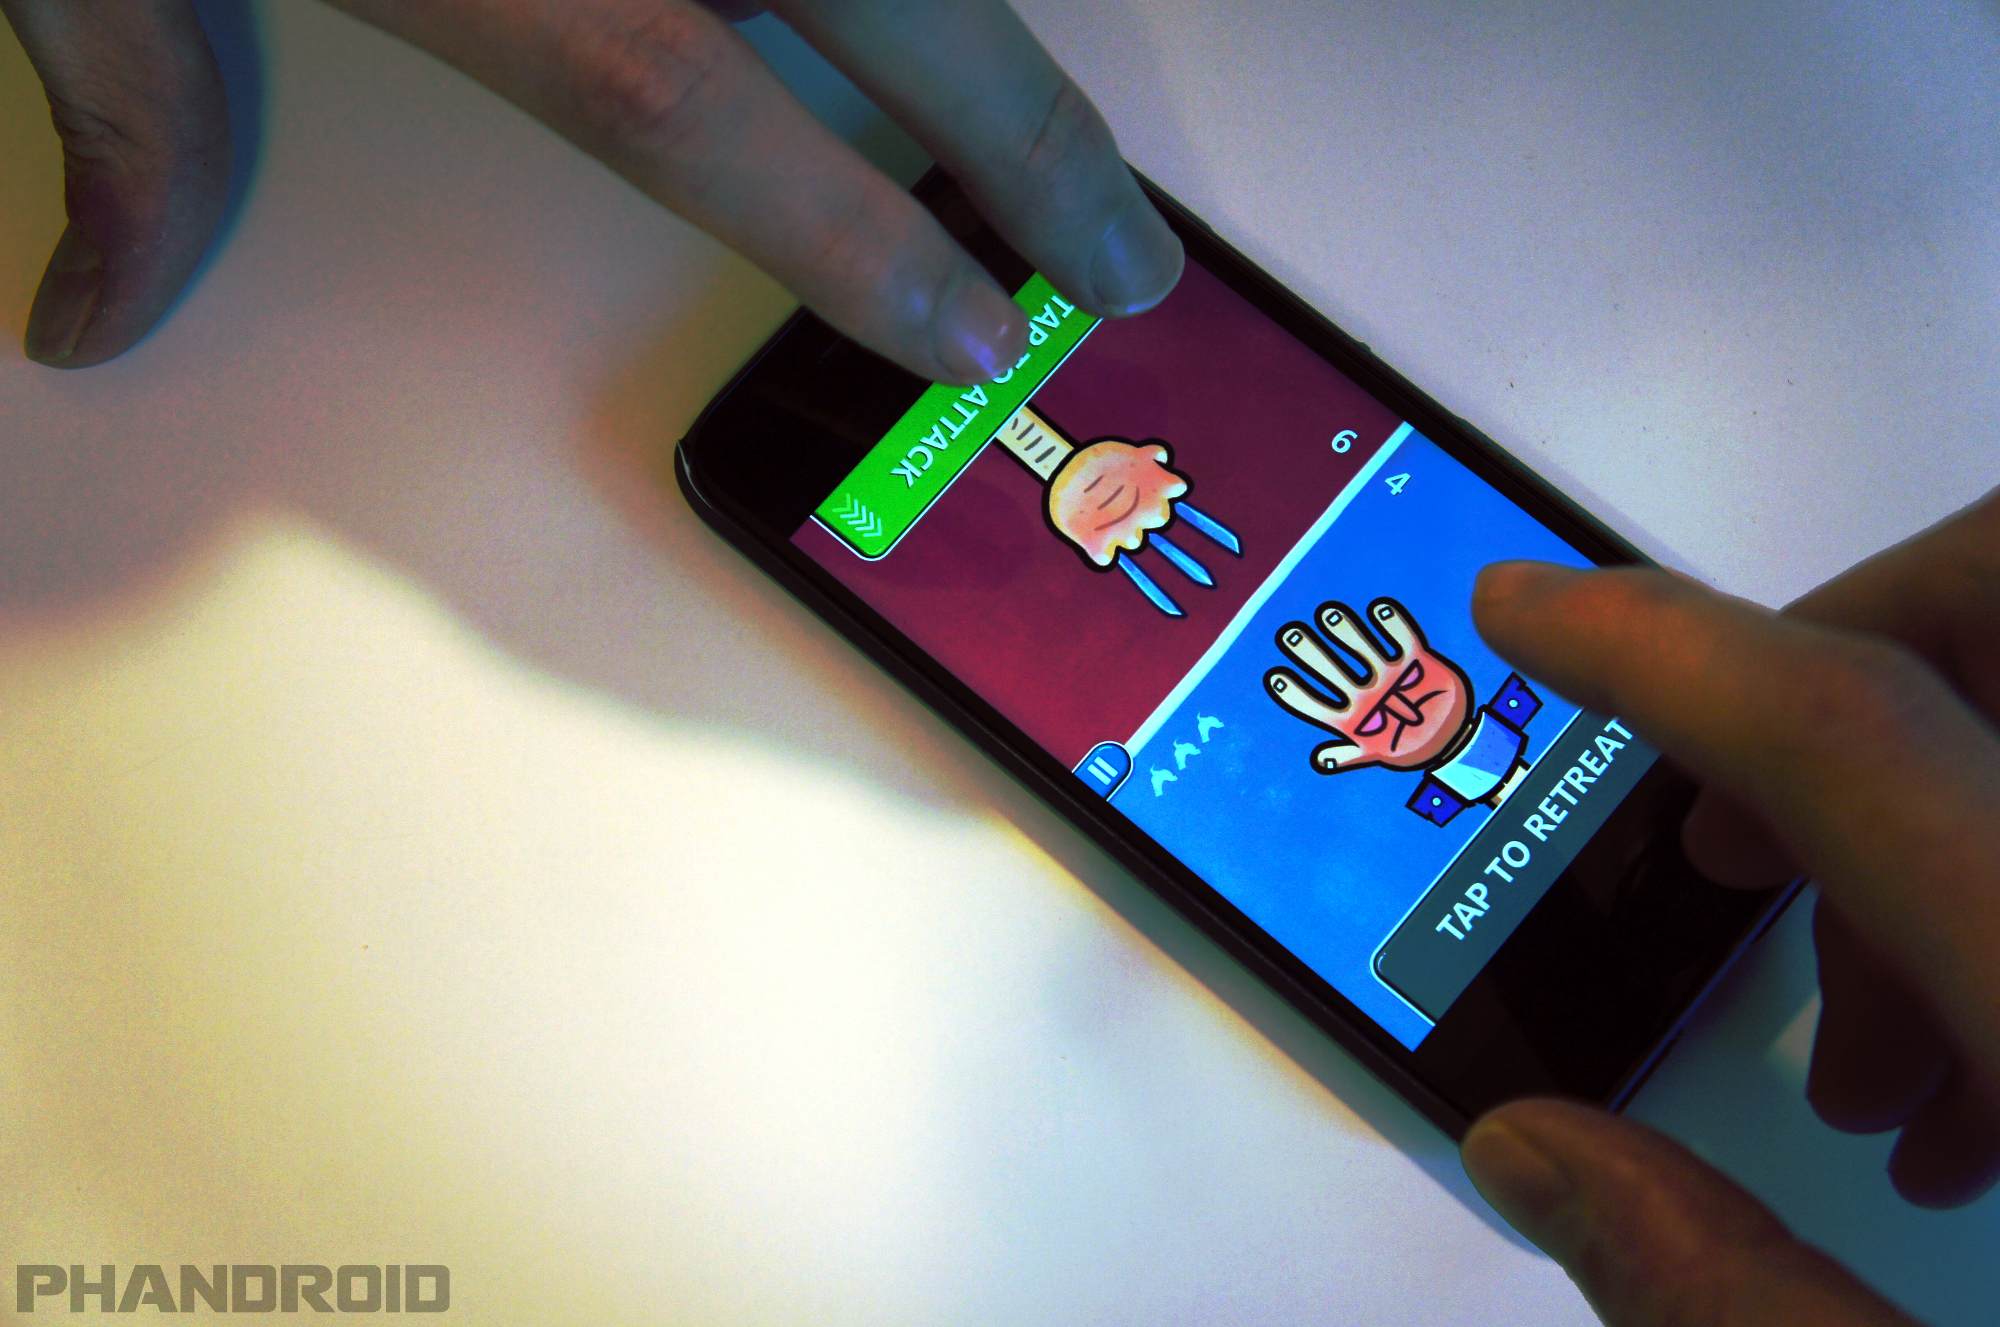
Every year Google includes a hidden Easter Egg inside of Android that can always be found using the same method. Back in Lollipop/Marshmallow, they included a full Flappy Bird clone, tucked away inside the OS, accessible only to those who knew how to find it.
For Android 7.0 Nougat, the Easter Egg is an fun little game called Android Neko that involves collecting cats that you can share with others. Here’s how you can find it and start playing:
- Open the Settings app
- Select About phone
- Tap on Android version 3 times (fast)
- Tap on the big “N” a few times followed by a long press
- Wait for the cat emoji to appear below the “N” — that means it worked
Then…
- Pull down your notification panel twice to expose the Quick Settings toggles
- Tap on Edit
- Long press on the “???? Android Easter Egg” tile (with the cat head) and drag it up to add to your current tiles
- The “???? Android Easter Egg” tile will now be shown as a “Empty dish“
- Tap on it and to pull up the option to choose between 4 items: bits, fish, chicken, or treat
- Select whichever one you like and they’ll replace the empty dish
- Wait for the notification “A cat is here” from Android Neko (the name of this weirdly awesome mini-game)
- Tap on the cat notification to view your cat collection
- Tap on a cat to rename it, or long press to share a high resolution image of the cat to whichever app you like
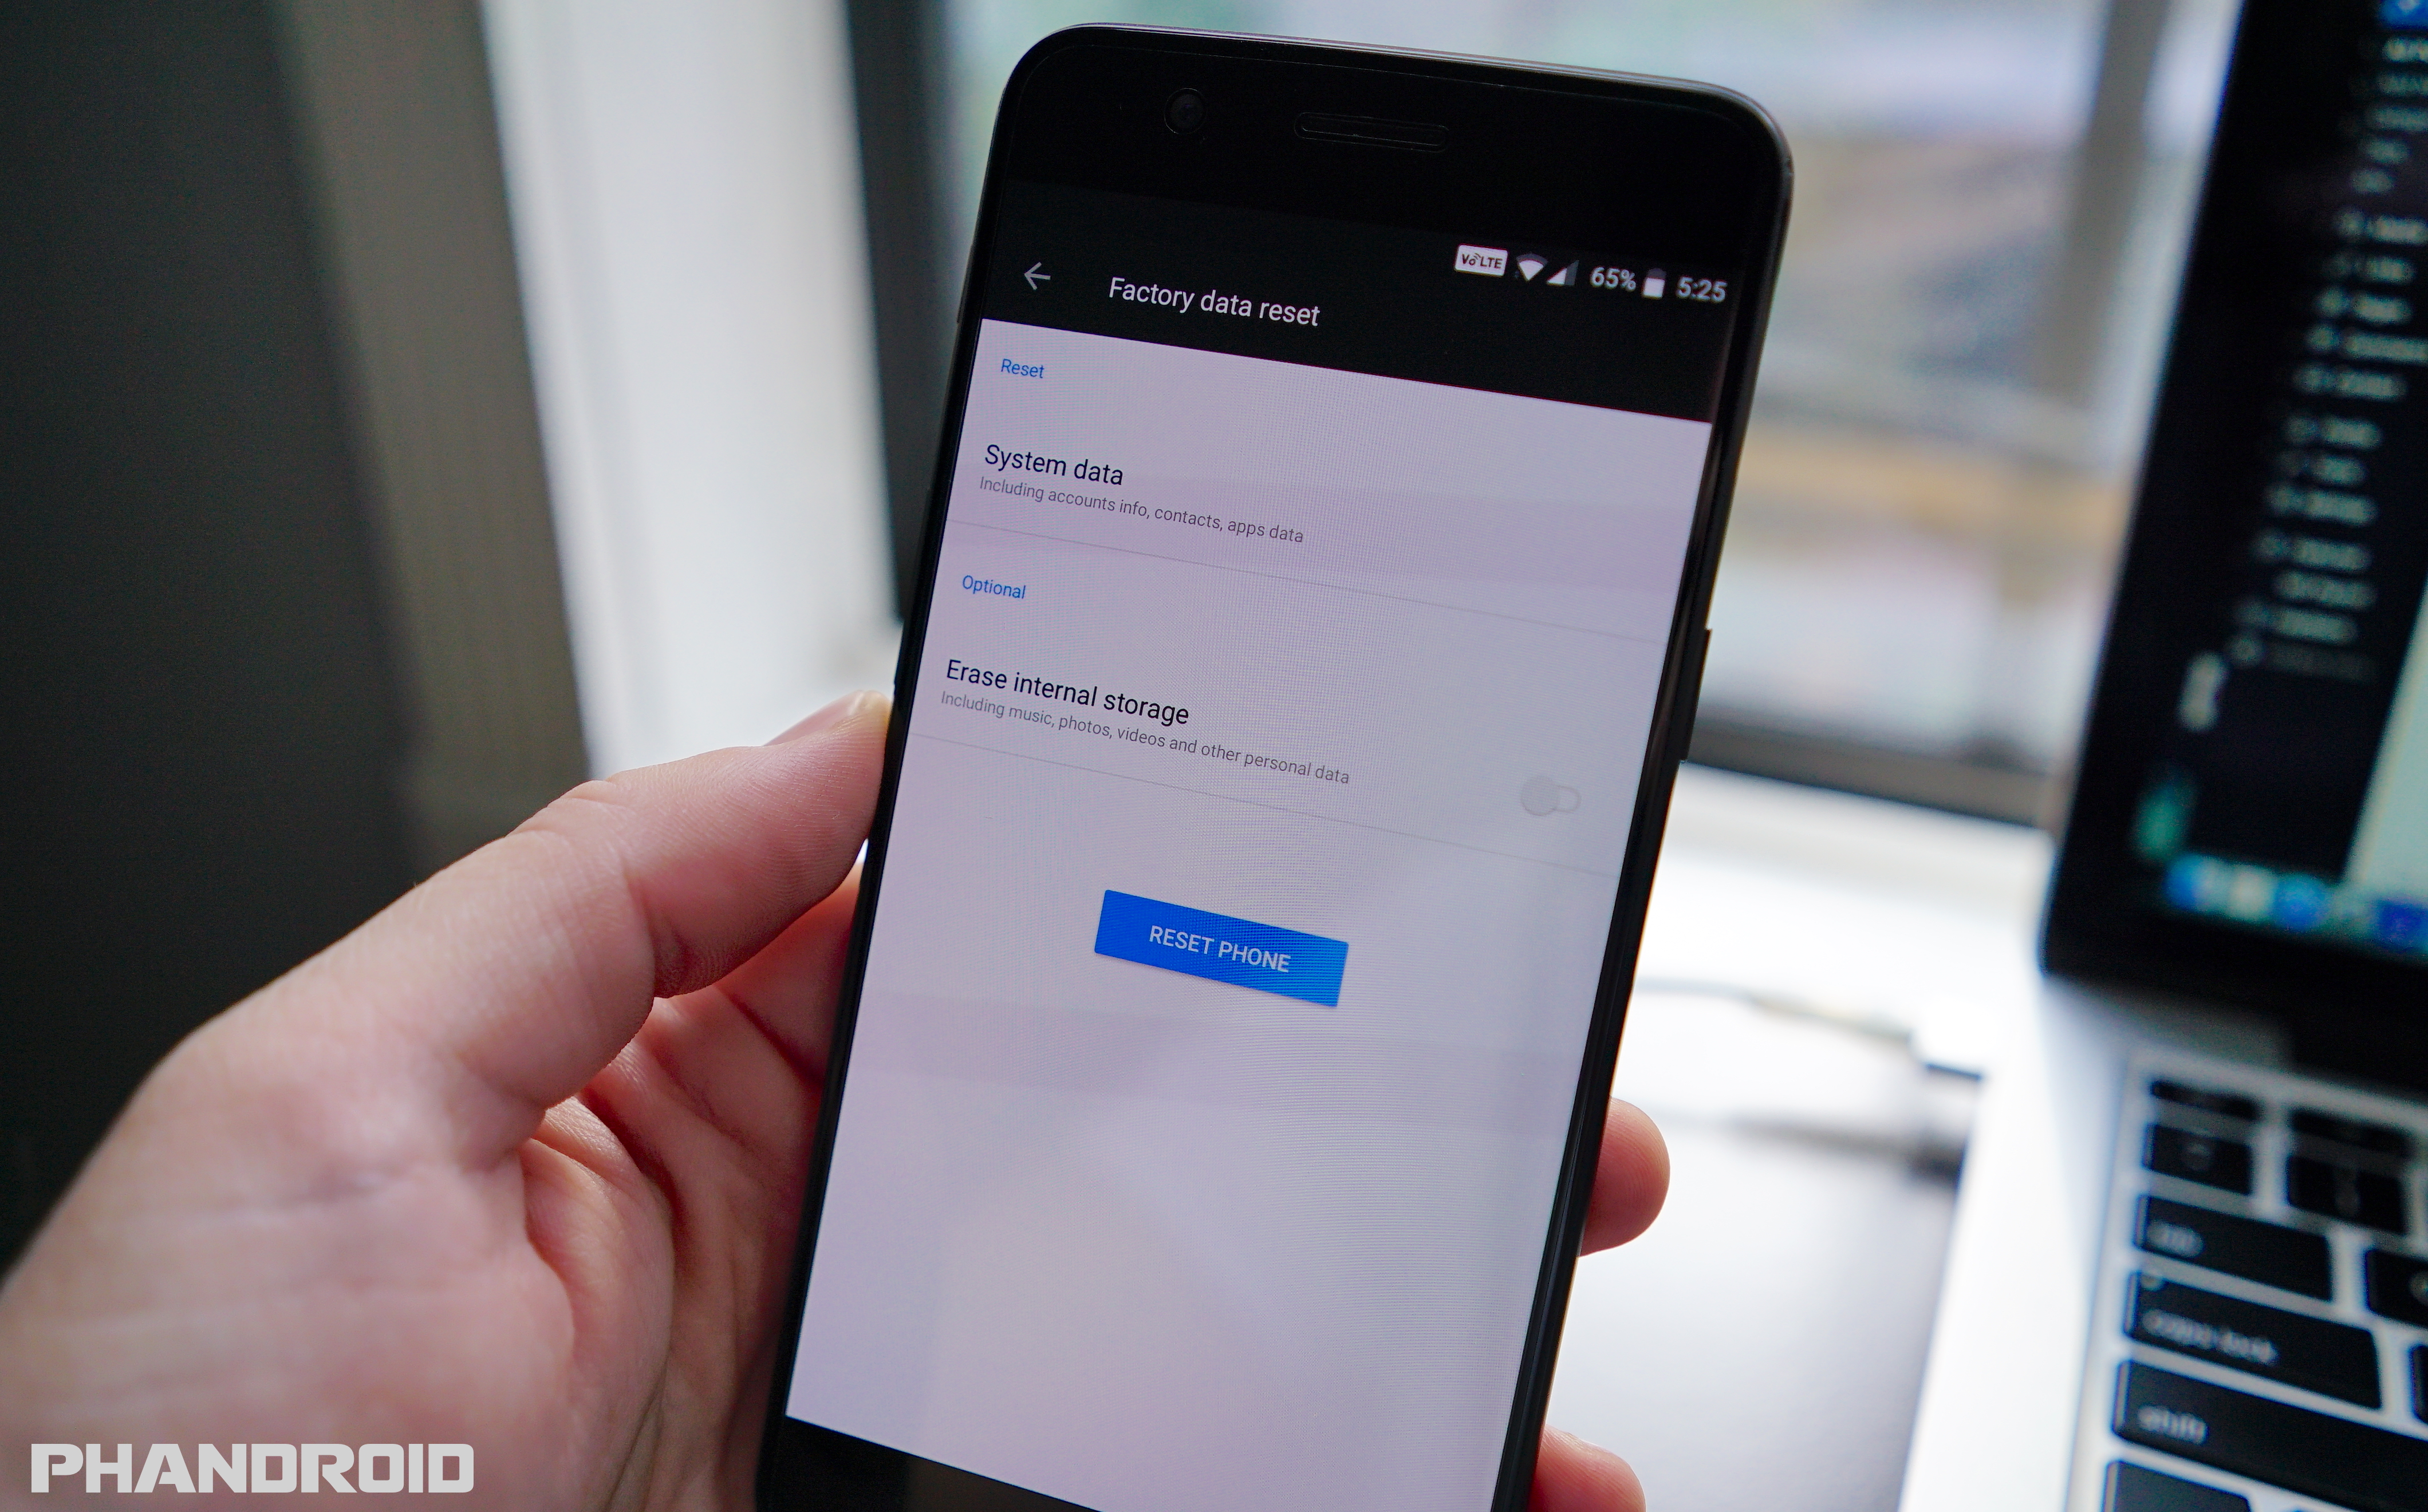
Delete all user data on your phone and return to factory settings
Whether you’re looking to return your OnePlus 5, or sell it to a 3rd party, you’re going to want to make sure the phone is wiped clean of all your data. First, make sure to backup photos, SMS, and other important data using the service of your choosing (contacts are already saved to your Google account, so don’t worry about those) and your photos/videos can be backed up using Google Photos.
To delete all user data from the OnePlus 5, here are the steps.
Warning: this will erase everything from the phone
- Open up the Settings app
- Scroll down and select Backup & reset
- Select Factory data reset
- Confirm by tapping RESET PHONE
Optional: Erase internal storage – This includes music, photos, videos, and personal files stored on the device.
Although it’s not mandatory, we also recommend factory resetting your device after a major software update to keep everything running smoothly. This shouldn’t be done every time, just when moving up to major Android versions like the upcoming Android 8.0 Oreo release.
Learn how to find a lost or stolen phone

It’s something you don’t think about until it happens but one of the worst feelings in the world is having your smartphone lost or stolen. In the event that it does happen, you’ll want to know exactly how to recover your device, or erase any personal/sensitive information therein.
Thankfully, Android’s built-in feature called “Find My Device” (formerly Android Device Manager) will help you with all of that — you just need to know how to use it.
- Go to https://www.google.com/android/find
- Select your phone from the top
- You’ll see the device on a map and a few options for finding it (play sound), locking it (if it wasn’t locked already), or erasing all of its contents (if you can’t find it)
Read More: How to find a lost or stolen phone
Customize your phone with our hand-picked wallpapers
Although the OnePlus 5 has a handful of great wallpapers they offer out of the box, you can never have too many. If you’re looking for some fresh walls to plaster on your home screen, you may want to check out Phandroid’s Android Wallpaper series.
It’s there you’ll find the best wallpapers handpicked by us, usually with a specific theme. In fact, our Android Wallpaper for AMOLED displays features a variety of darker wallpapers perfect for the OnePlus 5 and it might even bring a little extra battery savings in the process. Here are some of our other favorites:
- Android Wallpaper: 20 Years of 64
- Android Wallpaper: The Force Awakens
- Android Wallpaper: Taken from the HTC 10
- Android Wallpaper: Awesome Movie Posters
- Android Wallpaper: 8-bit Landscapes
- Android Wallpaper: Low Poly Art
Download the Best Apps & Games for Android with our curated list

As great as the OnePlus 5 is, it would be pretty boring without a bunch of great apps and games. Here at Phandroid, we are constantly trying to showcase the best apps and games. We’ve published numerous lists for a wide variety of apps and games. Before you dive into the Play Store and blindly look around, check out these lists.
Start here: 100 Best Android Apps of 2016
- EarlyBird – News for Android
- Best Android apps for college students
- 10 Best Android Dating Apps
- Best Android Apps for learning languages
- Best Android Apps for Kids
- Best Android Games for 2 Players
- Phan Favs – best apps selected by readers
Learn more about the OnePlus 5 at AndroidForums.com!

We covered a lot of ground here, but we’re only just getting started. There’s always more to learn and sometimes the best place to do it is by chatting it up with others. The OnePlus 5 forum over at Android Forums.com is a great place to do just that.
It’s there you’ll find other users and/or prospective buyers sharing their thoughts, experiences, or even concerns they have with the OnePlus 5. It’s the best place to gain some knowledge and there’s already a few good conversations going on right now. Here are a few to help get you started:


Comments